Welcome, fellow food lovers! Ever have those moments when you crave something warm, comforting, and freshly baked, but time just isn’t on your side? We’ve all been there. Life gets busy, but that doesn’t mean you have to sacrifice the simple joy of homemade goodness. Today, we’re diving into the wonderful world of quick breads, and I’m thrilled to share a recipe that’s so easy, so delicious, and so incredibly fast, it’ll be ready to enjoy in just one hour!
Forget complicated yeast doughs and long proofing times. This quick bread recipe is your new go-to for instant gratification. Whether it’s for a cozy breakfast, an afternoon snack, or a last-minute dessert, this recipe delivers a tender, flavorful loaf with minimal effort. Let’s get baking!
History and Background of Quick Breads

Quick breads are truly a marvel of modern baking, though their roots stretch back further than you might think. Unlike traditional yeast breads that rely on yeast for leavening and require hours of rising, quick breads use chemical leavening agents like baking soda and baking powder. This innovation, which became widespread in the 19th century with the commercial availability of these leaveners, revolutionized home baking.
Before baking powder and soda, quick breads were often leavened with beaten eggs or naturally fermented ingredients. The convenience of chemical leaveners meant bakers could whip up a loaf of bread or a batch of muffins in a fraction of the time, making them a staple in busy households. From banana bread to zucchini bread, the quick bread family is vast and beloved, always offering a comforting, easy-to-make treat.
Why You’ll Love This Recipe
- Lightning Fast This recipe goes from mixing bowl to oven to table in about an hour. Perfect for busy schedules!
- Beginner Friendly No special skills or fancy equipment needed. If you can stir, you can make this bread.
- Deliciously Versatile A simple base recipe that’s easy to customize with your favorite additions.
- Warm and Comforting There’s nothing quite like the aroma and taste of fresh-baked bread.
- Minimal Cleanup Fewer dishes mean more time to enjoy your delicious creation.
Ingredient Notes

You’ll find these ingredients are pantry staples, making this recipe even easier to whip up at a moment’s notice.
- All-Purpose Flour The base of our bread. Make sure it’s fresh for the best results.
- Granulated Sugar Provides sweetness and helps with browning.
- Baking Powder Our primary leavening agent, ensuring a light and fluffy texture.
- Salt Balances the sweetness and enhances all the flavors.
- Large Egg Binds the ingredients together and adds richness.
- Milk Adds moisture and tenderness. Any milk (dairy or non-dairy) will work.
- Vegetable Oil Keeps the bread moist and tender. Melted butter can also be used for a richer flavor.
- Vanilla Extract A touch of warmth and classic flavor.
Equipment Needed
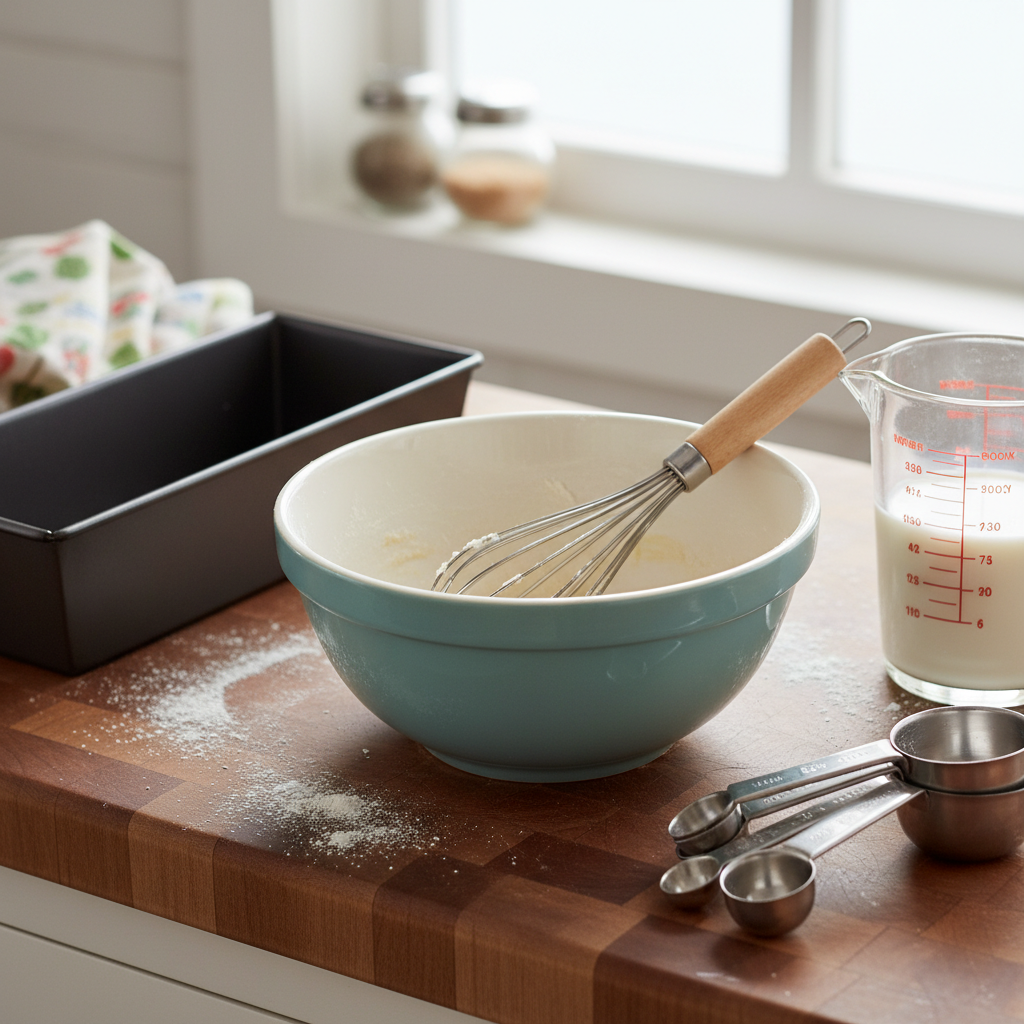
You likely have all of these in your kitchen already!
- 9×5 inch loaf pan
- Large mixing bowl
- Whisk or spatula
- Measuring cups and spoons
Full Recipe Card
Ingredients
- 1 ½ cups (180g) all-purpose flour
- ½ cup (100g) granulated sugar
- 1 ½ teaspoons baking powder
- ¼ teaspoon salt
- 1 large egg, lightly beaten
- ½ cup (120ml) milk
- ¼ cup (60ml) vegetable oil
- 1 teaspoon vanilla extract
Instructions
- Preheat Oven and Prepare Pan Preheat your oven to 350°F (175°C). Lightly grease and flour a 9×5 inch loaf pan, or line with parchment paper, leaving an overhang on the long sides for easy lifting.
- Whisk Dry Ingredients In a large mixing bowl, whisk together the flour, sugar, baking powder, and salt until well combined.
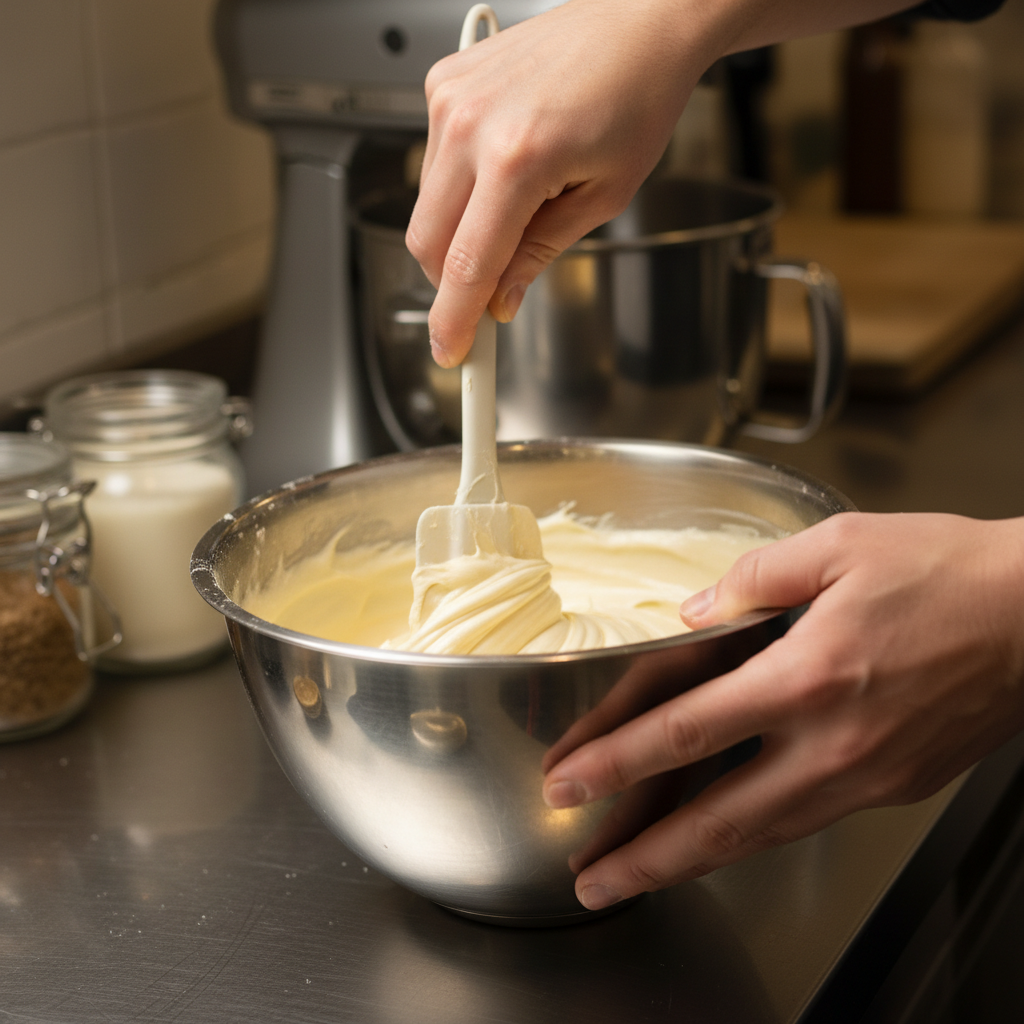
- Combine Wet Ingredients In a separate small bowl, whisk together the beaten egg, milk, vegetable oil, and vanilla extract until smooth.
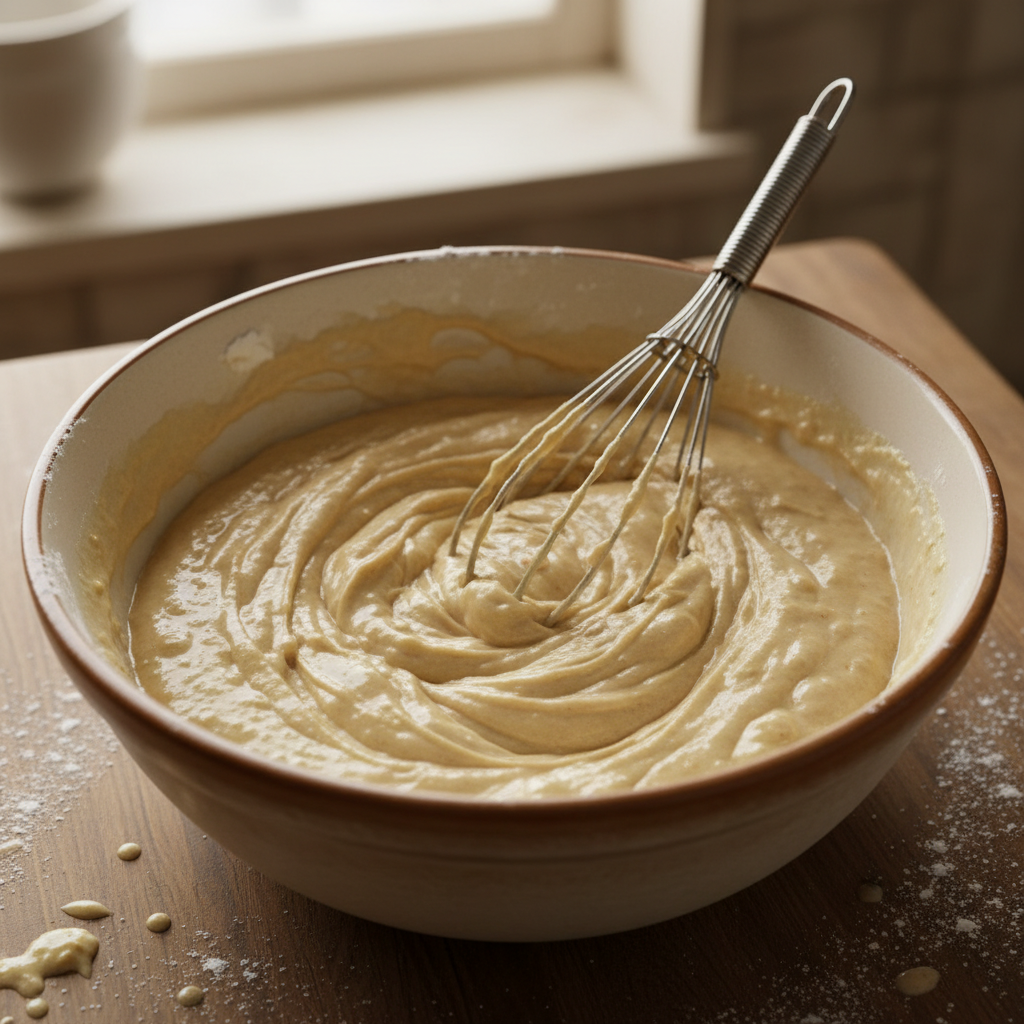
- Combine Wet and Dry Pour the wet ingredients into the dry ingredients. Stir gently with a whisk or spatula until just combined. Be careful not to overmix the batter; a few lumps are perfectly fine. Overmixing can lead to a tough bread.
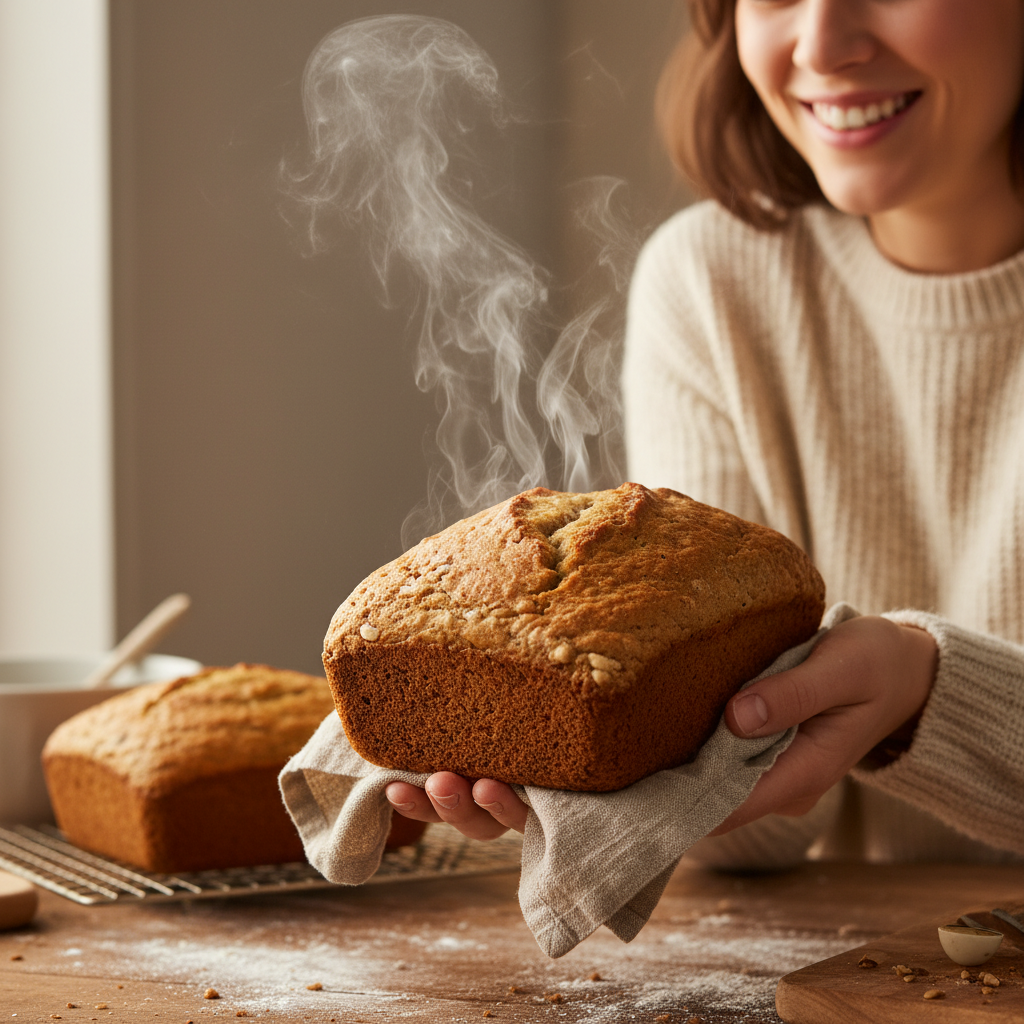
- Pour and Bake Pour the batter evenly into the prepared loaf pan. Bake for 40-50 minutes, or until a wooden skewer or toothpick inserted into the center of the loaf comes out clean.
- Cool and Serve Let the quick bread cool in the pan on a wire rack for 10-15 minutes before carefully removing it from the pan. Transfer to the wire rack to cool completely before slicing, though a warm slice is always a treat!
Notes
- For a slightly sweeter bread, you can sprinkle a tablespoon of sugar on top before baking.
- This recipe is a wonderful base for additions (see Tips & Variations below).
Tips and Variations
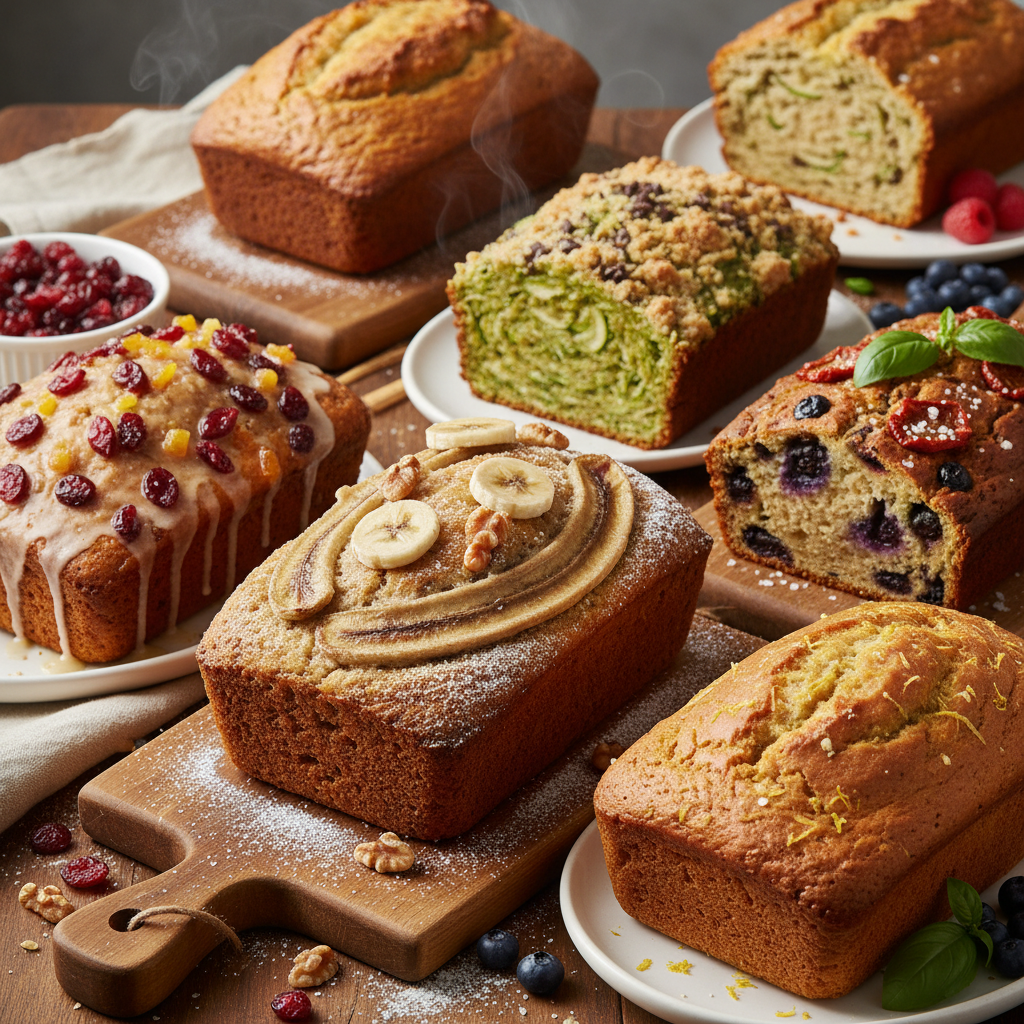
This basic quick bread recipe is a blank canvas for your creativity!
- Chocolate Chip Quick Bread Fold in ½ cup of chocolate chips (milk, dark, or white) with the dry ingredients.
- Lemon Zest Quick Bread Add 1 tablespoon of lemon zest to the wet ingredients for a bright, citrusy flavor. You can also add a simple lemon glaze made from powdered sugar and lemon juice.
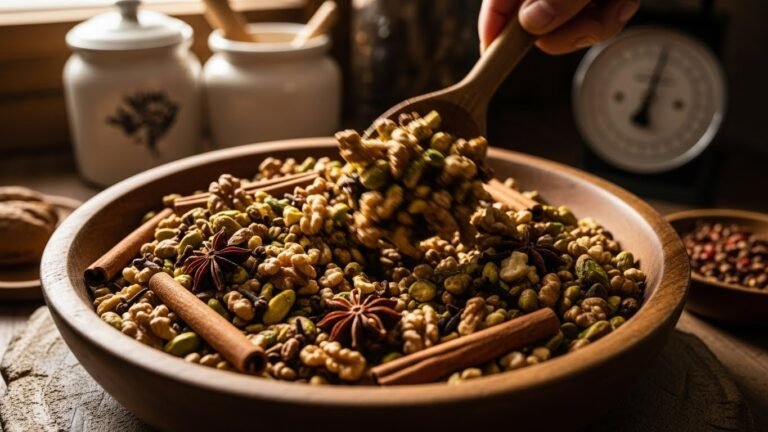
- Nutty Quick Bread Stir in ½ cup of chopped walnuts or pecans for added texture and flavor.
- Spice It Up Add 1 teaspoon of ground cinnamon or a ½ teaspoon of nutmeg to the dry ingredients for a warm, spiced loaf.
- Berry Delight Gently fold in ½ cup of fresh or frozen berries (blueberries, raspberries) at the very end of mixing. If using frozen, do not thaw them first.
Pro Chef Tips
Even for a simple recipe, a few professional insights can elevate your baking.
- Measure Your Flour Correctly Spoon flour into your measuring cup and then level it off with a straight edge. Scooping directly can compact the flour, leading to a dry, dense bread.
- Do Not Overmix This is the golden rule of quick breads! Overmixing develops gluten, which makes your bread tough. Mix only until the ingredients are just combined. A few lumps are okay.
- Use Room Temperature Ingredients Especially the egg and milk. Room temperature ingredients emulsify better, creating a smoother batter and a more uniform bake.
- Test for Doneness Rely on the toothpick test, but also observe the color. A golden-brown crust and springy top usually indicate it’s done.
Common Mistakes to Avoid
Don’t worry, we’ve all made these mistakes! Knowing them helps you avoid them.
- Overmixing the Batter As mentioned, this is the biggest culprit for tough quick breads. Mix until just combined.
- Opening the Oven Too Soon Resist the urge to peek during the first 30 minutes of baking. Sudden temperature changes can cause the bread to sink.
- Not Greasing Your Pan Properly This leads to a stuck loaf. Ensure your pan is well-greased and floured, or use parchment paper.
- Underbaking An underbaked quick bread will be gummy in the middle. Always ensure your toothpick comes out clean.
Storage and Meal Prep
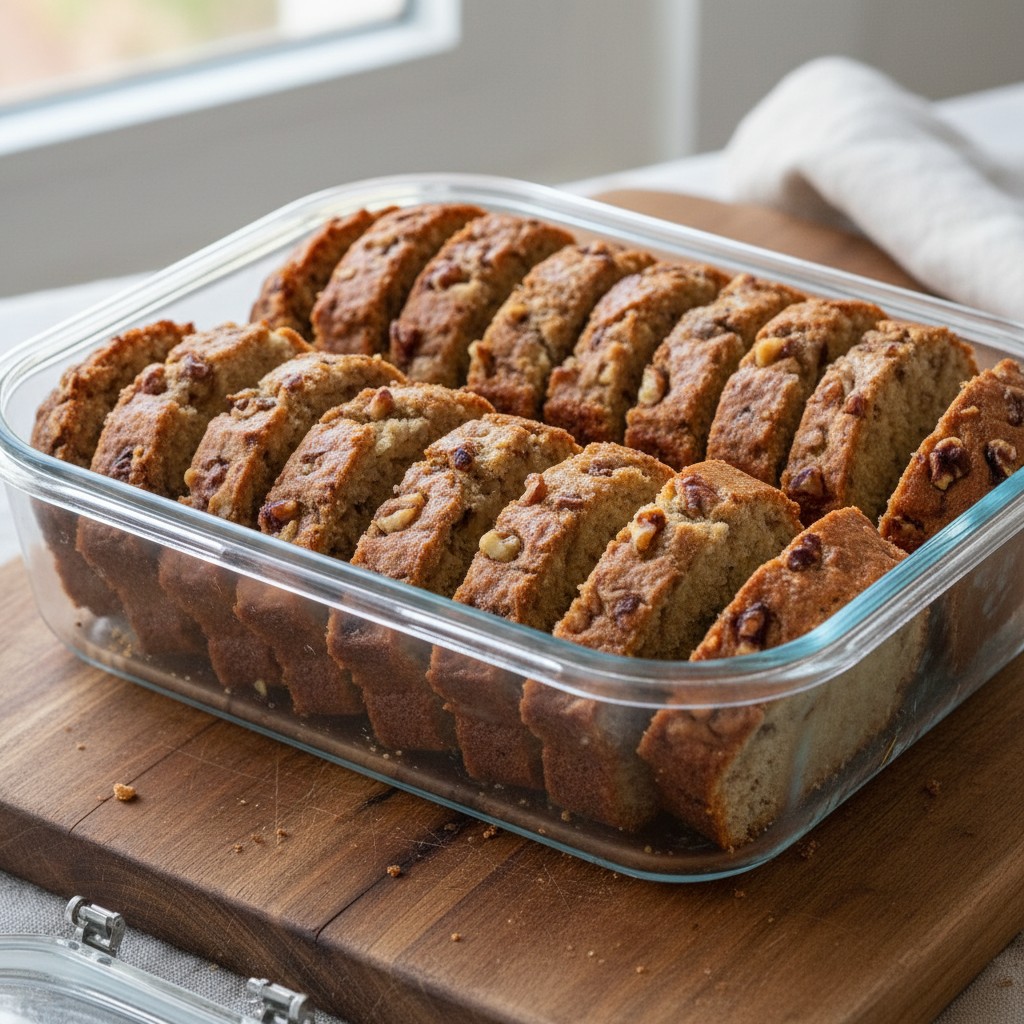
This quick bread is wonderful fresh, but it also stores beautifully.
- Room Temperature Store leftover quick bread at room temperature, tightly wrapped in plastic wrap or in an airtight container, for up to 3-4 days.
- Refrigeration While not strictly necessary, you can refrigerate it for slightly longer storage, up to a week. Bring to room temperature or gently warm before serving.
Make-Ahead and Freezer Notes
Want to enjoy homemade quick bread whenever a craving strikes? This recipe is freezer-friendly!
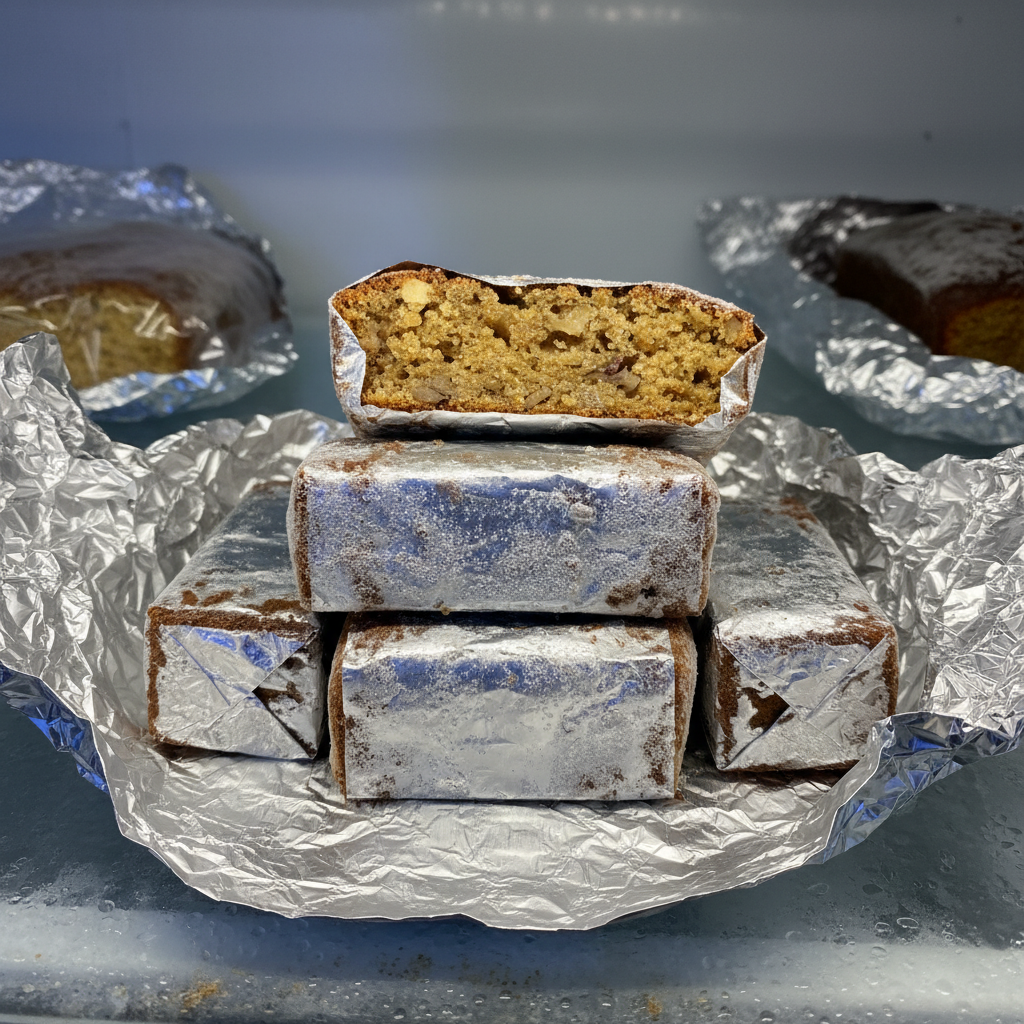
- Freezing Whole Loaf Once completely cooled, wrap the entire loaf tightly in plastic wrap, then in aluminum foil. Freeze for up to 3 months. Thaw at room temperature overnight before serving.
- Freezing Slices Slice the cooled bread, then wrap individual slices in plastic wrap and place them in a freezer-safe bag. This allows you to grab just one slice at a time. Thaw individual slices at room temperature or gently warm in a microwave or toaster oven.
Serving Suggestions
This versatile quick bread can be enjoyed in so many ways!
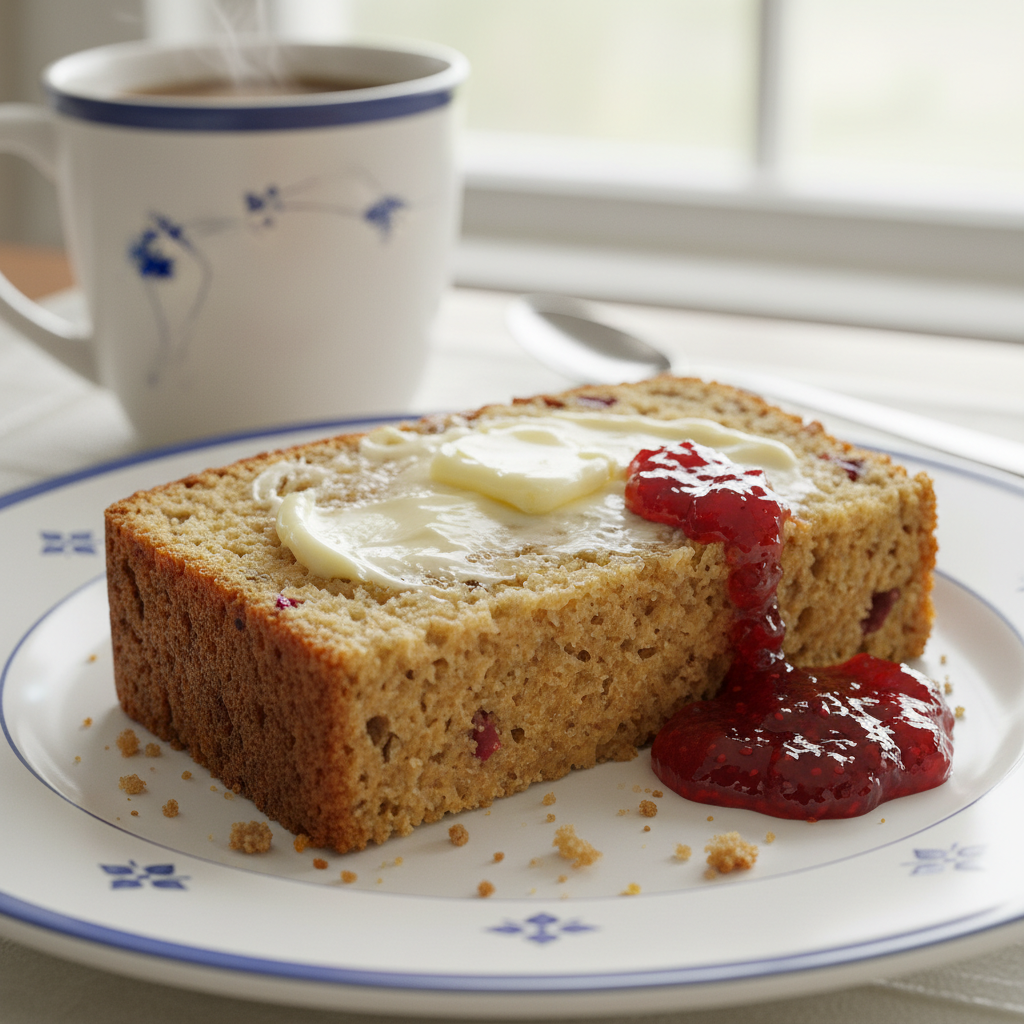
- Breakfast Treat Serve warm with a pat of butter, a dollop of cream cheese, or your favorite jam.
- Coffee Break Companion It pairs perfectly with a hot cup of coffee or tea.
- Simple Dessert A slice with a scoop of vanilla ice cream or a drizzle of honey makes for an easy dessert.
- Snack Time Enjoy it plain for a satisfying pick-me-up anytime.