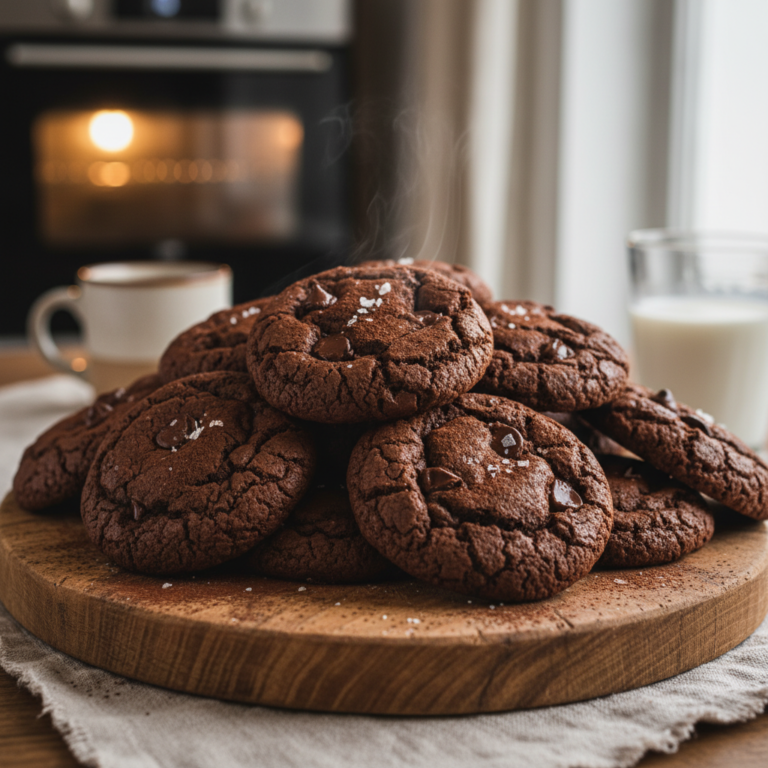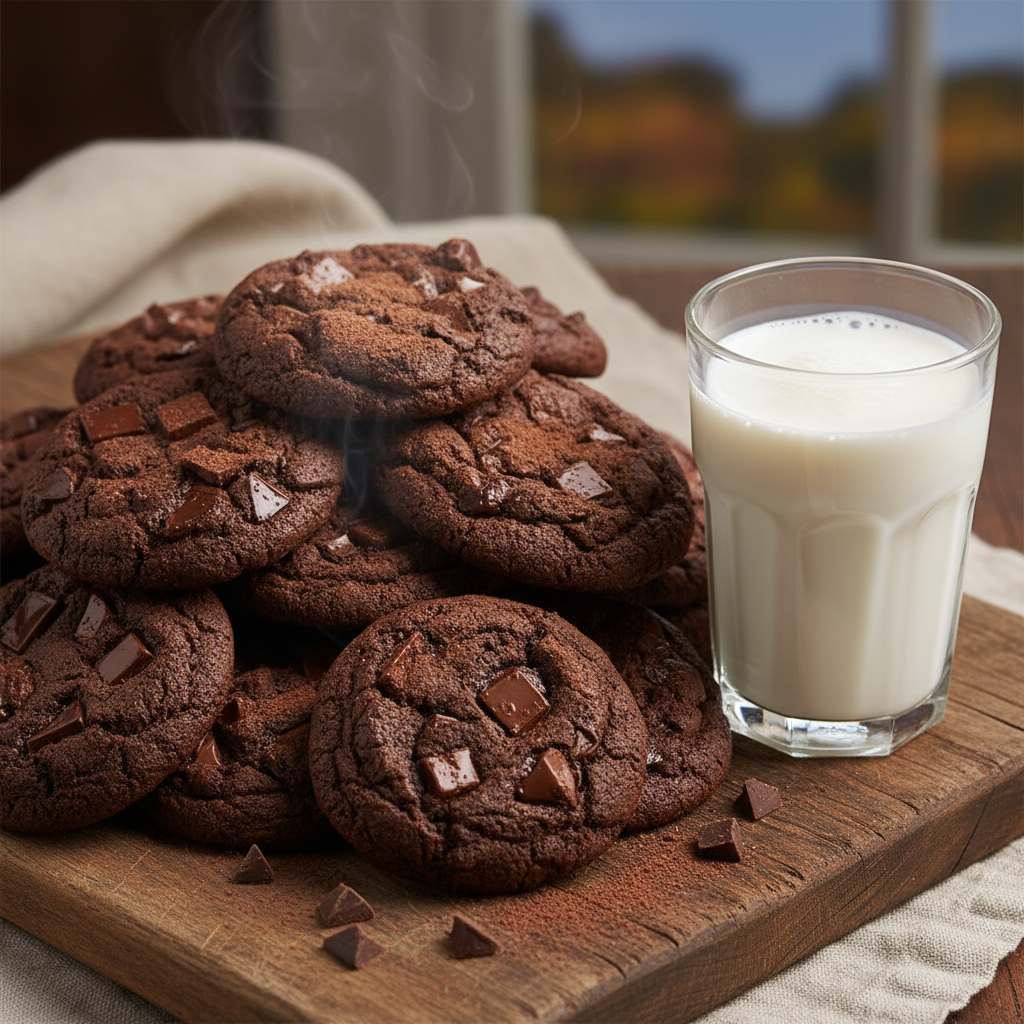
Welcome, fellow chocolate enthusiasts! If you’re anything like us, the mere mention of double chocolate cookies sends a delightful shiver down your spine. That perfect combination of rich cocoa and melty chocolate chunks creates a symphony of flavor and texture that’s hard to resist. But let’s be honest, finding that truly perfect recipe – one that consistently delivers a chewy, fudgy, and intensely chocolatey cookie – can feel like a quest. Well, dear friends, your quest ends here! We’re about to embark on a delicious journey to bake the most incredible double chocolate cookies you’ve ever tasted, with a recipe so easy and foolproof, you’ll wonder why you haven’t made them sooner.
A Sweet History of Chocolate Cookies
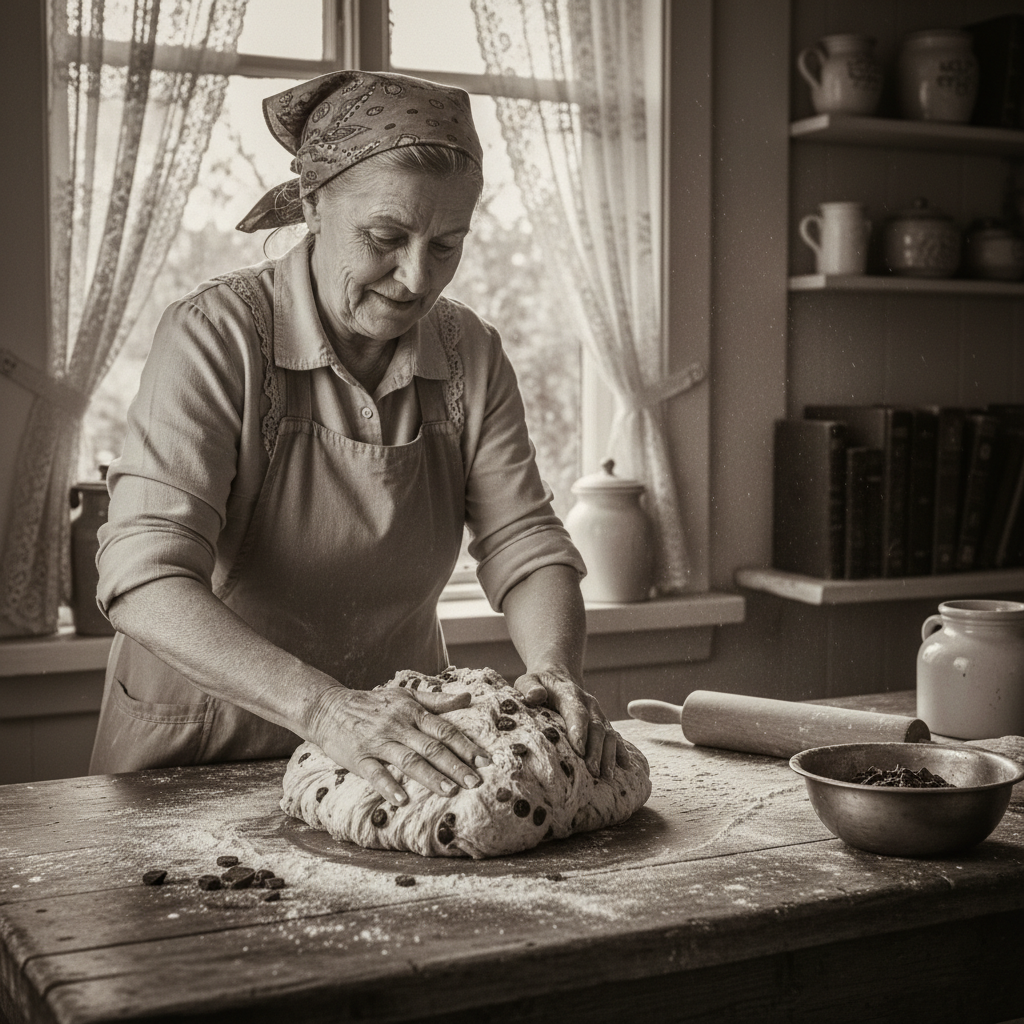
The story of cookies is a long and delightful one, with roots tracing back to ancient Persia. However, the introduction of chocolate into the baking world truly revolutionized the cookie game. Chocolate itself has a rich and complex history, originating from the cacao bean cultivated by ancient Mesoamerican civilizations. It wasn’t until the 19th century that chocolate became widely accessible for baking, transforming desserts forever.
While the classic chocolate chip cookie was famously invented in the 1930s by Ruth Wakefield at the Toll House Inn, the concept of a ‘double chocolate’ or ‘chocolate chocolate chip’ cookie is a more modern indulgence. It emerged as bakers sought to amplify the chocolate experience, adding cocoa powder to the dough itself, creating a darker, richer canvas for those beloved chocolate chips. These cookies quickly became a staple in bakeries and home kitchens alike, celebrated for their intense flavor and satisfying chewiness. Our recipe builds on this delicious legacy, ensuring every bite is a celebration of chocolate.
Why You’ll Love This Recipe

Get ready to fall head over heels for these cookies! Here’s why this recipe will become your new go-to:
- Intensely Chocolatey Flavor: With cocoa powder in the dough and plenty of chocolate chips, every bite is a chocolate lover’s dream.
- Perfectly Chewy Texture: Say goodbye to dry, crumbly cookies! These are wonderfully soft and chewy, with just the right amount of crispness on the edges.
- Simple and Straightforward: Even if you’re a beginner baker, our detailed instructions make this recipe incredibly easy to follow.
- Versatile and Customizable: We’ll share tips for variations, so you can make them exactly how you like.
- Crowd-Pleaser: These cookies are always a hit, whether you’re sharing them with family, friends, or keeping them all to yourself (we won’t tell!).
Ingredient Notes for Success
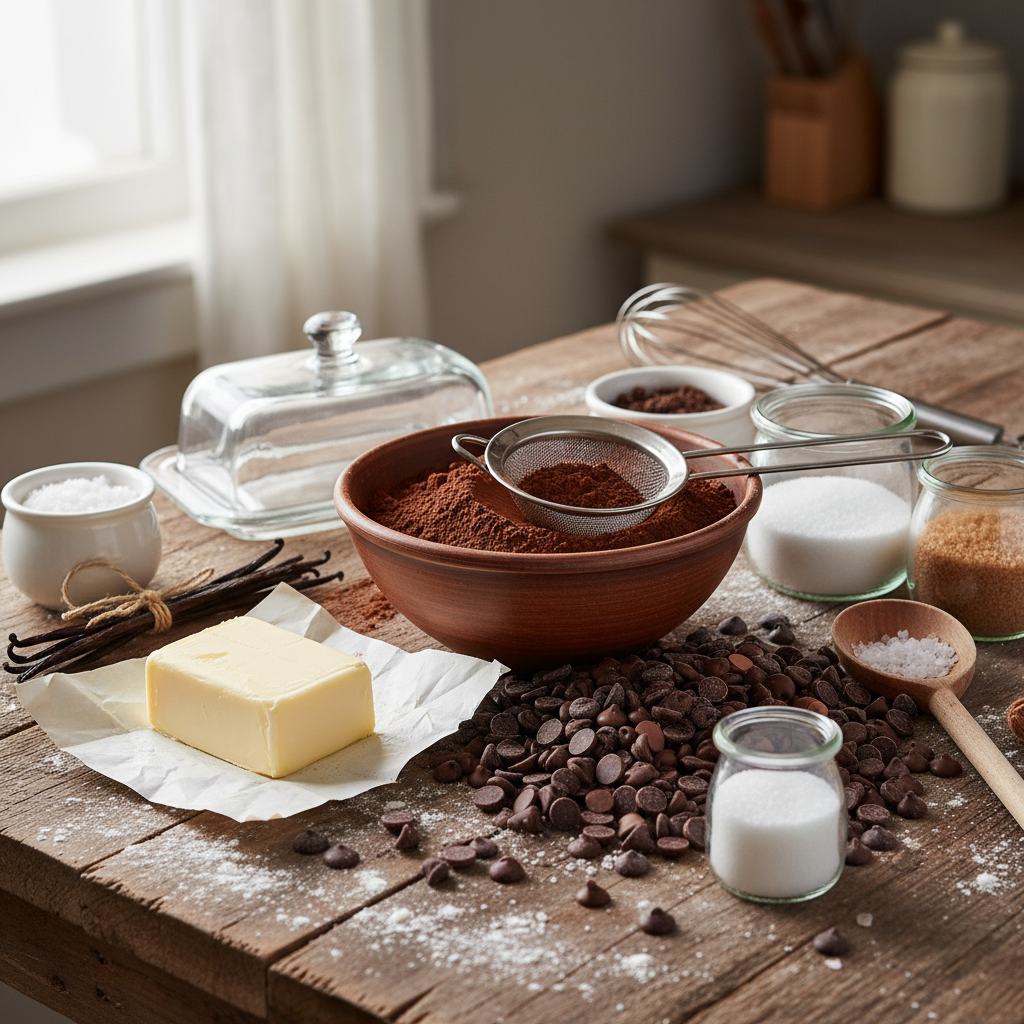
Every great recipe starts with great ingredients. Here’s a quick guide to what you’ll need and why:
- All-Purpose Flour: The structure of our cookie. Don’t overmeasure; too much flour leads to dry cookies.
- Unsweetened Cocoa Powder: This is where the deep chocolate flavor in the dough comes from. Use a good quality brand for the best results. Natural unsweetened cocoa powder is generally preferred for this recipe.
- Baking Soda: Our leavening agent, helping the cookies spread and become tender.
- Salt: Don’t skip it! Salt balances the sweetness and enhances all the chocolate flavors.
- Unsalted Butter: Needs to be at room temperature. This creates a tender crumb and helps with proper creaming. If using salted butter, reduce the added salt slightly.
- Granulated Sugar & Brown Sugar: The combination provides both sweetness and moisture. Brown sugar contributes to the chewy texture.
- Eggs: Room temperature eggs emulsify better with the butter and sugar, leading to a smoother dough. They add richness and bind the ingredients.
- Vanilla Extract: A touch of vanilla always elevates chocolate flavors. Use pure vanilla extract for the best taste.
- Chocolate Chips (or Chunks): We recommend a mix of semi-sweet and dark chocolate for a complex flavor profile. You can also use milk chocolate if you prefer a sweeter cookie.
Equipment Needed for Baking Bliss
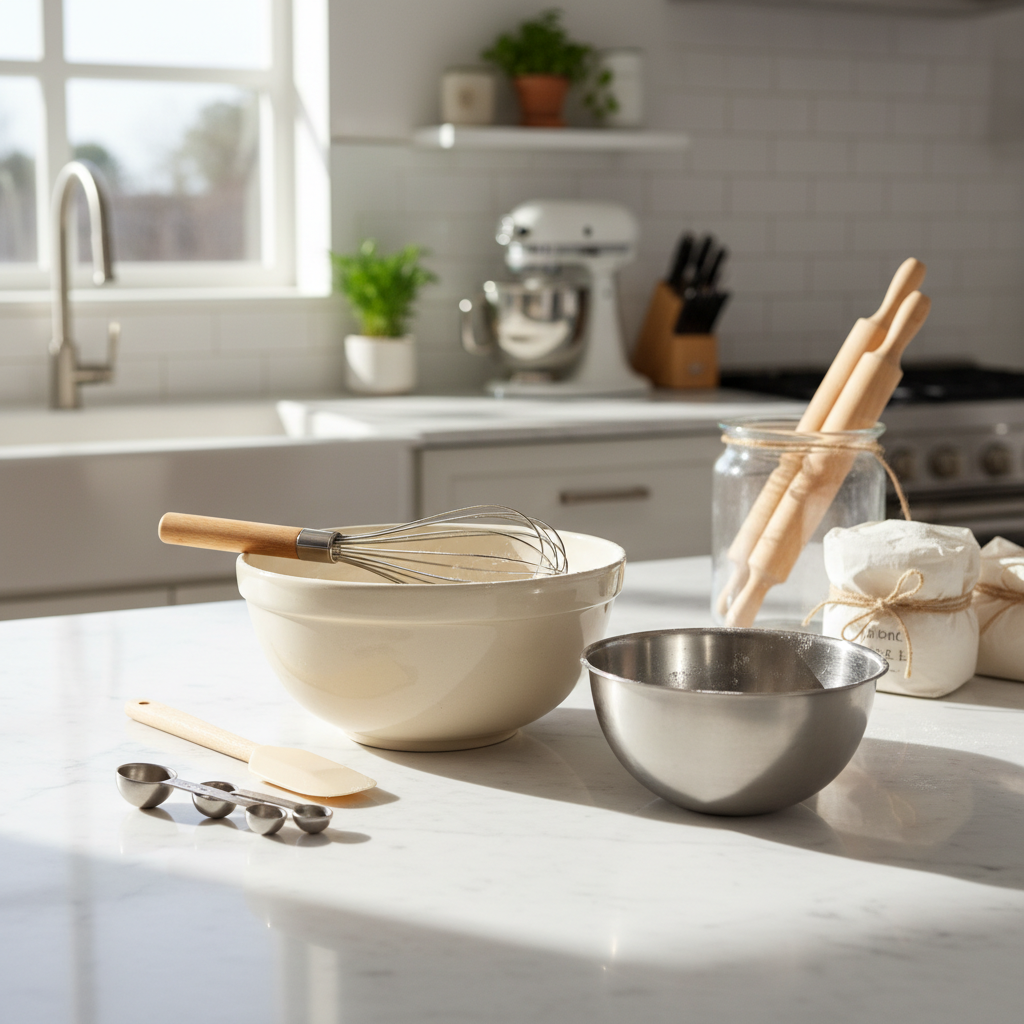
Having the right tools makes baking a breeze. Here’s what you’ll want to have on hand:
- Large Mixing Bowls: At least two, one for dry ingredients, one for wet.
- Electric Mixer (Stand or Handheld): Essential for creaming butter and sugar properly.
- Whisk: For combining dry ingredients.
- Rubber Spatula: For scraping down bowls and folding ingredients.
- Measuring Cups and Spoons: Accuracy is key in baking!
- Baking Sheets: Heavy-duty ones prevent scorching.
- Parchment Paper or Silicone Baking Mats: Prevents sticking and ensures even baking.
- Cookie Scoop (1.5-2 tablespoon size): For uniform cookies that bake evenly.
- Wire Cooling Rack: For cooling cookies completely.
The Ultimate Double Chocolate Cookies Recipe Card
Let’s get baking! Follow these steps for perfect cookies every time.
Ingredients
- 1 ½ cups (190g) all-purpose flour
- ¾ cup (65g) unsweetened cocoa powder
- 1 teaspoon baking soda
- ½ teaspoon salt
- 1 cup (226g) unsalted butter, softened to room temperature
- 1 cup (200g) granulated sugar
- ¾ cup (150g) packed light brown sugar
- 2 large eggs, room temperature
- 2 teaspoons pure vanilla extract
- 1 ½ cups (255g) chocolate chips (we like a mix of semi-sweet and dark)
Instructions
- Prep Your Workspace: Preheat your oven to 350°F (175°C). Line two large baking sheets with parchment paper or silicone baking mats.
- Combine Dry Ingredients: In a medium bowl, whisk together the flour, cocoa powder, baking soda, and salt. Set aside.
- Cream Butter and Sugars: In a large bowl, using an electric mixer, cream together the softened butter, granulated sugar, and brown sugar on medium speed until light and fluffy (about 2-3 minutes).
- Add Eggs and Vanilla: Beat in the eggs one at a time, mixing well after each addition. Stir in the vanilla extract. Scrape down the sides of the bowl as needed.
- Combine Wet and Dry: Gradually add the dry ingredient mixture to the wet ingredients, mixing on low speed until just combined. Be careful not to overmix!
- Fold in Chocolate Chips: Gently fold in the chocolate chips with a rubber spatula until evenly distributed.
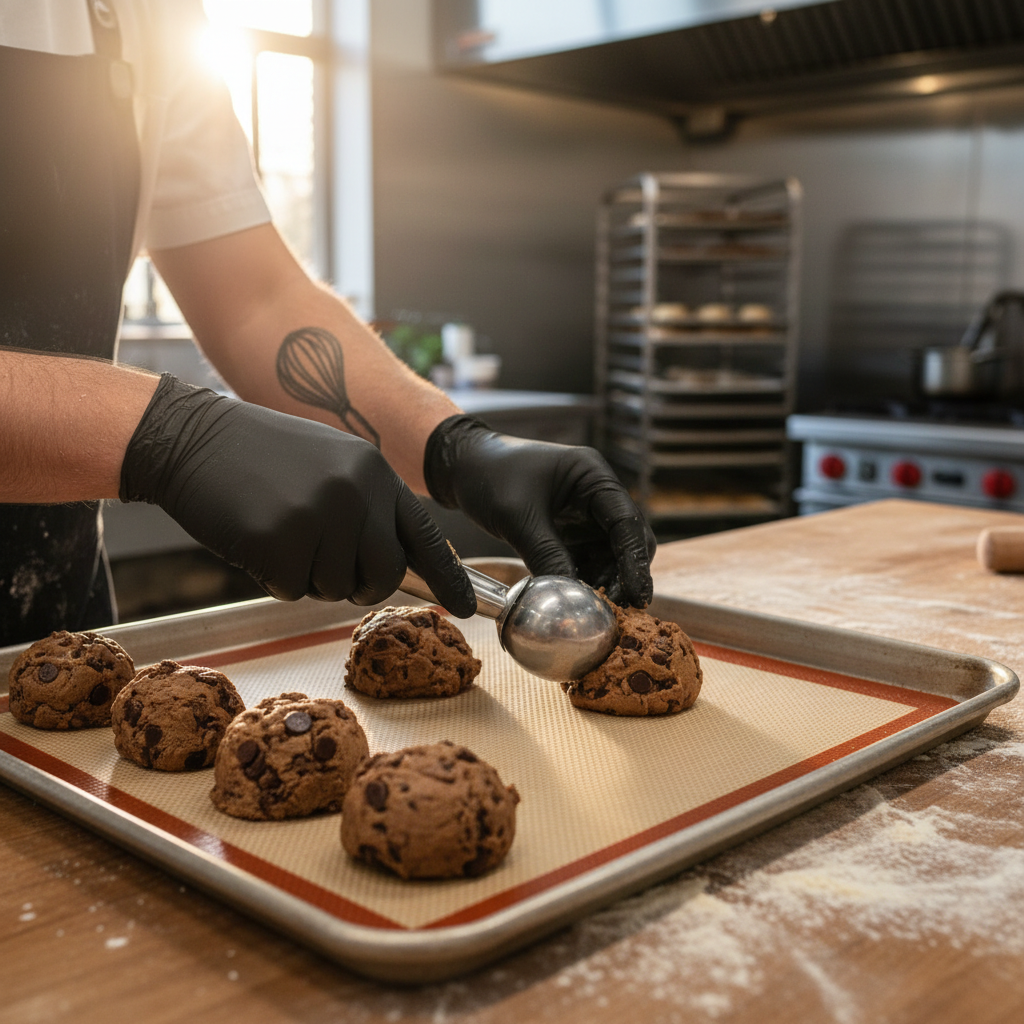
- Scoop and Bake: Drop rounded tablespoons of dough (or use a cookie scoop) onto the prepared baking sheets, leaving about 2 inches between each cookie.
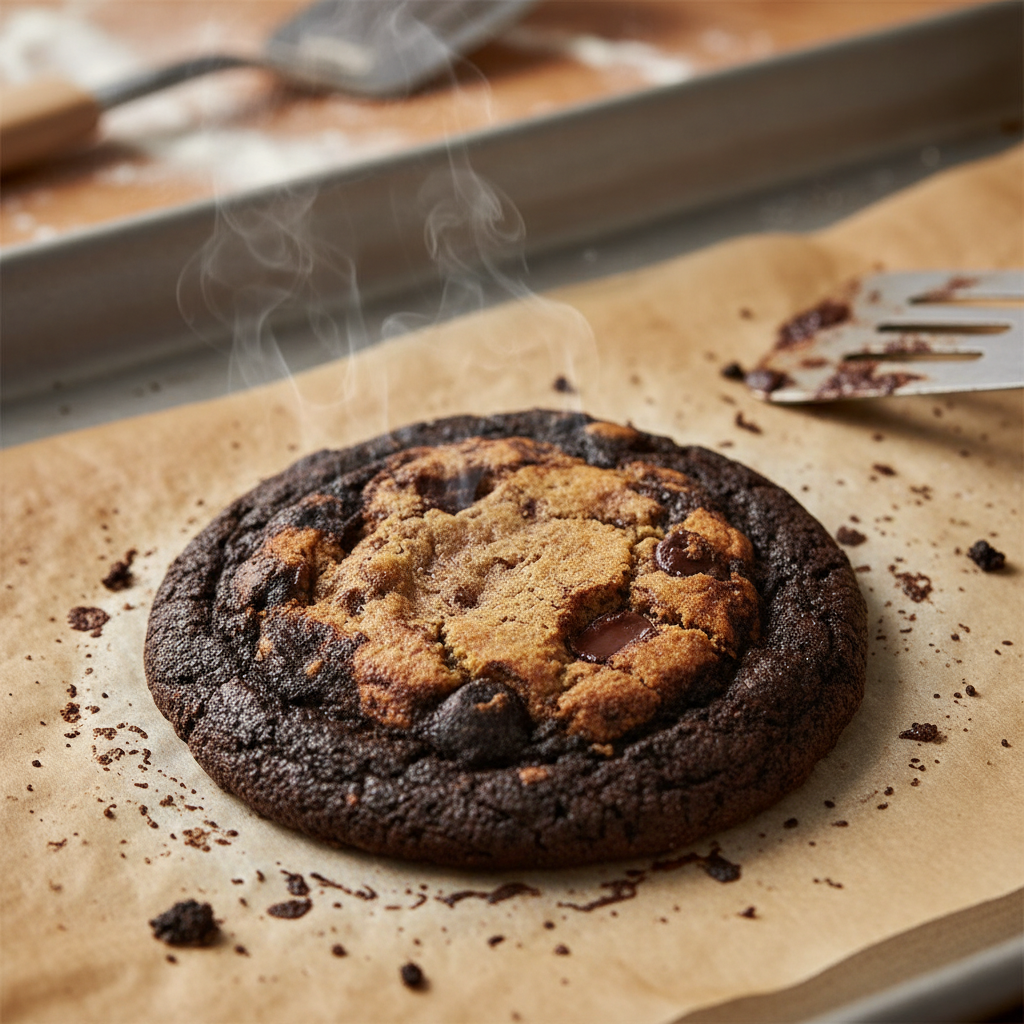
- Bake: Bake for 10-12 minutes, or until the edges are set but the centers still look slightly soft. They will continue to set as they cool.
- Cool: Let the cookies cool on the baking sheets for 5 minutes before transferring them to a wire rack to cool completely.
Recipe Notes
- Yield: Approximately 24-30 cookies
- Prep time: 15 minutes
- Cook time: 10-12 minutes per batch
Tips and Variations for Your Cookies
Once you master the basic recipe, feel free to get creative! Here are some ideas:
- Nutty Additions: Fold in ½ cup of chopped walnuts, pecans, or almonds with the chocolate chips for extra crunch and flavor.
- Espresso Boost: Add 1 teaspoon of espresso powder to the dry ingredients to deepen the chocolate flavor without making the cookies taste like coffee.
- Mint Chocolate: Replace some of the chocolate chips with mint chocolate chips for a refreshing twist.
- White Chocolate Swirl: Use a mix of dark and white chocolate chips for a beautiful contrast and different sweetness.
- Sea Salt Finish: Sprinkle a pinch of flaky sea salt on top of the cookies just after they come out of the oven to enhance the chocolate.
- Gluten-Free Option: You can often substitute all-purpose flour with a 1:1 gluten-free baking blend, but results may vary slightly.
Pro Chef Tips for Perfect Cookies
Want to bake like a pro? Keep these golden rules in mind:
- Room Temperature Ingredients are Key: Softened butter and room temperature eggs cream together beautifully, creating an emulsion that traps air for light, fluffy cookies.
- Don’t Overmix the Dough: Once you add the flour, mix only until just combined. Overmixing develops the gluten, leading to tough, dry cookies.
- Chill the Dough (Optional but Recommended): If you have time, chilling the dough for at least 30 minutes (or even overnight) allows the flavors to deepen and prevents the cookies from spreading too much.
- Use a Cookie Scoop: This ensures all your cookies are the same size, which means they’ll bake evenly.
- Don’t Overbake: Cookies continue to cook slightly after they come out of the oven. Take them out when the edges are set but the centers still look a little soft. This guarantees a chewy interior.
Common Mistakes to Avoid
Even seasoned bakers make mistakes. Here are some common pitfalls to steer clear of:
- Overbaking: The number one culprit for dry, hard cookies. Keep an eye on them!
- Measuring Flour Incorrectly: Scooping flour directly from the bag can compact it, leading to too much flour. Spoon flour into your measuring cup and then level it off.
- Using Cold Butter or Eggs: This makes it harder to cream properly, resulting in a less uniform dough.
- Not Lining Baking Sheets: Cookies will stick, and cleanup will be a nightmare. Parchment paper is your friend.
- Crowding the Baking Sheet: Give your cookies space to spread. Bake in batches if necessary.
Storage and Meal Prep
So you’ve baked a delicious batch – now how do you keep them fresh?
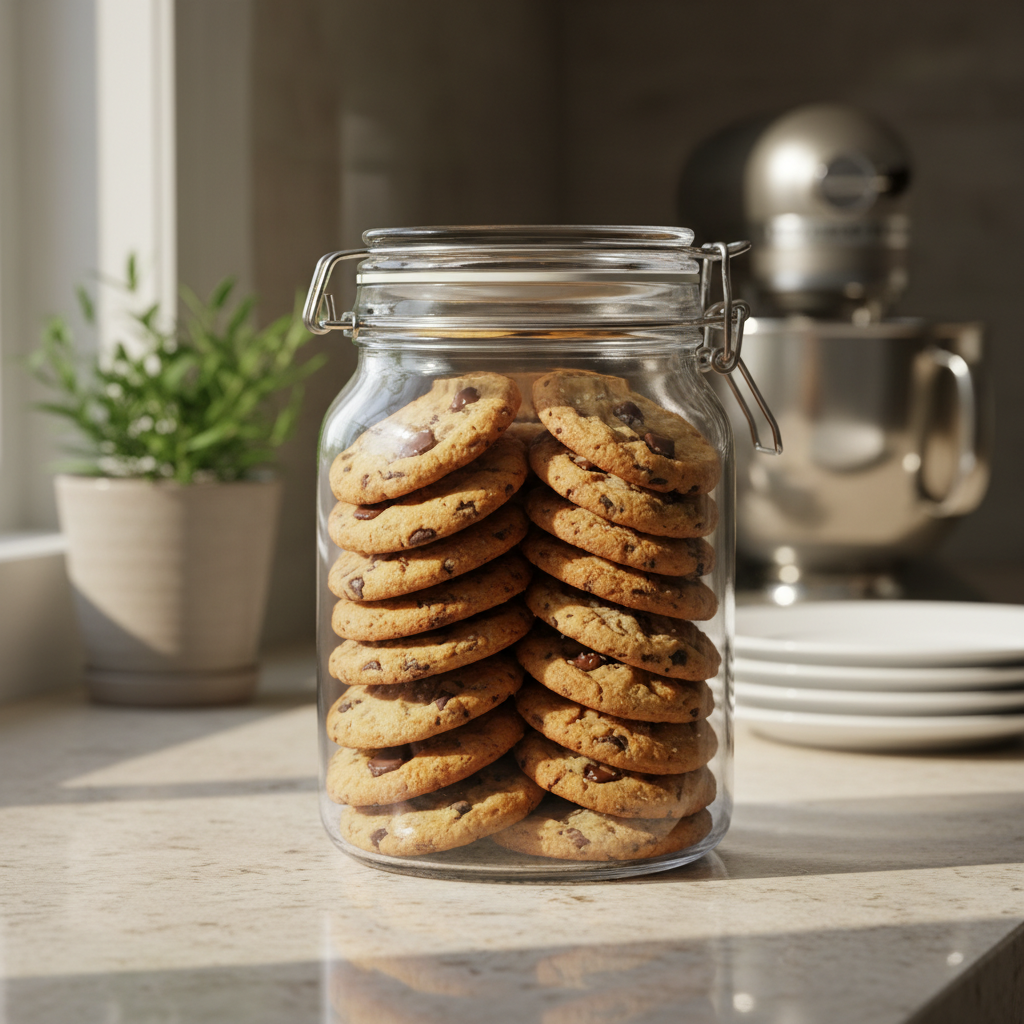
- Storing Baked Cookies: Once completely cooled, store double chocolate cookies in an airtight container at room temperature for up to 3-4 days. For optimal freshness, you can place a slice of bread in the container; it helps keep them soft by absorbing moisture.
- Meal Prepping Dough: You can prepare the cookie dough ahead of time and store it in the refrigerator for up to 3 days. Just wrap it tightly in plastic wrap. Let it come to room temperature slightly before scooping and baking.
Make-Ahead and Freezer Notes
These cookies are fantastic for making ahead and freezing, perfect for when a chocolate craving strikes!
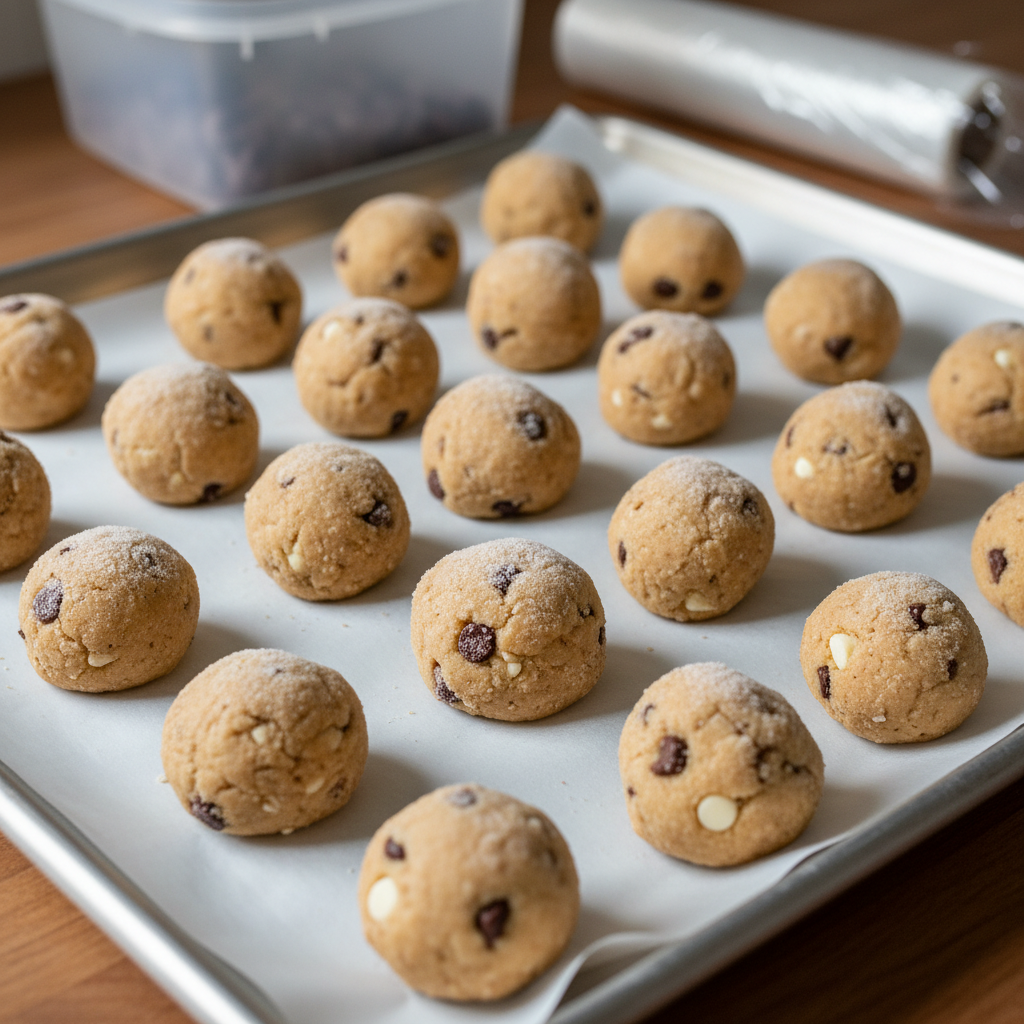
- Freezing Cookie Dough Balls: Scoop the dough into individual balls and place them on a parchment-lined baking sheet. Freeze until solid (about 1-2 hours). Once frozen, transfer the dough balls to a freezer-safe bag or container and store for up to 3 months. When ready to bake, place frozen dough balls on a baking sheet and bake for a few extra minutes (12-15 minutes total), no need to thaw.
- Freezing Baked Cookies: Allow baked cookies to cool completely. Arrange them in a single layer on a baking sheet and freeze until solid. Once frozen, transfer them to a freezer-safe container with parchment paper between layers to prevent sticking. They can be frozen for up to 1 month. Thaw at room temperature or warm briefly in the microwave.
Serving Suggestions
These double chocolate cookies are delightful on their own, but here are some ideas to make them even more special:
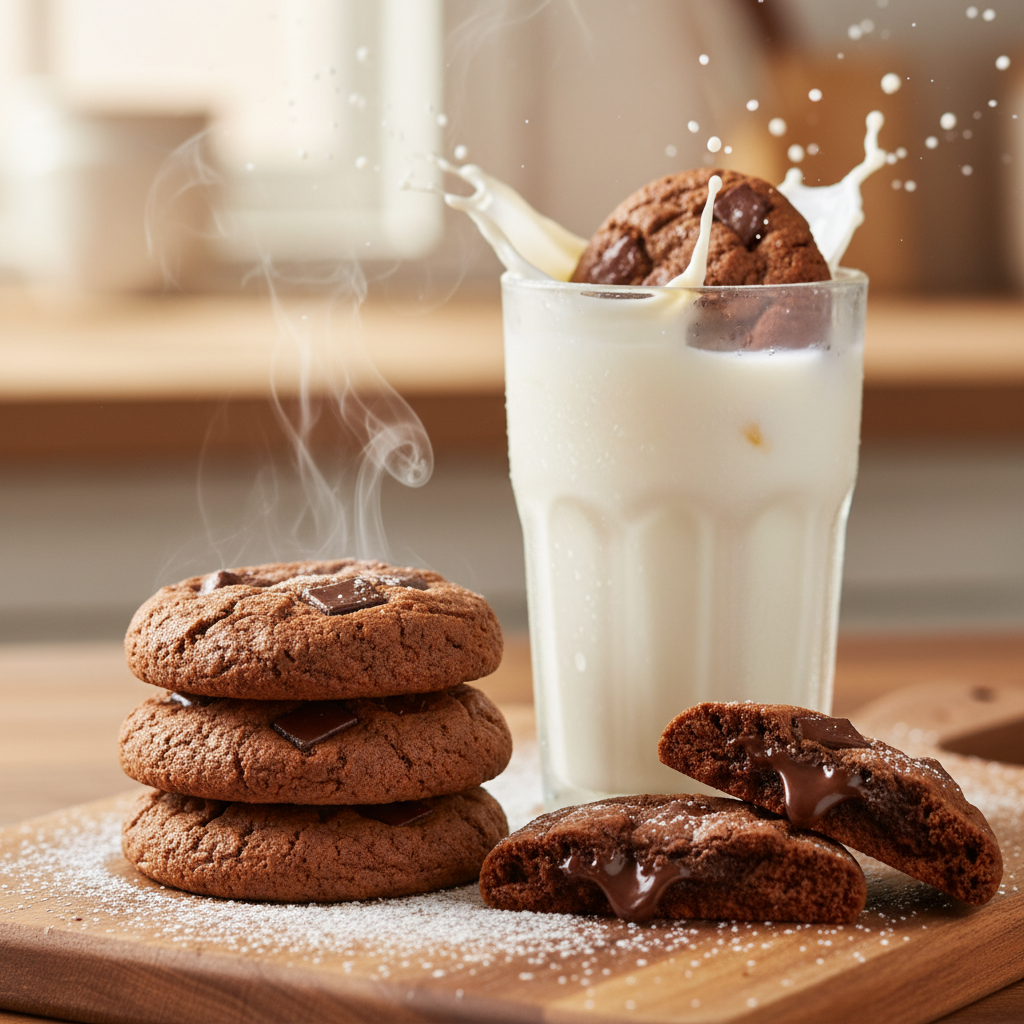
- Classic Milk Pairing: Nothing beats a warm, chewy double chocolate cookie with a tall, cold glass of milk.
- Coffee or Tea Time: They’re a perfect accompaniment to your morning coffee or an afternoon tea break.
- Ice Cream Sandwich: Press two cookies around a scoop of your favorite vanilla or coffee ice cream for an indulgent treat.
- Dessert Platter: Arrange them on a platter with other small desserts for parties and gatherings.
- Homemade Gifts: Package them in a pretty box or cellophane bag for a thoughtful edible gift.