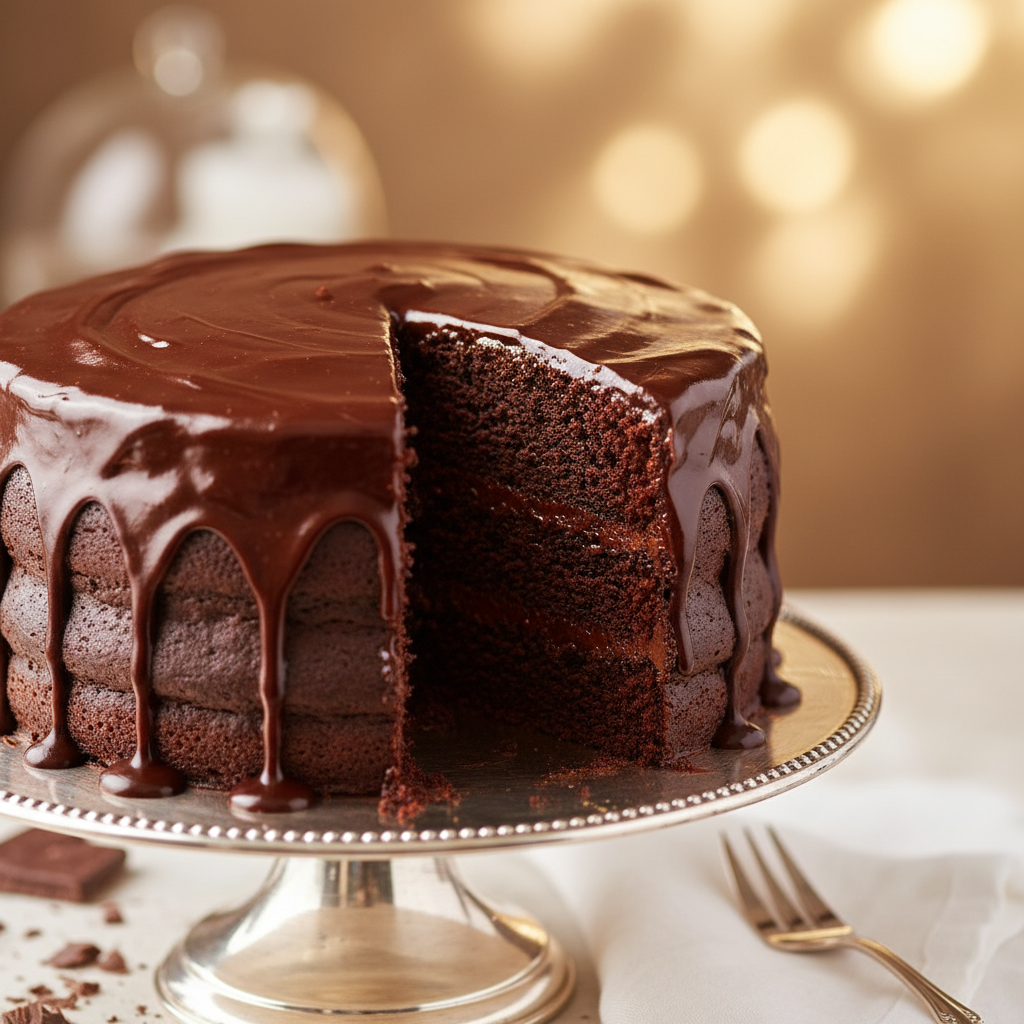
Oh, the sheer joy of a truly decadent chocolate cake! There’s something undeniably comforting and luxurious about a slice of rich, dark chocolate cake that just melts in your mouth. And when we talk about chocolate cake, the Devil’s Food Cake stands in a league of its own. It’s not just a cake; it’s an experience, a celebration of deep cocoa flavor and an incredibly moist, tender crumb.
If you’ve ever dreamed of baking a Devil’s Food Cake that rivals your favorite bakery, you’re in the right place. This recipe is designed for home bakers of all skill levels, promising a cake that’s intensely chocolatey, wonderfully moist, and utterly irresistible. Forget dry, crumbly cakes; prepare for pure chocolate bliss with every single bite.
A Sweet History and Background
The origins of Devil’s Food Cake are a bit shrouded in mystery, but one thing is clear: it emerged as a beloved classic in American baking around the early 20th century. Named for its rich, dark, and almost sinful deliciousness, it was often contrasted with its lighter counterpart, the Angel Food Cake. What gives Devil’s Food Cake its distinctive deep color and flavor is a generous amount of cocoa powder, often Dutch-processed, which provides a less acidic, smoother chocolate taste.
Early recipes sometimes called for baking soda and a touch of red food coloring to enhance its ‘devilish’ hue, though many modern versions achieve that dark color naturally through cocoa. Over the decades, it has remained a staple for birthdays, holidays, and simply as a delightful treat, evolving into the moist, tender masterpiece we adore today.
Why You’ll Love This Recipe
- Unforgettable Chocolate Flavor: This recipe uses a secret ingredient to deepen the chocolate taste, making it truly standout.
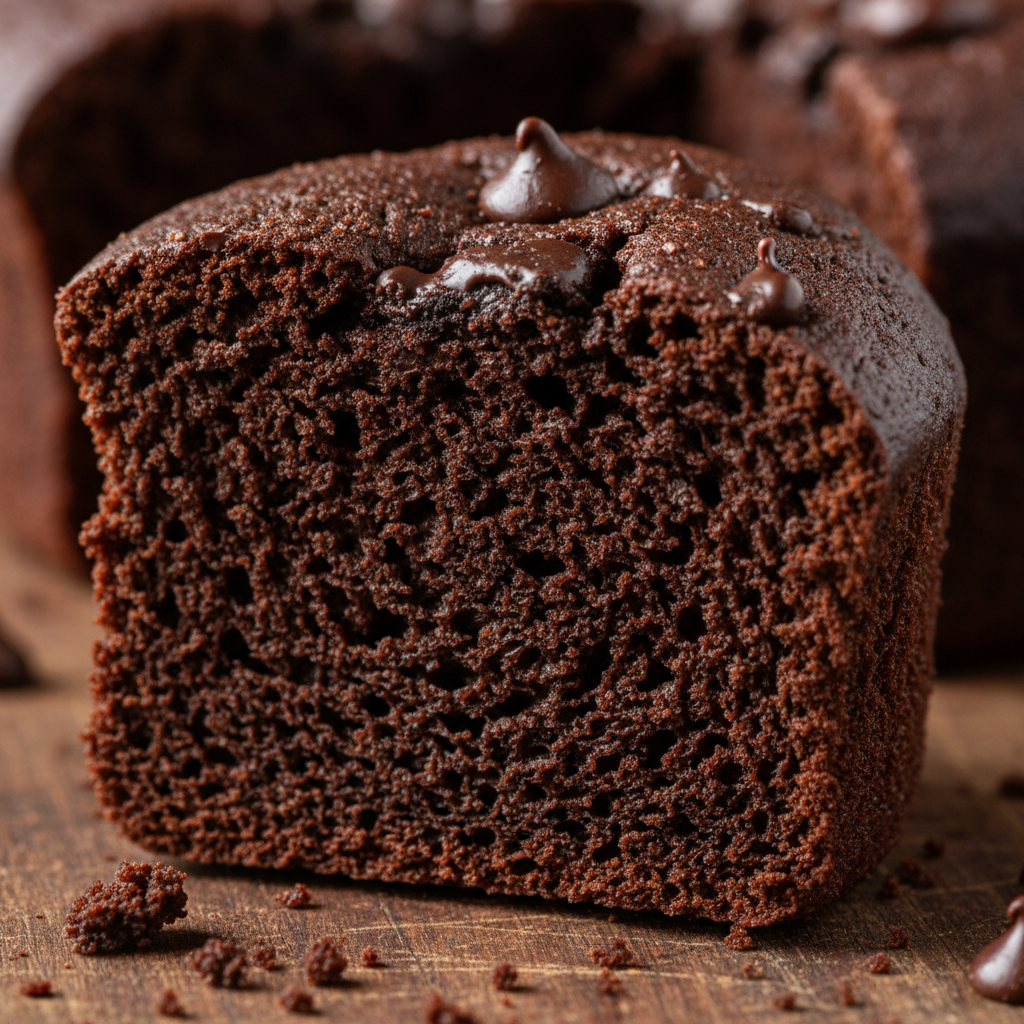
- Incredibly Moist and Tender: Say goodbye to dry cakes! Our method ensures a super moist crumb every time.
- Simple and Straightforward: Despite its impressive results, the steps are easy to follow for any home baker.
- Perfect for Any Occasion: From casual gatherings to special celebrations, this cake is always a hit.
- Rich and Decadent: It’s the ultimate indulgence for chocolate lovers.
Ingredient Notes for Success
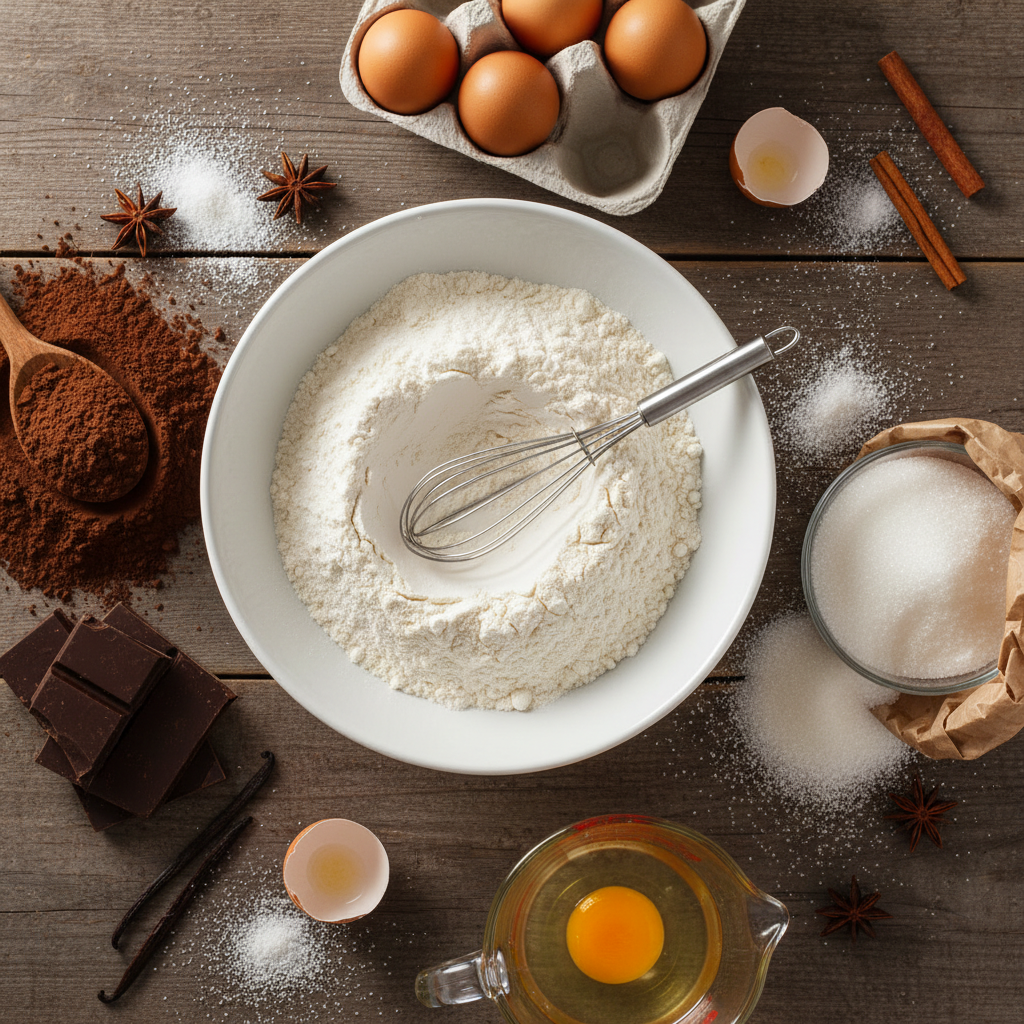
Every great cake starts with great ingredients. Here’s a quick guide to the stars of our Devil’s Food Cake:
- Dutch-Processed Cocoa Powder: This is key for the dark color and mellow, rich chocolate flavor. Regular natural cocoa powder will work, but the color won’t be as deep, and the flavor will be a bit more acidic.
- Hot Coffee: Don’t skip this! Coffee doesn’t make the cake taste like coffee; it enhances and deepens the chocolate flavor. It’s like a secret weapon.
- Buttermilk: The acidity in buttermilk reacts with the baking soda to create a tender crumb and adds moisture. If you don’t have buttermilk, you can make a substitute by adding 1 tablespoon of white vinegar or lemon juice to a measuring cup, then filling it with milk to the 1 cup line. Let it sit for 5-10 minutes until it curdles.
- Vegetable Oil: Using oil instead of butter contributes to a super moist cake that stays soft longer.
- Eggs at Room Temperature: Room temperature eggs emulsify better with other ingredients, leading to a smoother batter and a finer crumb.
Equipment Needed for Baking

You don’t need fancy gadgets to make this cake, just a few kitchen essentials:
- Two 9-inch Round Cake Pans: Or three 8-inch pans for taller layers.
- Large Mixing Bowls: For wet and dry ingredients.
- Whisk: For combining dry ingredients.
- Electric Mixer: Stand mixer or hand mixer for creaming and mixing.
- Rubber Spatula: For scraping down bowls and folding.
- Measuring Cups and Spoons: Accuracy is crucial in baking.
- Parchment Paper: For lining cake pans to prevent sticking.
- Wire Rack: For cooling the cakes.
Full Recipe Card for Devil’s Food Cake
Ingredients
- 2 cups (250g) all-purpose flour
- 2 cups (400g) granulated sugar
- 3/4 cup (75g) unsweetened Dutch-processed cocoa powder
- 2 teaspoons baking soda
- 1 teaspoon baking powder
- 1 teaspoon salt
- 1 cup (240ml) buttermilk, room temperature
- 1/2 cup (120ml) vegetable oil
- 2 large eggs, room temperature
- 1 teaspoon vanilla extract
- 1 cup (240ml) hot strong brewed coffee
Instructions
- Prepare Your Pans: Preheat your oven to 350°F (175°C). Grease and flour two 9-inch round cake pans (or three 8-inch pans). Line the bottoms with parchment paper.
- Combine Dry Ingredients: In a large bowl, whisk together the flour, sugar, cocoa powder, baking soda, baking powder, and salt. Make sure there are no lumps.
- Combine Wet Ingredients: In a separate medium bowl, whisk together the buttermilk, vegetable oil, eggs, and vanilla extract until well combined.
- Combine Wet and Dry: Pour the wet ingredients into the dry ingredients. Mix on low speed with an electric mixer until just combined. Do not overmix!
- Add Hot Coffee: Gradually add the hot coffee to the batter, mixing on low speed until the batter is smooth and runny. The batter will be thin, this is normal.
- Fill Pans and Bake: Divide the batter evenly between the prepared cake pans. Bake for 30-35 minutes, or until a wooden skewer inserted into the center comes out with only moist crumbs attached.
- Cool: Let the cakes cool in the pans for 10-15 minutes before inverting them onto a wire rack to cool completely. Do not try to frost warm cakes.
Notes
- For the best flavor, use high-quality Dutch-processed cocoa powder.
- Ensure all cold ingredients, especially buttermilk and eggs, are at room temperature.
- Do not overmix the batter; mix until just combined to keep the cake tender.
- The hot coffee enhances the chocolate flavor without making the cake taste like coffee.
Tips and Variations
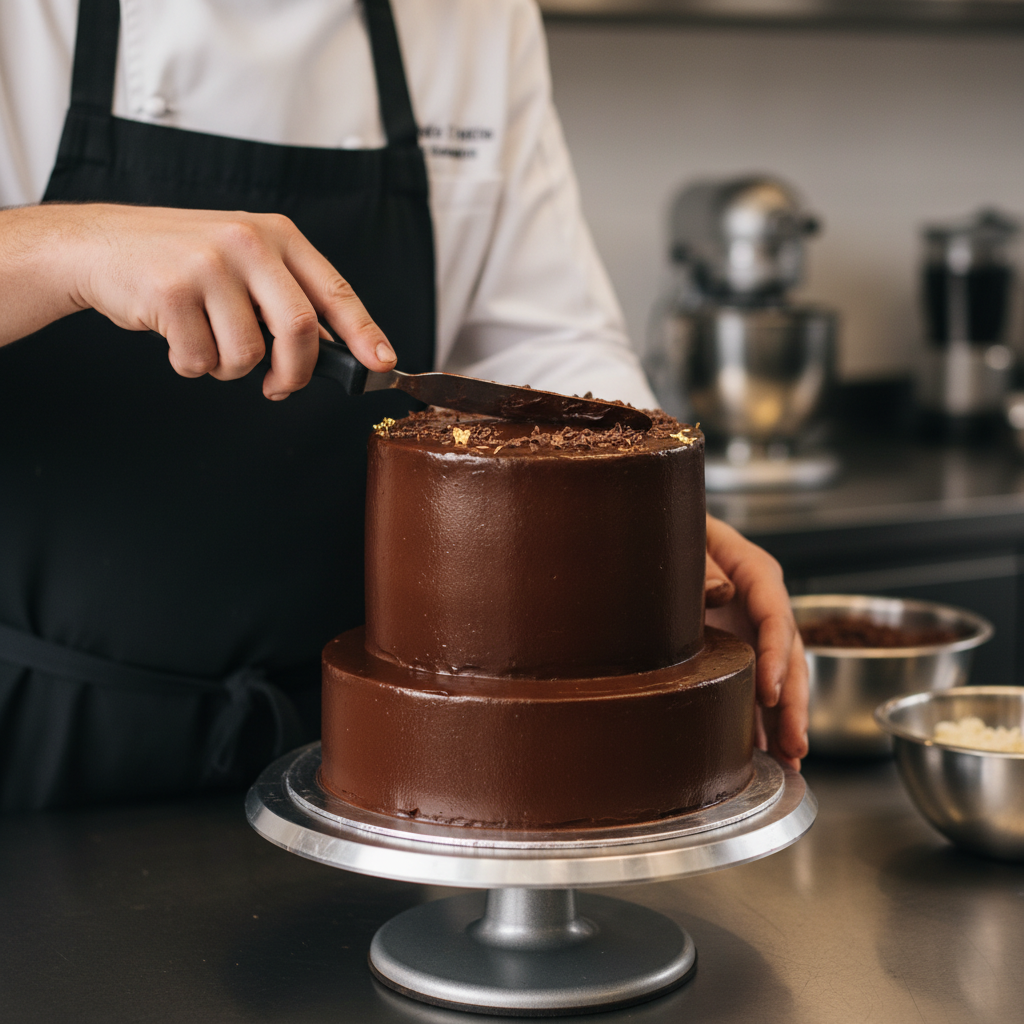
- Frosting Fun: This cake pairs wonderfully with a classic cream cheese frosting, a rich chocolate buttercream, or a simple chocolate ganache.
- Add a Kick: For an adult version, add a tablespoon of Kahlua or espresso liqueur to the batter or frosting.
- Spice It Up: A pinch of cayenne pepper or chili powder can add an unexpected depth to the chocolate flavor.
- Chocolate Chips: Fold in a cup of mini chocolate chips into the batter for extra chocolatey pockets.
- Layered Fillings: Between the cake layers, consider adding a raspberry jam, cherry filling, or even a salted caramel drizzle.
Pro Chef Tips for Perfection
- Sift Dry Ingredients: Sifting flour and cocoa powder prevents lumps and aerates the mixture, resulting in a lighter cake.
- Don’t Overbake: Overbaking is the number one cause of dry cake. Start checking for doneness a few minutes before the recipe suggests.
- Cool Completely: Patience is key! Frosting a warm cake will lead to a melty, messy disaster. Ensure your cake layers are completely cool.
- Even Layers: For beautifully even layers, use a kitchen scale to divide the batter equally among your cake pans.
- Sharp Knife for Slicing: For clean slices, use a long, thin, sharp serrated knife, wiping it clean between cuts.
Common Mistakes to Avoid

- Overmixing the Batter: This develops the gluten in the flour too much, leading to a tough, dense cake. Mix until just combined.
- Not Using Room Temperature Ingredients: Cold ingredients don’t emulsify properly, affecting the texture of your cake.
- Incorrect Pan Preparation: Not greasing and flouring (or lining with parchment) properly can cause the cake to stick and break.
- Opening the Oven Door Too Early: This can cause the cake to sink in the middle. Resist the urge to peek during the first 20-25 minutes of baking.
- Substituting Cocoa Types Carelessly: While you can substitute, be aware that Dutch-processed and natural cocoa react differently with leavening agents. Sticking to Dutch-processed for this recipe gives the best results.
Storage and Meal Prep
Proper storage ensures your Devil’s Food Cake stays delicious for longer:
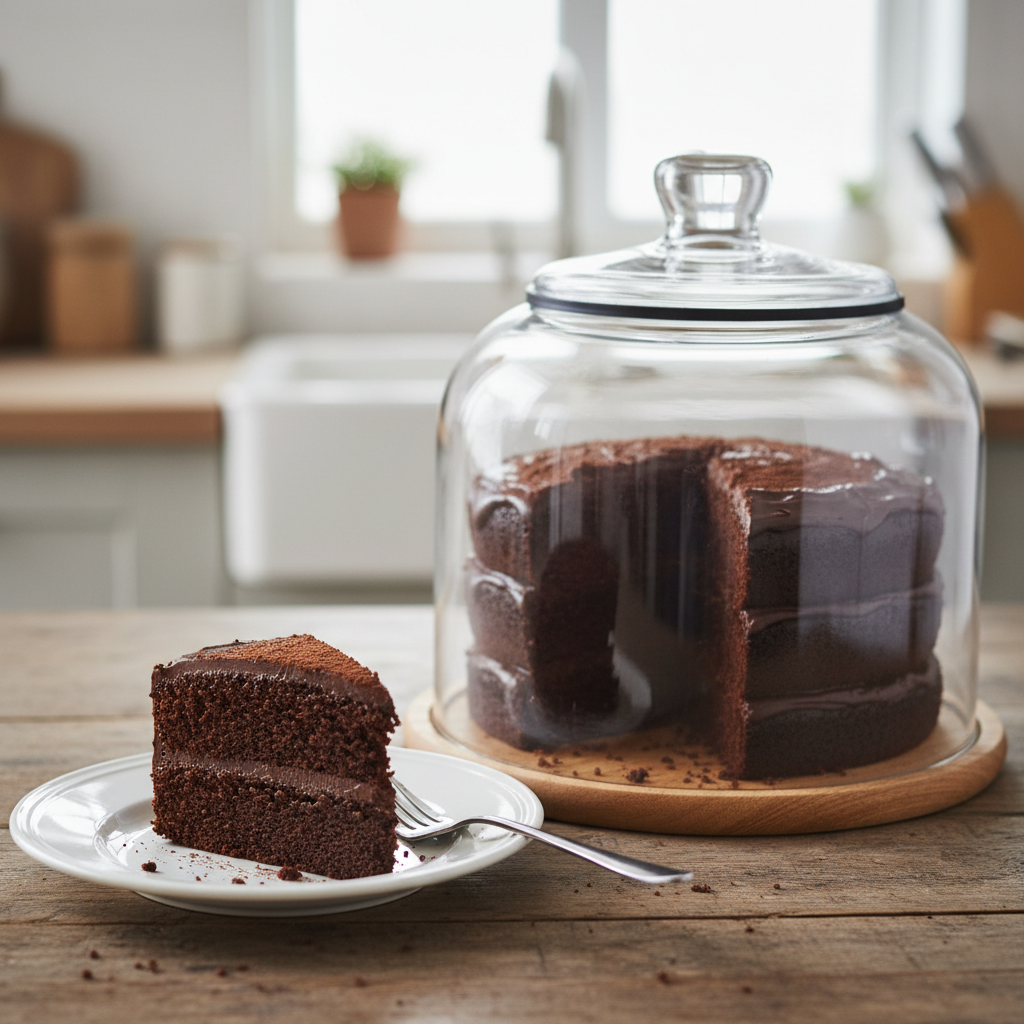
- Room Temperature: Store unfrosted cake layers wrapped tightly in plastic wrap at room temperature for up to 2 days. Frosted cake can be kept at room temperature in an airtight cake dome or container for 2-3 days.
- Refrigerator: For longer storage, or if your frosting contains dairy that needs refrigeration, store the frosted cake in an airtight container in the fridge for up to 5 days. Bring to room temperature before serving for the best flavor and texture.
Make-Ahead and Freezer Notes
This cake is excellent for making ahead!
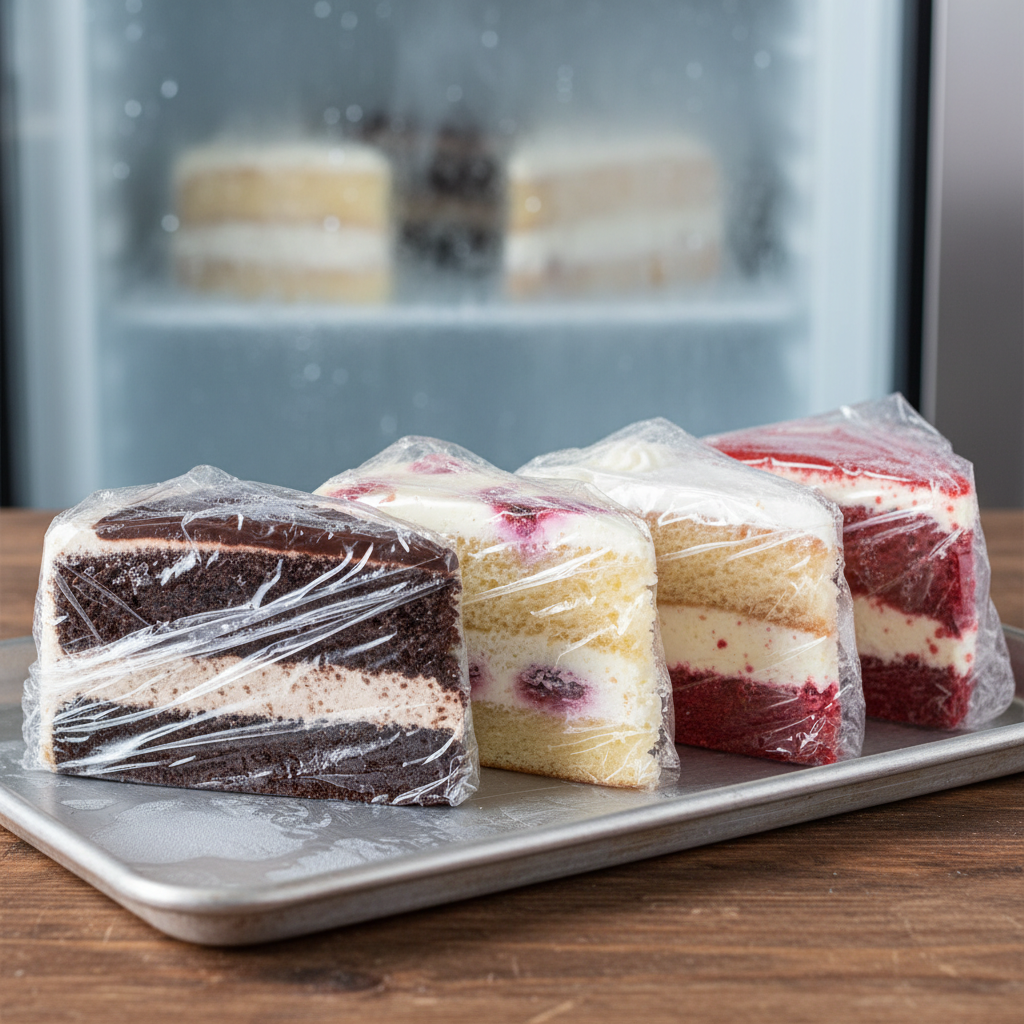
- Cake Layers: Baked and cooled cake layers can be wrapped tightly in plastic wrap and stored in the refrigerator for up to 3-4 days, or frozen for up to 2-3 months. Thaw frozen layers in the refrigerator overnight before frosting.
- Frosted Cake: A fully frosted cake can be frozen! Place the cake in the freezer uncovered until the frosting is firm (about 1-2 hours). Then, wrap it tightly in several layers of plastic wrap, followed by a layer of aluminum foil. Freeze for up to 1 month. Thaw in the refrigerator overnight, then bring to room temperature before serving.
Serving Suggestions
A Devil’s Food Cake is wonderful on its own, but here are some ideas to elevate your serving experience:
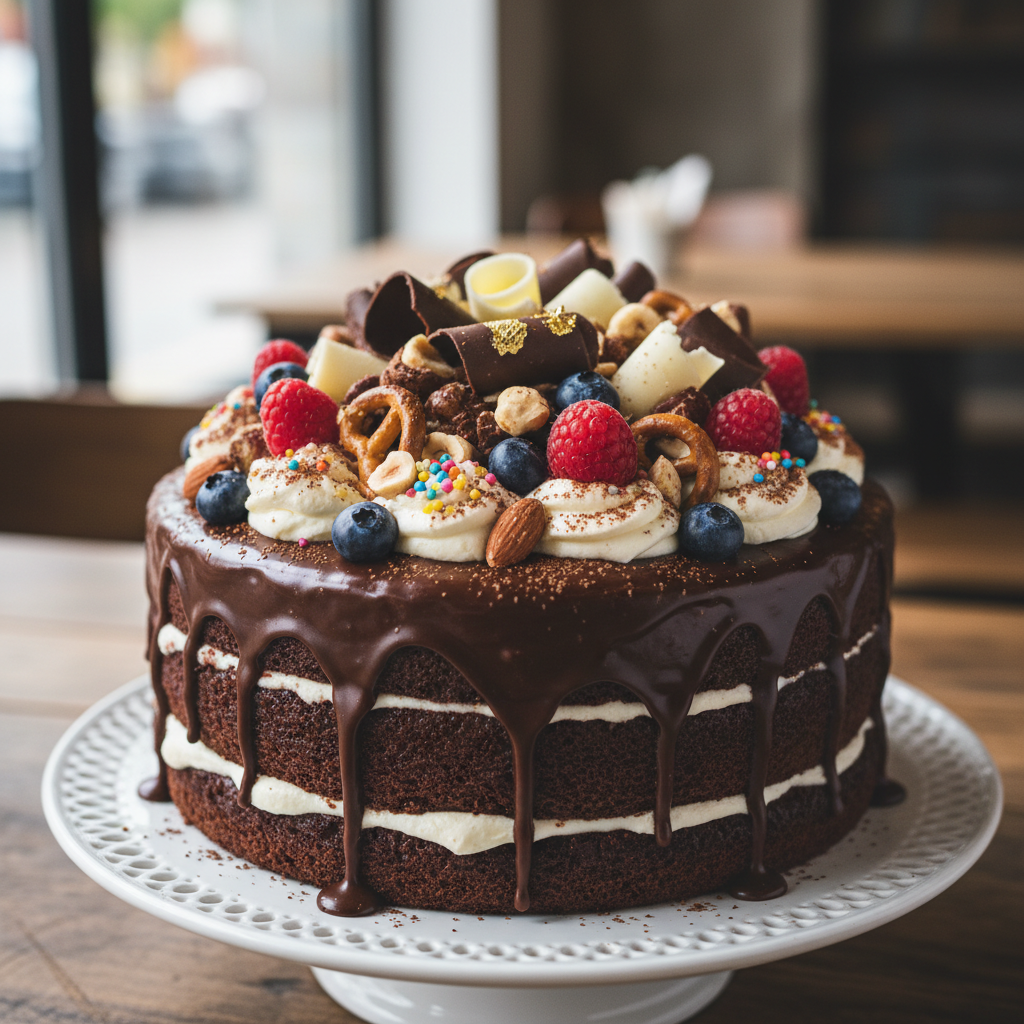
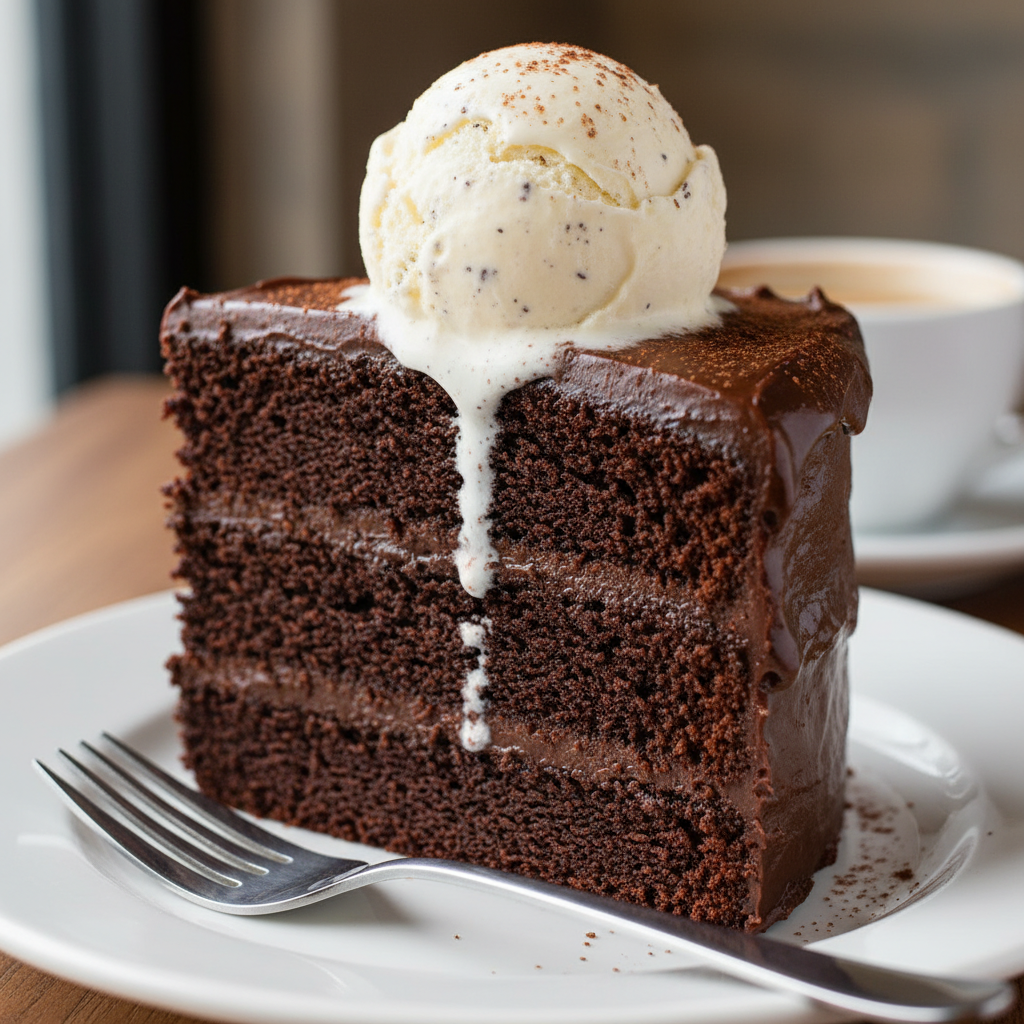
- Classic Pairings: Serve with a scoop of vanilla bean ice cream, a dollop of freshly whipped cream, or a dusting of cocoa powder.
- Fruit Companions: Fresh berries (raspberries, strawberries) or a cherry compote cut through the richness beautifully.
- Sauces: A drizzle of raspberry coulis, salted caramel sauce, or extra chocolate ganache can make it extra special.
- Coffee or Tea: It’s the perfect accompaniment to a hot cup of coffee, espresso, or a robust black tea.