Who doesn’t love a good brownie? But let’s be honest, not all brownies are created equal. We’re talking about the kind that makes your eyes roll back in pure bliss – intensely chocolatey, wonderfully fudgy, with that perfect crinkly top and a tender, chewy center. If that sounds like your kind of dessert, then you’ve come to the right place. Get ready to bake the most incredible deep dish chocolate brownies you’ve ever tasted, right in your own kitchen!
This recipe isn’t just about making brownies; it’s about creating an experience. Imagine pulling a warm pan of these beauties from the oven, the aroma of rich chocolate filling your home. Each bite is a little piece of heaven, satisfying every chocolate craving. Whether you’re a seasoned baker or just starting out, this guide will walk you through every step to achieve brownie perfection. Let’s get baking!
History / Background
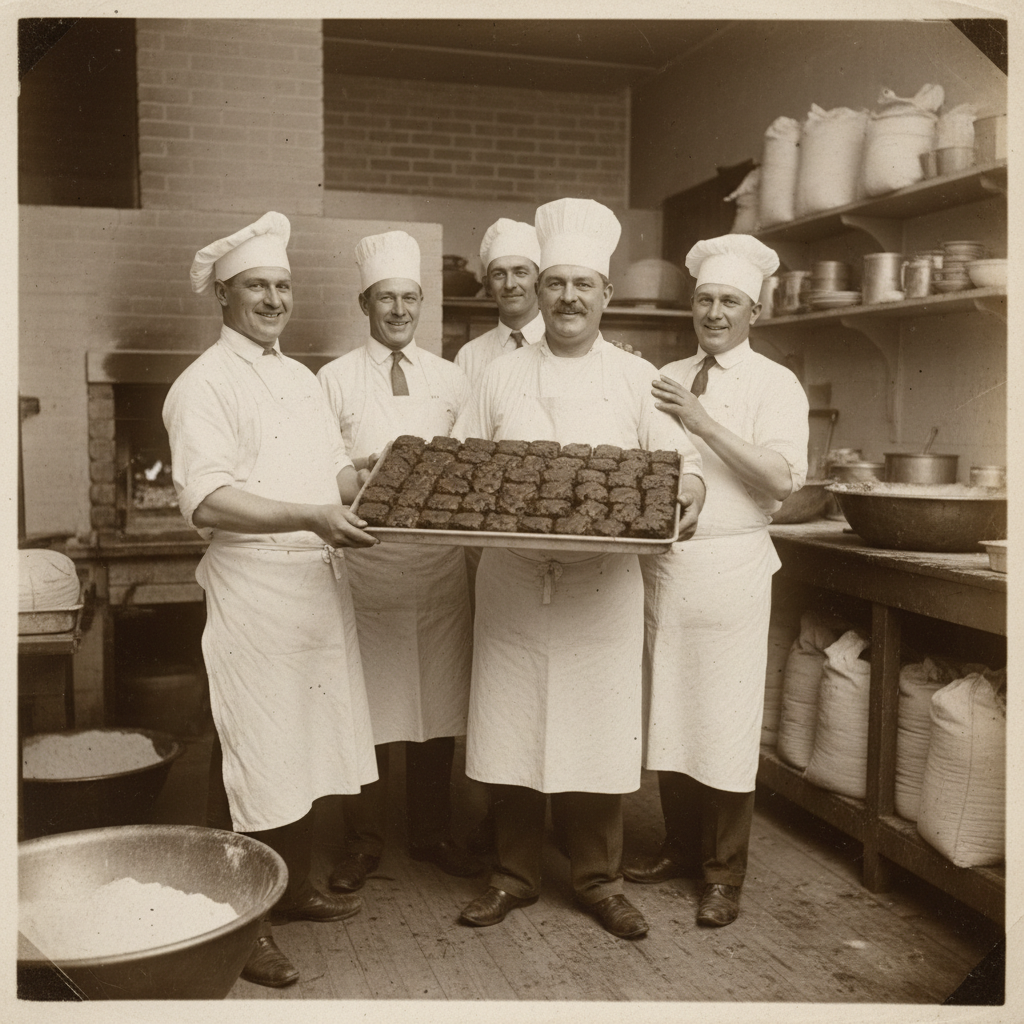
The history of the brownie is a delightfully sweet tale, often debated but always delicious. Legend has it that the brownie was first created in Chicago at the Palmer House Hotel for the World’s Columbian Exposition in 1893. Bertha Palmer, a prominent socialite, asked a pastry chef for a dessert that was cake-like but smaller and easier to eat than a slice of cake. The result was a fudgy, nut-filled bar that we now recognize as the very first brownie.
Over the years, the brownie evolved. Early recipes often used less chocolate than we do today, sometimes relying on cocoa powder rather than melted chocolate. The deep dish style, with its thicker, richer texture, gained popularity as bakers experimented with pan sizes and ingredient ratios to achieve maximum fudginess and chewiness. Today, brownies are a beloved classic, adaptable to countless variations, but the core appeal remains the same – a simple, satisfying chocolate treat.
Why You’ll Love This Recipe
- Unbelievably Fudgy This recipe delivers that dense, moist, melt-in-your-mouth texture everyone craves.
- Rich Chocolate Flavor We use a combination of cocoa powder and melted chocolate for an intense, complex chocolate profile.
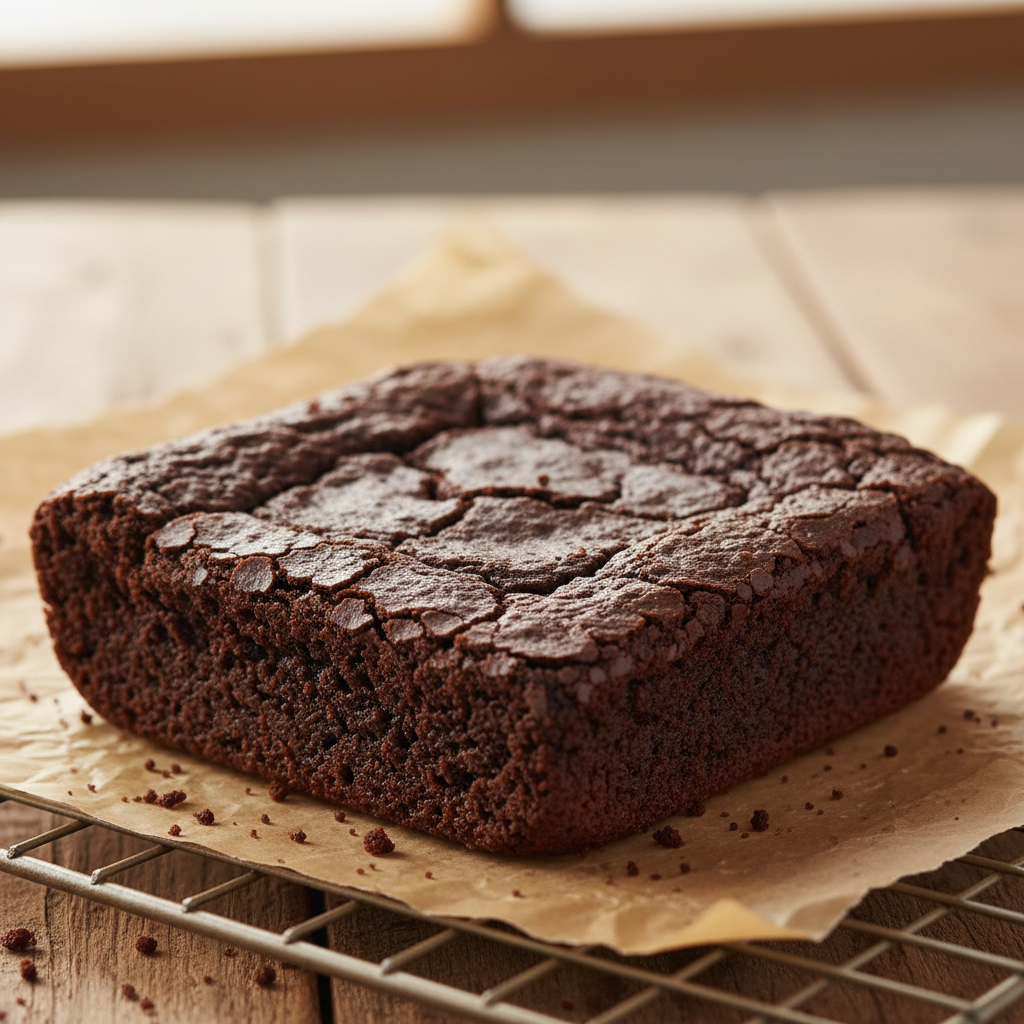
- Perfect Crinkly Top Achieve that signature shiny, cracked top that’s a hallmark of a well-made brownie.
- Beginner-Friendly Simple steps and clear instructions make this recipe approachable for all skill levels.
- Deep Dish Goodness Extra thick and satisfying, perfect for those who love a generous serving.
- Versatile Easy to customize with your favorite additions like nuts, chocolate chips, or even a swirl of caramel.
Ingredient Notes
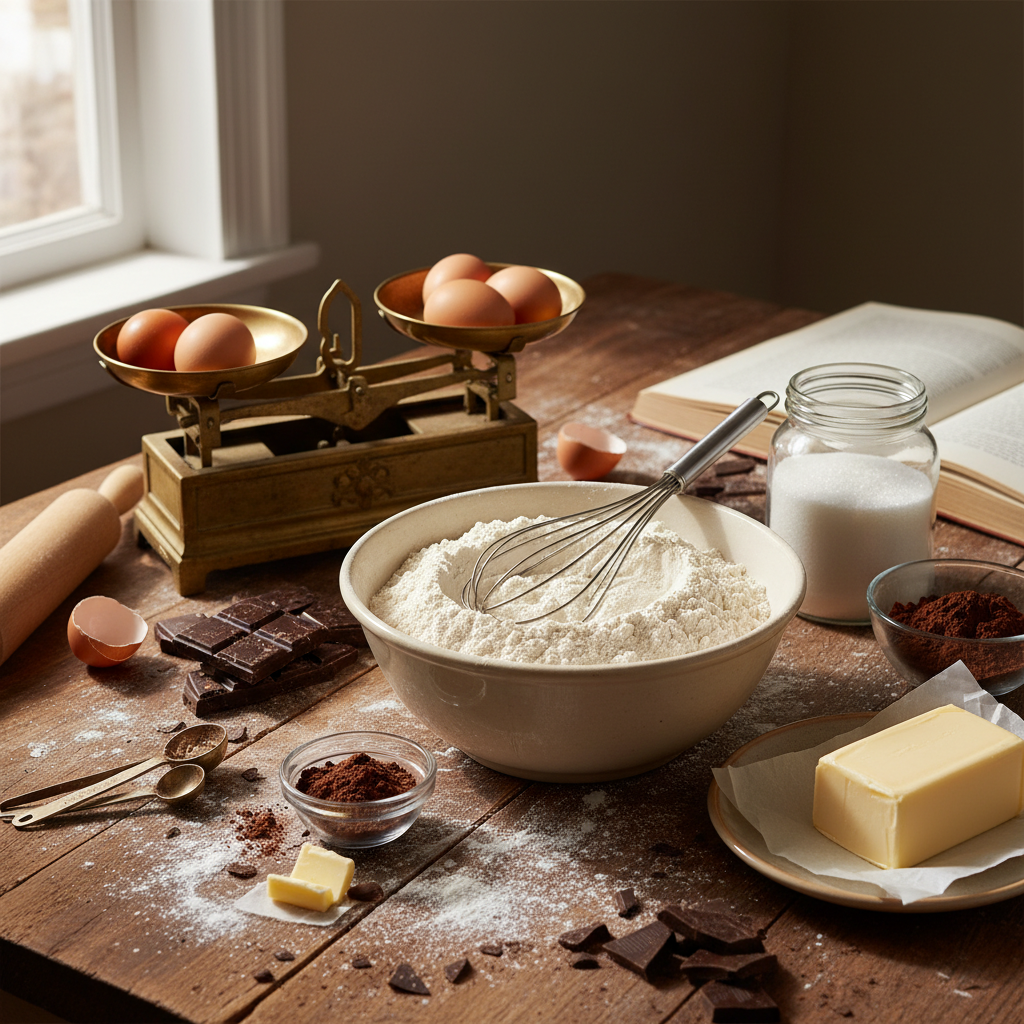
Quality ingredients make all the difference in these brownies!
- Unsalted Butter Using unsalted butter allows you to control the salt content in the recipe. Make sure it’s melted for easy incorporation.
- Granulated Sugar Provides sweetness and helps create that wonderful crinkly top.
- Light Brown Sugar Adds moisture, chewiness, and a subtle molasses flavor that complements the chocolate.
- Large Eggs Act as a binder and contribute to the fudgy texture. Make sure they are at room temperature.
- Vanilla Extract A must-have! It enhances the chocolate flavor beautifully. Use pure vanilla extract for the best taste.
- All-Purpose Flour Just enough to bind the brownies without making them cakey. Don’t overmix!
- Unsweetened Cocoa Powder Use a good quality Dutch-processed cocoa powder for a rich, deep chocolate color and flavor.
- Salt Balances the sweetness and amplifies the chocolate.
- Semi-Sweet Chocolate Chips or Chunks These melt into pockets of pure chocolatey goodness. You can use dark chocolate for an even more intense flavor.
Equipment Needed
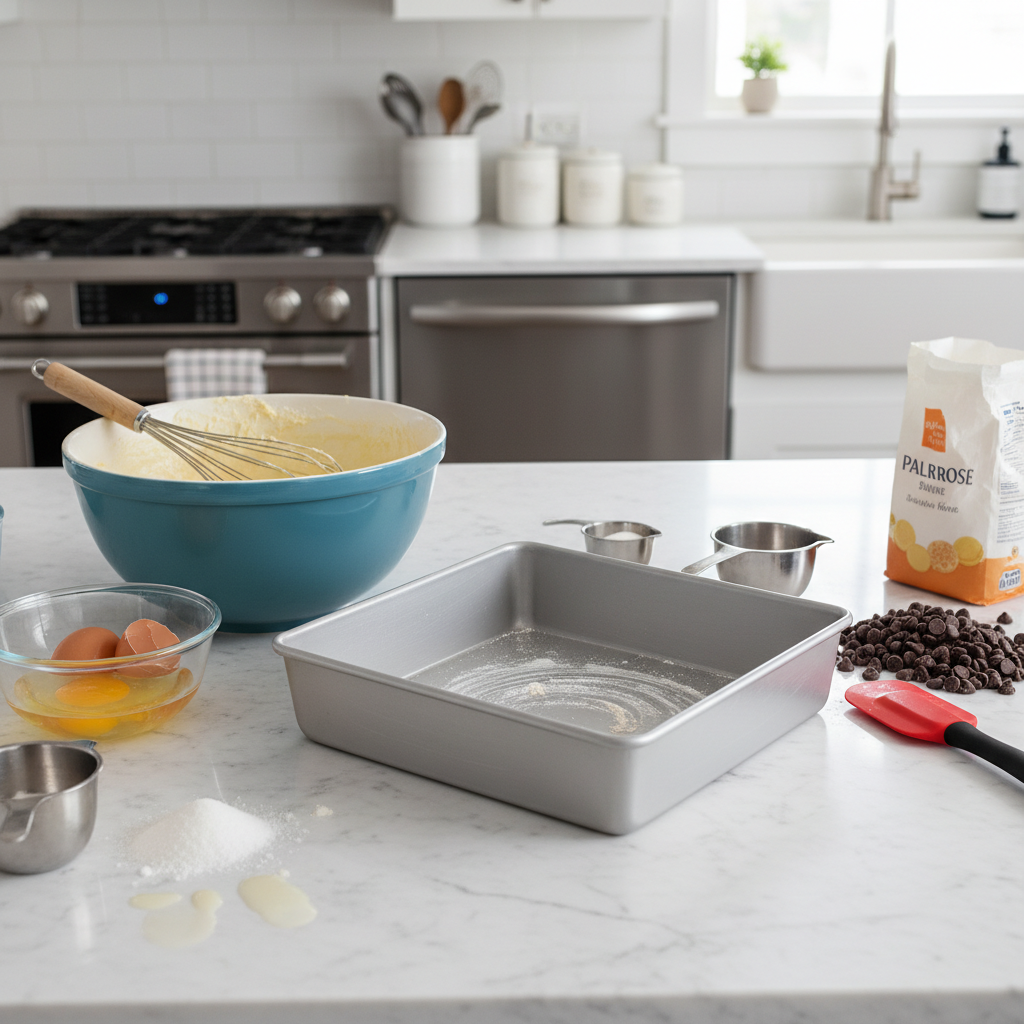
- 9×9 inch Square Baking Pan Essential for achieving that deep dish thickness.
- Parchment Paper Makes for easy removal and cleanup.
- Large Mixing Bowl For combining your wet ingredients.
- Medium Mixing Bowl For combining your dry ingredients.
- Whisk For mixing ingredients smoothly.
- Rubber Spatula For folding and scraping the bowl.
- Measuring Cups and Spoons Accurate measurements are key for baking success.
Full Recipe Card
Ingredients
- 1 cup (226g) unsalted butter, melted
- 1 ½ cups (300g) granulated sugar
- ½ cup (100g) light brown sugar, packed
- 4 large eggs, room temperature
- 2 teaspoons pure vanilla extract
- ¾ cup (75g) unsweetened cocoa powder (Dutch-processed recommended)
- 1 cup (120g) all-purpose flour
- ½ teaspoon salt
- 1 cup (170g) semi-sweet chocolate chips or chunks
Instructions
- Prep Your Pan Preheat your oven to 350°F (175°C). Line a 9×9 inch square baking pan with parchment paper, leaving an overhang on two sides to create ‘handles’ for easy removal. Lightly grease the exposed sides of the pan.
- Melt Butter and Sugars In a large mixing bowl, combine the melted butter, granulated sugar, and light brown sugar. Whisk vigorously for about 1-2 minutes until well combined and slightly lighter in color.
- Add Eggs and Vanilla Whisk in the eggs one at a time, incorporating each egg fully before adding the next. Stir in the vanilla extract. Continue whisking for another 1-2 minutes until the mixture is thick, glossy, and pale. This step is crucial for that crinkly top!
- Combine Dry Ingredients In a separate medium bowl, whisk together the cocoa powder, all-purpose flour, and salt.
- Combine Wet and Dry Gradually add the dry ingredients to the wet ingredients, folding gently with a rubber spatula until just combined. Be careful not to overmix; overmixing can lead to tough brownies.
- Fold in Chocolate Chips Gently fold in the semi-sweet chocolate chips or chunks until evenly distributed.
- Bake Pour the brownie batter into your prepared baking pan and spread evenly.
- Bake Time Bake for 30-35 minutes, or until a toothpick inserted into the center comes out with moist crumbs, but not wet batter. The edges should be set, and the top will have that beautiful crinkly appearance.
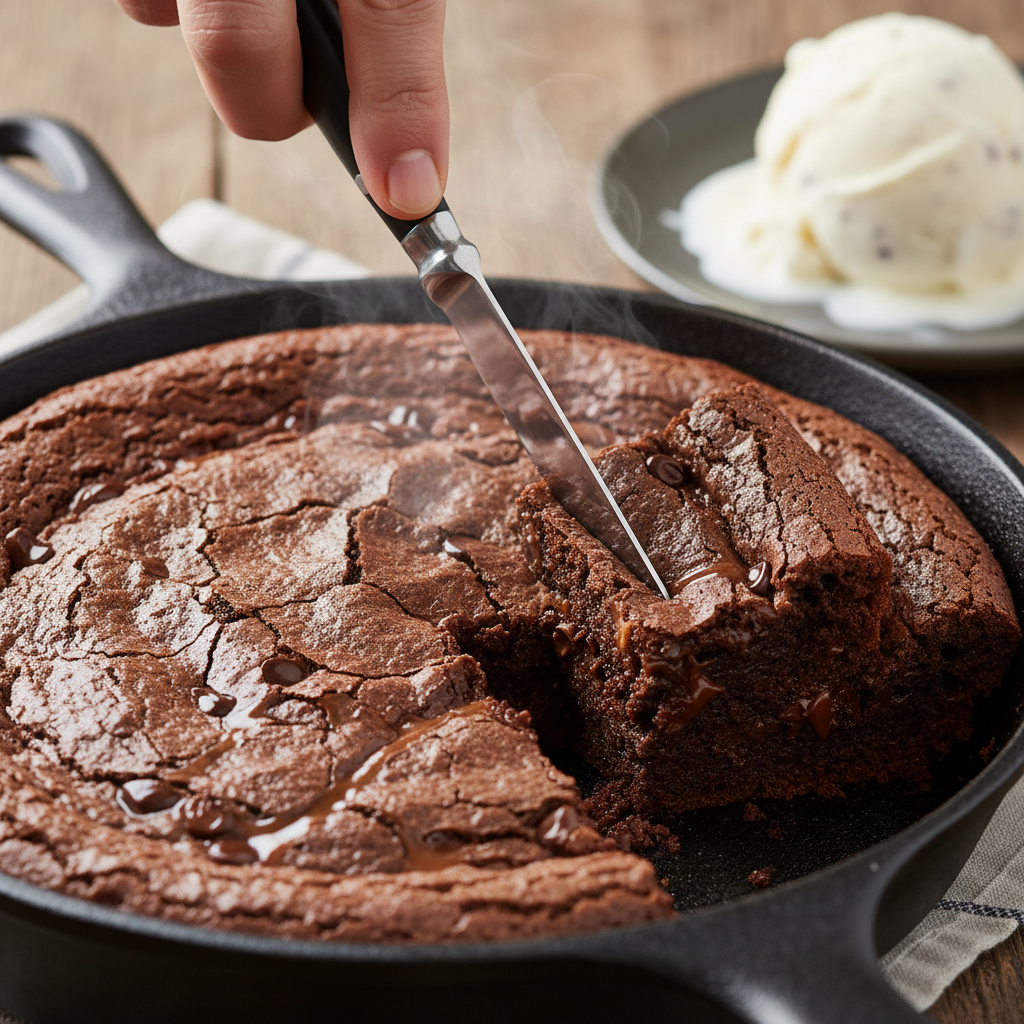
- Cool Completely This is arguably the hardest part! Let the brownies cool completely in the pan on a wire rack before lifting them out using the parchment paper handles. Cooling allows them to set properly and become extra fudgy.
- Slice and Serve Once cool, slice into generous squares and enjoy!
Notes
- For extra indulgence, sprinkle a pinch of flaky sea salt on top before baking.
- Do not overbake! Brownies continue to cook slightly as they cool.
- For perfectly clean slices, chill the brownies for at least an hour before cutting.
Tips and Variations
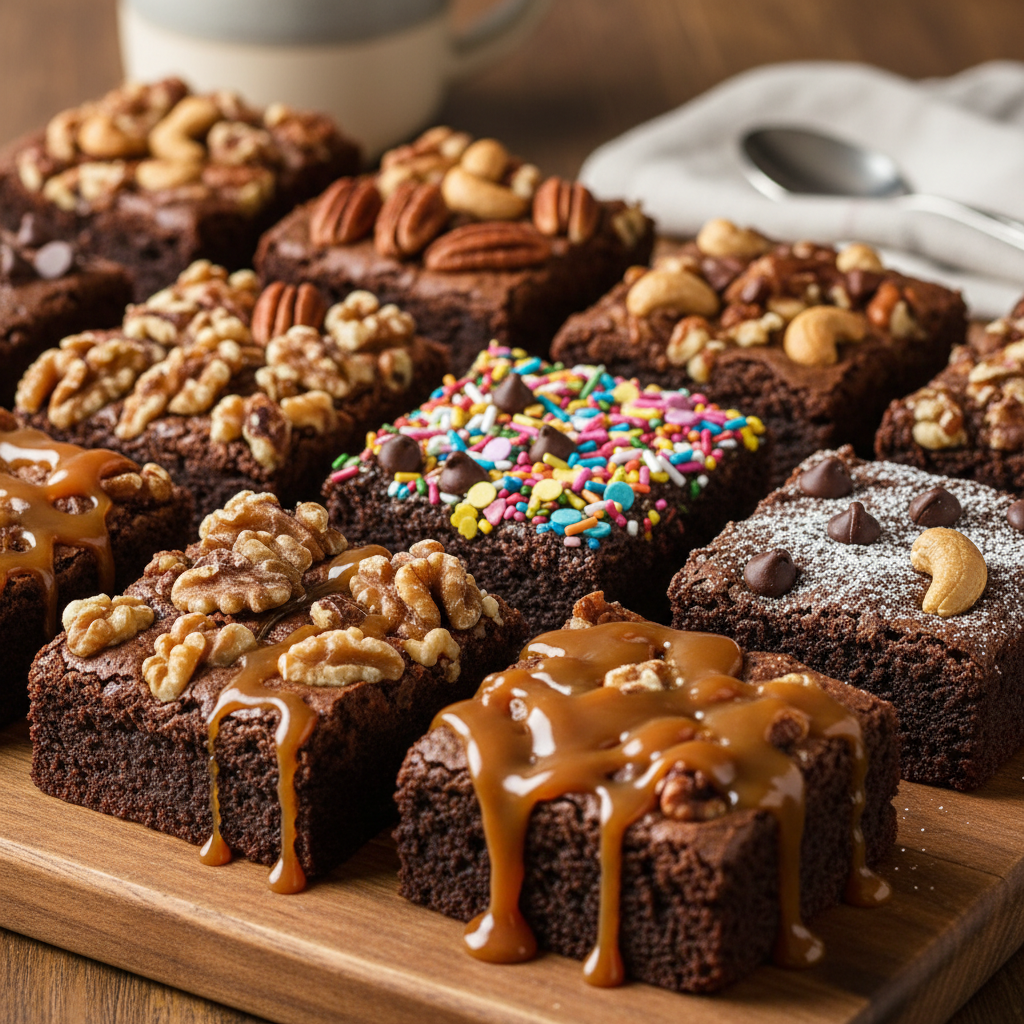
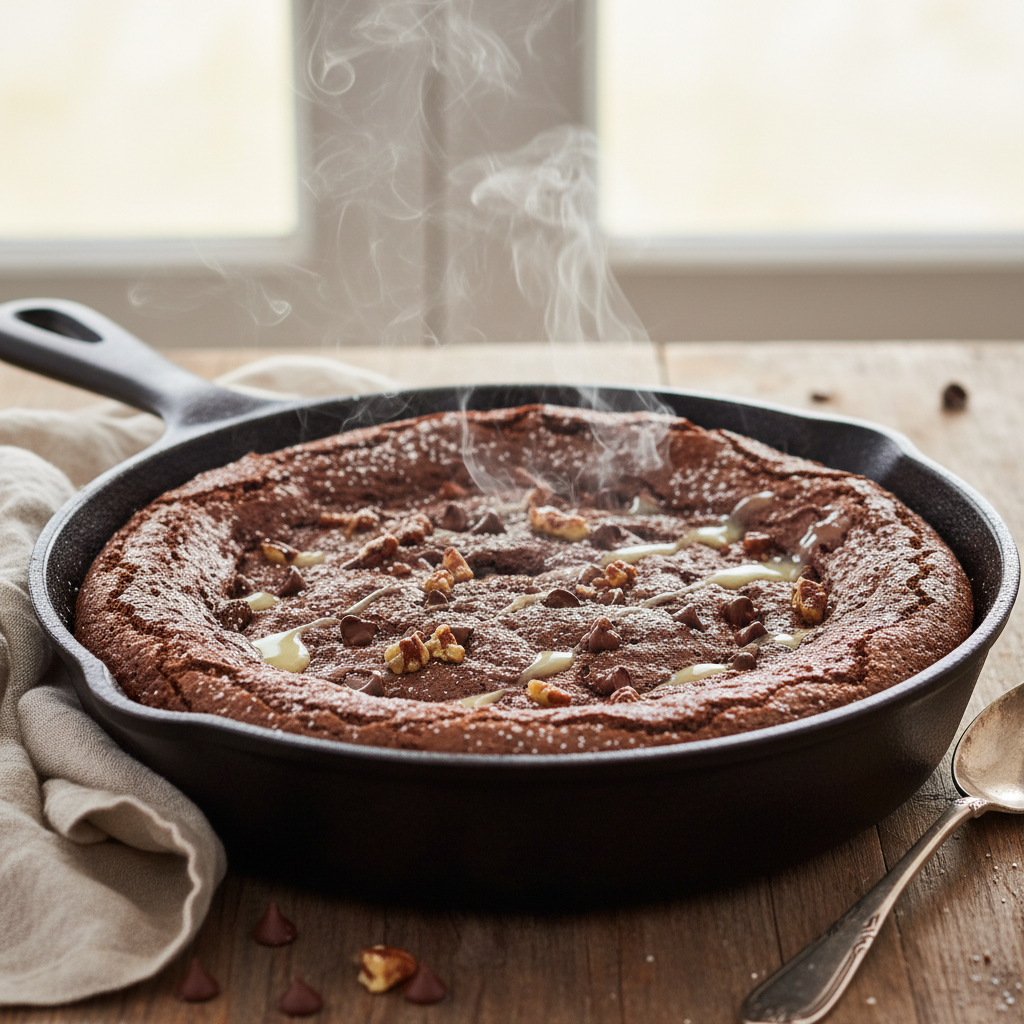
- Nutty Brownies Fold in ½ cup of chopped walnuts, pecans, or almonds with the chocolate chips for added crunch.
- Espresso Kick Add 1 teaspoon of instant espresso powder to the dry ingredients to enhance the chocolate flavor without making it taste like coffee.
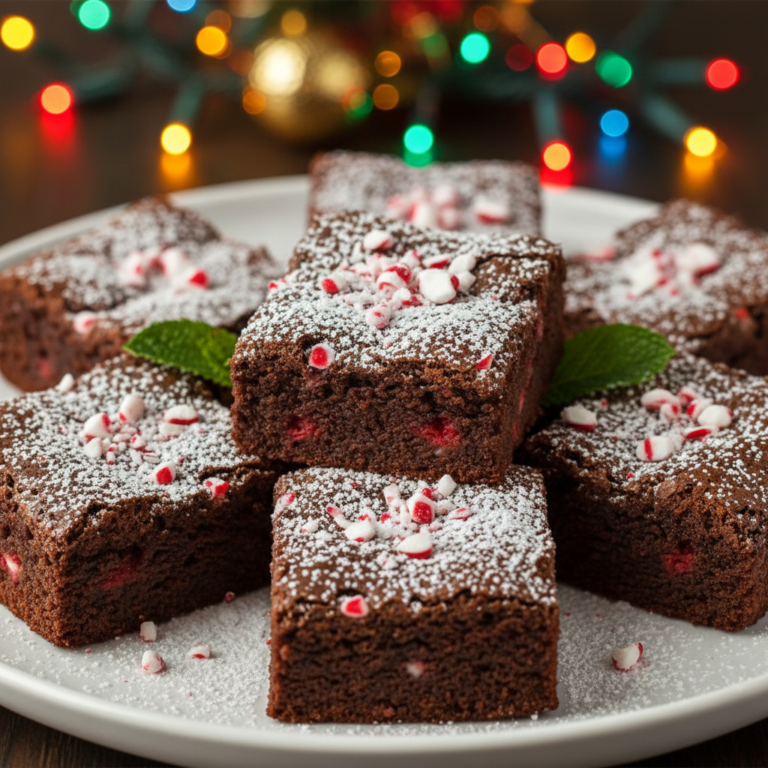
- Mint Chocolate Swirl in some melted mint chocolate after pouring the batter, or add mint chocolate chips.
- Cream Cheese Swirl Prepare a simple cream cheese mixture (4 oz cream cheese, ¼ cup sugar, 1 egg yolk, ½ tsp vanilla) and swirl it into the brownie batter before baking.
- Blonde Brownies While not deep dish chocolate brownies, this recipe can be adapted to a blonde brownie by omitting cocoa powder and using white chocolate chips.
Pro Chef Tips
- Don’t Overmix This is the golden rule for fudgy brownies. Mix until just combined to avoid developing too much gluten, which leads to a cakey texture.
- Room Temperature Eggs Cold eggs can cause the butter to seize up. Room temperature eggs emulsify better with the sugar and butter, leading to a smoother batter and better texture.
- The Whisking Trick Vigorously whisking the melted butter and sugars with the eggs for 1-2 minutes helps dissolve the sugar, creating that coveted shiny, crinkly top.
- Cool Completely Patience is a virtue here. Warm brownies are delicious but crumbly. Allowing them to cool completely (or even chilling them) ensures a perfectly fudgy, sliceable brownie.
- Accurate Measurements Baking is a science. Use a kitchen scale for flour and cocoa powder for the most precise results.
Common Mistakes to Avoid
- Overbaking The most common culprit for dry, cakey brownies. Err on the side of underbaking; a toothpick should come out with moist crumbs, not liquid batter, but also not completely clean.
- Overmixing the Batter As mentioned, this develops gluten, making your brownies tough instead of tender and fudgy.
- Not Using Parchment Paper This makes removing the brownies from the pan much harder and increases cleanup time.
- Cutting While Warm Unless you want messy, crumbly brownies, resist the urge to cut them until they’ve cooled and set.
- Ignoring Ingredient Temperatures Cold eggs can impact the emulsion and final texture.
Storage and Meal Prep

These deep dish chocolate brownies are fantastic for meal prep or making ahead for parties!
- Countertop Storage Store brownies in an airtight container at room temperature for up to 3-4 days. For maximum freshness, place a slice of bread in the container to help keep them moist.
- Refrigeration If your kitchen is very warm, or if your brownies contain cream cheese or other perishable additions, store them in an airtight container in the refrigerator for up to a week. Bring to room temperature before serving for the best texture.
Make-Ahead and Freezer Notes
- Make-Ahead You can bake these brownies a day or two in advance. They often taste even better the next day as the flavors meld.
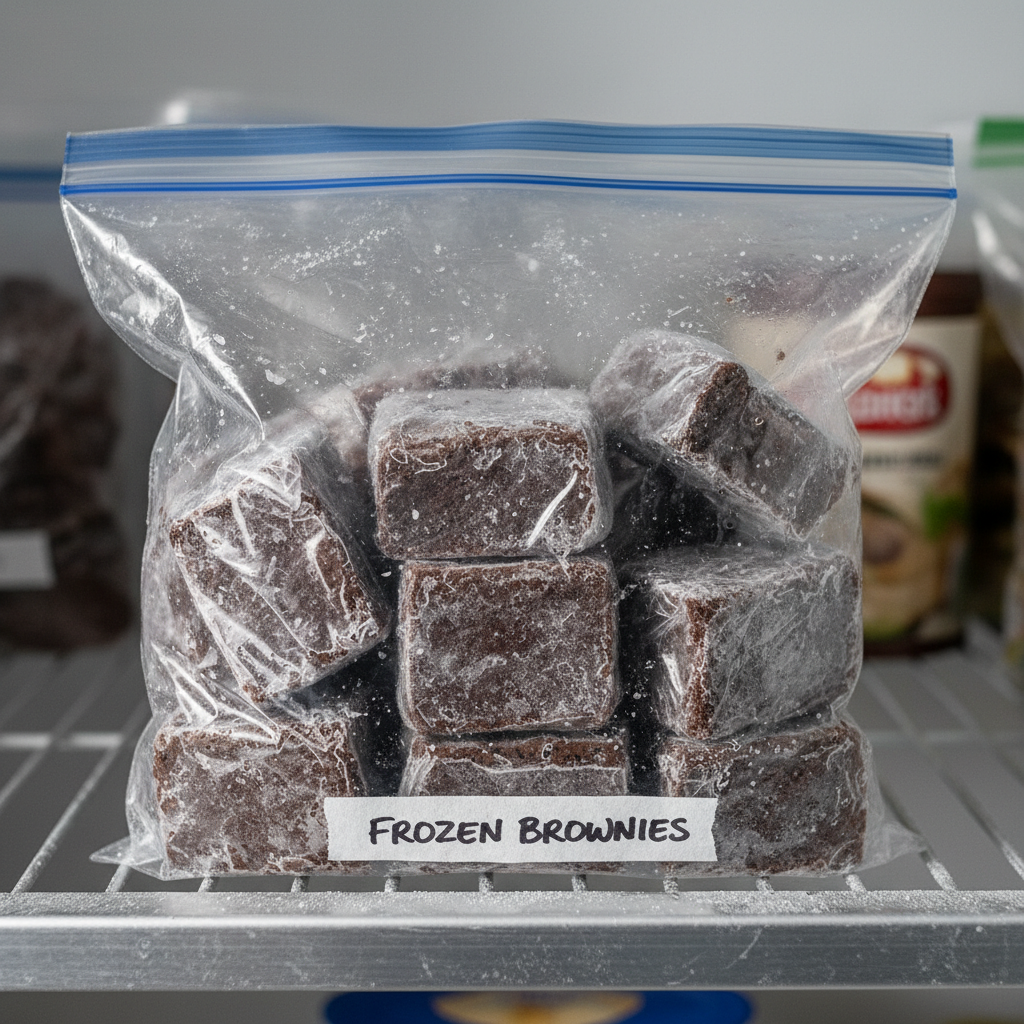
- Freezing Baked Brownies Once completely cooled, wrap individual brownie squares tightly in plastic wrap, then place them in a freezer-safe bag or airtight container. They can be frozen for up to 3 months. Thaw at room temperature for a few hours or gently warm in the microwave for a quick treat.
Serving Suggestions
These deep dish chocolate brownies are incredible on their own, but here are some ideas to elevate your dessert experience:
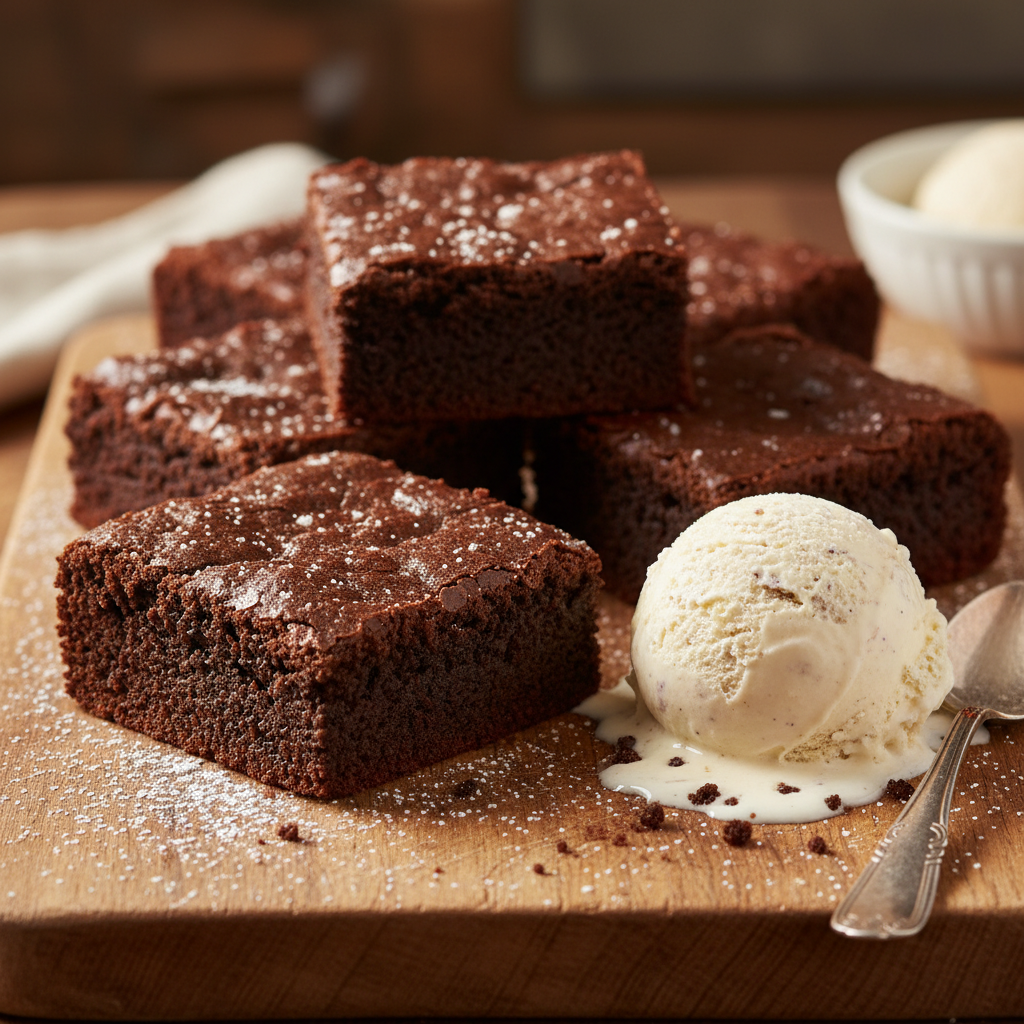
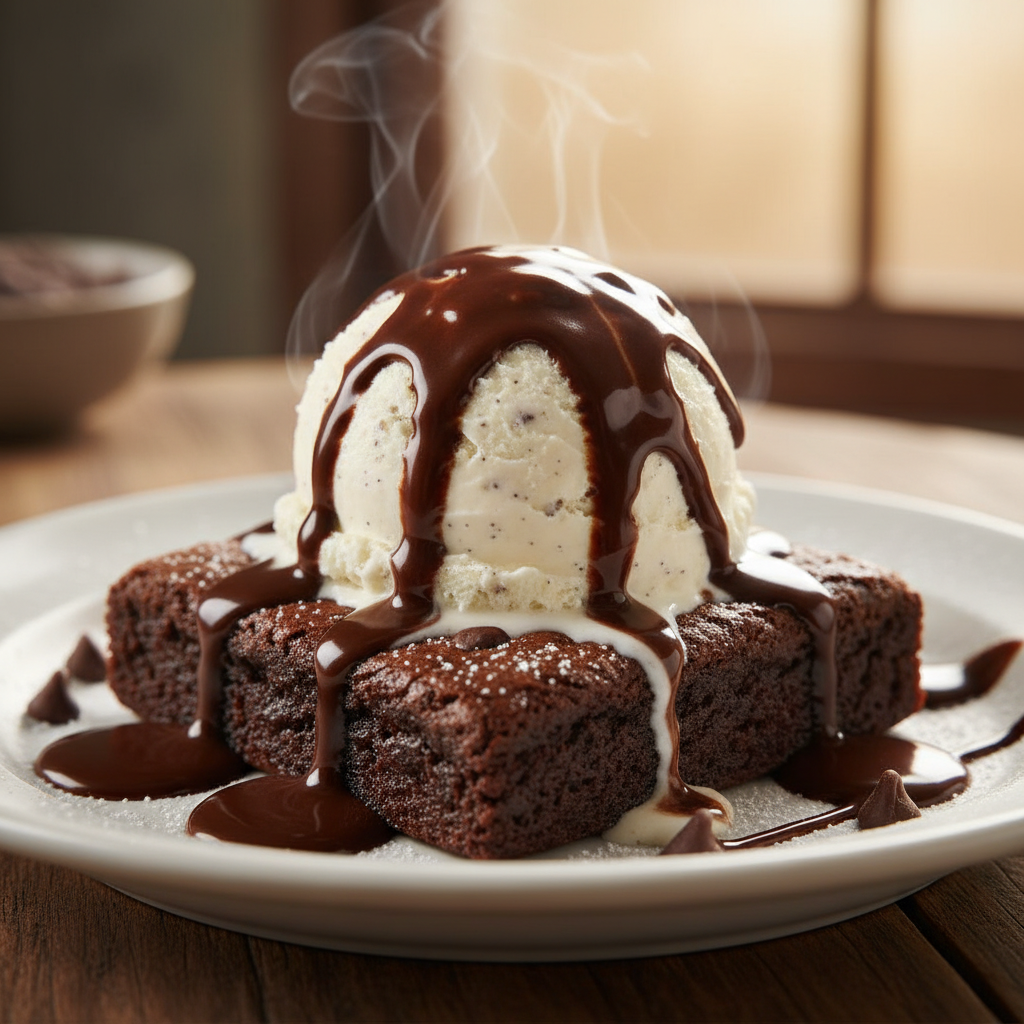
- Classic à la Mode Serve warm with a scoop of vanilla bean ice cream. The contrast of warm brownie and cold ice cream is heavenly.
- Whipped Cream and Berries A dollop of fresh whipped cream and a handful of fresh raspberries or strawberries add a lovely freshness.
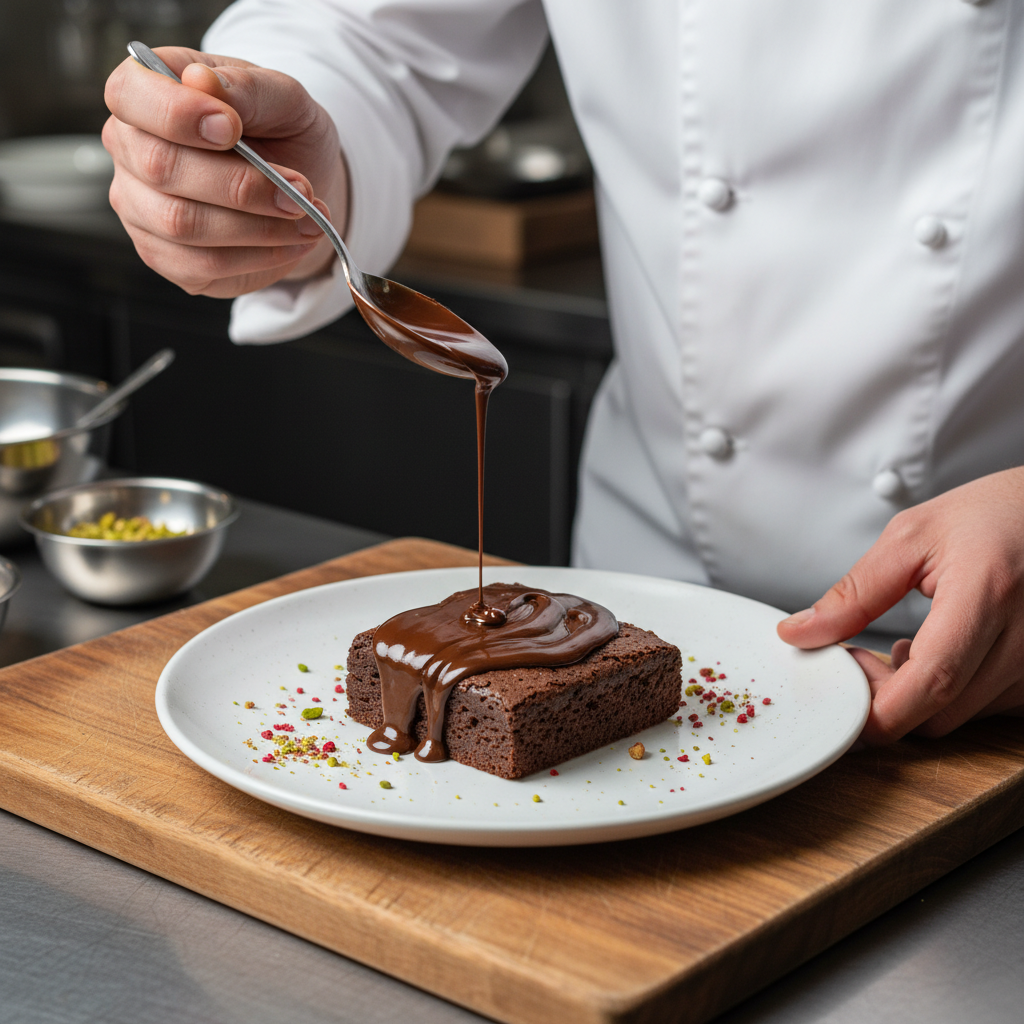
- Chocolate Sauce Drizzle A generous drizzle of homemade or store-bought chocolate syrup or caramel sauce takes them to the next level.
- Dust with Powdered Sugar A simple dusting of powdered sugar makes them look elegant and adds a subtle sweetness.
- Coffee Pairing Enjoy with a hot cup of coffee, a latte, or a glass of cold milk.