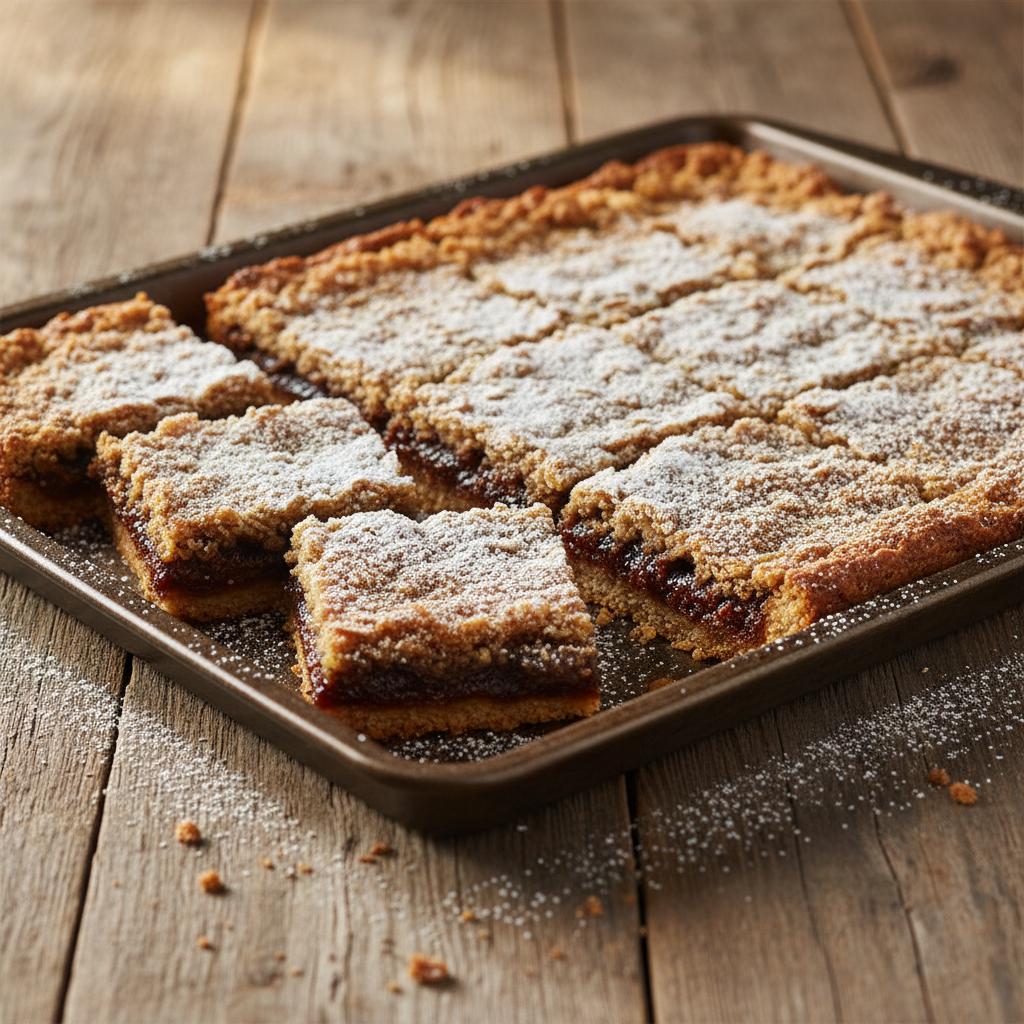
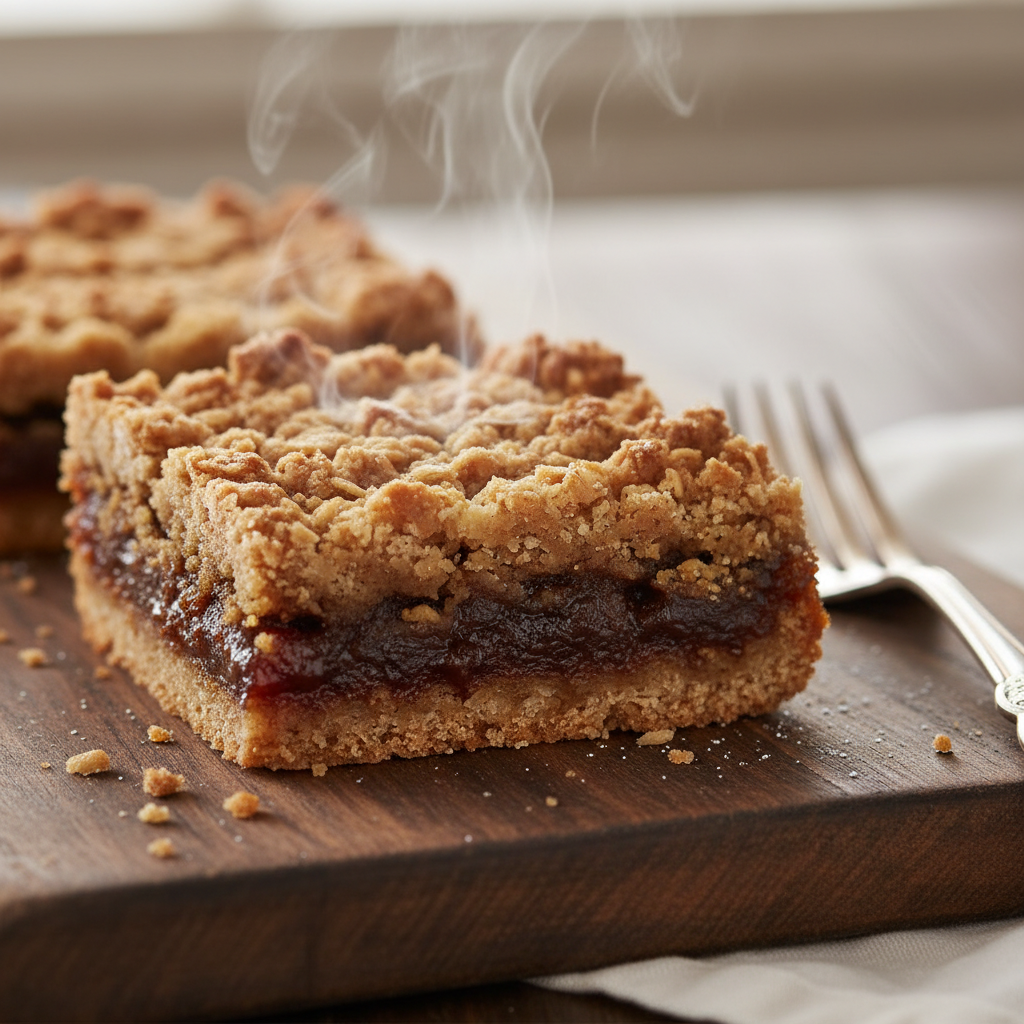
Hey there, fellow baking enthusiasts! Are you ready to dive into a timeless classic that brings warmth and comfort with every single bite? We’re talking about those irresistible Date Squares with a delightful Oat Topping. This isn’t just any dessert; it’s a hug in food form, a delightful treat that perfectly balances sweet, chewy dates with a buttery, crumbly oat crust. If you’ve been searching for that perfect, easy-to-make, old-fashioned dessert that everyone adores, your quest ends here!
This recipe is designed for everyone, from seasoned bakers to absolute beginners. We’ll walk you through each step with clear, friendly instructions, ensuring your date squares turn out perfectly golden and utterly delicious every time. Get ready to fill your kitchen with the most amazing aroma and your tummy with pure joy!
History / Background

Date squares, often called ‘matrimonial squares’ or ‘date flakies,’ boast a rich history, particularly in Canadian and British baking traditions. These humble yet delicious treats gained immense popularity during times when fresh fruit was scarce, and dried fruits like dates were a staple. Dates themselves have been cultivated for thousands of years, cherished for their natural sweetness and nutritional value. When combined with simple ingredients like oats, flour, and butter, they transformed into a hearty, satisfying dessert that could be easily stored and shared.
The exact origin of the date square is a bit hazy, but it’s believed to have emerged as a practical and economical dessert in home kitchens. Grandmothers and home cooks perfected their recipes, often passing them down through generations. The oat topping became a signature element, adding a wonderful texture and a hint of nutty flavor that complements the sweet, sticky date filling beautifully. It’s a dessert that evokes nostalgia, reminding many of childhood and cozy family gatherings.
Why You’ll Love This Recipe
- Simple Ingredients You likely have most of them in your pantry already!
- Beginner-Friendly No complicated techniques, just straightforward baking.
- Irresistible Flavor A perfect balance of sweet dates and buttery oats.
- Crowd-Pleaser Loved by all ages, perfect for potlucks, parties, or family treats.
- Great for Meal Prep These squares store beautifully and taste even better the next day.
- Customizable Easy to adapt with your favorite spices or additions.
Ingredient Notes
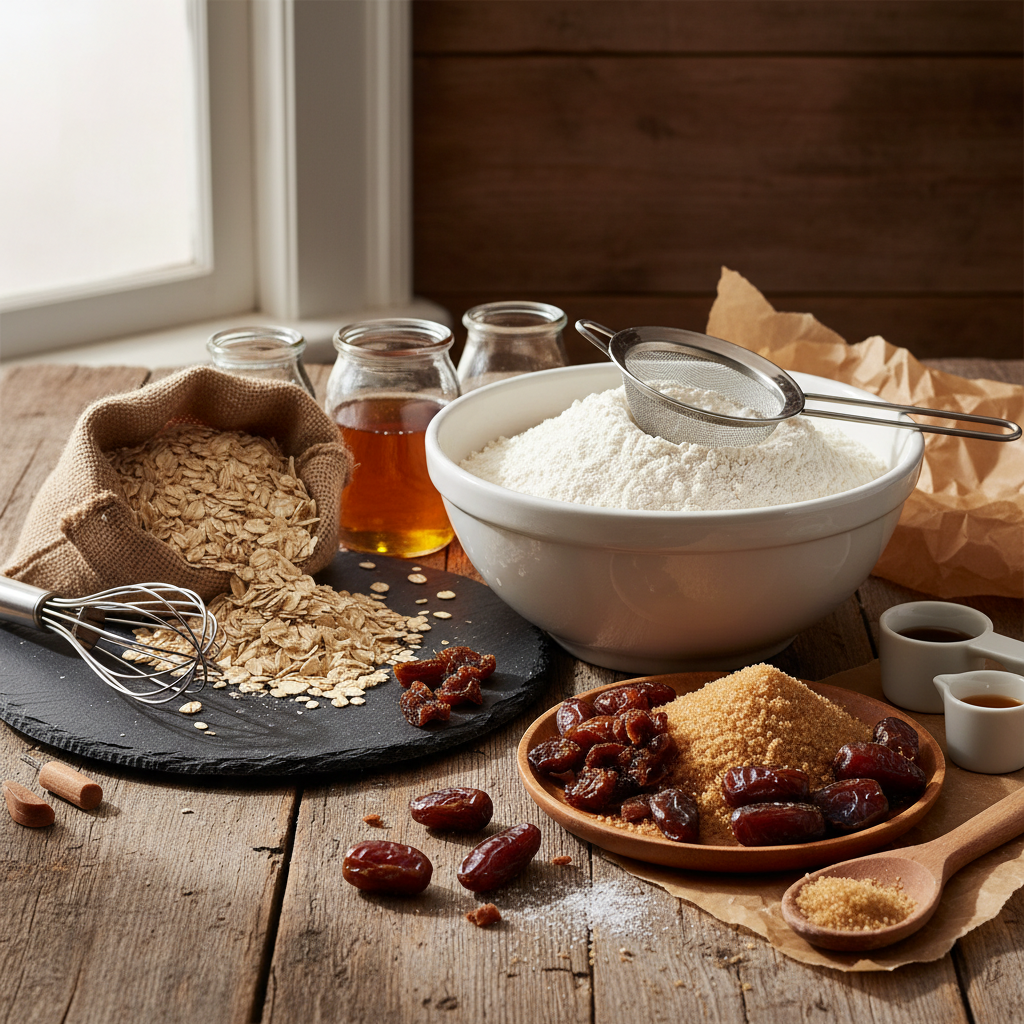
Let’s talk about the stars of our show! While the ingredient list is simple, understanding a few things can elevate your date squares from good to absolutely amazing.
- Dates Use soft, pitted dates, like Medjool or Deglet Noor. If your dates are a bit dry, a quick soak in hot water for 10-15 minutes (then drained) can rehydrate them beautifully. Chop them roughly, but don’t worry about perfect uniformity; they’ll break down as they cook.
- Oats Old-fashioned rolled oats are your best friend here. They provide that classic chewy, crumbly texture for the topping. Quick oats can work in a pinch, but the texture won’t be quite the same.
- Brown Sugar This adds a lovely molasses flavor and moisture to both the filling and the topping. Light or dark brown sugar will work, with dark brown offering a richer flavor.
- Butter Unsalted butter is preferred so you can control the salt content. Make sure it’s cold and cut into cubes for the topping, as this helps create that perfect crumbly texture.
- Flour All-purpose flour is perfect for this recipe.
- Vanilla Extract A touch of vanilla enhances all the other flavors.
- Lemon Juice Just a squeeze in the date filling brightens the flavor and cuts through some of the sweetness. Don’t skip it!
Equipment Needed
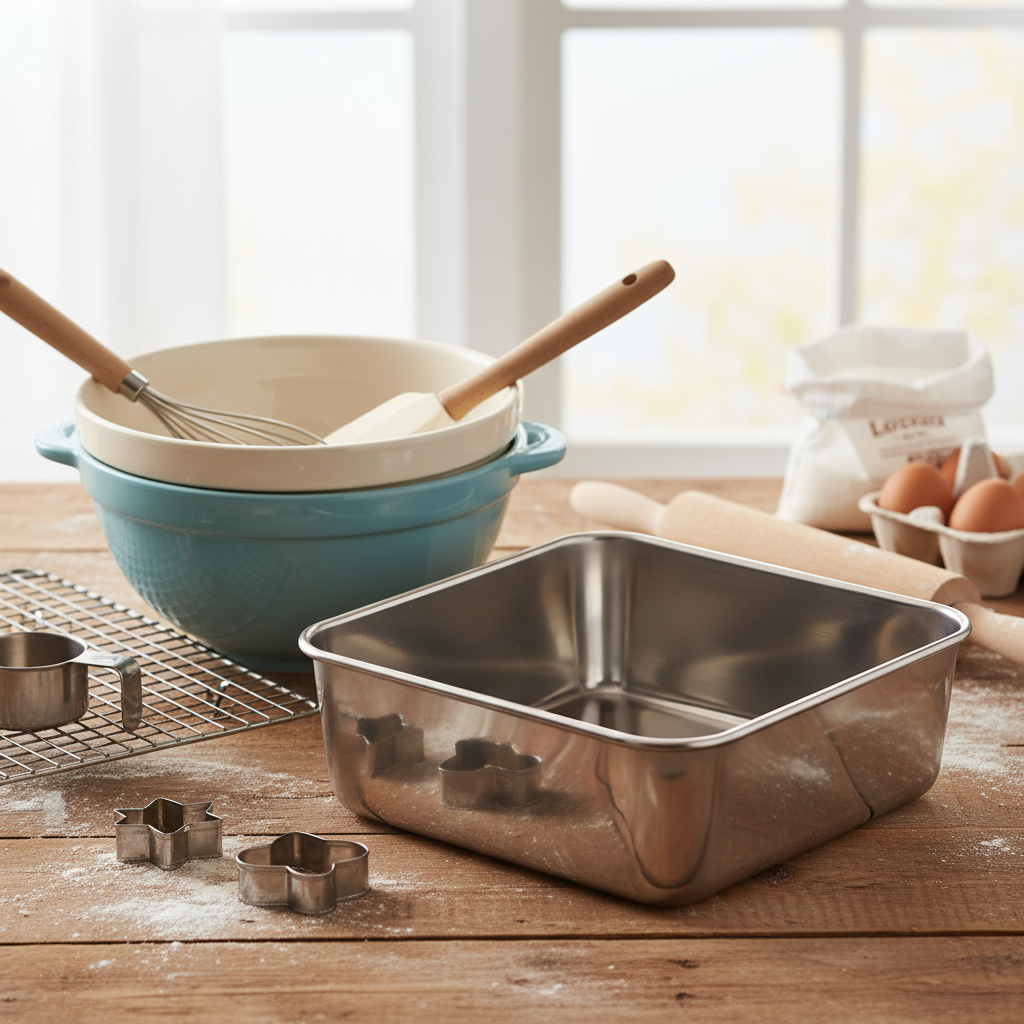
You won’t need any fancy gadgets for this recipe, just a few kitchen essentials:
- 9×13 inch Baking Pan A standard metal or glass baking pan.
- Saucepan For cooking the date filling.
- Mixing Bowls A couple of medium-sized bowls for preparing the oat topping.
- Parchment Paper Highly recommended for easy removal and cleanup.
- Whisk or Spatula For stirring.
- Measuring Cups and Spoons For accuracy.
- Sharp Knife For cutting the cooled squares.
Full Recipe Card
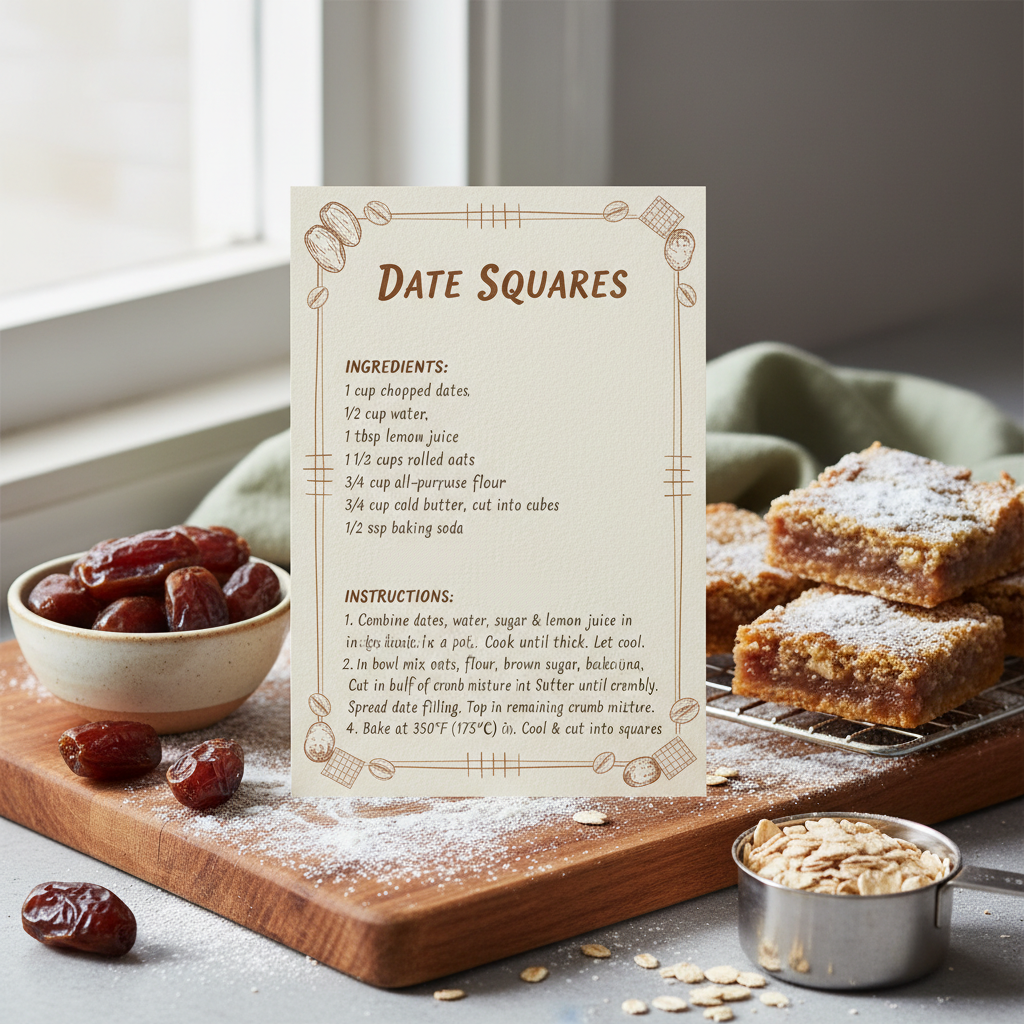
Ingredients
For the Date Filling
- 2 cups (about 300g) pitted dates, roughly chopped
- 1 cup (240ml) water
- 1/2 cup (100g) granulated sugar
- 1 tablespoon lemon juice
- 1 teaspoon vanilla extract
For the Oat Topping and Crust
- 1 1/2 cups (190g) all-purpose flour
- 1 1/2 cups (135g) old-fashioned rolled oats
- 1 cup (200g) packed light brown sugar
- 1/2 teaspoon baking soda
- 1/4 teaspoon salt
- 1 cup (226g) cold unsalted butter, cut into cubes
Instructions
- Prepare for Baking Preheat your oven to 350°F (175°C). Line a 9×13 inch baking pan with parchment paper, leaving an overhang on the sides for easy lifting. Lightly grease the parchment paper.
- Make the Date Filling In a medium saucepan, combine the chopped dates, water, and granulated sugar. Bring to a gentle boil over medium heat, then reduce heat to low and simmer for 10-15 minutes, stirring occasionally, until the dates have softened and the mixture has thickened into a paste. Remove from heat and stir in the lemon juice and vanilla extract. Set aside to cool slightly.
- Prepare the Oat Topping and Crust In a large mixing bowl, whisk together the flour, rolled oats, brown sugar, baking soda, and salt. Add the cold, cubed butter. Using your fingertips or a pastry blender, cut the butter into the dry ingredients until the mixture resembles coarse crumbs with some pea-sized pieces of butter remaining.
- Assemble the Squares Press about two-thirds of the oat mixture firmly and evenly into the bottom of the prepared baking pan to form the crust.
- Add the Filling Spread the cooled date filling evenly over the crust.
- Add the Topping Crumble the remaining one-third of the oat mixture evenly over the date filling.
- Bake Bake for 30-35 minutes, or until the oat topping is golden brown and the edges are lightly bubbling.
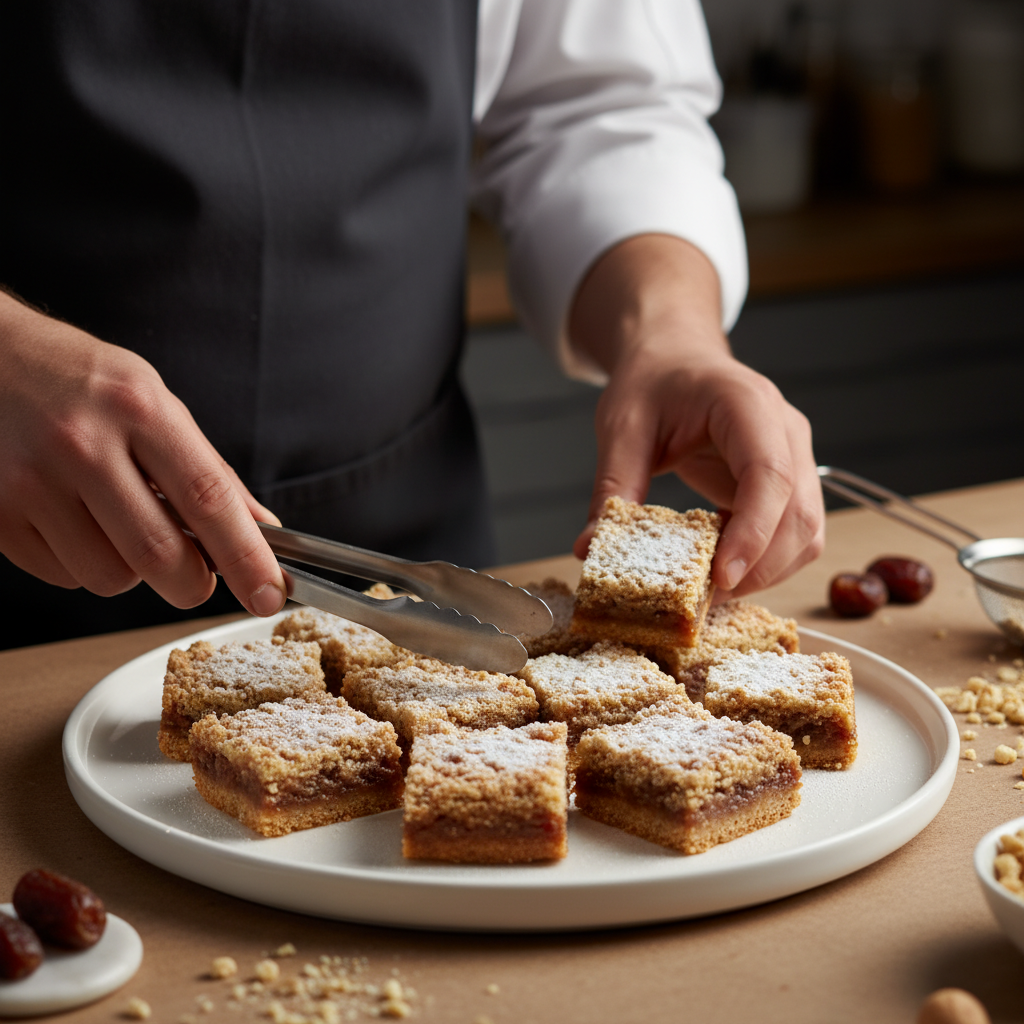
- Cool Completely This is crucial! Let the date squares cool completely in the pan on a wire rack before cutting. This can take 2-3 hours. Cooling ensures the squares set properly and are easy to cut without crumbling.
- Slice and Serve Once completely cooled, lift the squares out of the pan using the parchment paper overhang. Cut into desired square or bar shapes using a sharp knife. Enjoy!
Notes
- For extra flavor, you can add a pinch of cinnamon or nutmeg to the oat topping.
- If your dates are very dry, soak them in hot water for 10 minutes before cooking the filling, then drain well.
- Ensure the date filling cools slightly before spreading to prevent the crust from becoming soggy.
- Cooling completely is the key to clean cuts and firm squares. Patience is a virtue here!
Tips & Variations
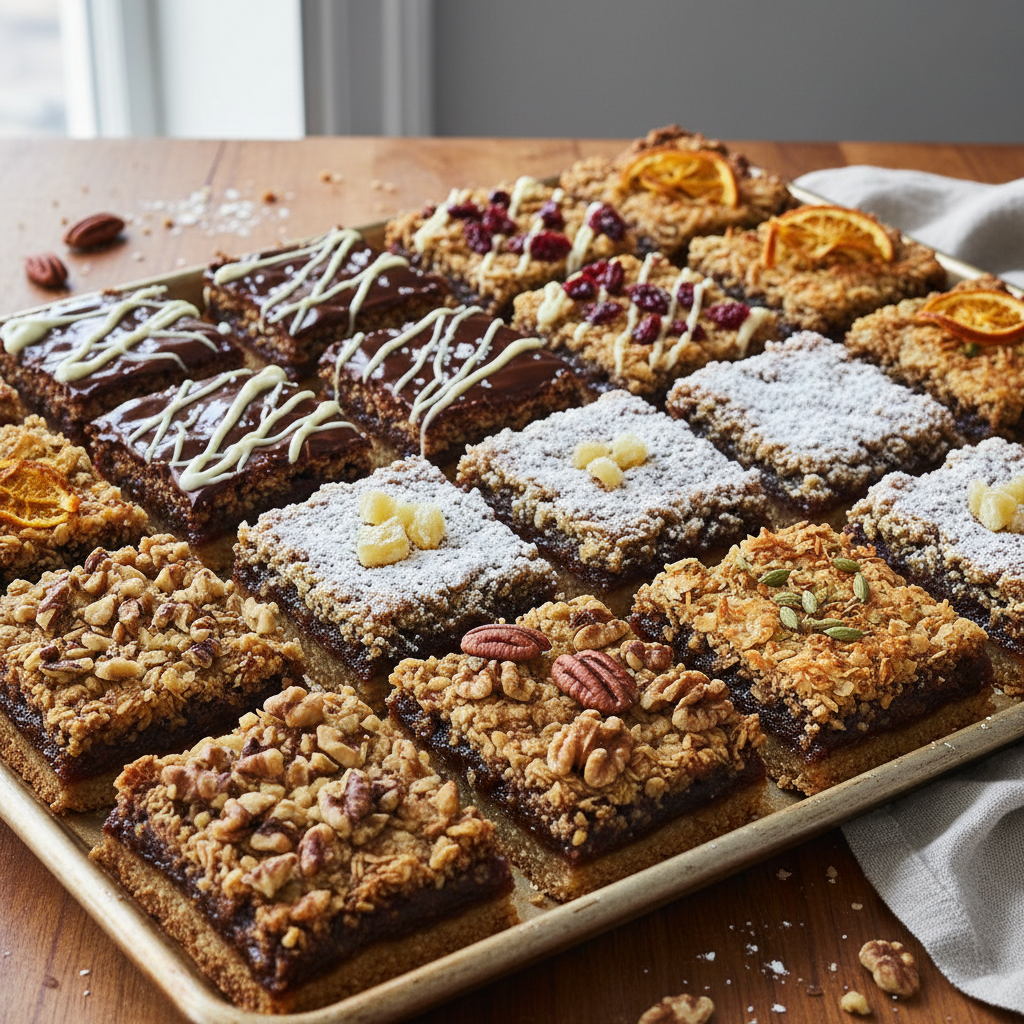
- Nutty Crunch Add 1/2 cup of chopped walnuts or pecans to the oat topping for extra crunch and flavor.
- Spiced Delight A pinch of cinnamon or cardamom in the date filling or oat topping can add a lovely warm spice note.
- Citrus Zest Grate a teaspoon of orange or lemon zest into the date filling for a brighter, more aromatic flavor.
- Chocolate Swirl For a decadent twist, drizzle a little melted dark chocolate over the cooled squares before serving.
- Gluten-Free Option Use certified gluten-free oats and a gluten-free all-purpose flour blend (ensure it contains xanthan gum) for a gluten-free version.
Pro Chef Tips
- Don’t Overcook the Dates Simmer the date mixture until it’s thick and spreadable, but not dry. Overcooking can make the filling too stiff.
- Cold Butter is Key For the oat topping, using very cold butter cut into small cubes helps create that desirable crumbly texture. It prevents the butter from fully incorporating, leading to a flakier crust.
- Press Firmly When pressing the bottom crust into the pan, make sure it’s firm and even. This prevents it from crumbling when you cut the squares.
- Cool Completely I can’t stress this enough! Warm date squares are delicious but will fall apart. Patience yields perfect squares.
- Use Parchment Paper This is a game-changer for easy removal and cleanup. Always leave an overhang!
Common Mistakes to Avoid

- Not Cooling Enough The number one mistake! Cutting warm date squares will result in a messy, crumbly disaster. Resist the urge!
- Over-processing the Topping If you use a food processor for the oat topping, be careful not to over-process. You want coarse crumbs, not a smooth dough.
- Dry Dates If your dates are hard, they won’t break down properly. Always rehydrate them if needed.
- Uneven Crust An uneven bottom crust can lead to some parts being too thin and crumbly, while others are too thick.
- Skipping Lemon Juice While seemingly small, lemon juice brightens the rich date flavor and prevents it from being overly sweet.
Storage & Meal Prep
Date squares are fantastic for making ahead and storing!
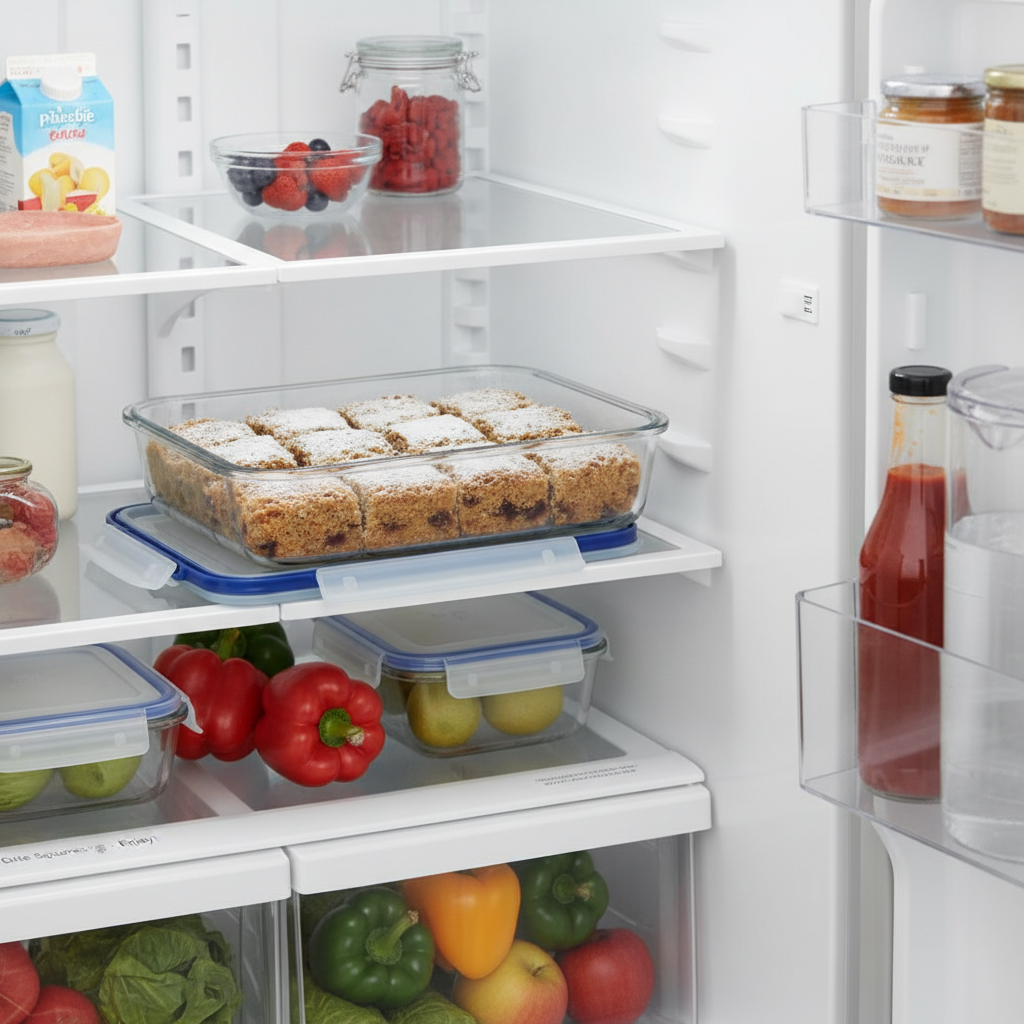
- Countertop Store cooled date squares in an airtight container at room temperature for up to 3-4 days.
- Refrigerator For longer freshness, store them in an airtight container in the refrigerator for up to 1 week. Bring to room temperature before serving for the best texture.
Make-Ahead & Freezer Notes
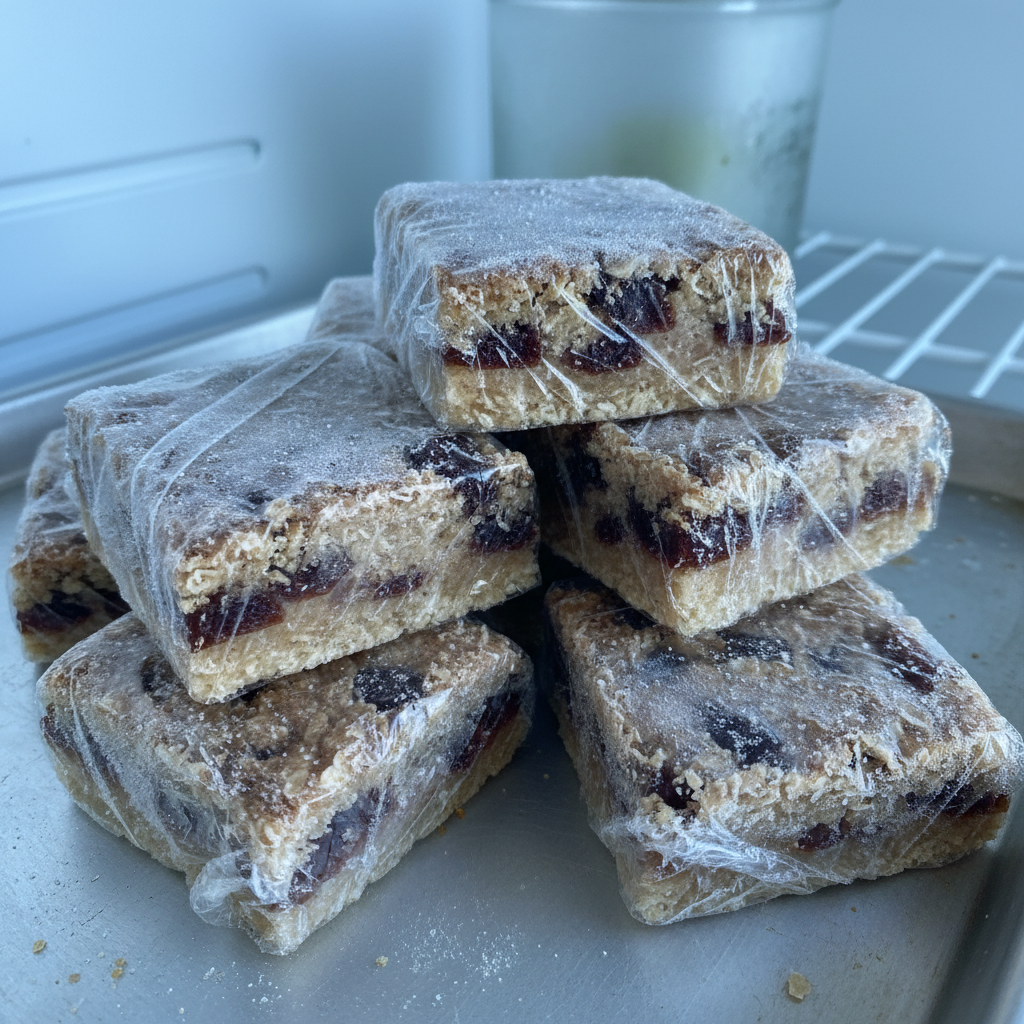
These squares are freezer superstars!
- Freezing Baked Squares Once completely cooled, cut the squares and arrange them in a single layer on a baking sheet. Freeze until solid (about 1-2 hours). Then, transfer the frozen squares to a freezer-safe airtight container or freezer bag, separating layers with parchment paper. They will keep well for up to 3 months.
- Thawing Thaw frozen squares at room temperature for an hour or two, or overnight in the refrigerator.
- Make-Ahead Filling You can prepare the date filling a day or two in advance and store it in an airtight container in the refrigerator. Bring it to room temperature before spreading.
Serving Suggestions
While date squares are perfect on their own, here are a few ideas to elevate your serving:
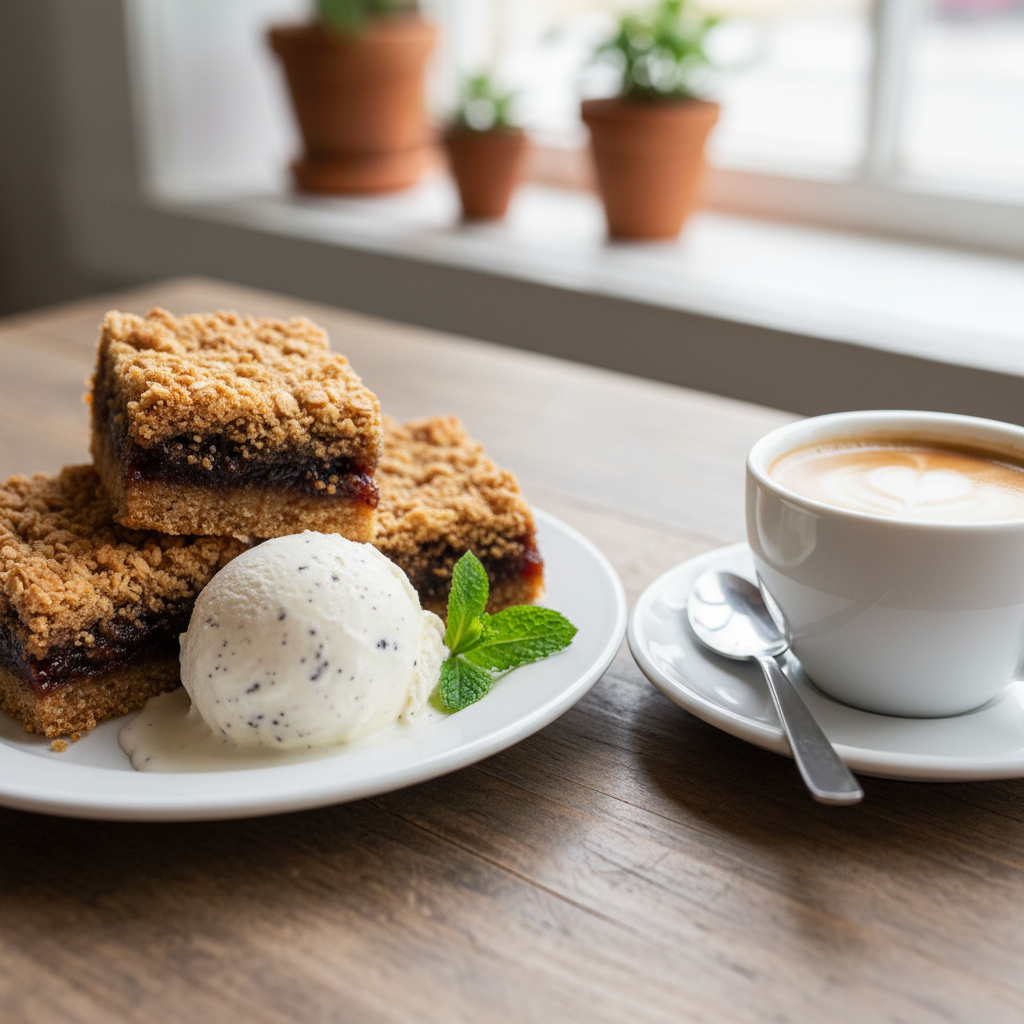
- Warm with Ice Cream A slightly warmed date square with a scoop of vanilla bean ice cream is pure bliss.
- With a Hot Drink They pair wonderfully with a cup of coffee, tea, or a glass of cold milk.
- Breakfast Treat A smaller square makes a delightful grab-and-go breakfast or snack.
- Dust with Powdered Sugar A light dusting of powdered sugar before serving adds a touch of elegance.