Welcome, fellow baking enthusiasts! There’s something truly magical about a homemade Danish pastry. That perfect combination of delicate, buttery layers, a hint of sweetness, and a delightful filling is simply irresistible. While it might seem like a daunting task reserved for professional bakers, I’m here to tell you that crafting your own flaky Danish pastries at home is not only achievable but incredibly rewarding. Forget those store-bought versions; once you taste the fresh, warm goodness of your own creation, there’s no turning back. This guide will walk you through every step, ensuring your kitchen smells divine and your taste buds sing with joy!
History and Background of Danish Pastry
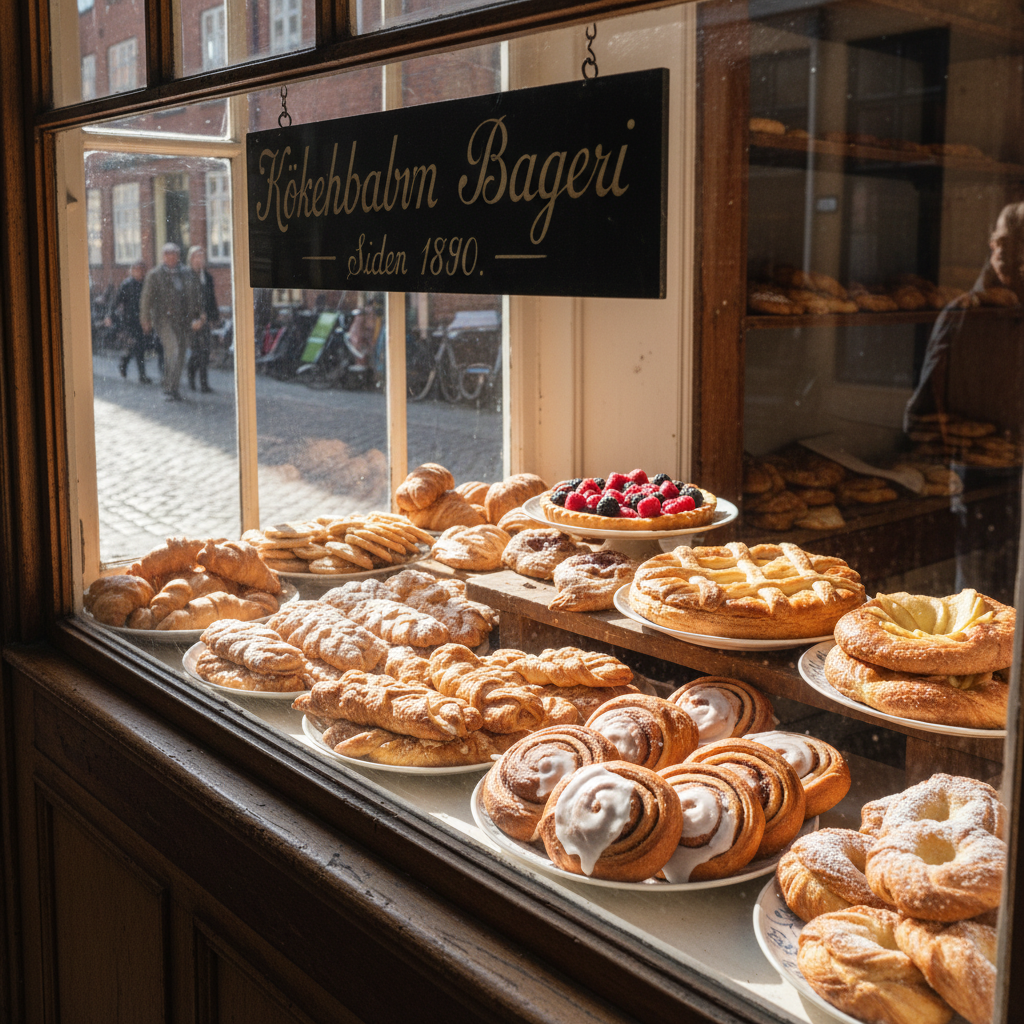
The story of Danish pastry, or wienerbrød as it’s known in Denmark, is quite fascinating and, perhaps surprisingly, doesn’t begin in Denmark. Its origins can be traced back to Austrian bakers in Copenhagen during the mid-19th century. A bakers’ strike in Denmark led to the hiring of Austrian bakers, who brought with them their traditional pastry-making techniques, including a laminated dough similar to puff pastry. The Danes quickly adopted and adapted these methods, incorporating more butter and eventually developing the distinctive, rich, and flaky pastry we know and love today.
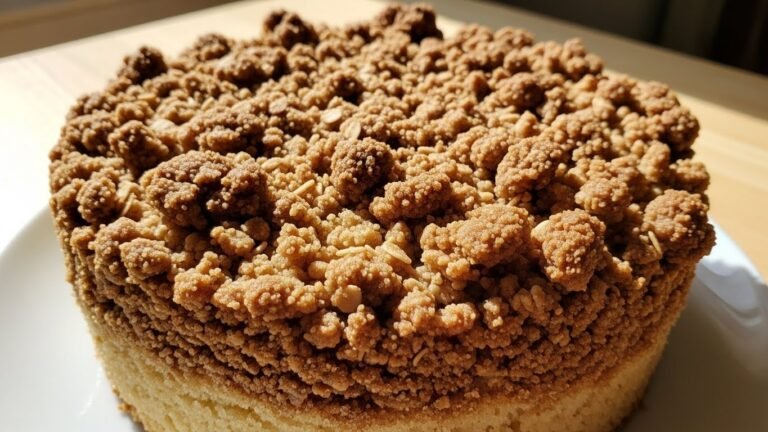
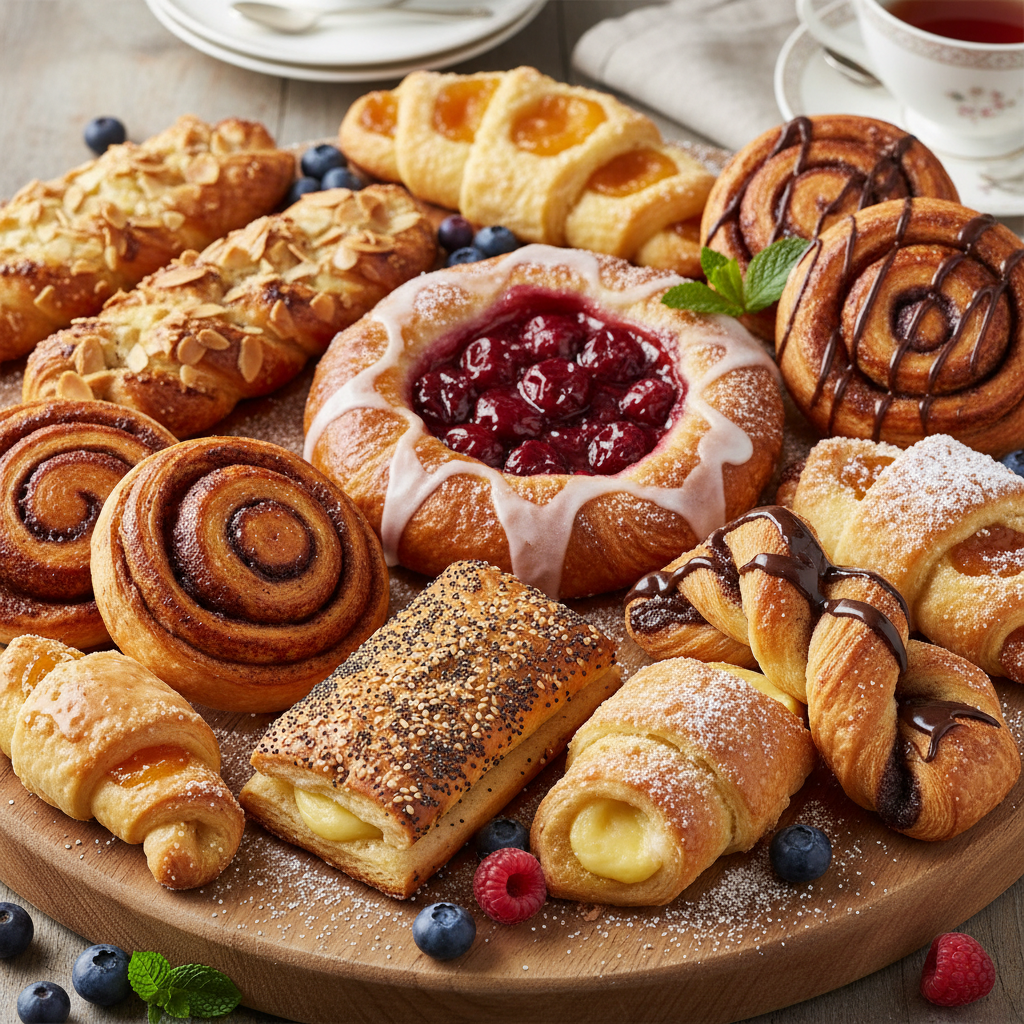
Over time, Danish pastry became a staple in Danish bakeries and homes, evolving with various fillings from fruit jams and custards to nuts and cheese. It crossed borders, gaining immense popularity worldwide, particularly in America, where it became a breakfast and brunch favorite. The art of creating those signature layers involves a technique called laminating, where butter is folded into dough multiple times, creating numerous thin sheets that separate during baking, resulting in that incredible airy, flaky texture.
Why You Will Love This Recipe

- Incredibly Flaky Texture: Achieve those delicate, buttery layers that melt in your mouth.
- Rich Buttery Flavor: Made with real butter for an unparalleled taste experience.
- Customizable Fillings: Easily adapt with your favorite fruit, cream cheese, or nut fillings.
- Impressive Yet Achievable: Looks professional but is designed for home bakers.
- Rewarding Process: The effort is worth it for the delicious results and aroma.
- Perfect for Any Occasion: Ideal for breakfast, brunch, dessert, or a special treat.
Ingredient Notes
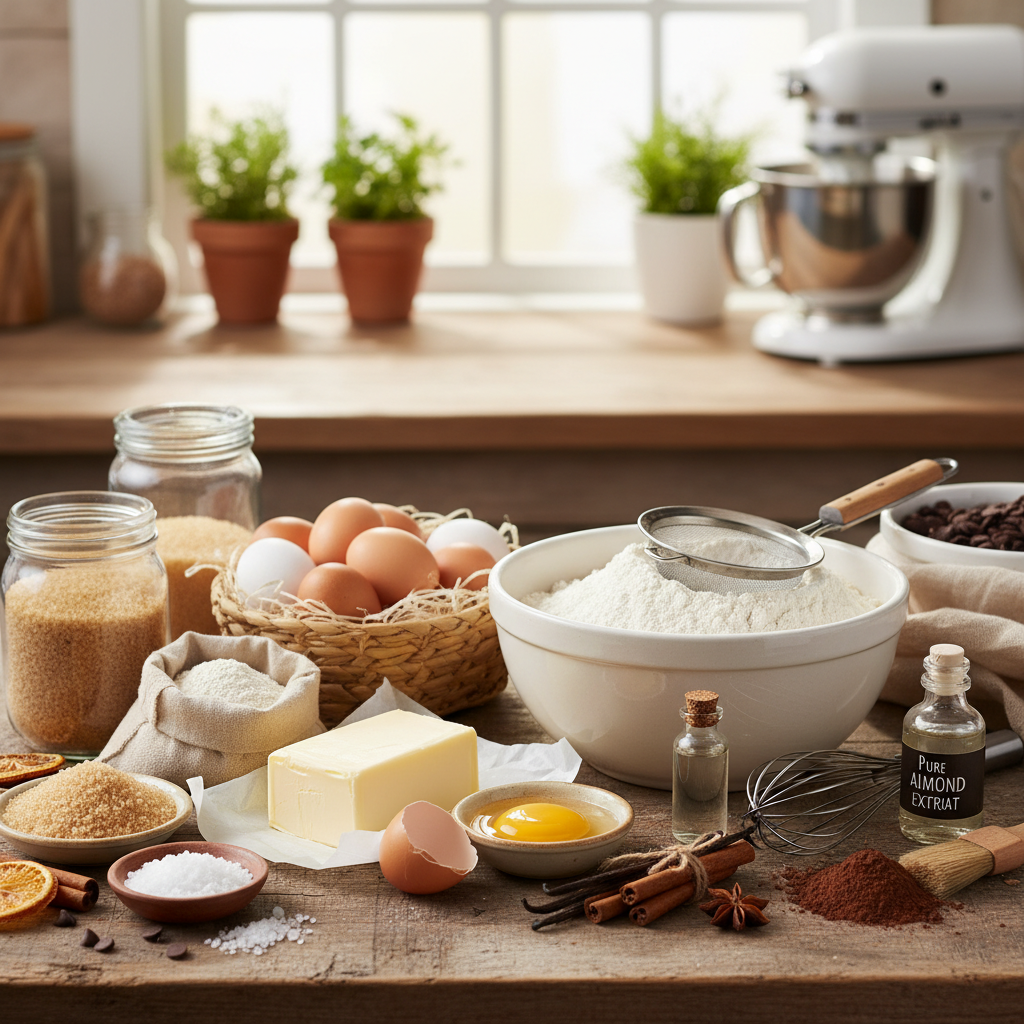
To make truly exceptional Danish pastries, quality ingredients are key. Here’s a quick rundown of what you’ll need and why:
- All-Purpose Flour: Provides the structure. Make sure it’s fresh for best results.
- Granulated Sugar: Adds sweetness to the dough and helps with browning.
- Active Dry Yeast: The leavening agent that gives the pastry its rise. Check the expiration date!
- Whole Milk: Adds richness and moisture to the dough. Warm it gently to activate the yeast.
- Unsalted Butter: This is the star! Use high-quality, cold unsalted butter for laminating. Cold butter prevents it from melting into the dough too quickly.
- Egg: Adds richness, color, and helps bind the dough.
- Salt: Balances the sweetness and enhances flavor.
- Vanilla Extract: A touch in the dough or filling adds a lovely aroma and depth of flavor.
- Fillings: Cream cheese, fruit jam, almond paste, or custard – choose your favorite!
Equipment Needed

- Large Mixing Bowl: For preparing the dough.
- Stand Mixer (optional but recommended): With a dough hook for easy kneading.
- Rolling Pin: Essential for laminating the dough and butter.
- Baking Sheets: Lined with parchment paper for baking.
- Pastry Brush: For egg wash and glaze.
- Plastic Wrap: For chilling the dough between folds.
- Sharp Knife or Pastry Wheel: For cutting the dough into shapes.
- Measuring Cups and Spoons: For accurate ingredient measurements.
Full Recipe Card

Ingredients
- 1 cup (240ml) whole milk, warm (105-115°F/40-46°C)
- 1/4 cup (50g) granulated sugar, divided
- 2 1/4 teaspoons (7g) active dry yeast (one packet)
- 1 large egg
- 1 teaspoon vanilla extract
- 3 1/2 cups (420g) all-purpose flour, plus more for dusting
- 1 teaspoon salt
- 1 cup (226g) unsalted butter, very cold
For the Cream Cheese Filling (Optional)
- 8 oz (226g) cream cheese, softened
- 1/4 cup (50g) granulated sugar
- 1 large egg yolk
- 1 teaspoon vanilla extract
For the Glaze
- 1 cup (120g) powdered sugar
- 2-3 tablespoons milk or water
Instructions
- Activate Yeast: In a large bowl, combine warm milk, 1 tablespoon of sugar, and yeast. Let sit for 5-10 minutes until foamy.
- Make Dough: Add the remaining sugar, egg, vanilla extract, flour, and salt to the yeast mixture. Mix with a spoon or stand mixer with a dough hook until a shaggy dough forms. Knead for 5-7 minutes until smooth and elastic.
- Chill Dough: Form the dough into a ball, place in a lightly oiled bowl, cover with plastic wrap, and refrigerate for at least 2 hours, or preferably overnight.
- Prepare Butter Block: Place the cold butter between two sheets of parchment paper. Using a rolling pin, pound and roll it into an 8×8 inch (20×20 cm) square. Refrigerate.
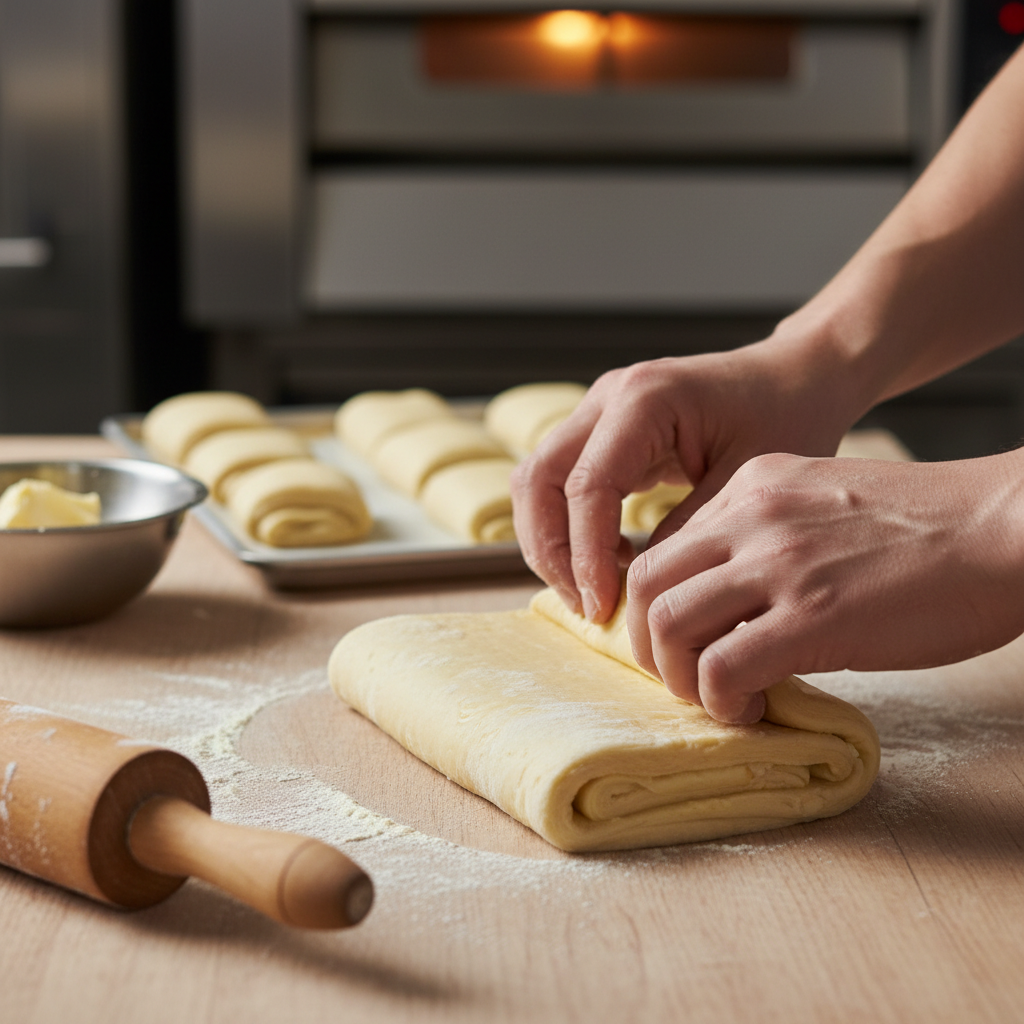
- First Fold (Single Fold): On a lightly floured surface, roll the chilled dough into a 16×8 inch (40×20 cm) rectangle. Place the butter block on one half of the dough, leaving a 1-inch border. Fold the other half of the dough over the butter, sealing the edges. Roll gently to an even 16×8 inch rectangle. Perform a single fold: fold one-third of the dough over the middle, then fold the remaining third over that, like a business letter. Wrap tightly and refrigerate for 30 minutes.
- Second Fold (Single Fold): Repeat step 5. Roll the dough into a 16×8 inch rectangle, perform a single fold, wrap, and refrigerate for 30 minutes.
- Third Fold (Single Fold): Repeat step 5. Wrap and refrigerate for at least 1 hour, or up to overnight.
- Prepare Filling (if using): Beat cream cheese, sugar, egg yolk, and vanilla until smooth.
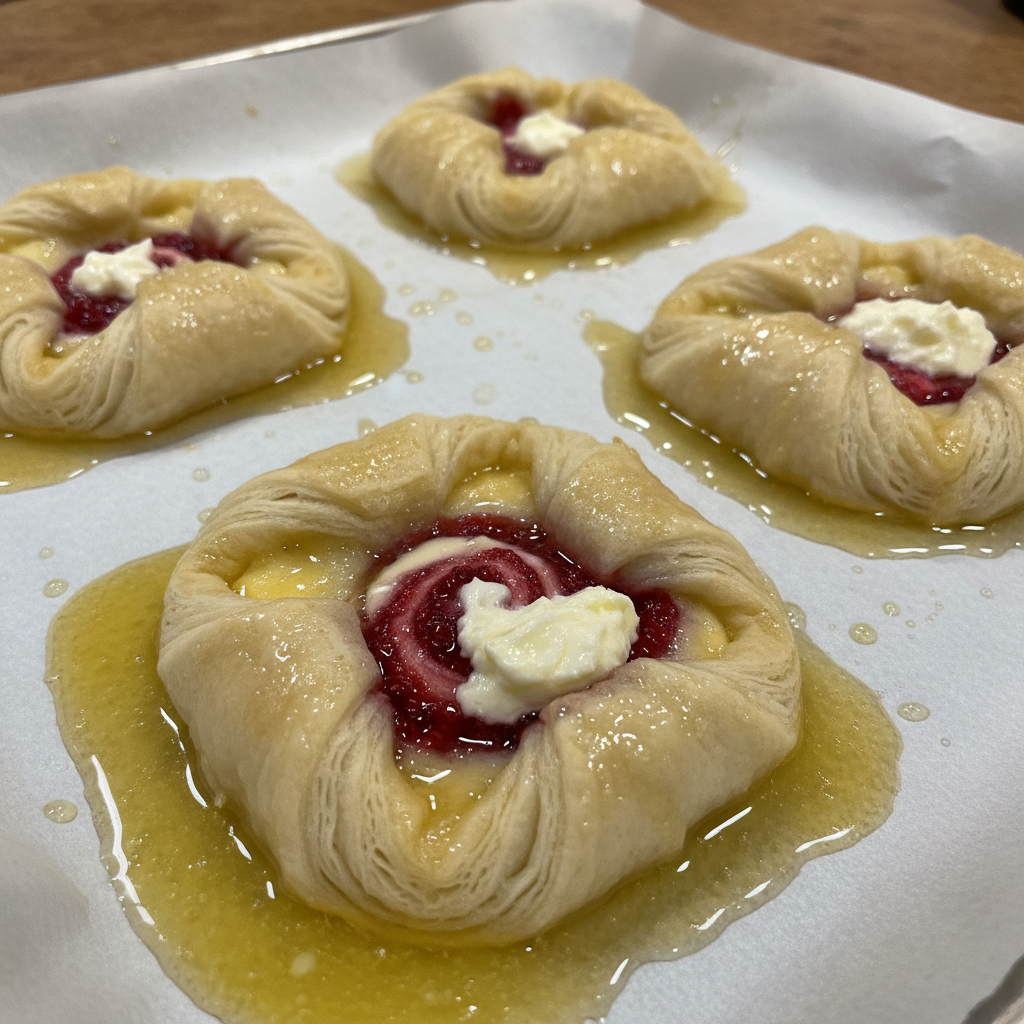
- Shape Pastries: Roll the chilled dough into a 1/4-inch thick rectangle. Cut into 3×3 inch (7.5×7.5 cm) squares. Place a tablespoon of filling in the center of each square. Fold corners to the center or shape as desired (e.g., pinwheels, envelopes).
- Proof: Place shaped pastries on parchment-lined baking sheets, leaving space between them. Cover loosely with plastic wrap and let rise in a warm place for 45-60 minutes, until slightly puffed.
- Bake: Preheat oven to 400°F (200°C). Bake for 15-20 minutes, or until golden brown.
- Glaze: While pastries cool, whisk powdered sugar with milk/water until smooth. Drizzle over cooled pastries. Enjoy!
Tips and Variations
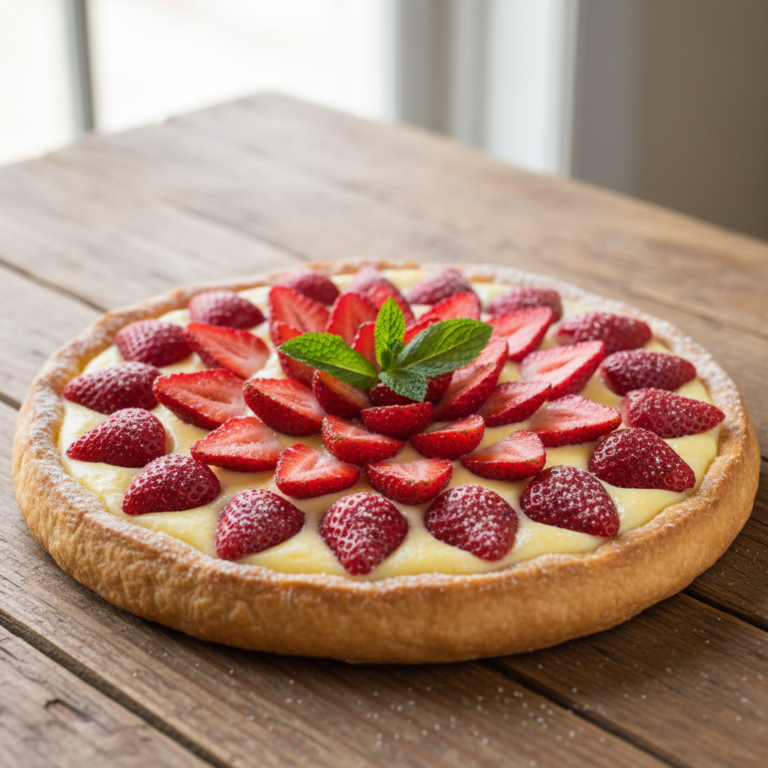
- Fruit Fillings: Use your favorite fruit jam, pie filling, or fresh fruit mixed with a little sugar and cornstarch. Apple, cherry, or raspberry are classic choices.
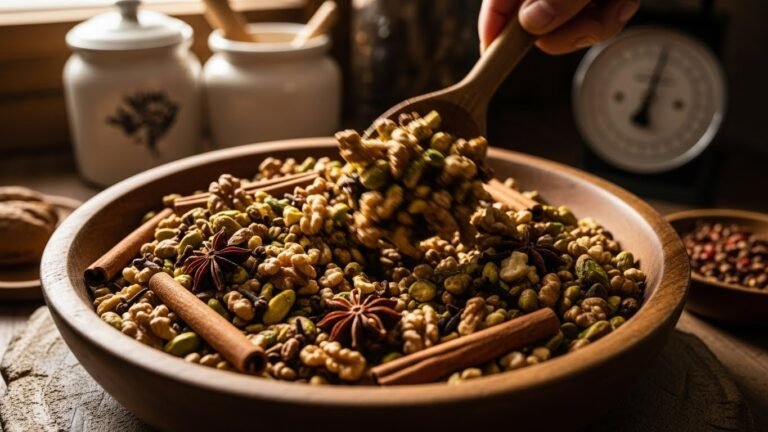
- Nutty Twist: Add finely chopped nuts (pecans, walnuts) to your cream cheese or almond paste fillings for extra texture and flavor.
- Chocolate Delight: Place a small square of dark chocolate in the center before folding for a decadent treat.
- Egg Wash: For a beautiful golden sheen, brush the pastries with an egg wash (1 egg beaten with 1 tablespoon water) before baking.
- Don’t Rush Chilling: The chilling steps are crucial for developing those flaky layers and preventing the butter from melting out. Patience is key!
Pro Chef Tips
- Keep Everything Cold: The colder your butter and dough are, the easier they are to work with and the flakier your pastries will be. If your kitchen is warm, chill your rolling pin too!
- Gentle Rolling: Roll with even pressure to avoid tearing the dough and squeezing out the butter. Use quick, firm strokes rather than heavy, slow pressure.
- Dust Lightly: Use just enough flour to prevent sticking, but not so much that it dries out the dough or gets incorporated into the layers.
- Consistent Thickness: Aim for an even thickness when rolling out the dough at each stage. This ensures uniform baking and flakiness.
- Sharp Cuts: Use a very sharp knife or pastry wheel to cut your shapes. A dull knife can drag the dough and seal the edges, hindering the rise of the layers.
Common Mistakes to Avoid
- Warm Butter: If your butter gets too warm, it will melt into the dough instead of creating distinct layers. If you notice butter oozing, pop the dough back in the fridge immediately.
- Overworking the Dough: Too much kneading after the initial mixing can develop too much gluten, making the pastries tough instead of tender.
- Skipping Chilling Steps: These are non-negotiable! Chilling allows the gluten to relax and the butter to firm up, both essential for flakiness.
- Uneven Rolling: If the dough is thicker in some spots, it will bake unevenly, leading to inconsistent texture.
- Overfilling: Don’t put too much filling, or it will ooze out during baking and make a mess.
Storage and Meal Prep
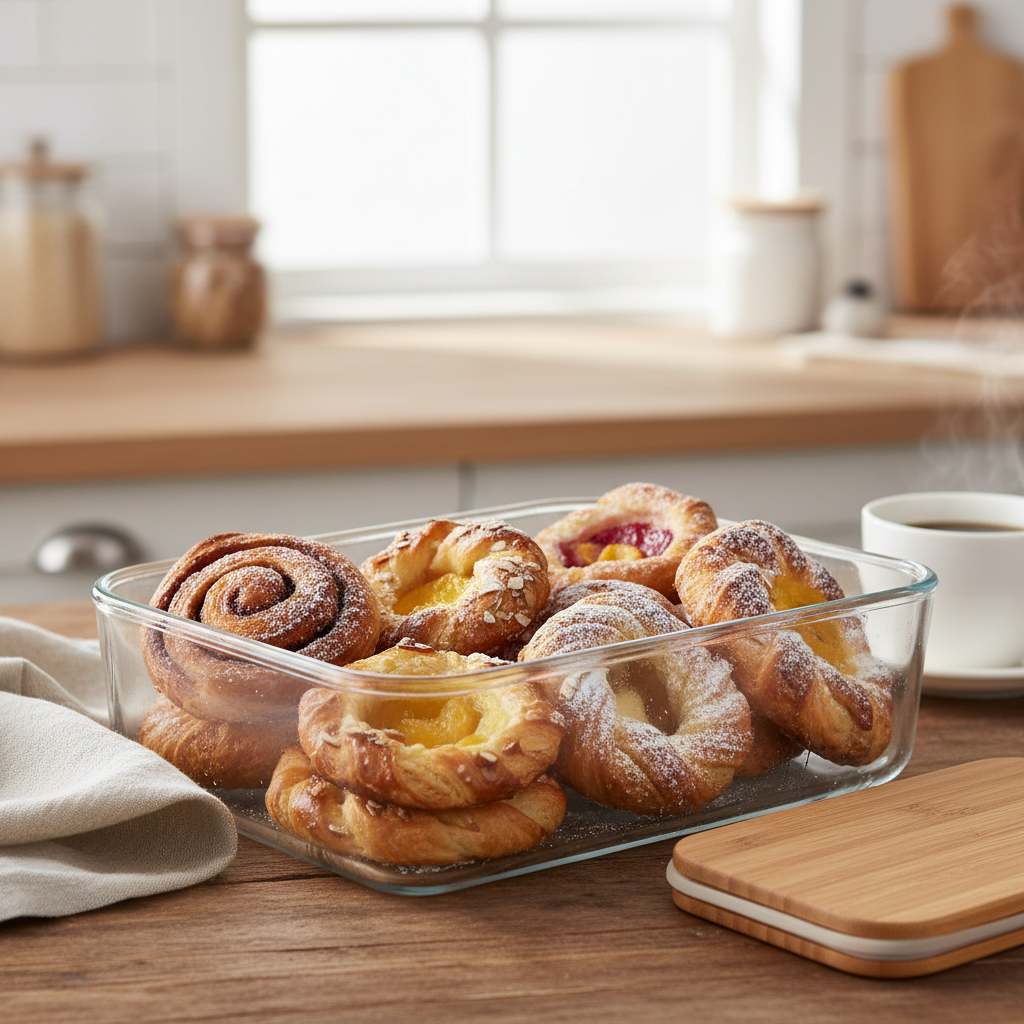
Storing Baked Pastries: Once baked and cooled, Danish pastries are best enjoyed fresh. However, you can store them in an airtight container at room temperature for up to 2-3 days. For longer storage, refrigerate for up to 5 days.
Reheating: To restore some of their warmth and flakiness, gently reheat pastries in a preheated oven at 300°F (150°C) for 5-10 minutes.
Make-Ahead and Freezer Notes

Dough: The dough can be made a day or two in advance and stored in the refrigerator after the final fold. This actually helps develop flavor!
Unbaked Pastries: You can shape the pastries and then freeze them on a baking sheet until solid. Once frozen, transfer them to a freezer-safe bag or container. When ready to bake, place frozen pastries on a parchment-lined baking sheet, cover, and let them thaw and proof at room temperature for 2-3 hours (or overnight in the fridge) before baking as directed.
Baked Pastries: Baked and cooled pastries can also be frozen for up to 1 month. Wrap them individually in plastic wrap, then place in a freezer-safe bag. Thaw at room temperature and reheat gently.
Serving Suggestions

Danish pastries are incredibly versatile and can be served in many delightful ways:
- Classic Breakfast or Brunch: Enjoy with a cup of coffee or tea, fresh fruit, and perhaps a dollop of yogurt.
- Dessert: Serve warm with a scoop of vanilla bean ice cream or a drizzle of chocolate sauce for a decadent treat.
- Afternoon Snack: A perfect accompaniment to your afternoon tea break.
- Holiday Spread: An elegant addition to any holiday breakfast or dessert buffet.
- Gift Idea: Package a few homemade Danish pastries in a pretty box for a thoughtful hostess gift.