There’s something truly magical about a homemade birthday cake, isn’t there? The sweet aroma filling your kitchen, the anticipation of that first slice, and the joy it brings to a special celebration. While store-bought cakes can be convenient, nothing quite compares to the love and flavor packed into a cake baked from scratch. If the thought of baking a classic vanilla layer cake has felt a little daunting, don’t you worry! This recipe is designed for you. We’re going to walk through every step, ensuring you create a moist, fluffy, and utterly delicious vanilla cake that will be the star of any birthday.
A Sweet Journey – The History of Birthday Cakes

Birthday cakes, as we know them today, have a rich and fascinating history that spans centuries. The tradition of celebrating birthdays with sweet treats dates back to ancient Roman times, where honey cakes were offered. However, the modern birthday cake truly began to take shape in Germany during the Middle Ages with their ‘Kinderfest’ celebration, featuring cakes for children’s birthdays. These early cakes were simpler, often more bread-like. It wasn’t until the 17th century, with advancements in baking technology and ingredients becoming more accessible, that elaborate, multi-layered cakes with sweet frostings started to emerge, resembling the celebratory centerpieces we cherish today. The vanilla cake, with its delicate flavor, quickly became a beloved classic, symbolizing purity and joy.
Why You’ll Adore This Vanilla Cake Recipe

This isn’t just any vanilla cake recipe; it’s *the* recipe you’ll come back to again and again. Here’s why you’ll fall in love with it:
- Beginner-Friendly We break down every step, making it easy for even novice bakers to achieve stunning results.
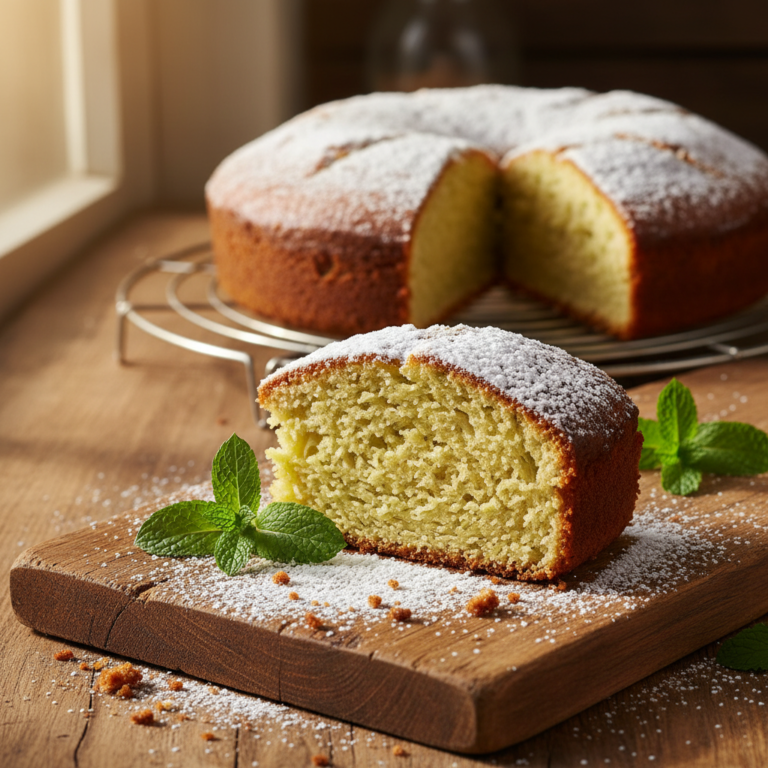
- Perfectly Moist and Fluffy Say goodbye to dry, crumbly cakes. This recipe yields a tender, moist crumb every time.
- Rich Vanilla Flavor We use real vanilla to ensure every bite is bursting with that classic, comforting taste.
- Versatile for Any Occasion While it’s a birthday classic, this cake is perfect for anniversaries, holidays, or just a sweet weekend treat.
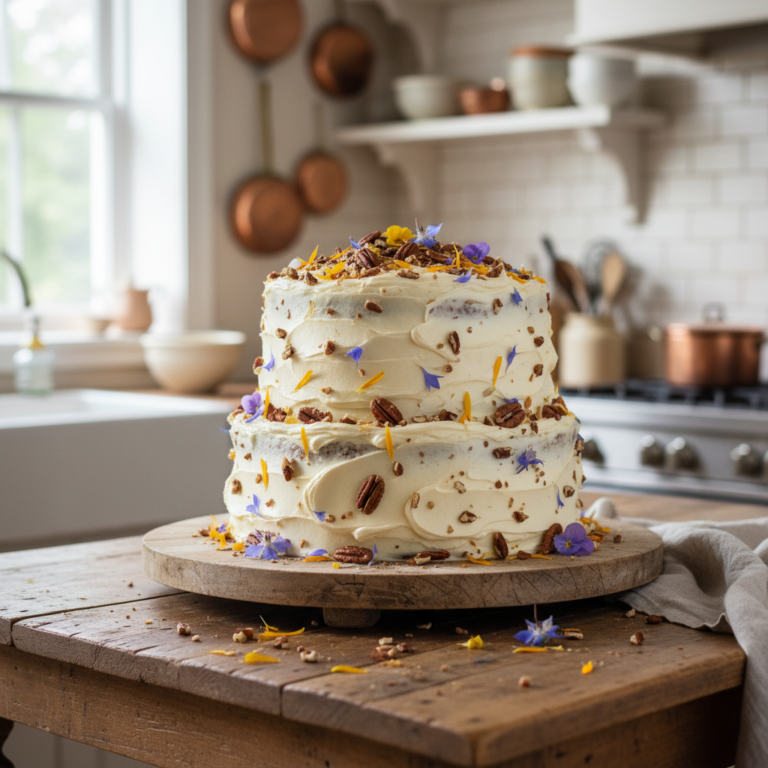
- Impressive Appearance With its beautiful layers and smooth frosting, your cake will look as good as it tastes.
Essential Ingredients for Your Perfect Vanilla Cake
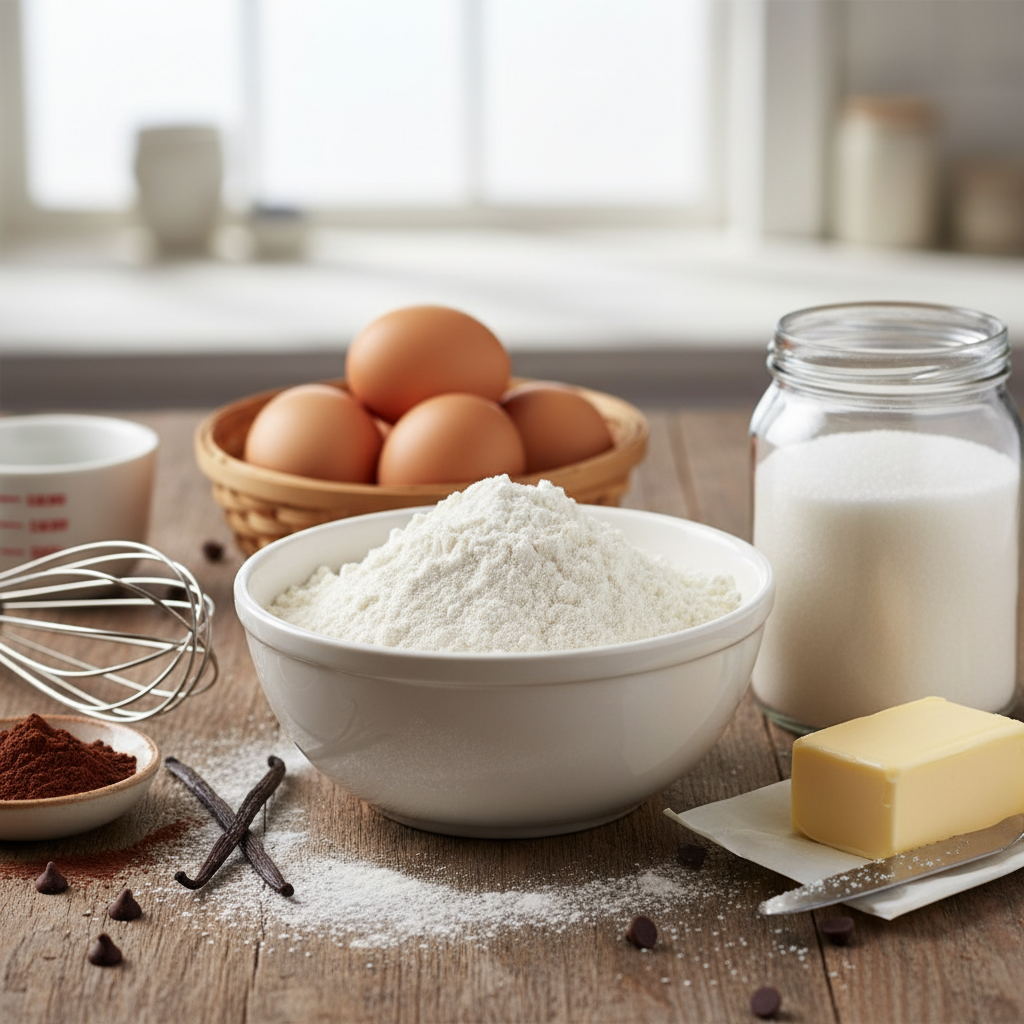
Great cakes start with great ingredients! Here’s a closer look at what you’ll need and why each component is important:
- All-Purpose Flour The base of our cake. Sifting it ensures a lighter texture.
- Granulated Sugar Sweetness and moisture. Don’t reduce it too much or the texture will change.
- Baking Powder & Baking Soda Our leavening agents, working together to give the cake its lift and tender crumb.
- Salt Balances the sweetness and enhances all the flavors.
- Unsalted Butter Room temperature butter is crucial for creaming properly, creating air pockets for a fluffy cake.
- Large Eggs Also at room temperature, they bind ingredients, add richness, and contribute to structure.
- Whole Milk Provides moisture and richness. Room temperature helps it emulsify better with other ingredients.
- Pure Vanilla Extract The star flavor! Use good quality extract for the best taste.
- For the Vanilla Buttercream Frosting Unsalted butter, powdered sugar (confectioners’ sugar), heavy cream or milk, and pure vanilla extract.
Kitchen Tools You’ll Need
Having the right tools makes baking so much smoother:
- Three 8-inch Round Cake Pans Essential for those beautiful layers.
- Parchment Paper For lining the bottoms of your pans to prevent sticking.
- Electric Mixer Stand mixer or hand mixer will work wonders for creaming butter and sugar, and whipping up frosting.
- Large Mixing Bowls For combining ingredients.
- Measuring Cups and Spoons Accuracy is key in baking!
- Rubber Spatula For scraping down bowls and folding ingredients.
- Wire Cooling Rack To cool your cake layers completely.
- Offset Spatula or Icing Spatula For frosting your cake smoothly.
Classic Vanilla Layer Cake Recipe
Yields 12-16 servings
Prep time 30 minutes
Cook time 25-30 minutes
Ingredients
For the Vanilla Cake Layers
- 2 ½ cups (300g) all-purpose flour, sifted
- 1 ½ cups (300g) granulated sugar
- 1 tablespoon baking powder
- ½ teaspoon baking soda
- ½ teaspoon salt
- 1 cup (226g) unsalted butter, softened
- 4 large eggs, room temperature
- 1 cup (240ml) whole milk, room temperature
- 2 teaspoons pure vanilla extract
For the Vanilla Buttercream Frosting
- 1 cup (226g) unsalted butter, softened
- 4 cups (480g) powdered sugar, sifted
- 3-4 tablespoons heavy cream or whole milk
- 2 teaspoons pure vanilla extract
- Pinch of salt
Instructions
- Prepare Your Pans Preheat your oven to 350°F (175°C). Grease and flour three 8-inch round cake pans. Line the bottoms with parchment paper.
- Combine Dry Ingredients In a large bowl, whisk together the sifted flour, granulated sugar, baking powder, baking soda, and salt.
- Cream Butter and Sugar In a separate large bowl, using an electric mixer, cream the softened butter until light and fluffy (about 2-3 minutes). Gradually add the granulated sugar and beat until pale and fluffy (another 3-5 minutes).
- Add Eggs and Vanilla Add the eggs one at a time, beating well after each addition. Mix in the vanilla extract.
- Alternate Wet and Dry Gradually add the dry ingredients to the wet ingredients in three additions, alternating with the milk, beginning and ending with the dry ingredients. Mix on low speed until just combined. Be careful not to overmix!
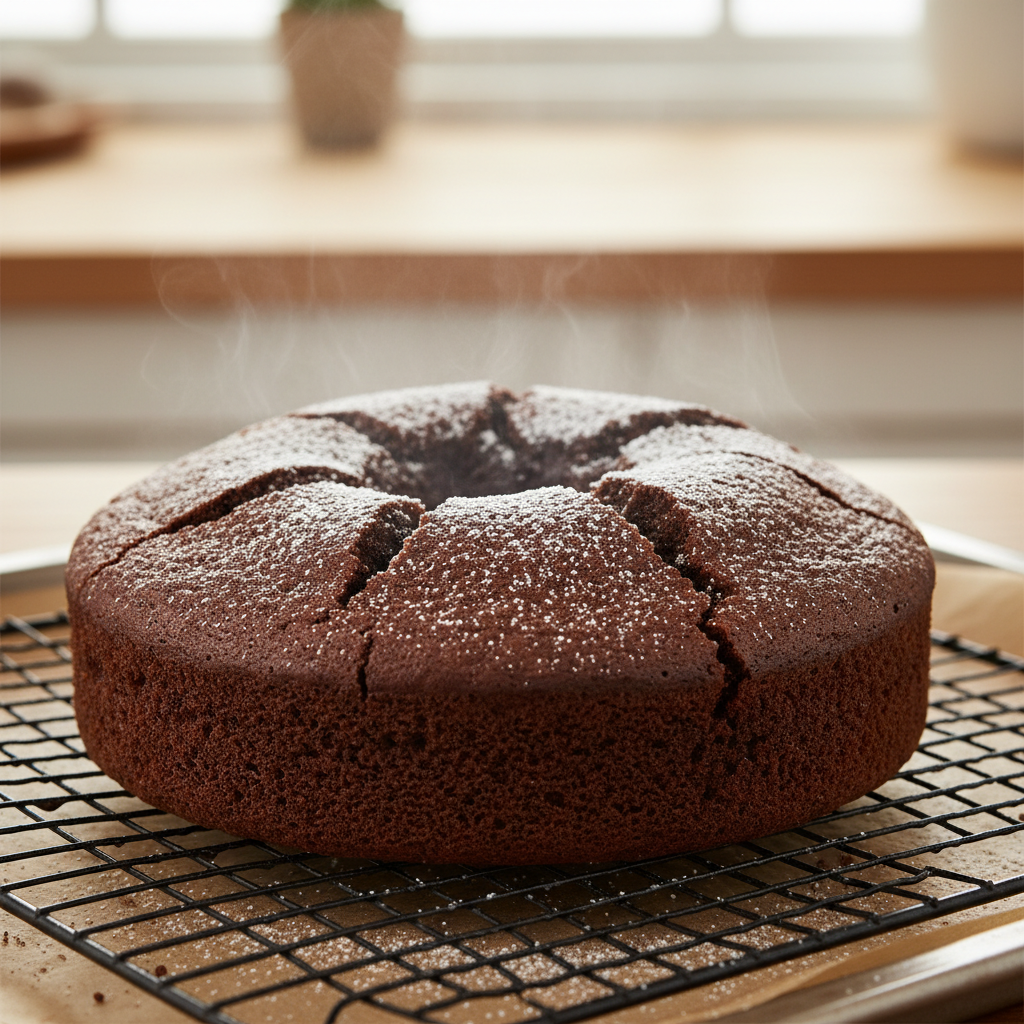
- Divide and Bake Divide the batter evenly among the three prepared cake pans. Bake for 25-30 minutes, or until a wooden skewer inserted into the center comes out clean.
- Cool Completely Let the cakes cool in the pans for 10-15 minutes before inverting them onto a wire rack to cool completely. This is crucial before frosting!
- Make the Frosting While the cakes cool, prepare the buttercream. In a large bowl, beat the softened butter with an electric mixer until creamy. Gradually add the sifted powdered sugar, beating until smooth. Add 3 tablespoons of heavy cream or milk, vanilla extract, and a pinch of salt. Beat on high speed until light and fluffy. Add more cream if needed to reach desired consistency.
- Assemble the Cake Once the cake layers are completely cool, place one layer on your serving plate. Spread about 1/2 cup of frosting evenly over the top. Place the second layer on top and repeat with frosting. Add the third layer.
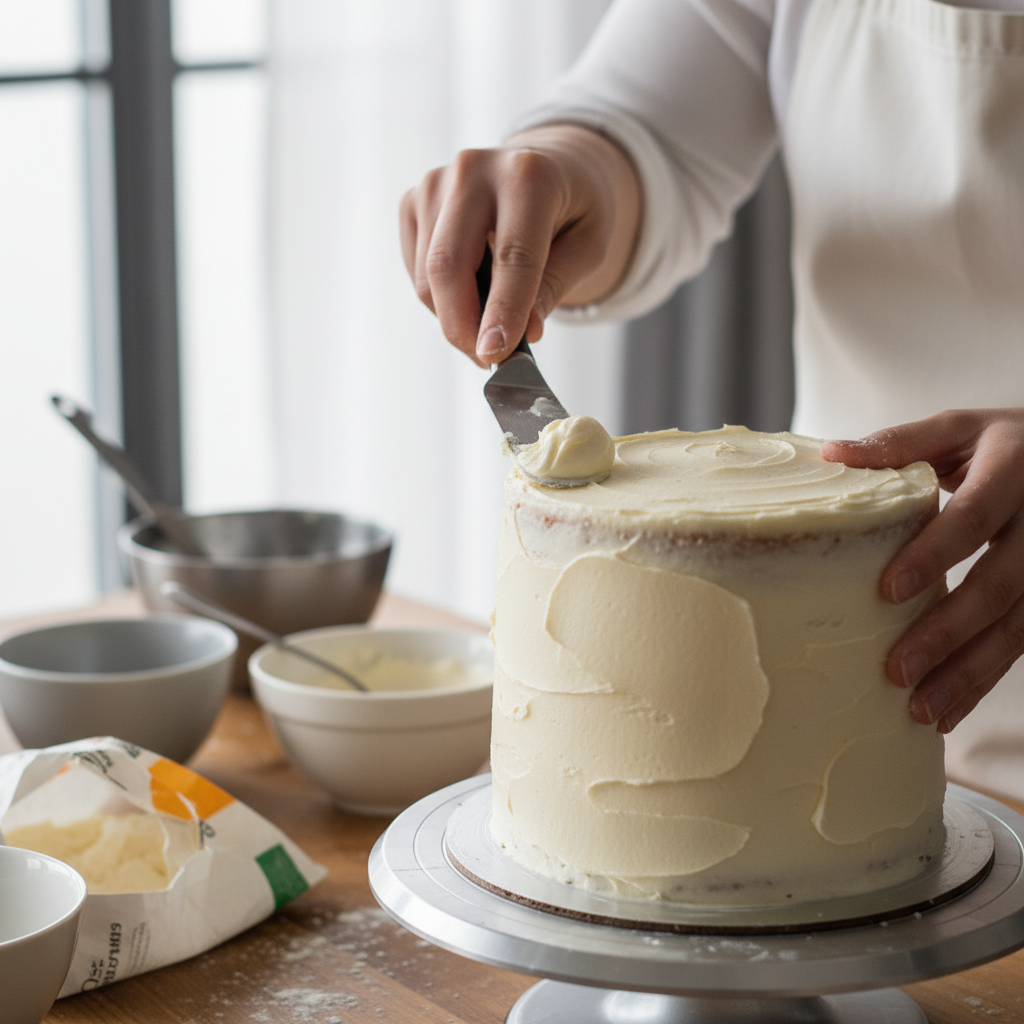
- Crumb Coat Apply a thin layer of frosting all over the cake (top and sides). This is called a crumb coat and traps any loose crumbs. Refrigerate for 15-20 minutes to set.
- Final Frosting Apply the remaining frosting to the top and sides of the cake, smoothing it with an offset spatula. Decorate as desired with sprinkles or other embellishments.
- Serve and Enjoy Slice and serve your beautiful homemade vanilla birthday cake!
Notes
- Ensure all cold ingredients (butter, eggs, milk) are at room temperature before you start. This helps them combine smoothly and creates a better cake texture.
- Do not overmix the batter once the flour is added. Overmixing develops gluten, leading to a tough cake.
- Cooling the cake layers completely is vital. Frosting a warm cake will cause the frosting to melt and slide off.
Tips for Success and Delicious Variations
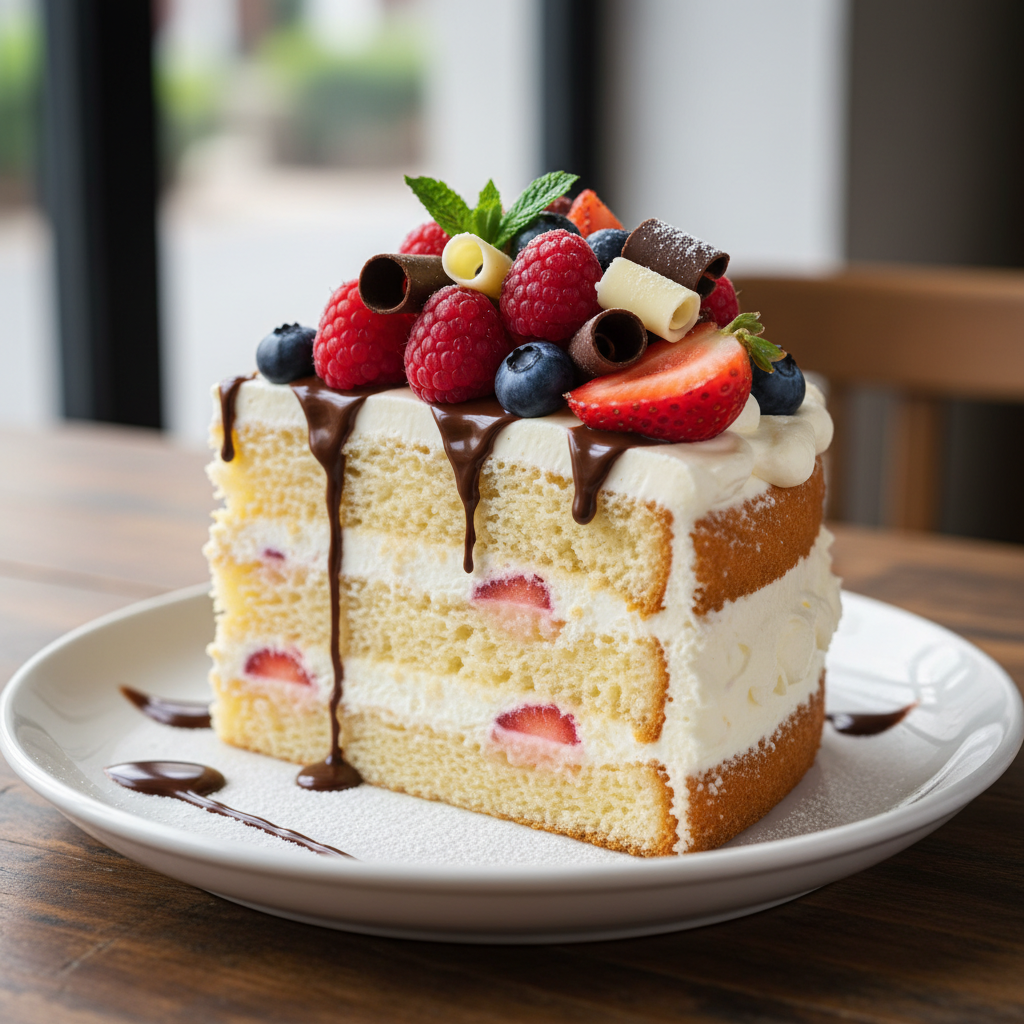
Want to make your vanilla cake even more special? Here are some ideas:
- Add Citrus Zest For a brighter flavor, add 1 tablespoon of lemon or orange zest to the batter.
- Almond Extract Swap half a teaspoon of vanilla extract for almond extract for a subtle, nutty flavor.
- Chocolate Chips Fold in a cup of mini chocolate chips for a fun twist.
- Simple Syrup Brush cooled cake layers with a simple syrup (equal parts sugar and water, boiled then cooled) for extra moisture and flavor.
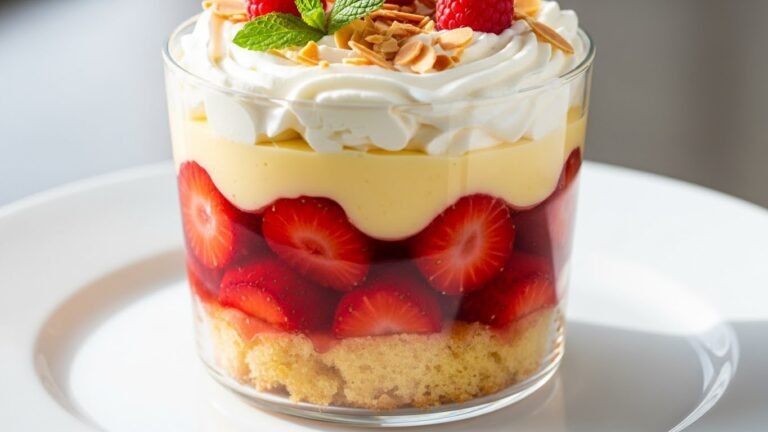
- Fruit Filling Between the layers, add a thin layer of fruit preserves or fresh berries for a burst of freshness.
Pro Chef Secrets for an Unforgettable Cake
Elevate your baking game with these expert tips:
- Weigh Your Ingredients For ultimate precision, especially with flour, use a kitchen scale instead of measuring cups. This ensures consistent results every time.
- Don’t Skip the Sifting Sifting flour and powdered sugar removes lumps and aerates them, resulting in a lighter, smoother cake and frosting.
- The Crumb Coat is Your Friend This thin layer of frosting seals in crumbs, making your final frosting layer smooth and crumb-free. Don’t skip it!
- Level Your Cakes If your cake layers dome, use a serrated knife to carefully level them once cooled. This makes for a more stable and professional-looking cake.
Steer Clear of These Common Baking Blunders
Even experienced bakers make mistakes! Here are some common pitfalls to avoid:
- Overmixing the Batter As mentioned, overmixing develops gluten, which can lead to a dense, tough cake. Mix until just combined.
- Under-Greasing Pans Not properly greasing and flouring your pans (or using parchment paper) can lead to frustrating sticking and broken cake layers.
- Opening the Oven Door Too Early Resist the urge! Opening the oven door during the first 20 minutes can cause your cake to sink in the middle.
- Not Cooling Cakes Completely Frosting a warm cake is a recipe for disaster. Be patient and let those layers cool completely on a wire rack.
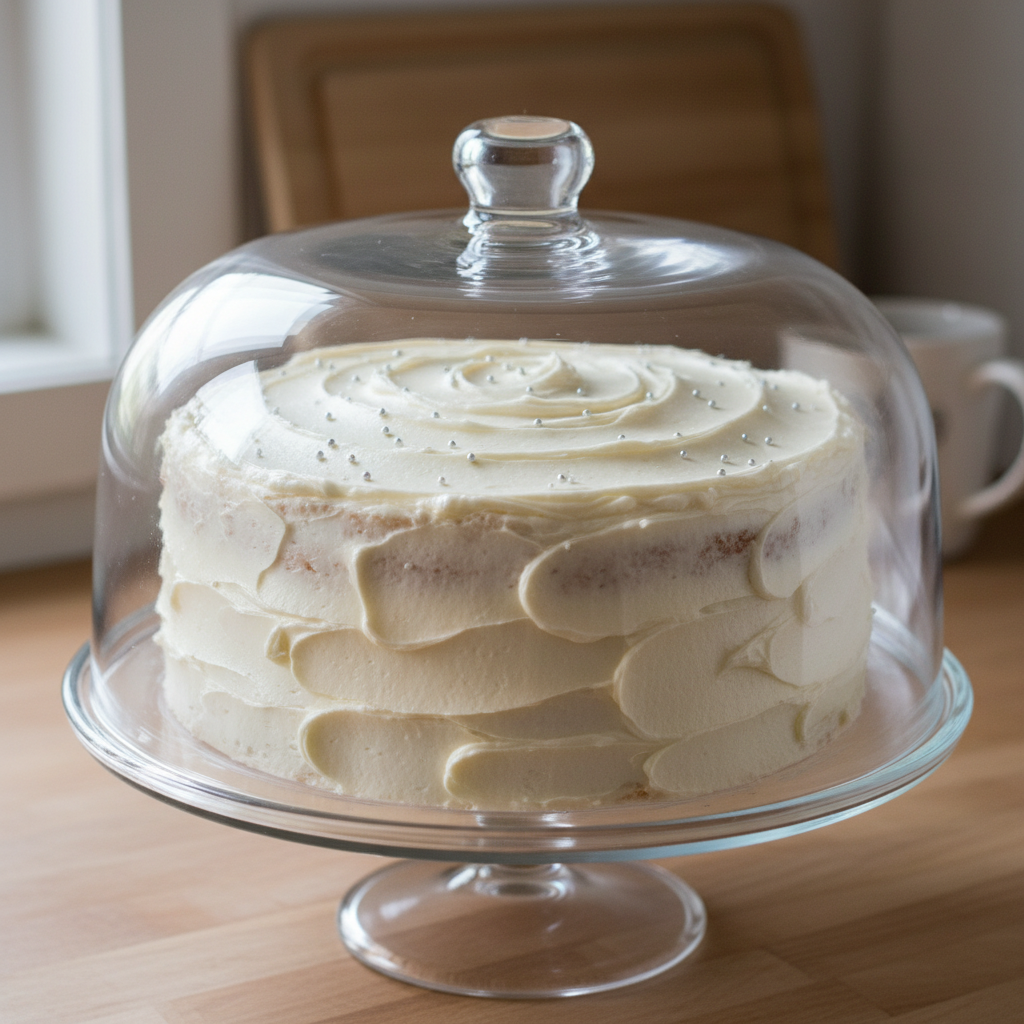
Keeping Your Cake Fresh – Storage and Prep
You’ve put all that effort into baking, so let’s make sure your cake stays delicious!
- Room Temperature A frosted cake can be stored at room temperature, loosely covered with a cake dome or plastic wrap, for up to 2 days.
- Refrigeration For longer storage, or if your kitchen is warm, refrigerate the frosted cake. Bring it to room temperature for about 30 minutes before serving for the best texture and flavor.
- Unfrosted Layers Unfrosted cake layers can be wrapped tightly in plastic wrap and stored at room temperature for up to 2 days.
Plan Ahead – Make-Ahead and Freezing Tips
Baking a cake for a big event? You can absolutely do some prep in advance!
- Make-Ahead Layers Bake your cake layers up to 2 days in advance. Once completely cooled, wrap each layer tightly in plastic wrap and store at room temperature.
- Freezing Layers For longer storage, wrap cooled cake layers tightly in plastic wrap, then an additional layer of aluminum foil. Freeze for up to 2 months. Thaw overnight in the refrigerator before frosting.
- Freezing Frosted Cake You can even freeze a fully frosted cake! Place the cake in the freezer uncovered for about an hour until the frosting is firm. Then, wrap it tightly in plastic wrap and foil. Thaw overnight in the refrigerator.
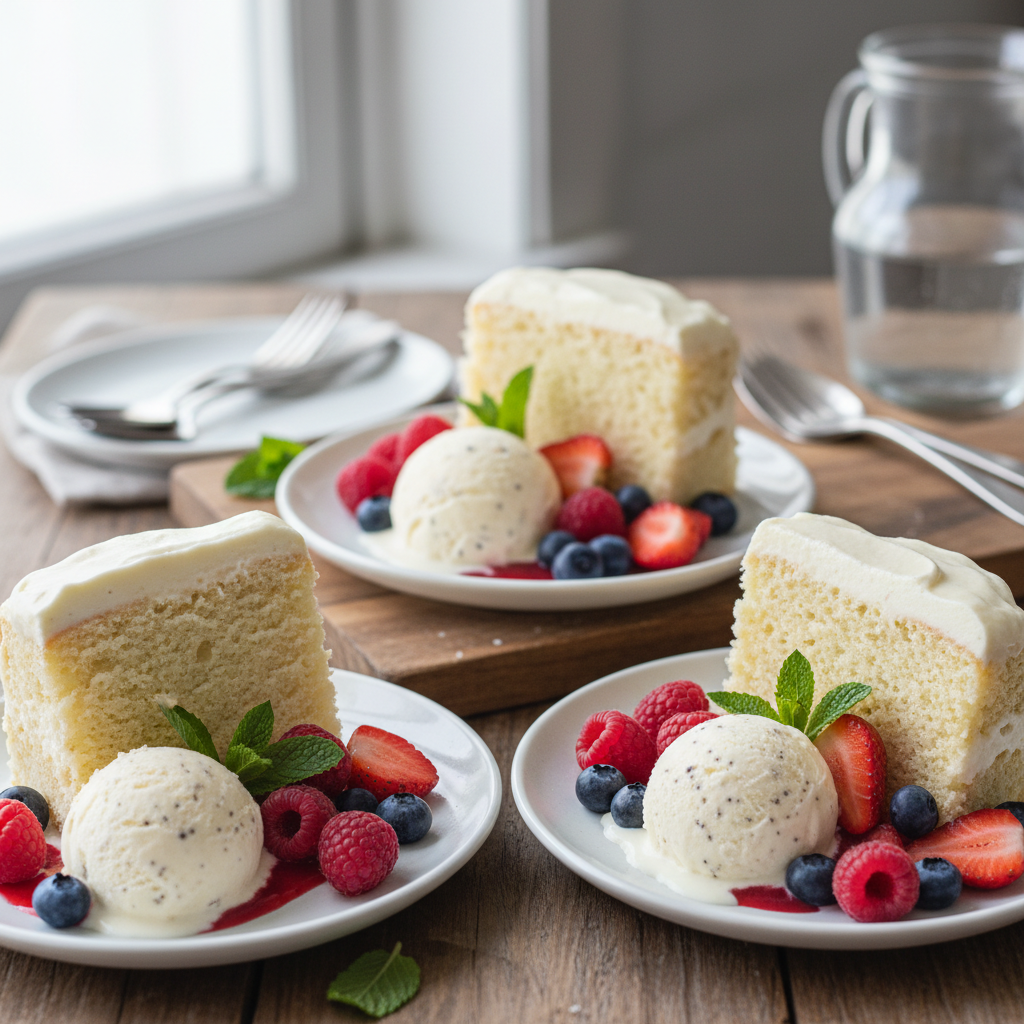
Delightful Ways to Serve Your Vanilla Cake
A classic vanilla cake is wonderful on its own, but here are some ideas to make serving extra special:
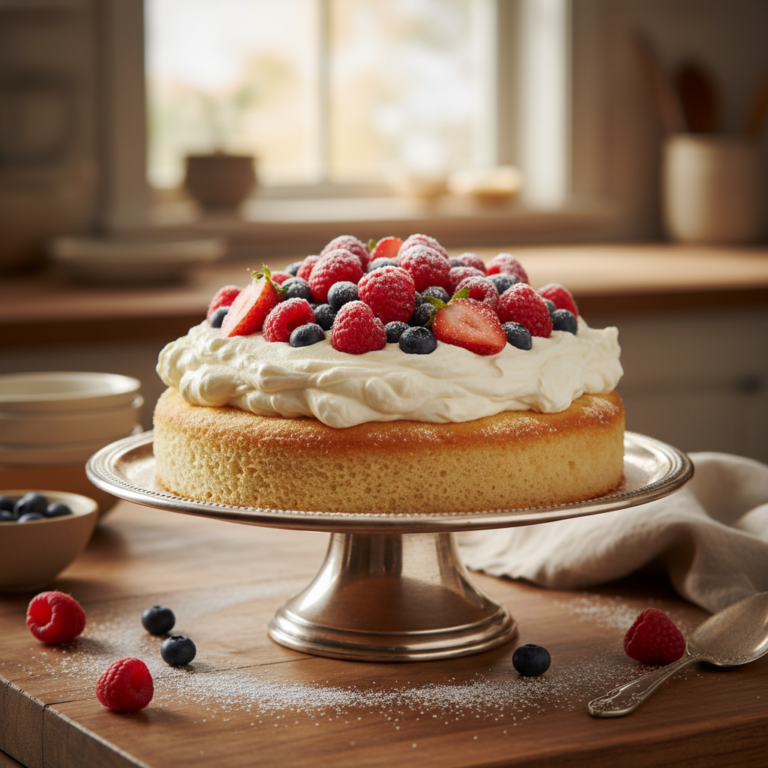
- Fresh Berries A handful of fresh raspberries, strawberries, or blueberries adds a beautiful pop of color and tartness.
- A Scoop of Ice Cream Vanilla bean or strawberry ice cream makes a fantastic pairing.
- Whipped Cream A dollop of freshly whipped cream can lighten things up.
- Coffee or Tea Serve with a warm cup of coffee or your favorite herbal tea for a comforting treat.
Your Vanilla Cake Questions Answered

Can I make this cake ahead of time?
Absolutely! You can bake the cake layers up to two days in advance and store them tightly wrapped at room temperature. For longer storage, you can freeze the layers for up to two months. Just thaw them in the refrigerator overnight before frosting.
How do I prevent my cake from sticking to the pan?
Thoroughly grease and flour your cake pans, ensuring every nook and cranny is covered. For extra insurance, line the bottoms of the pans with parchment paper. This creates a non-stick barrier and makes releasing the cakes much easier.
My cake layers are dense, what went wrong?
A dense cake is often a sign of overmixing the batter once the flour is added. Overmixing develops gluten, leading to a tough, dense texture. Another common cause can be incorrect measurements of leavening agents (baking powder/soda) or using ingredients that aren’t at room temperature.
Bake with Love and Enjoy Every Slice

And there you have it! Your very own, show-stopping classic vanilla birthday cake. Baking from scratch is a rewarding experience, and there’s nothing quite like the pride of presenting a homemade cake to your loved ones. We hope this recipe empowers you to create delicious memories. So go ahead, gather your ingredients, put on your favorite baking playlist, and get ready to bake some joy. Don’t forget to share your creations with us! Happy baking, and enjoy every single delightful slice!