There’s something truly magical about chocolate covered strawberries. They’re elegant, decadent, and surprisingly simple to make, yet they always feel incredibly special. Whether you’re celebrating an anniversary, a birthday, Valentine’s Day, or simply want to treat yourself and loved ones to a luxurious dessert, homemade chocolate covered strawberries are always a hit. Forget expensive store-bought versions; with this guide, you’ll create beautiful, delicious treats that will impress everyone.
A Sweet History and Background

While the exact origin story of combining strawberries and chocolate isn’t precisely documented, the concept likely emerged in the early 20th century. Strawberries themselves have been enjoyed for centuries, and chocolate, once a bitter drink, evolved into a beloved confection. The pairing of the sweet, slightly tart berry with rich, smooth chocolate is a match made in culinary heaven. It’s a combination that speaks of romance, indulgence, and simple joy, making it a perennial favorite for celebrations around the globe.
Why You’ll Love This Recipe

- It’s incredibly easy Even if you’re new to baking or dessert making, this recipe is foolproof.
- Uses simple ingredients You only need a few high-quality items to create something spectacular.
- Impressive results These look gourmet but are so simple to achieve.
- Customizable Easily adapt with different chocolates, toppings, and flavors.
- Perfect for any occasion From casual gatherings to grand celebrations, they fit right in.
Ingredient Notes
The beauty of chocolate covered strawberries lies in their simplicity, so choosing good quality ingredients is key.
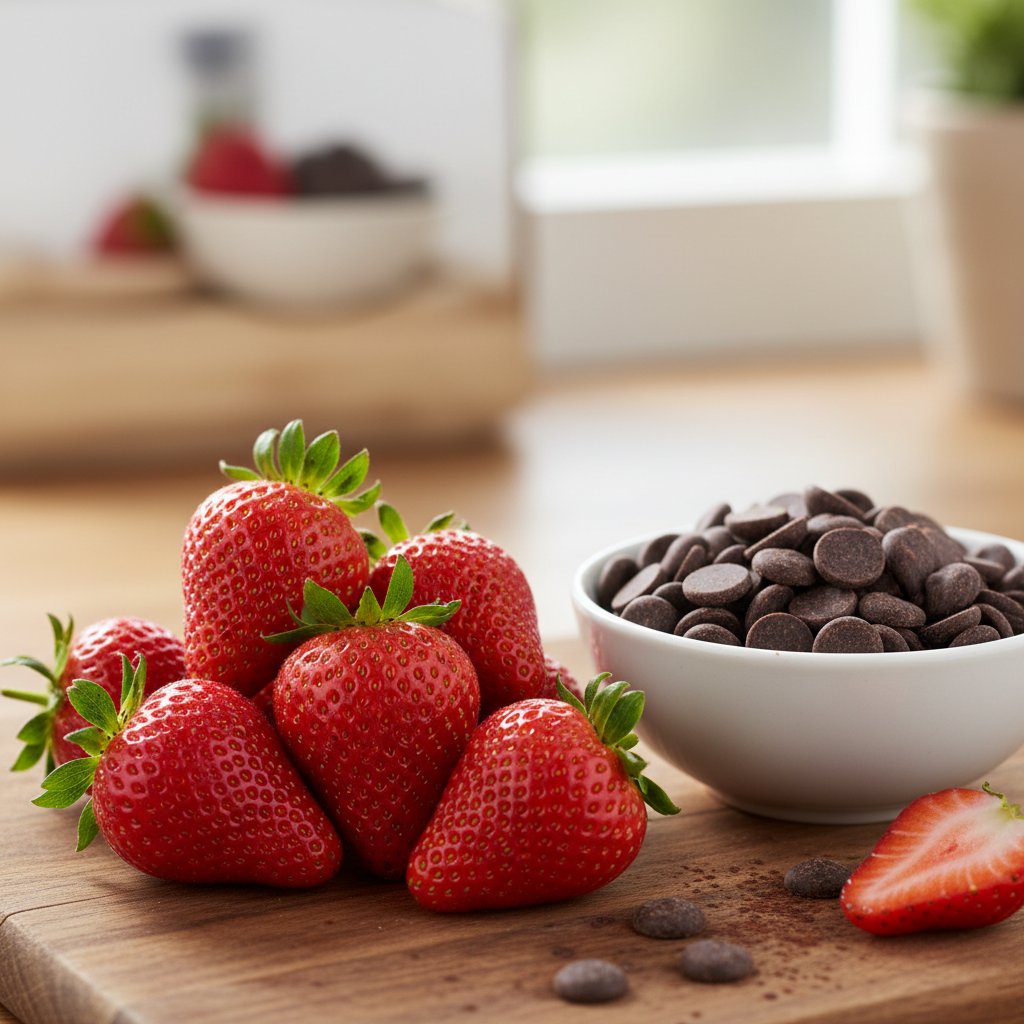
- Fresh Strawberries Choose firm, ripe, vibrant red strawberries with their green stems intact. Avoid any bruised or overly soft berries. Wash them gently and pat them completely dry. Moisture is the enemy of melted chocolate!
- Chocolate This is where you can truly customize.
- Semi-sweet or Dark Chocolate For a classic, rich flavor. Look for baking chocolate bars or high-quality chocolate chips (couverture chocolate is best if you can find it, as it melts smoothly).
- Milk Chocolate For a sweeter, creamier coating.
- White Chocolate Great for decorative drizzles or a different flavor profile.
- Optional Toppings Sprinkles, chopped nuts, shredded coconut, or even a contrasting chocolate drizzle can add extra flair.
Equipment Needed
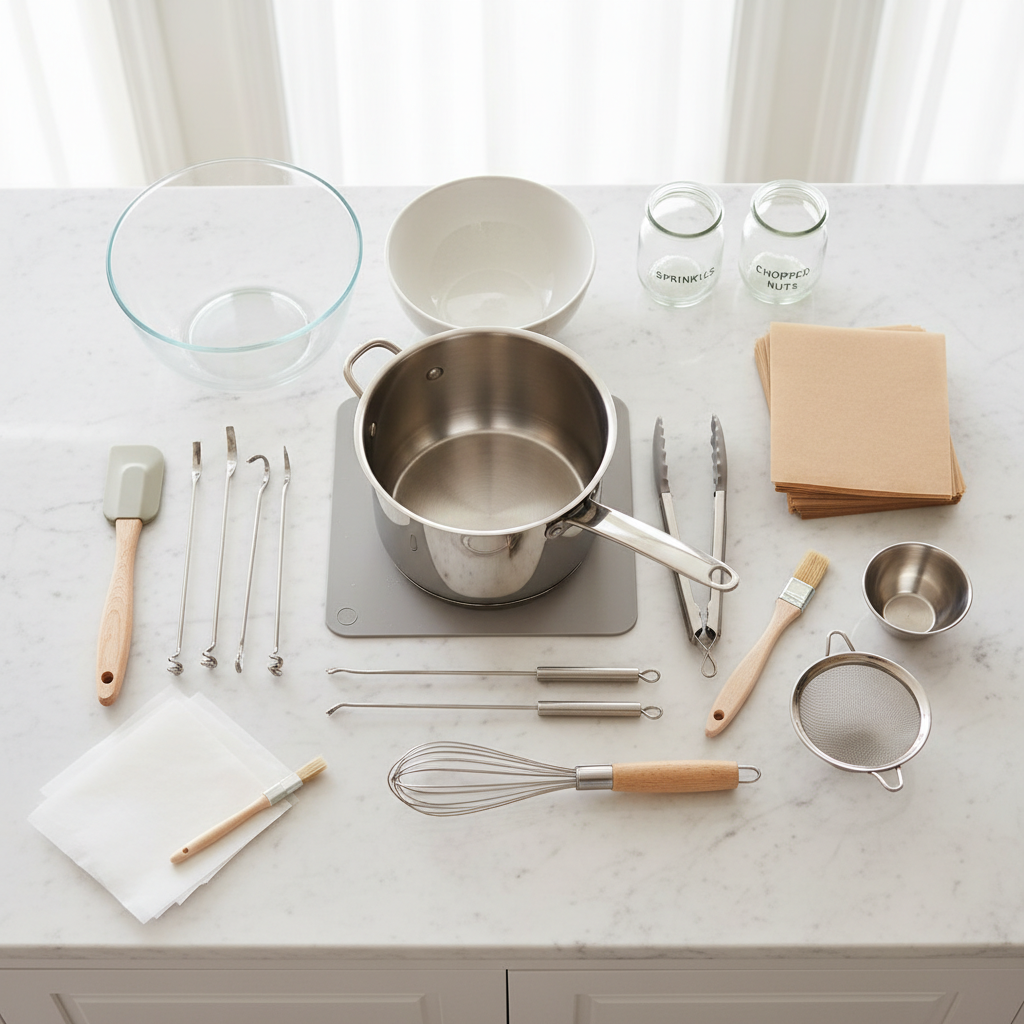
You don’t need much specialized equipment, making this a great recipe for any home kitchen.
- Baking Sheet Lined with parchment paper or a silicone mat for setting the strawberries.
- Double Boiler or Microwave-Safe Bowl For melting chocolate gently.
- Rubber Spatula or Spoon For stirring chocolate.
- Shallow Bowl or Mug Wide enough to dip the strawberries easily.
- Paper Towels For ensuring strawberries are completely dry.
Full Recipe Card
Ingredients
- 1 lb (about 24-30) large fresh strawberries, washed and thoroughly dried
- 10-12 oz (280-340g) good quality chocolate (semi-sweet, dark, milk, or white), chopped or in chip form
- 1-2 teaspoons coconut oil or vegetable shortening (optional, for smoother melting)
- Optional toppings: sprinkles, chopped nuts, shredded coconut
Instructions
- Prepare Your Workspace Line a baking sheet with parchment paper or a silicone mat. Ensure your strawberries are completely dry. Any water will cause the chocolate to seize.
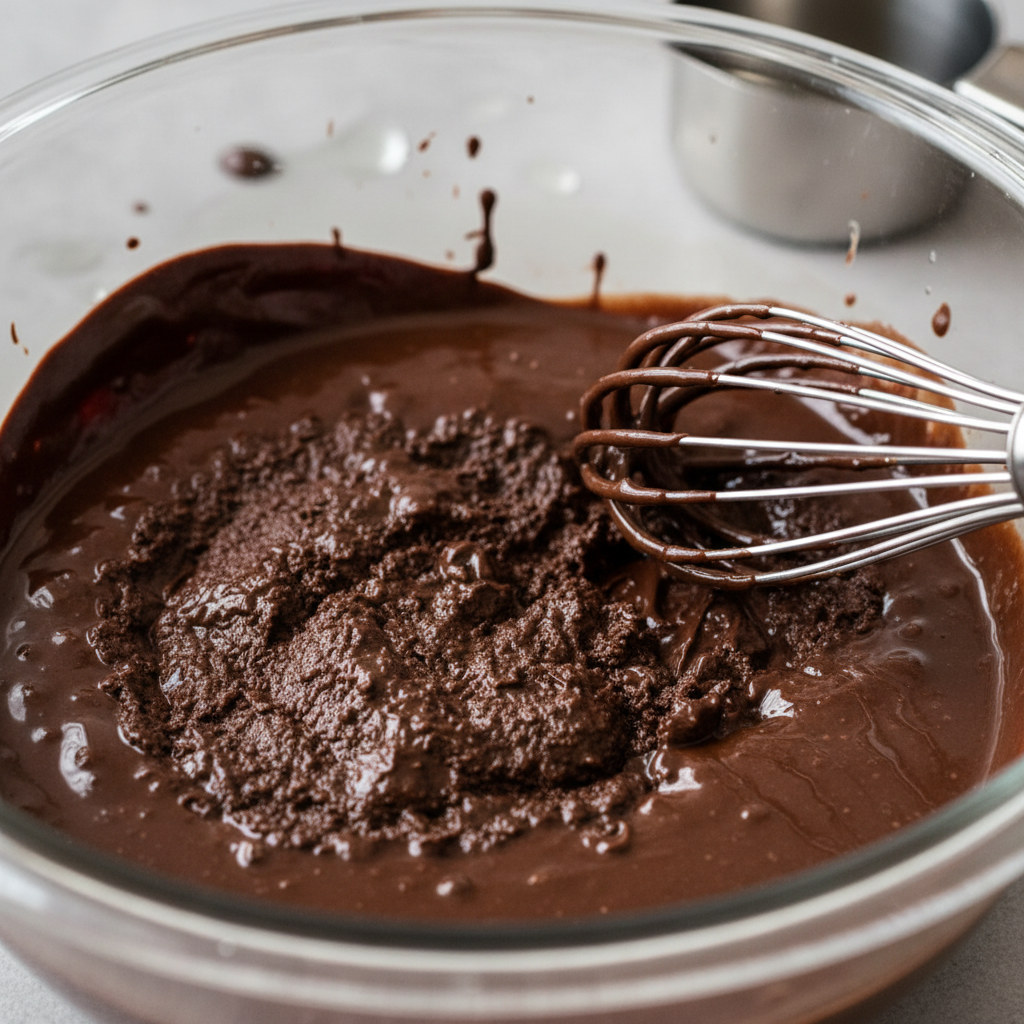
- Melt the Chocolate
- Double Boiler Method Place chopped chocolate (and coconut oil/shortening, if using) in a heatproof bowl set over a saucepan of simmering water. Ensure the bowl does not touch the water. Stir gently until the chocolate is smooth and fully melted. Remove from heat, keeping the bowl over the warm water to maintain fluidity.
- Microwave Method Place chopped chocolate (and coconut oil/shortening, if using) in a microwave-safe bowl. Microwave in 30-second intervals, stirring well after each, until smooth and melted. Be careful not to overheat.
- Dip the Strawberries Hold a strawberry by its green stem. Dip it into the melted chocolate, rotating gently to coat about two-thirds to three-quarters of the berry. Allow excess chocolate to drip off.
- Set the Strawberries Place the dipped strawberry onto the prepared baking sheet. If adding toppings, sprinkle them on immediately before the chocolate sets.
- Chill to Set Once all strawberries are dipped, place the baking sheet in the refrigerator for 15-30 minutes, or until the chocolate is fully set and firm.
- Serve and Enjoy Once set, arrange beautifully and serve!
Notes
- For best results, use good quality chocolate. Compound chocolate will melt easily but may not taste as good.
- The optional coconut oil or shortening helps create a thinner, shinier coating that’s easier to work with.
- Ensure your strawberries are at room temperature before dipping for the best adhesion and to prevent the chocolate from cracking.
Tips and Variations

- Chocolate Drizzle Melt a contrasting chocolate (e.g., white chocolate over dark chocolate dipped berries) and use a spoon or a piping bag with a small hole to drizzle patterns over the set strawberries.
- Nutty Crunch Roll dipped strawberries in finely chopped pistachios, almonds, or walnuts before the chocolate sets.
- Coconut Kiss Dip in chocolate, then roll in toasted shredded coconut.
- Spicy Kick Add a pinch of cayenne pepper to dark chocolate for an unexpected warmth.
- Citrus Zest Mix a tiny bit of orange or lemon zest into white chocolate for a bright flavor.
Pro Chef Tips
- Tempering Chocolate For truly professional, glossy, snap-worthy chocolate that resists blooming (white streaks), temper your chocolate. This involves carefully heating and cooling chocolate to stabilize its crystals. While not strictly necessary for this simple recipe, it elevates the quality significantly.
- Use a Tall, Narrow Container When melting chocolate, using a tall, narrow mug or glass can make dipping easier as it provides more depth for a full coating.
- Work Quickly but Carefully Chocolate sets fairly quickly, especially if the strawberries are cool. Have all your toppings ready to go.
Common Mistakes to Avoid
- Wet Strawberries This is the biggest culprit for seized, clumpy chocolate. Ensure your strawberries are bone dry.
- Overheating Chocolate Burnt chocolate is unusable. Melt gently and slowly, especially in the microwave.
- Thick Chocolate Coating If your chocolate is too thick, it won’t adhere smoothly. A tiny bit of coconut oil or shortening can thin it out.
- Dipping Cold Strawberries If strawberries are too cold, the chocolate can set too quickly and crack. Let them come to room temperature.
- Not Allowing Excess to Drip Too much chocolate will pool at the bottom, creating a messy foot. Let it drip off thoroughly.
Storage and Meal Prep
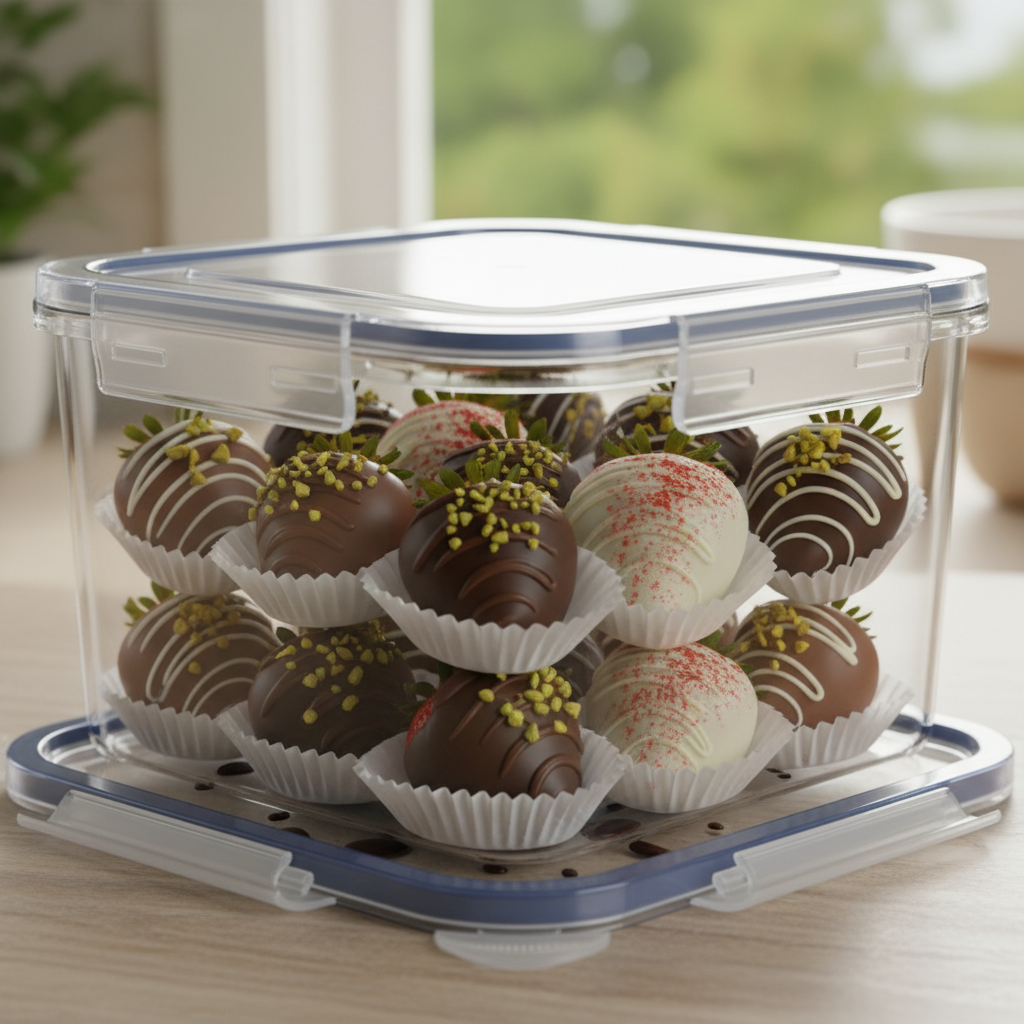
For the freshest taste and appearance, chocolate covered strawberries are best enjoyed within 24-48 hours of making them. Store them in a single layer in an airtight container in the refrigerator. If you must stack them, place a piece of parchment paper between layers to prevent sticking.
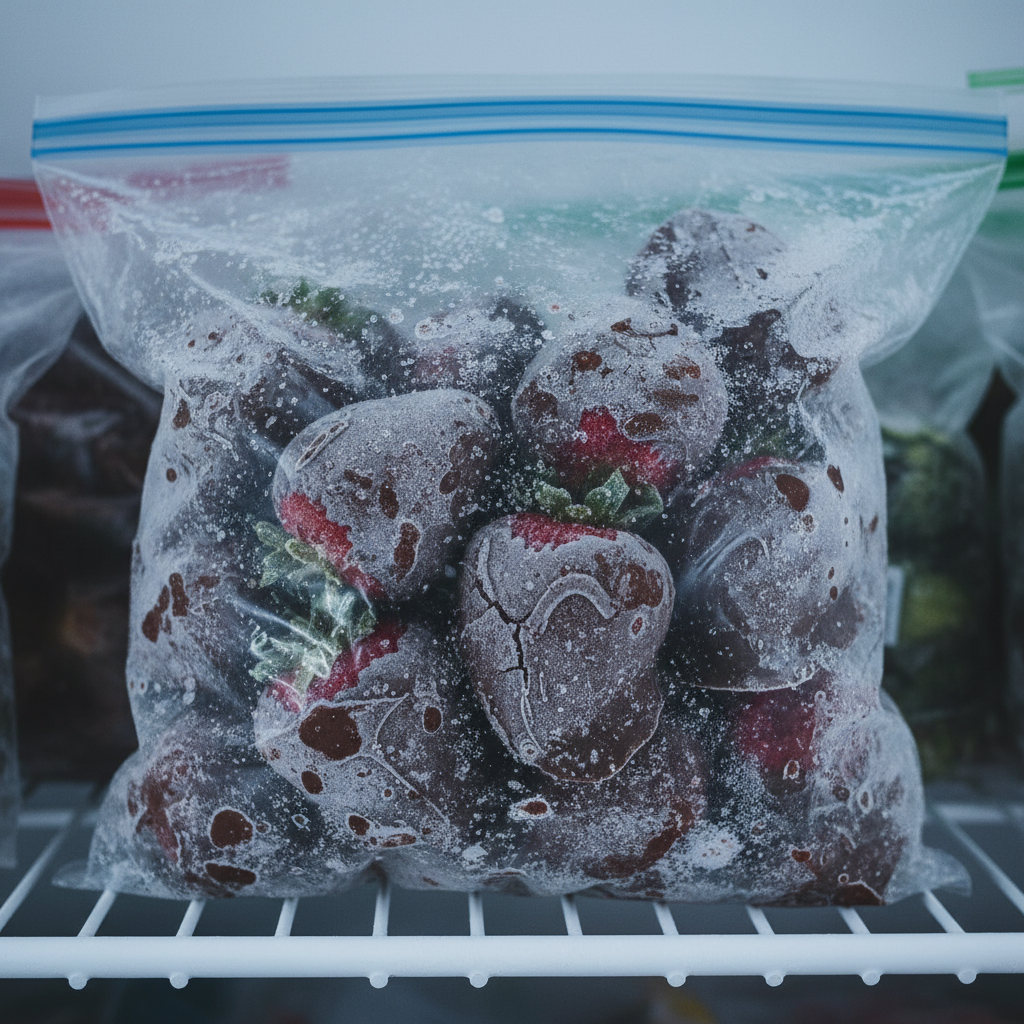
Make-Ahead and Freezer Notes
While best fresh, you can make these a day in advance. If you need to store them longer, freezing is an option, but the texture of the strawberry may change slightly upon thawing. To freeze, place the set strawberries in a single layer on a baking sheet and freeze until solid. Then transfer them to a freezer-safe bag or container for up to 2-3 months. Thaw in the refrigerator before serving.
Serving Suggestions

These elegant treats are versatile! Serve them as:
- A romantic dessert for two.
- Part of a dessert platter for parties.
- A thoughtful homemade gift.
- Garnish for cakes, cupcakes, or ice cream sundaes.
- Alongside a glass of champagne or sparkling wine.
Conclusion

There you have it—your ultimate guide to creating perfect chocolate covered strawberries at home! This simple indulgence proves that you don’t need to be a professional pastry chef to create something truly beautiful and delicious. So go ahead, gather your ingredients, follow these easy steps, and get ready to impress. Happy dipping, and enjoy every decadent bite!