Welcome, fellow dessert lovers! If you’re searching for a simple, no-fuss dessert that delivers big on flavor and nostalgia, you’ve just hit the jackpot. Today, we’re diving into the delightful world of Chocolate Biscuit Pudding – a classic treat that requires no baking, minimal effort, and promises maximum satisfaction. It’s the kind of dessert that brings back childhood memories and creates new ones with every creamy, chocolatey bite. Perfect for busy weeknights, special occasions, or just because you deserve a treat!
A Little History Behind This Beloved Dessert

Chocolate biscuit pudding, often known by various names like ‘no-bake chocolate cake’ or ‘refrigerator cake’ across different cultures, holds a special place in many hearts. Its origins are somewhat debated, with similar desserts appearing in European royal kitchens and humble home kitchens alike. The concept is simple yet brilliant- take readily available biscuits and combine them with a rich, creamy chocolate mixture, then let time and refrigeration do their magic. It’s a testament to how simple ingredients can create something truly extraordinary. This dessert gained immense popularity for its ease of preparation, especially in times when ovens were a luxury or during hot weather when baking was less appealing. It’s comfort food at its finest, a sweet reminder that sometimes, the simplest things are the most delicious.
Why You’ll Absolutely Love This Recipe
- No-Bake Wonder– Forget turning on the oven! This recipe is entirely no-bake, making it perfect for hot days or when you just don’t feel like baking.
- Beginner-Friendly– If you’re new to making desserts, this is a fantastic starting point. The steps are straightforward, and the results are consistently delicious.
- Rich Chocolate Flavor– Made with real cocoa and chocolate, this pudding offers a deep, satisfying chocolate experience.
- Customizable Fun– Easily adapt it with different biscuits, add-ins, or toppings to suit your taste.
- Make-Ahead Magic– It actually tastes better when made in advance, allowing the flavors to meld and the biscuits to soften perfectly.
- Crowd-Pleaser– A guaranteed hit at parties, potlucks, or family gatherings. Everyone loves a good chocolate biscuit pudding!
Essential Ingredient Notes
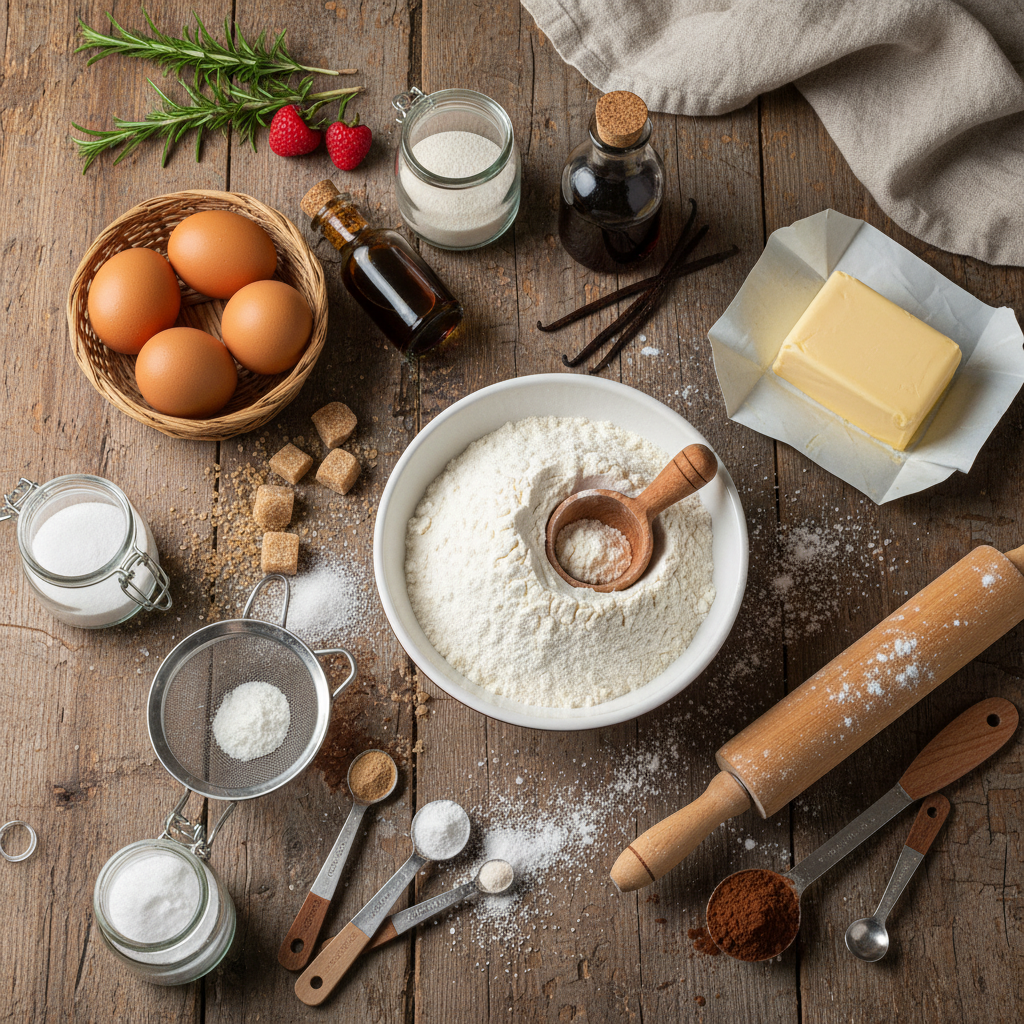
While this recipe is simple, using good quality ingredients will elevate your pudding from good to absolutely amazing. Here’s a quick guide to what you’ll need:
- Tea Biscuits or Marie Biscuits– These are the stars! Their mild flavor and crisp texture are perfect for soaking up the chocolate mixture without becoming mushy. Digestive biscuits also work well for a slightly different texture and flavor.
- Unsalted Butter– Provides richness and helps bind the mixture. Using unsalted allows you to control the salt content.
- Granulated Sugar– Sweetens our chocolate base. Adjust to your preference.
- Unsweetened Cocoa Powder– Crucial for that deep chocolate flavor. Choose a good quality brand for the best results.
- Milk– Full-fat milk creates a creamier, richer pudding. You can use lower-fat milk, but the texture might be slightly less decadent.
- Heavy Cream or Whipping Cream– Adds incredible richness and a silky texture to the chocolate mixture. Do not substitute with half-and-half if you want that luxurious mouthfeel.
- Vanilla Extract– A touch of vanilla enhances the chocolate flavor beautifully. Use pure vanilla extract for the best taste.
- Optional- Dark Chocolate Chips or Chunks– For an extra boost of chocolate goodness and a slightly varied texture in the pudding itself.
Equipment You’ll Need
You won’t need anything fancy for this recipe, just a few kitchen basics:
- Mixing Bowls– A couple of medium-sized bowls for mixing.
- Saucepan– For preparing the chocolate mixture.
- Whisk– To ensure a smooth, lump-free chocolate sauce.
- Spatula or Wooden Spoon– For stirring and folding.
- 8×8 inch Square Pan or Loaf Pan– Or any similar-sized dish. A springform pan can also be used for easy removal.
- Plastic Wrap or Cling Film– For covering and chilling.
Chocolate Biscuit Pudding- The Full Recipe Card
Ingredients
- 200g (about 7 oz) tea biscuits or Marie biscuits
- 100g (about 7 tablespoons) unsalted butter
- 1/2 cup (100g) granulated sugar
- 1/2 cup (50g) unsweetened cocoa powder
- 1/2 cup (120ml) milk
- 1/2 cup (120ml) heavy cream (whipping cream)
- 1 teaspoon vanilla extract
- Pinch of salt (optional, enhances chocolate flavor)
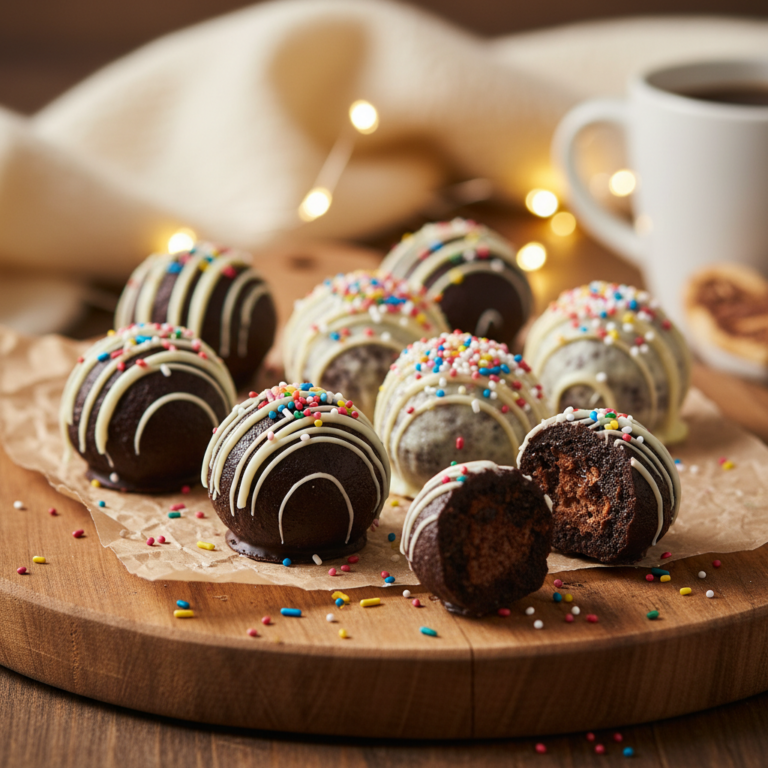
- Optional toppings- chocolate shavings, sprinkles, whipped cream, fresh berries
Instructions
- Prepare the Biscuits– Gently break the biscuits into rough, bite-sized pieces. Don’t crush them too finely; we want some texture! Set aside.
- Make the Chocolate Base– In a medium saucepan, combine the butter, sugar, cocoa powder, milk, heavy cream, and a pinch of salt (if using). Place over medium heat.
- Melt and Combine– Stir continuously with a whisk until the butter is melted and the mixture comes to a gentle simmer. Cook for 2-3 minutes, stirring, until the sugar is fully dissolved and the mixture is smooth and slightly thickened. Do not boil vigorously.
- Remove from Heat and Add Vanilla– Take the saucepan off the heat and stir in the vanilla extract.
- Combine Biscuits and Chocolate– Pour the warm chocolate mixture over the broken biscuits in a large mixing bowl. Gently fold everything together with a spatula until all the biscuit pieces are well coated in the chocolate sauce. Be careful not to break the biscuits too much.
- Assemble the Pudding– Line an 8×8 inch square pan or a loaf pan with parchment paper or plastic wrap, leaving an overhang on the sides for easy lifting. Spoon the biscuit and chocolate mixture into the prepared pan.
- Press and Smooth– Press the mixture down firmly and evenly into the pan using the back of a spoon or your spatula. This helps to create a compact pudding.
- Chill Thoroughly– Cover the pan tightly with plastic wrap and refrigerate for at least 4-6 hours, or preferably overnight, to allow the pudding to set and the biscuits to soften.
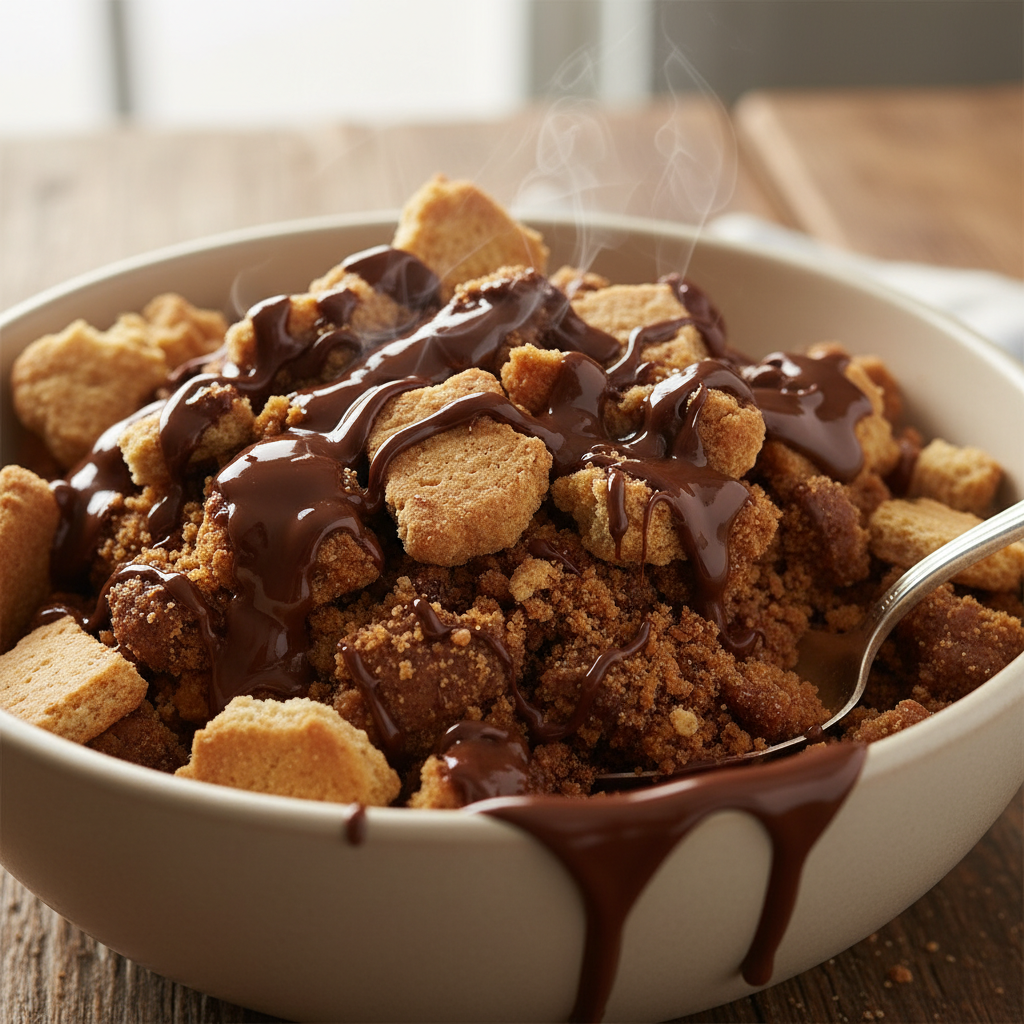
- Serve and Enjoy– Once firm, use the parchment paper/plastic wrap overhang to lift the pudding out of the pan. Slice into squares or rectangles. Garnish with your favorite toppings and serve chilled!
Recipe Notes
- For an extra rich flavor, you can melt 50g of dark chocolate chips into the warm chocolate mixture before adding the biscuits.
- Adjust sugar to your taste. If you prefer a less sweet dessert, reduce the sugar by a tablespoon or two.
- Ensure your biscuits are not too finely crushed, as larger pieces provide better texture.
- Chilling is key! Do not rush this step, as it allows the pudding to set properly and the biscuits to absorb the chocolate goodness.
Tips & Creative Variations
- Nutty Delight– Add 1/2 cup of chopped toasted nuts (walnuts, pecans, or almonds) to the biscuit mixture for extra crunch and flavor.
- Coffee Kick– Dissolve 1-2 teaspoons of instant coffee powder in a tablespoon of hot water and add it to the chocolate mixture for a mocha twist.
- Citrus Zest– A little orange zest (1 teaspoon) can brighten the chocolate flavor beautifully.
- Boozy Bliss– For an adult version, add a tablespoon or two of rum, brandy, or coffee liqueur to the chocolate mixture after it’s off the heat.
- Coconut Dream– Fold in 1/4 cup of desiccated coconut with the biscuits for a tropical hint.
- Layered Look– Instead of mixing all biscuits at once, create layers- a thin layer of chocolate mix, then a layer of whole biscuits, repeating until the pan is full.
Pro Chef Tips for Perfection
- Temper Your Chocolate Mixture– While not strictly tempering, ensure your chocolate mixture is warm enough to coat the biscuits but not boiling hot. This helps the biscuits absorb the liquid without disintegrating too quickly.
- Don’t Overmix the Biscuits– Mix just enough to coat the biscuits evenly. Overmixing can turn your biscuit pieces into crumbs, leading to a less desirable texture.
- Press Down Firmly– When transferring the mixture to the pan, press it down firmly with a spatula. This removes air pockets and ensures a compact, sliceable pudding.
- Quality Ingredients Matter– Especially for cocoa and vanilla. A good quality unsweetened cocoa powder makes a huge difference in the depth of chocolate flavor.
- Chill Overnight for Best Results– While 4-6 hours is the minimum, an overnight chill allows the biscuits to fully soften and the flavors to meld, resulting in a superior texture and taste.
Common Mistakes to Avoid
- Over-Boiling the Chocolate Mixture– Boiling vigorously can cause the milk to curdle or the mixture to become too thick too quickly, resulting in a grainy texture. Gentle simmering is key.
- Not Chilling Long Enough– Impatience is the enemy of this pudding! If not chilled sufficiently, it will be soft and messy, not firm and sliceable.
- Crushing Biscuits Too Finely– If your biscuits are too powdery, they will just dissolve into the chocolate mixture, and you’ll lose that delightful textural contrast.
- Using Low-Fat Dairy– While possible, using low-fat milk or cream will result in a less rich and creamy pudding. Stick to full-fat for the best experience.
- Skipping the Lining– Not lining your pan makes it incredibly difficult to remove the pudding without damaging it. Always use parchment paper or plastic wrap with an overhang.
Storage & Effortless Meal Prep
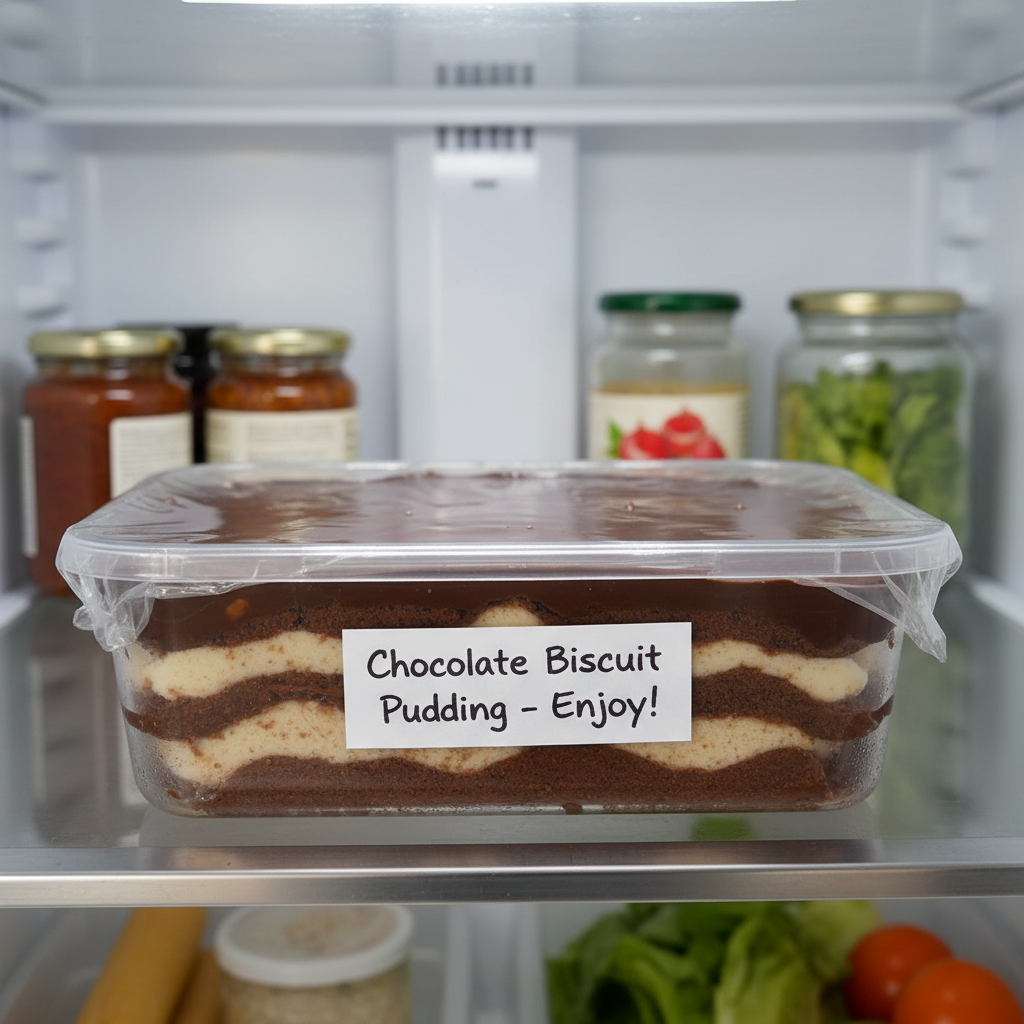
This chocolate biscuit pudding is a fantastic dessert for meal prepping because it needs to be made ahead! Once prepared and chilled, it will last beautifully in the refrigerator.
- Refrigeration– Store any leftover pudding, tightly covered with plastic wrap, in an airtight container in the refrigerator for up to 3-4 days.
- Serving Cold– Always serve this pudding chilled. It’s not meant to be eaten at room temperature, as it will soften too much.
Make-Ahead & Freezer Notes
- Make-Ahead– This pudding is ideal for making ahead! Prepare it a day or two before you plan to serve it. This gives the biscuits ample time to soften and the flavors to deepen, making it even more delicious.
- Freezing– While technically possible, freezing chocolate biscuit pudding is not recommended. The biscuits can become somewhat soggy and the texture might change upon thawing. It’s best enjoyed fresh from the refrigerator within a few days.
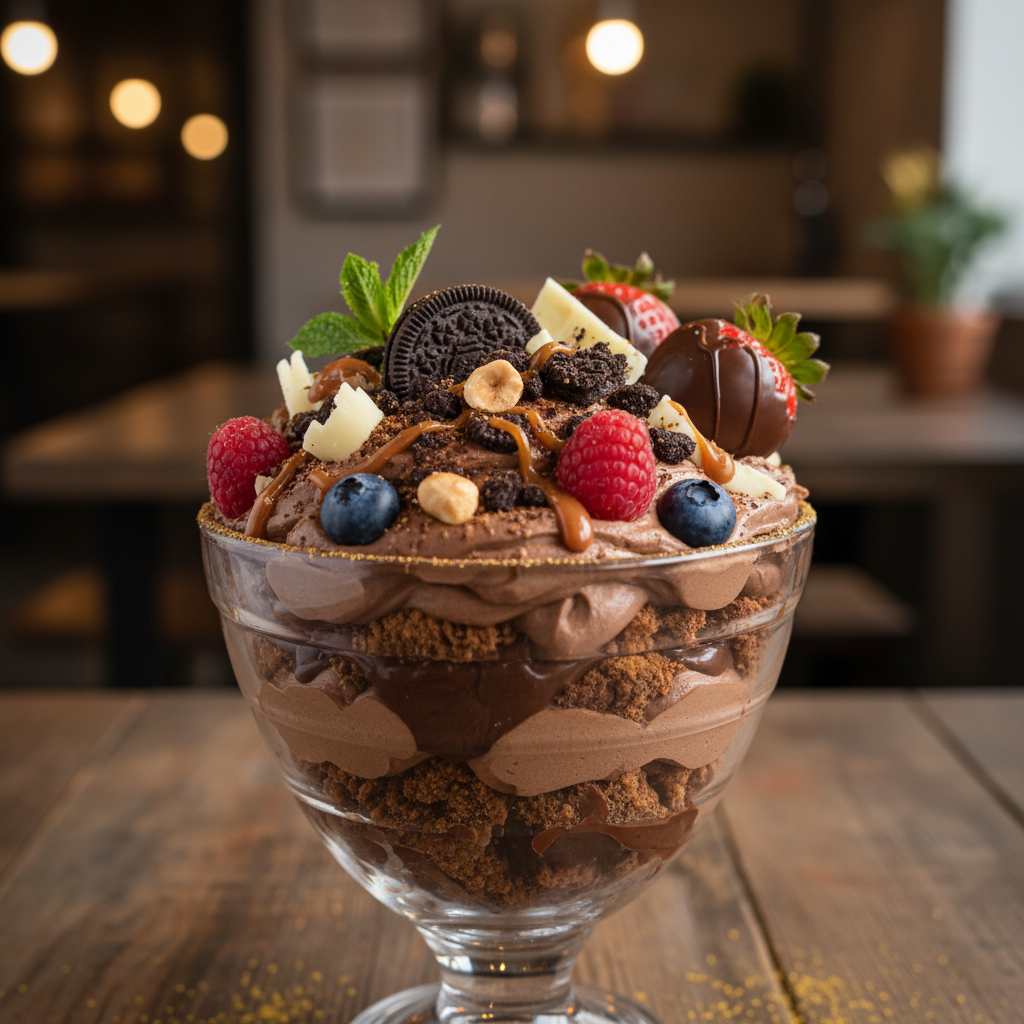
Delightful Serving Suggestions
This pudding is delicious on its own, but a few simple additions can turn it into an even more impressive dessert:
- A Dollop of Whipped Cream– A classic pairing that adds a light, airy contrast to the rich chocolate.
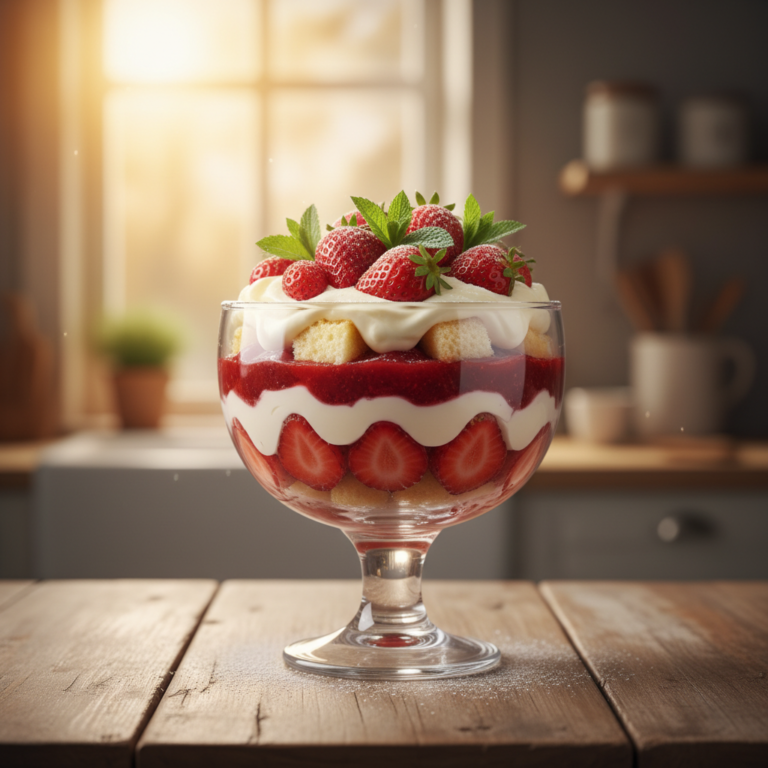
- Fresh Berries– Strawberries, raspberries, or blueberries add a lovely tartness and freshness that cuts through the richness.
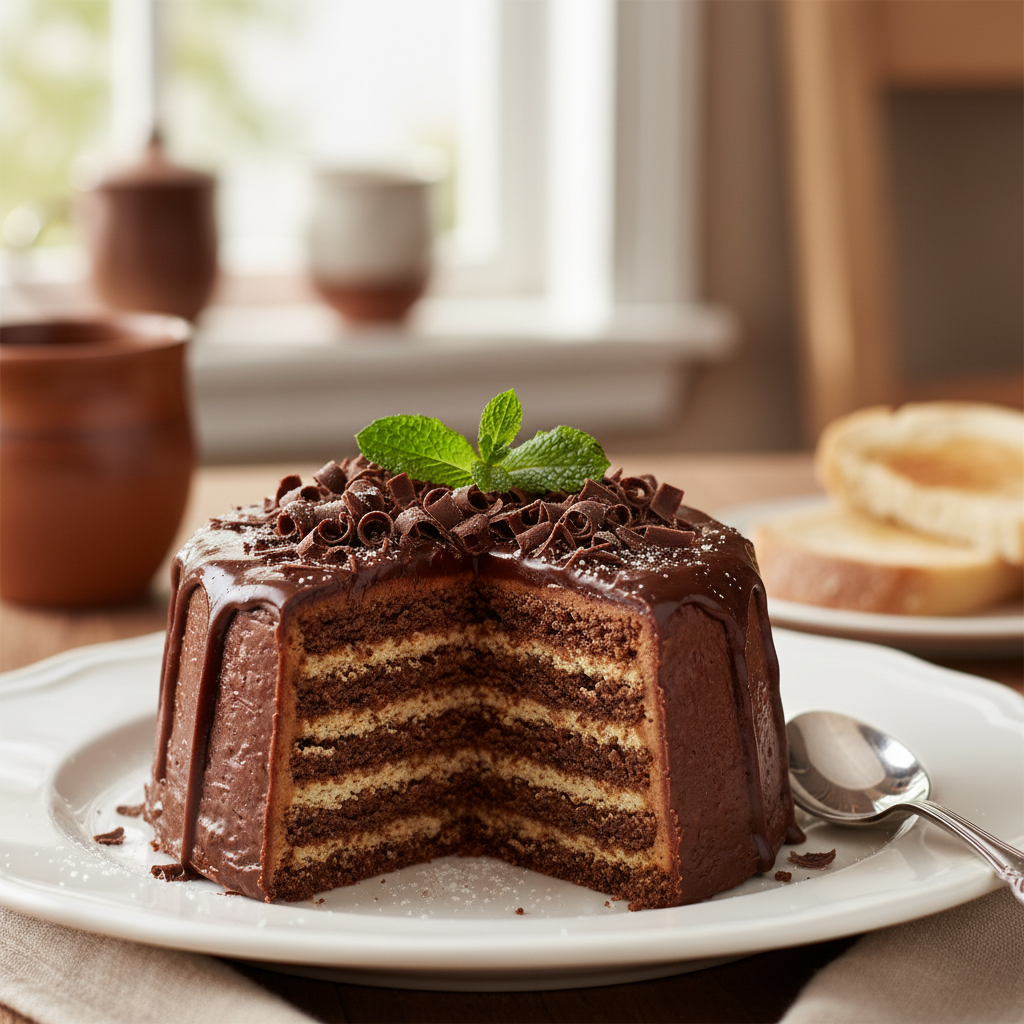
- Chocolate Shavings or Cocoa Dusting– For an elegant touch and extra chocolate appeal.
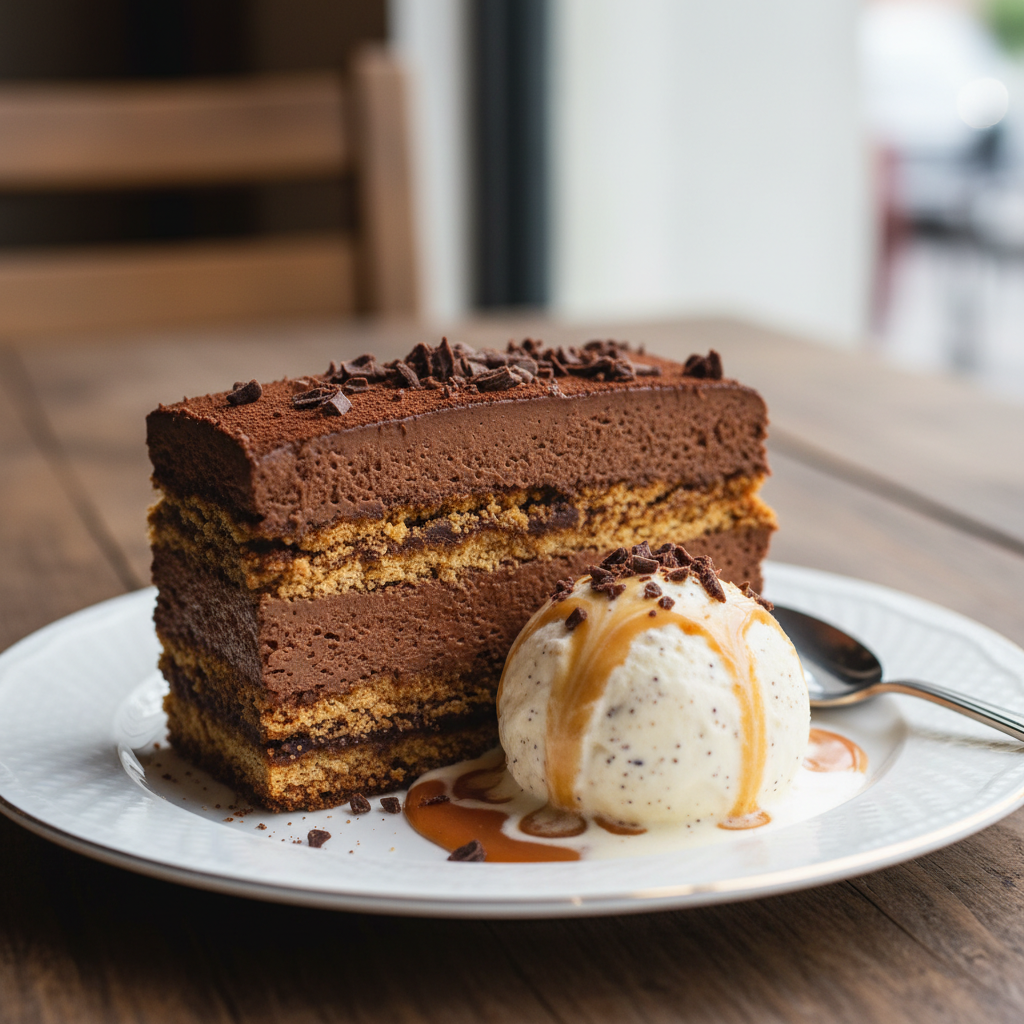
- A Scoop of Vanilla Ice Cream– The warm chocolate (if you slightly warm a slice) and cold ice cream combo is divine, or simply serve cold pudding with cold ice cream.
- A Drizzle of Chocolate or Caramel Sauce– For extra decadence.
- Sprinkles– Especially fun for kids or festive occasions!
Frequently Asked Questions
- Can I use other types of biscuits?Yes! Digestive biscuits, graham crackers, or even shortbread can work, but the texture and flavor will be slightly different. Tea biscuits or Marie biscuits are generally preferred for their neutral flavor and ability to soften well.
- My pudding isn’t setting, what went wrong?This usually means it hasn’t been chilled long enough. Ensure it’s in the refrigerator for at least 4-6 hours, preferably overnight. Also, make sure your chocolate mixture wasn’t too thin.
- How can I make this dairy-free?You can substitute dairy milk with plant-based milk (like almond or oat milk) and dairy cream with full-fat coconut cream (chilled, scoop out the thick cream). Use a dairy-free butter alternative.
- Can I add nuts or dried fruit?Absolutely! Chopped toasted nuts (walnuts, pecans, almonds) or dried fruits (raisins, cranberries) can be folded in with the biscuits for added texture and flavor.
- How do I get clean slices?Make sure the pudding is thoroughly chilled. Use a sharp knife dipped in hot water and wiped clean between each slice for the cleanest cuts.
Conclusion- Your New Favorite No-Bake Treat
And there you have it – your very own homemade Chocolate Biscuit Pudding, ready to impress and delight! This recipe proves that you don’t need fancy techniques or an oven to create a truly spectacular dessert. It’s all about simple ingredients, a little patience, and a whole lot of love. Whether you’re making it for a special gathering or just a quiet evening at home, this no-bake wonder is sure to become a cherished favorite. So go ahead, whip up a batch, chill it to perfection, and get ready to enjoy the rich, creamy, and utterly satisfying taste of this timeless classic. Happy dessert making!