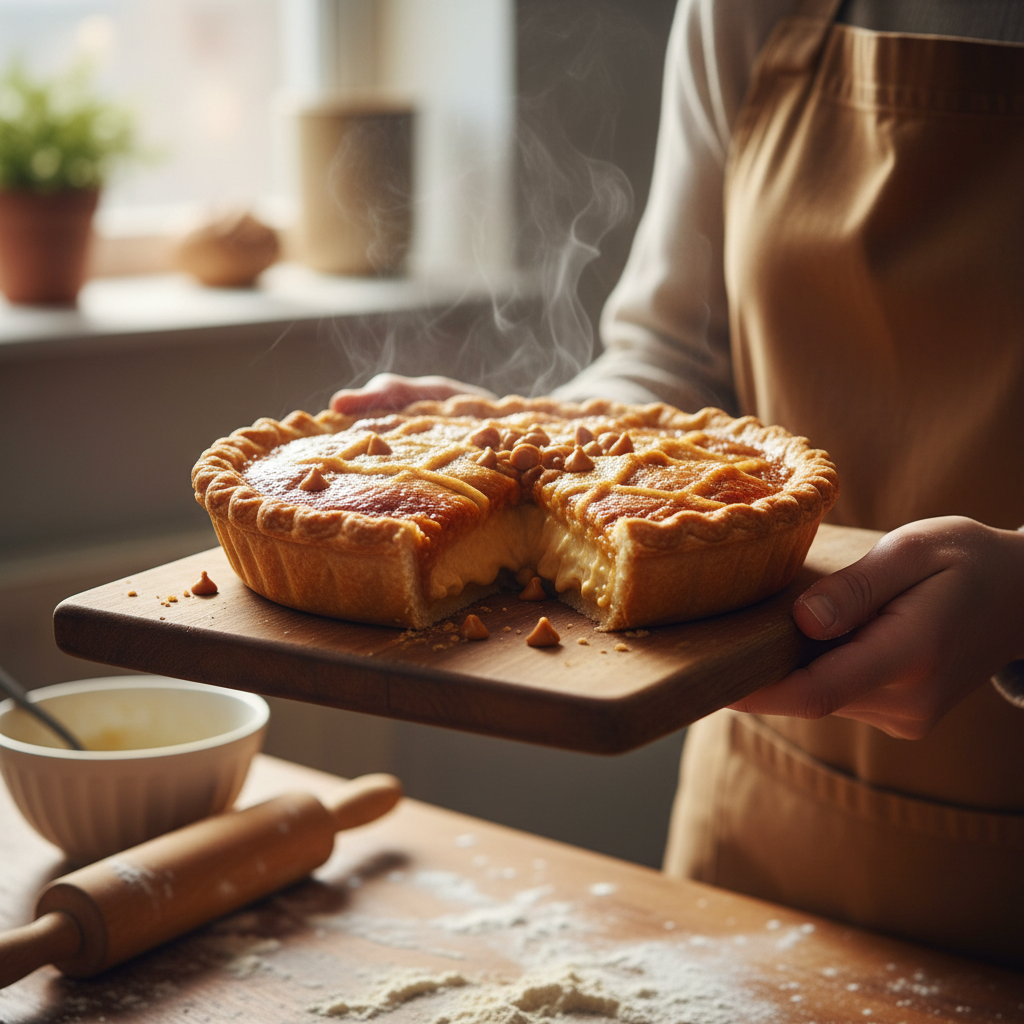
There’s something incredibly comforting about a classic dessert, isn’t there? And when it comes to pure, unadulterated nostalgia and sweet satisfaction, very few treats can hold a candle to a homemade butterscotch pie. Imagine a silky-smooth, rich filling bursting with the deep, caramelized notes of butterscotch, all nestled in a flaky, golden crust. It’s the kind of pie that brings back cherished memories and creates new ones with every single bite.
If you’ve always dreamed of making this iconic dessert but felt intimidated, fear not! This guide is designed to walk you through every step, ensuring your butterscotch pie is not just good, but absolutely unforgettable. Get ready to impress your family and friends with a pie that tastes like a hug in dessert form.
A Sweet History and Background

Butterscotch, in its essence, is a delightful confectionery made primarily from brown sugar and butter. Unlike caramel, which often uses white sugar and achieves its distinct flavor through crystallization, butterscotch gets its unique depth from the molasses in brown sugar, combined with the rich taste of butter. The name “butterscotch” itself has a few theories about its origin. Some believe it refers to the “scotching” or cutting of the candy into pieces, while others link it to Scotland, though there’s no definitive proof. Regardless of its true etymology, butterscotch has been a beloved flavor for centuries, evolving from hard candies to sauces, and eventually, to the star of many creamy desserts, including our beloved pie.
Butterscotch pie gained significant popularity in America, especially throughout the mid-20th century, becoming a staple in diners and home kitchens alike. It’s a testament to simple ingredients coming together to create something truly magical and enduringly delicious.
Why You’ll Love This Recipe
This butterscotch pie recipe isn’t just another dessert; it’s a gateway to sweet success. Here’s why it’s about to become your new favorite:
- Beginner-Friendly: We break down each step so even novice bakers can achieve a perfect pie.
- Rich and Creamy Texture: The filling is incredibly smooth and luscious, melting in your mouth.
- Deep Butterscotch Flavor: It truly captures that classic, comforting butterscotch taste.
- Crowd-Pleaser: A guaranteed hit at potlucks, family dinners, or holiday gatherings.
- Simple Ingredients: Uses common pantry staples you likely already have on hand.
Ingredient Notes for Perfection
Every great recipe starts with great ingredients. Here’s what you’ll need and why each component matters:
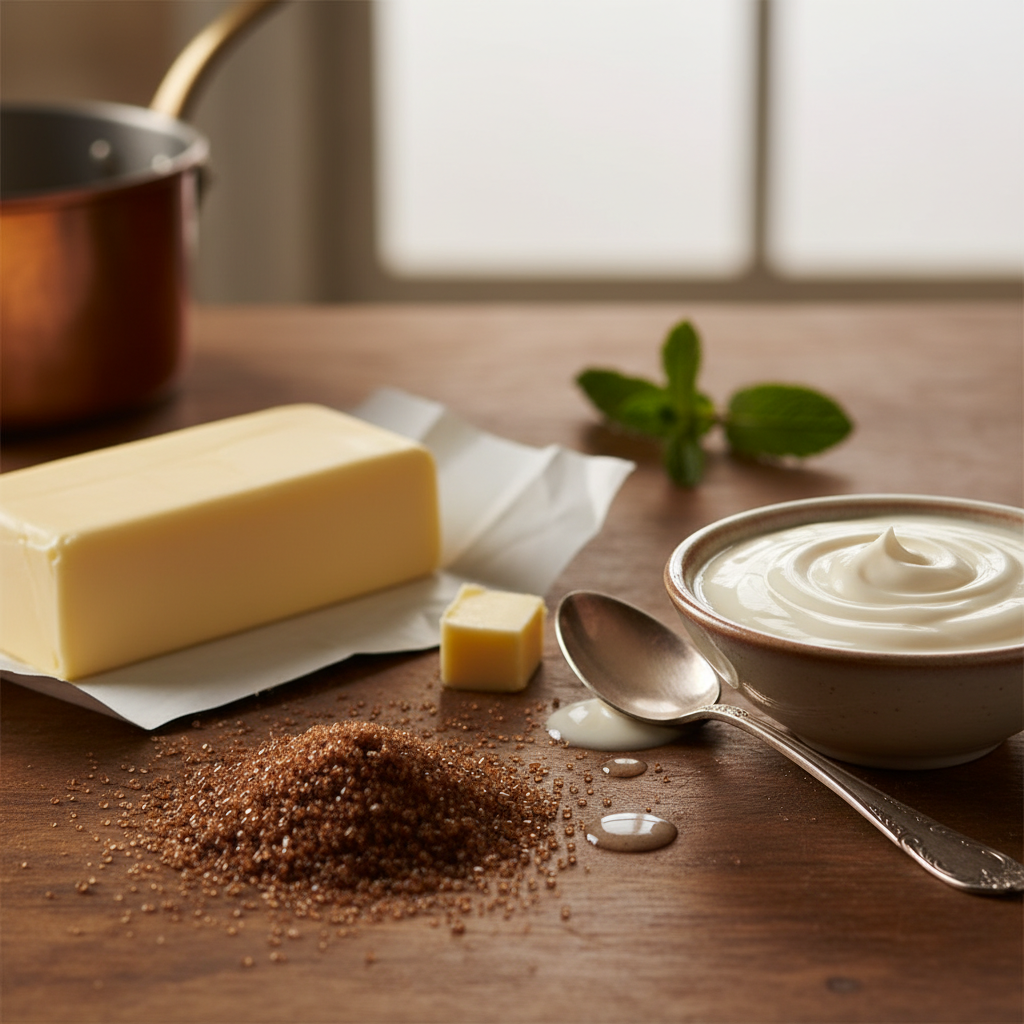
- Brown Sugar: This is the heart of your butterscotch flavor. Dark brown sugar will give a deeper, more robust molasses note, while light brown sugar offers a milder sweetness. Choose what you prefer!
- Unsalted Butter: Essential for that rich, buttery foundation. Using unsalted allows you to control the overall saltiness of the pie.
- Heavy Cream and Milk: A combination creates the perfect balance of richness and smooth consistency for the filling. Don’t skimp on the heavy cream!
- Egg Yolks: These are crucial for thickening the custard and adding to its luxurious texture and color.
- Cornstarch and Flour: Our thickening agents. Using both helps achieve a stable, smooth, and sliceable filling.
- Vanilla Extract: A touch of vanilla enhances all the other flavors beautifully. Use good quality extract for the best results.
- Salt: A pinch of salt balances the sweetness and makes the butterscotch flavor pop.
- Pie Crust: A pre-made refrigerated pie crust works wonderfully for convenience, or feel free to use your favorite homemade recipe.
Essential Equipment Needed
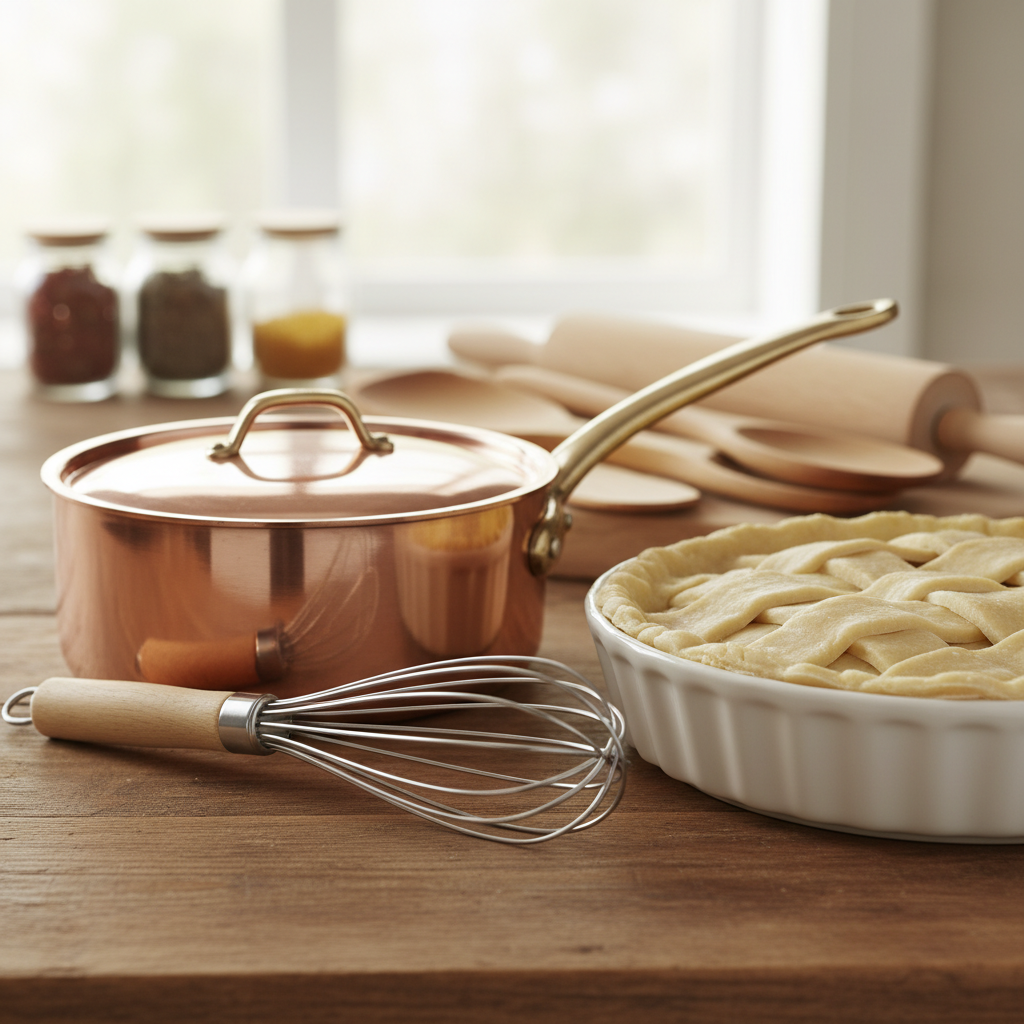
Having the right tools makes the baking process so much smoother. Here’s what you’ll need:
- 9-inch Pie Plate: A standard glass or ceramic pie plate is perfect.
- Medium Heavy-Bottomed Saucepan: Essential for cooking the filling evenly without scorching.
- Whisk: To ensure a smooth, lump-free custard.
- Heatproof Spatula: For stirring and scraping the sides of the pan.
- Measuring Cups and Spoons: Accuracy is key in baking.
- Fine-Mesh Sieve (optional but recommended): For straining the custard for an extra-smooth finish.
Full Recipe Card – Your Guide to Deliciousness

Ingredients
- 1 pre-made 9-inch pie crust, baked and cooled
- 1/2 cup (113g) unsalted butter
- 1 1/2 cups (300g) packed light or dark brown sugar
- 1/4 cup (30g) all-purpose flour
- 2 tablespoons cornstarch
- 1/2 teaspoon salt
- 2 cups (480ml) whole milk
- 1/2 cup (120ml) heavy cream
- 4 large egg yolks, lightly beaten
- 2 teaspoons vanilla extract
Instructions
- Prepare the Crust: Bake your pie crust according to package directions or your recipe until golden brown. Let it cool completely on a wire rack.
- Melt Butter and Sugar: In a medium heavy-bottomed saucepan, melt the butter over medium heat. Add the brown sugar and stir until it dissolves and the mixture is smooth and bubbly, about 2-3 minutes.
- Whisk in Dry Ingredients: In a small bowl, whisk together the flour, cornstarch, and salt. Gradually whisk this mixture into the butter-sugar mixture in the saucepan. Cook, stirring constantly, for 1 minute.
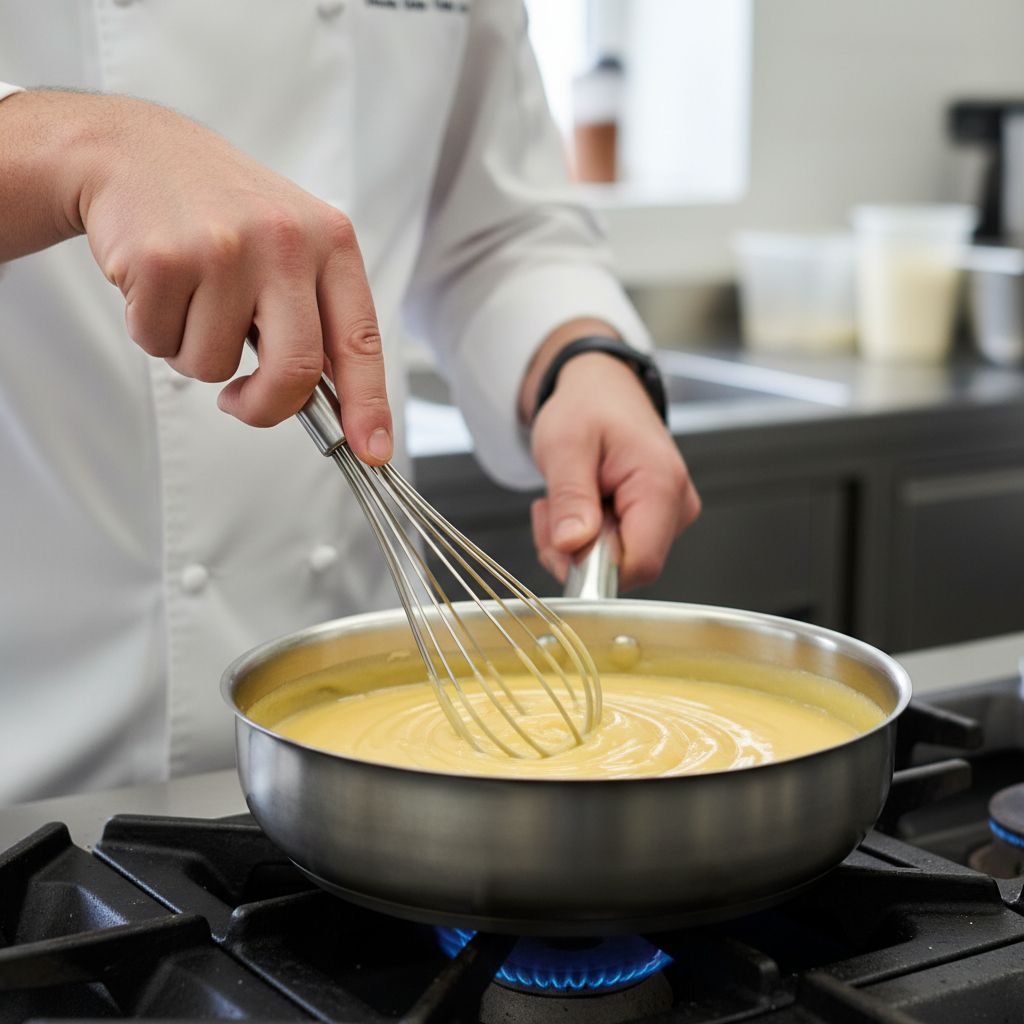
- Add Milk and Cream: Slowly whisk in the whole milk and heavy cream. Continue to cook over medium heat, whisking constantly, until the mixture thickens and comes to a gentle boil, about 5-7 minutes. It should be thick enough to coat the back of a spoon.
- Temper the Egg Yolks: Remove a small amount (about 1/2 cup) of the hot milk mixture and slowly whisk it into the lightly beaten egg yolks. This step is crucial to prevent the eggs from scrambling.
- Combine Mixtures: Gradually pour the tempered egg yolk mixture back into the saucepan with the remaining hot milk mixture, whisking constantly. Continue to cook over medium-low heat, stirring constantly, for another 1-2 minutes, until the custard is very thick. Do not let it boil vigorously after adding the eggs.
- Strain and Add Vanilla: Remove the saucepan from the heat. Stir in the vanilla extract. For an extra-smooth filling, you can carefully pour the hot custard through a fine-mesh sieve into a clean bowl.
- Fill the Crust: Pour the hot butterscotch filling into the cooled, baked pie crust.
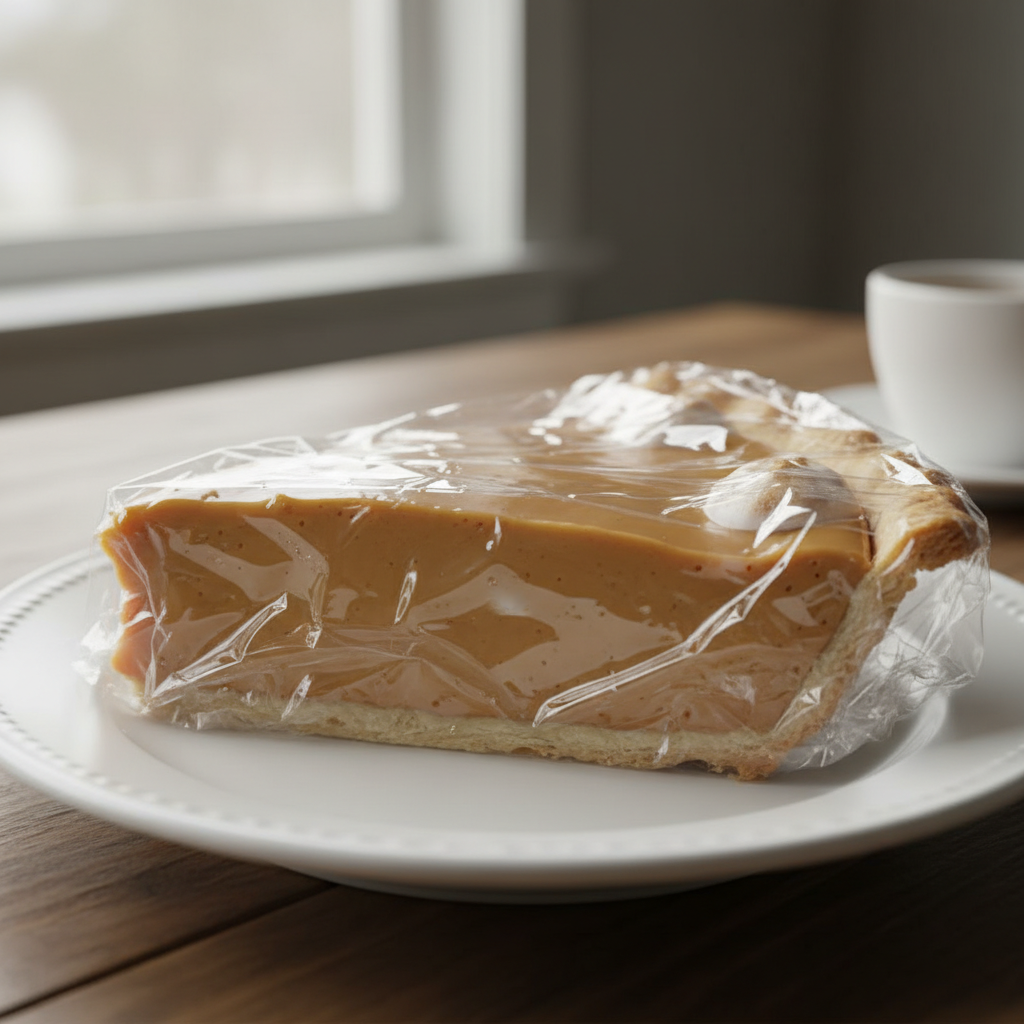
- Chill Thoroughly: Cover the pie loosely with plastic wrap, pressing it directly onto the surface of the filling to prevent a skin from forming. Refrigerate for at least 4-6 hours, or preferably overnight, until completely set.
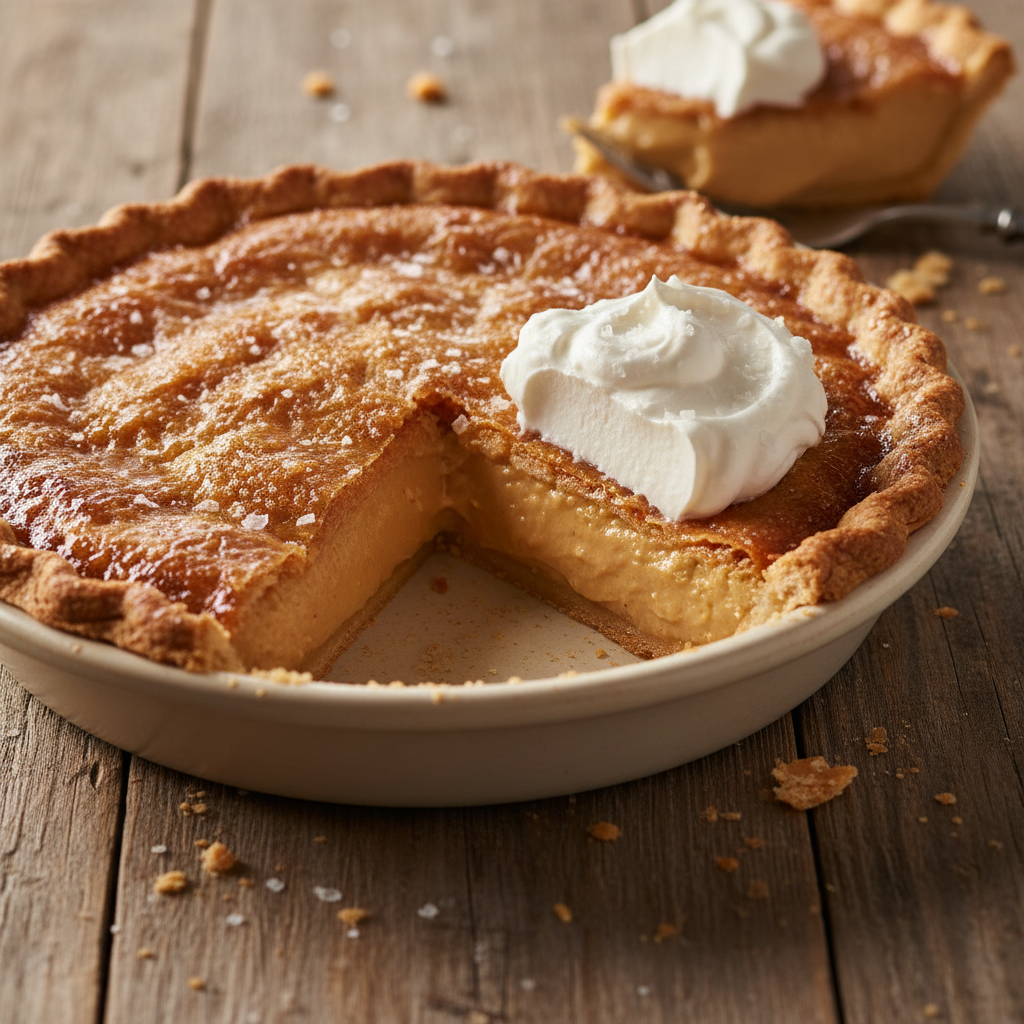
- Serve: Once thoroughly chilled and set, slice and serve. Top with whipped cream, if desired!
Notes
- For an extra layer of flavor, a sprinkle of sea salt flakes on top of the finished pie (especially with whipped cream) is divine!
- Ensure your pie crust is fully cooled before adding the hot filling to prevent a soggy bottom.
- Don’t rush the chilling process; it’s essential for the pie to set properly.
Tips and Variations for Your Pie
Feeling adventurous? Here are some ways to customize your butterscotch pie:
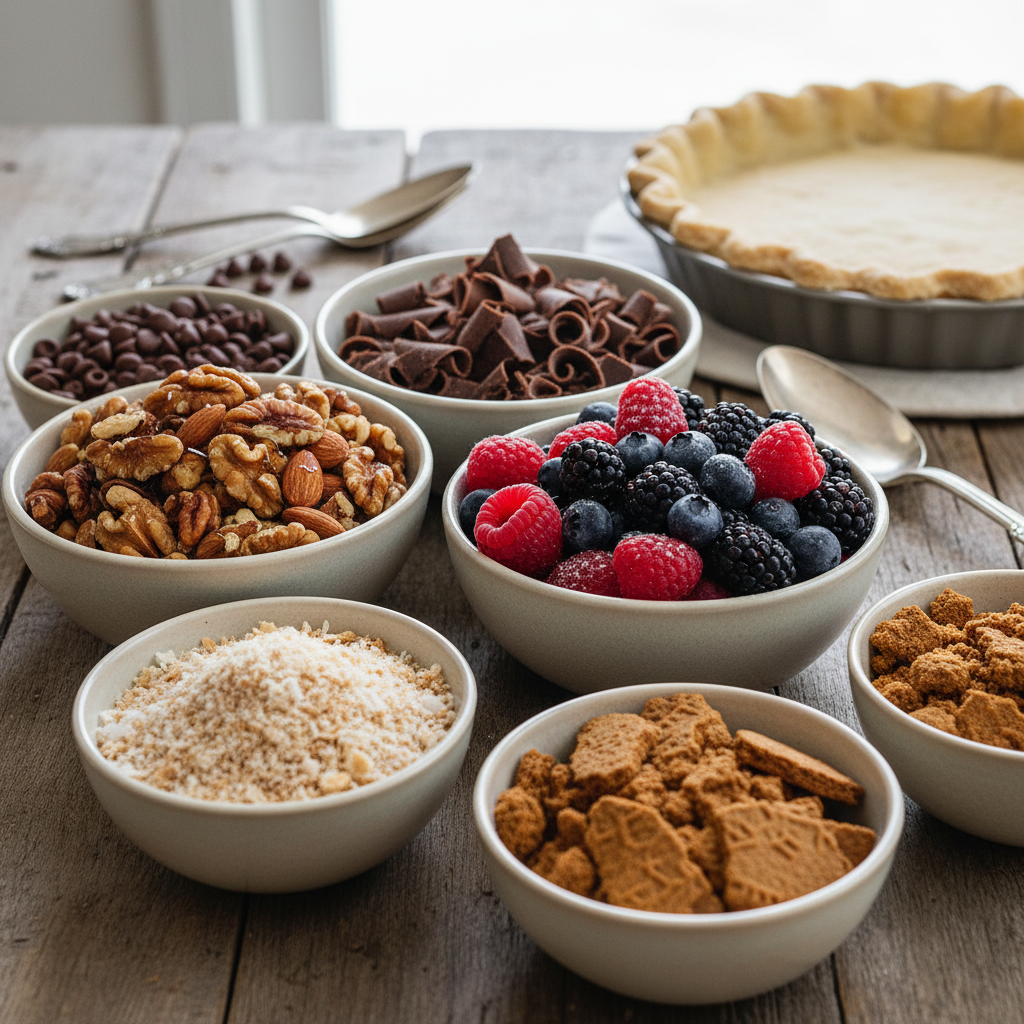
- Nutty Crunch: Fold in 1/2 cup of chopped toasted pecans or walnuts into the filling before pouring it into the crust for added texture.
- Chocolate Swirl: Melt 1/4 cup of semi-sweet chocolate chips and drizzle it over the pie filling after it’s poured into the crust. Swirl gently with a knife.
- Salted Butterscotch: Increase the salt in the recipe to 3/4 teaspoon, or sprinkle flaky sea salt over the top of the pie before serving.
- Different Crusts: While a classic pastry crust is wonderful, consider a graham cracker or gingersnap crust for a different flavor profile.
- Spice It Up: A tiny pinch of cinnamon or nutmeg can add a subtle warmth to the butterscotch.
Pro Chef Tips for a Flawless Finish
To elevate your butterscotch pie from great to extraordinary, consider these expert tips:
- Use a Heavy-Bottomed Pan: This prevents scorching the sugar and milk mixture, ensuring even heat distribution.
- Whisk Constantly: Especially when cooking the filling and adding the milk/cream, constant whisking prevents lumps and ensures a smooth, creamy custard.
- Temper Your Eggs Properly: The slow addition of hot liquid to egg yolks is vital. Add too quickly, and you’ll have scrambled eggs.
- Don’t Overcook the Custard After Eggs: Once the egg yolks are incorporated, cook only until the custard thickens significantly. Overcooking can lead to a grainy texture.
- Strain for Silkiness: Pouring the hot custard through a fine-mesh sieve removes any tiny lumps or bits of cooked egg, resulting in an incredibly silky-smooth filling.
- Chill It Right: Don’t skimp on chilling time. A properly chilled pie will be perfectly set and easy to slice, with a superior texture.
Common Mistakes to Avoid

Even the best bakers make mistakes sometimes. Here’s what to watch out for:
- Scorching the Sugar/Milk: This happens if the heat is too high or you don’t stir enough. Use medium heat and keep whisking!
- Scrambled Eggs: Not tempering the egg yolks properly is the culprit. Always add hot liquid slowly to the yolks first.
- Lumpy Filling: Insufficient whisking or not sifting dry ingredients can lead to lumps.
- Soggy Crust: Adding hot filling to a warm or underbaked crust can make it soggy. Ensure your crust is fully baked and completely cooled.
- Not Chilling Enough: An under-chilled pie will be runny and difficult to slice. Patience is a virtue here!
Storage and Meal Prep
Once your magnificent pie is made, you’ll want to enjoy it for as long as possible. Here’s how to store it:
- Refrigeration: Store leftover butterscotch pie in the refrigerator, covered loosely with plastic wrap or in an airtight container, for up to 3-4 days.
- Individual Slices: For easier storage and portion control, you can cut the pie into individual slices and store them in airtight containers.
Make-Ahead and Freezer Notes
Planning ahead? Here’s how this pie fits into your schedule:
- Make Ahead: The entire pie can be made a day in advance and stored in the refrigerator. In fact, the flavors often deepen and the texture sets even better overnight.
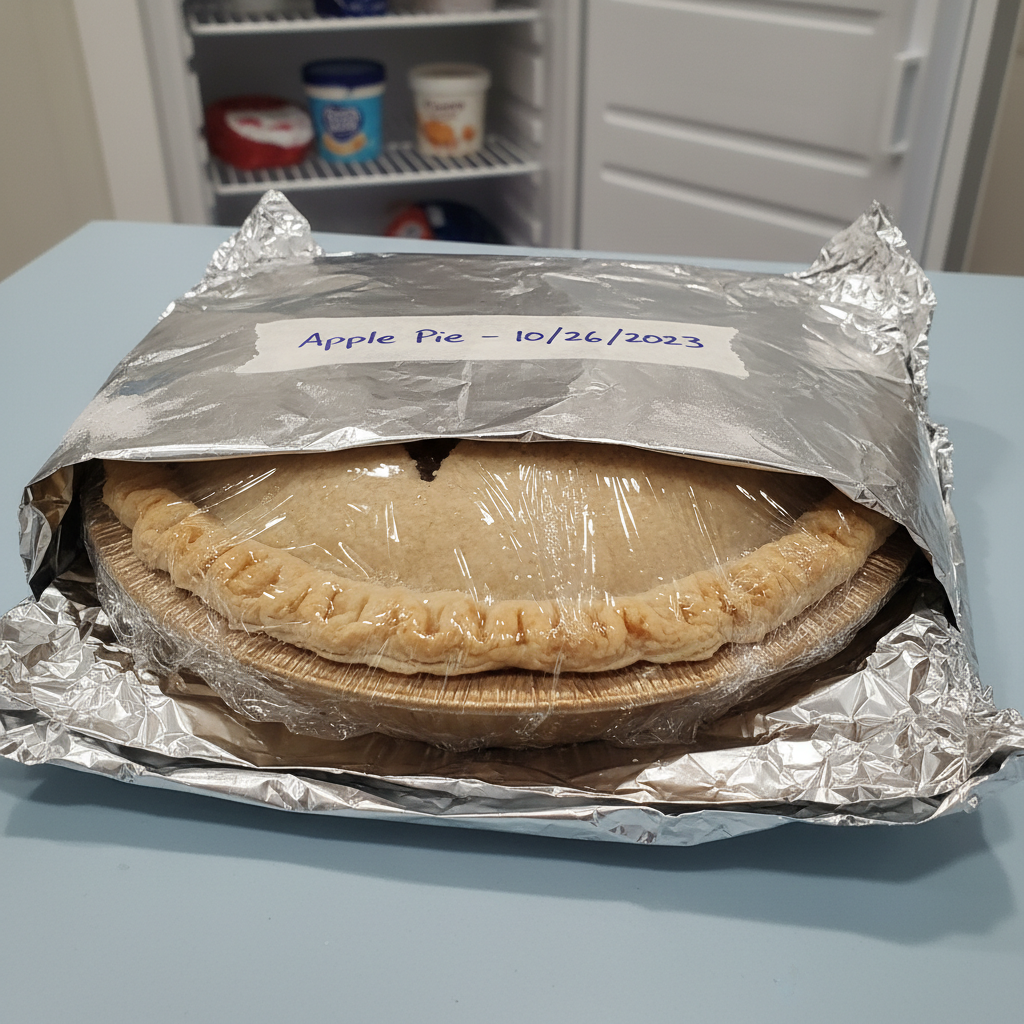
- Freezing: While you can freeze the baked pie, the texture of the custard might change slightly upon thawing, potentially becoming a bit watery. If you choose to freeze, wrap the fully chilled pie (without any whipped cream topping) tightly in several layers of plastic wrap, then a layer of aluminum foil. Freeze for up to 1 month. Thaw overnight in the refrigerator before serving.
Serving Suggestions for Delight
A slice of butterscotch pie is wonderful on its own, but here are some ideas to make it extra special:
- Classic Whipped Cream: A dollop of freshly whipped cream is the ultimate topping, adding a light, airy contrast to the rich filling.
- A Sprinkle of Salt: A tiny pinch of flaky sea salt on top of the whipped cream enhances the butterscotch flavor beautifully.
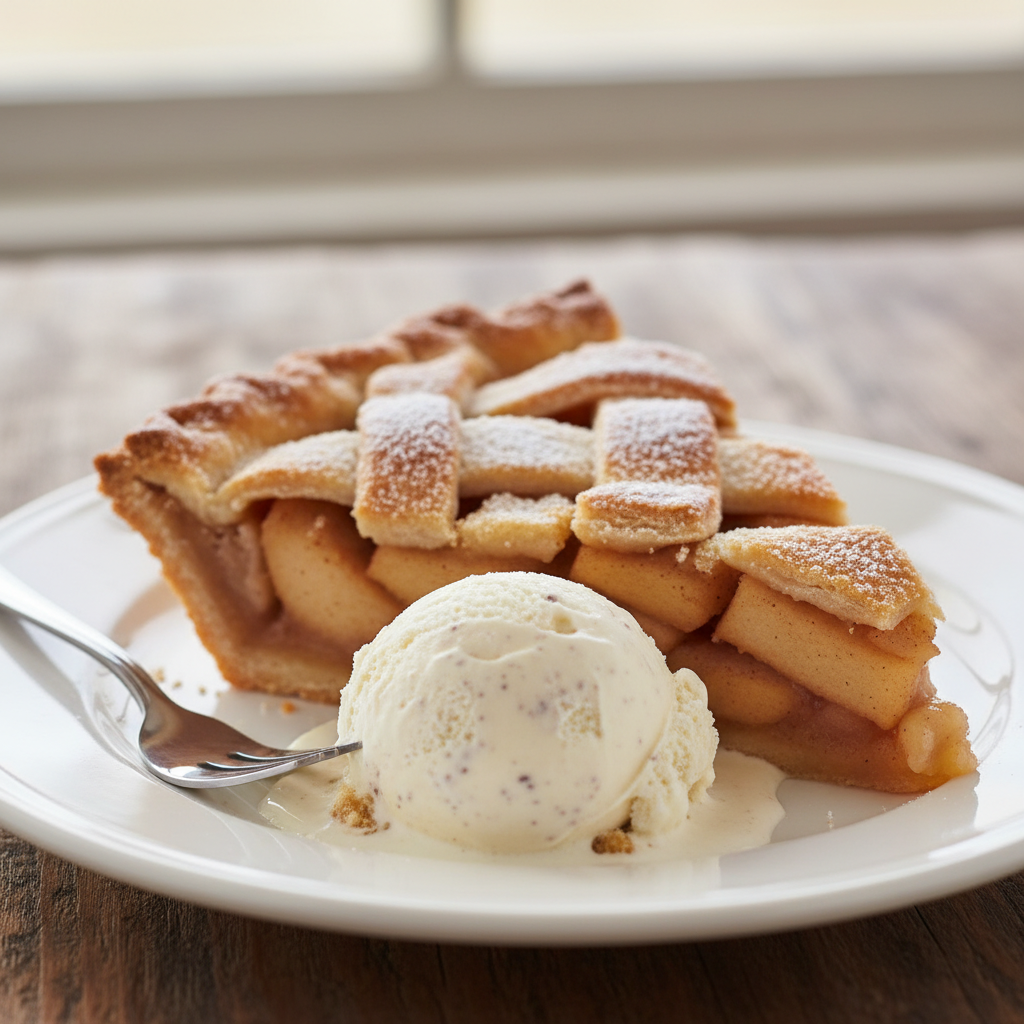
- Vanilla Ice Cream: A scoop of high-quality vanilla bean ice cream alongside a warm (or cold!) slice of pie is pure indulgence.
- Coffee or Tea: Pair it with a hot cup of coffee, espresso, or your favorite tea for a perfect afternoon treat or after-dinner dessert.
- Caramel Drizzle: A light drizzle of homemade or store-bought caramel sauce can add another layer of sweetness and visual appeal.