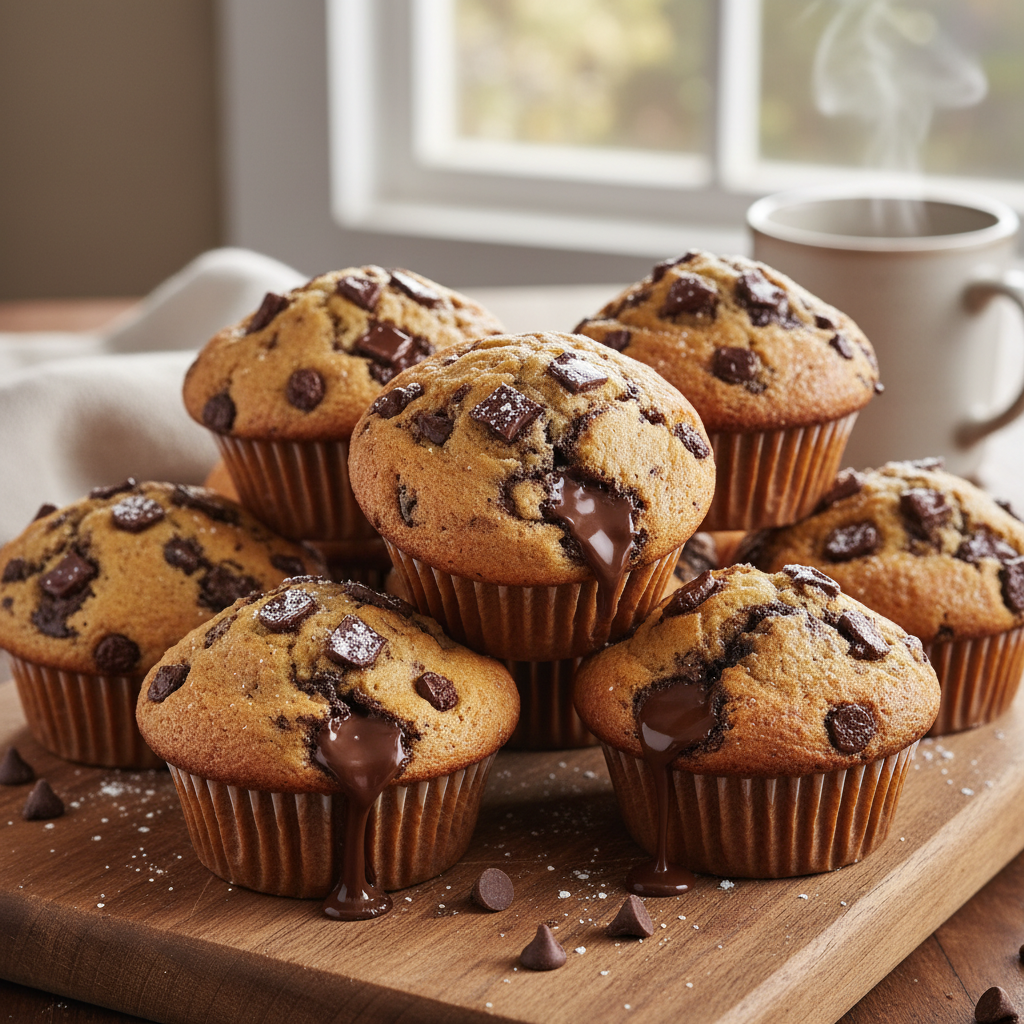
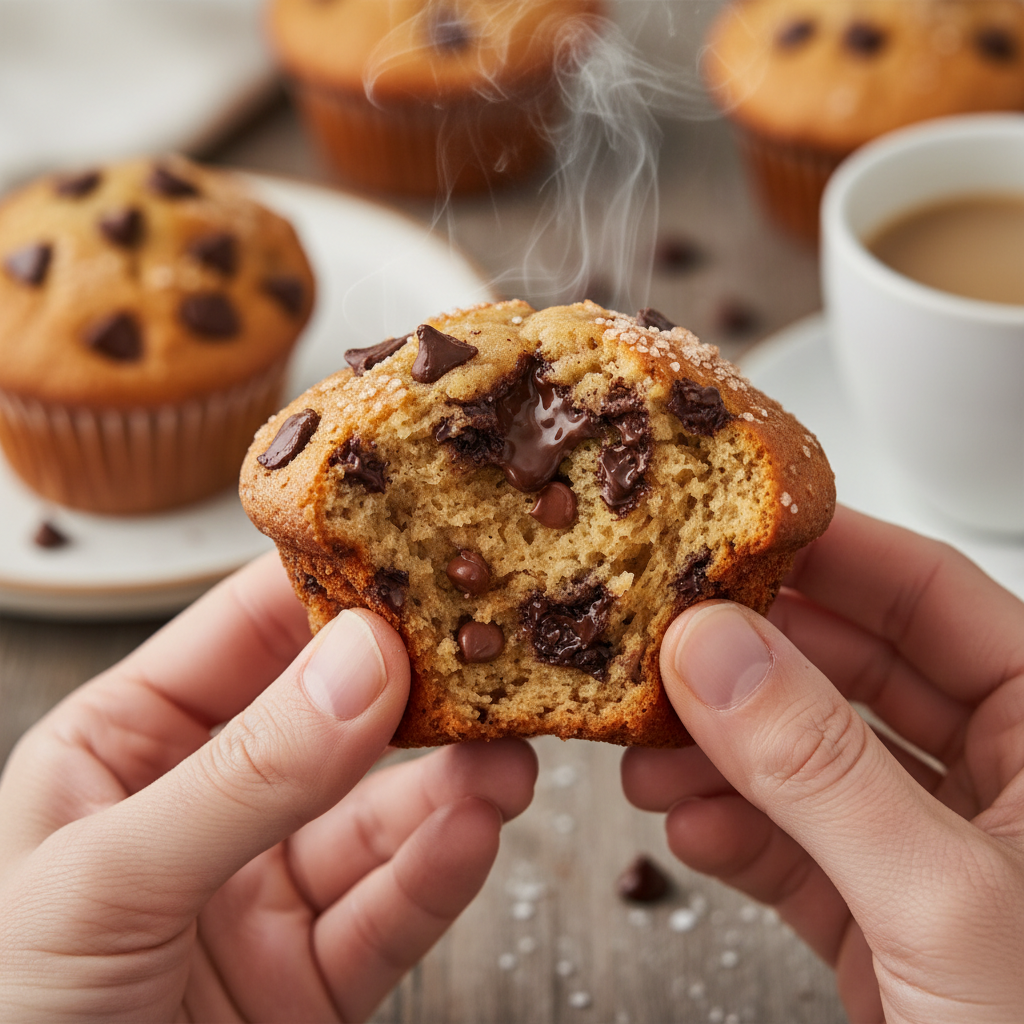
Who doesn’t love a warm, fluffy chocolate chip muffin? Imagine biting into a perfectly golden-domed top, revealing a soft, tender crumb studded with gooey, melted chocolate. It’s a little moment of pure joy, isn’t it? While store-bought muffins can be good, nothing quite compares to the magic of a homemade, bakery-style chocolate chip muffin fresh from your oven. Too often, homemade muffins can turn out flat, dry, or lacking that special touch. But fear not! This recipe is your secret weapon to achieving those coveted tall, moist, and utterly delicious muffins that taste like they came straight from your favorite local bakery. Get ready to impress yourself and everyone you share them with!
A Sweet History and Background
Muffins have a rich history, with their name likely deriving from the German word ‘muffen’, meaning a small cake. The earliest muffins were more like flatbreads, cooked on griddles. It wasn’t until the 19th century in America that what we now know as the ‘quick bread’ muffin, made with leavening agents like baking soda or baking powder, became popular. These were a quicker alternative to yeast breads, perfect for busy households. The addition of chocolate chips, a relatively modern invention from the 1930s, transformed the humble muffin into the beloved treat it is today. Combining these two classics created a breakfast item and snack that has captured hearts worldwide, evolving into the tall, generously sized ‘bakery-style’ muffins we crave.
Why You’ll Love This Recipe
This recipe isn’t just another muffin recipe; it’s designed to give you that authentic bakery experience right in your kitchen. Here’s why you’ll absolutely adore it:
- Tall, Domed Tops: Say goodbye to flat muffins! Our special technique ensures those beautiful, high tops every time.
- Incredibly Moist and Tender: Thanks to a thoughtful blend of ingredients, these muffins are never dry. They stay wonderfully moist for days.
- Packed with Chocolate Chips: Every bite is guaranteed to have plenty of melty chocolate goodness.
- Simple to Follow: Even if you’re new to baking, the step-by-step instructions make this recipe a breeze.
- Perfect for Any Occasion: Great for breakfast, brunch, an afternoon snack, or even a delightful dessert.
- Customizable: Easy to adapt with different mix-ins and flavors.
Ingredient Notes for Perfection
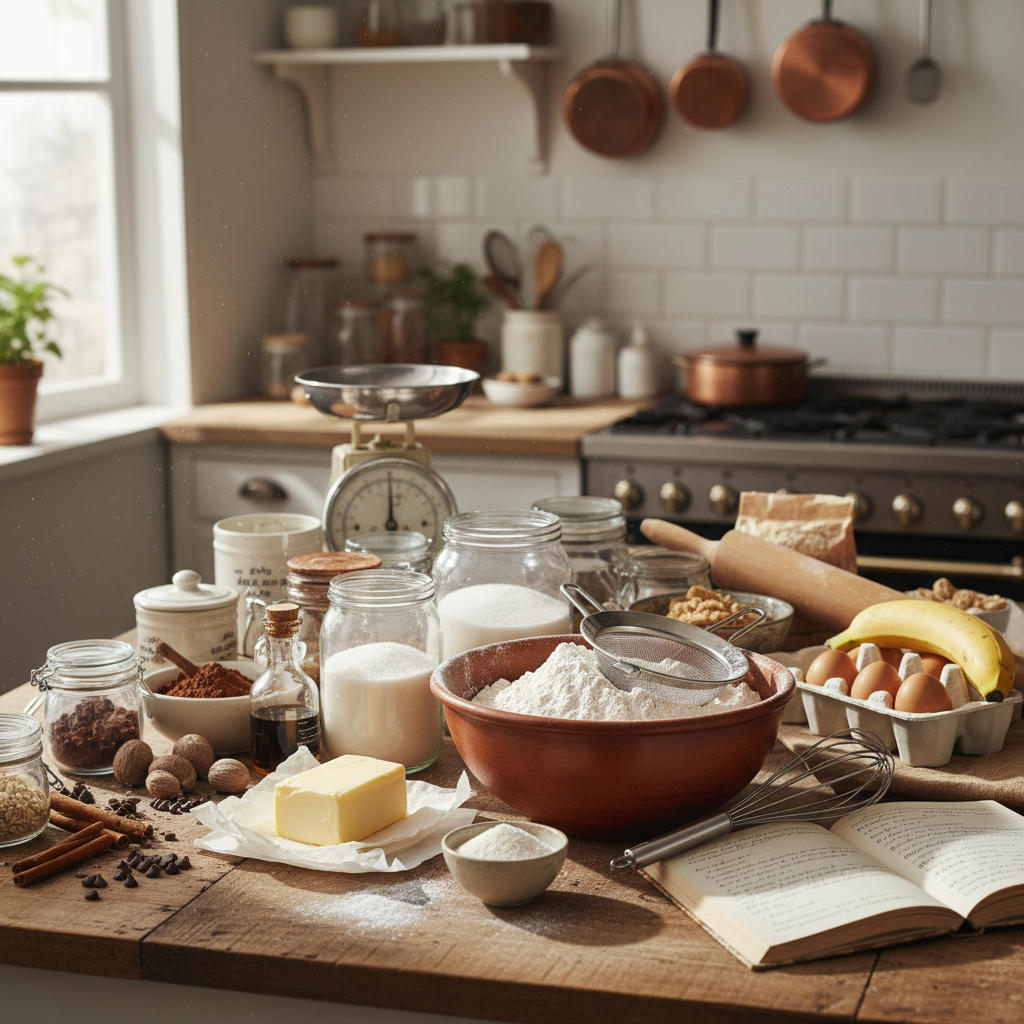
Each ingredient plays a crucial role in achieving that bakery-quality texture and flavor. Here’s what you need and why:
- All-Purpose Flour: The base for our muffins. Measure it correctly by spooning it into a measuring cup and leveling it off.
- Granulated Sugar: Sweetens the muffins and helps with browning.
- Baking Powder and Baking Soda: The dynamic duo of leavening agents. Baking powder gives the initial lift, while baking soda reacts with the buttermilk for extra rise and tenderness.
- Salt: Enhances all the flavors and balances the sweetness.
- Large Eggs: Bind the ingredients together and add richness.
- Buttermilk: Our secret weapon for moisture and tang. Its acidity reacts with the baking soda for a superior rise and tender crumb. If you don’t have buttermilk, you can make a substitute by adding 1 tablespoon of white vinegar or lemon juice to a measuring cup, then filling the rest with milk to make 1 cup. Let it sit for 5-10 minutes until it slightly curdles.
- Melted Unsalted Butter: Provides richness and moisture, contributing to that delightful bakery flavor. Unsalted butter allows you to control the salt content.
- Vanilla Extract: A must-have for enhancing the overall flavor profile.
- Chocolate Chips: Use good quality semi-sweet or milk chocolate chips. Don’t skimp here; the better the chocolate, the better the muffin! You can also use chocolate chunks for larger pockets of melted chocolate.
Equipment Needed for Baking Success

Having the right tools makes the baking process smooth and enjoyable. Here’s what you’ll need:
- 12-cup Muffin Tin: Essential for baking a standard batch of muffins.
- Paper Liners or Non-Stick Spray: For easy removal and cleanup.
- Large Mixing Bowls (2): One for dry ingredients, one for wet.
- Whisk: To combine dry ingredients and aerate them.
- Rubber Spatula or Wooden Spoon: For gently mixing the batter.
- Measuring Cups and Spoons: For accurate ingredient measurements.
- Ice Cream Scoop or Large Spoon: Makes portioning the batter into the muffin tin much easier and more consistent.
Full Recipe Card
Ingredients
- 2 ½ cups all-purpose flour
- ¾ cup granulated sugar
- 1 tablespoon baking powder
- ½ teaspoon baking soda
- ½ teaspoon salt
- 2 large eggs, at room temperature
- 1 cup buttermilk, at room temperature
- ½ cup (1 stick) unsalted butter, melted and slightly cooled
- 1 teaspoon vanilla extract
- 1 ½ cups semi-sweet chocolate chips, plus extra for topping
Instructions
- Prepare Your Oven and Muffin Tin: Preheat your oven to 425°F (220°C). Line a 12-cup muffin tin with paper liners or grease generously with non-stick spray. This high initial temperature helps create those tall muffin tops.
- Combine Dry Ingredients: In a large bowl, whisk together the flour, granulated sugar, baking powder, baking soda, and salt. Make sure there are no lumps and everything is well combined.
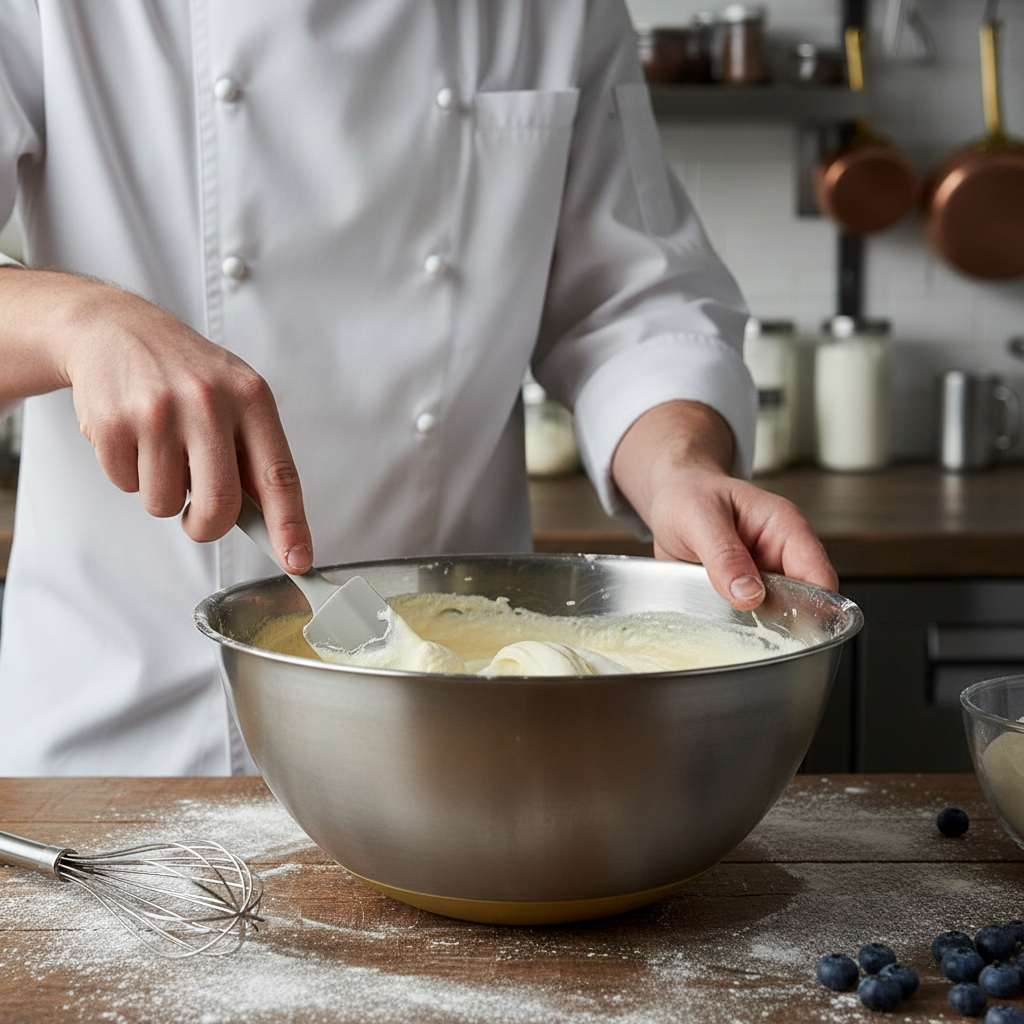
- Mix Wet Ingredients: In a separate medium bowl, whisk the eggs until light and frothy. Add the buttermilk, melted butter, and vanilla extract, whisking until smooth.
- Combine Wet and Dry: Pour the wet ingredients into the dry ingredients. With a rubber spatula or wooden spoon, mix until just combined. The batter will be thick and lumpy; do not overmix! Overmixing develops gluten, leading to tough muffins. A few streaks of flour are perfectly fine.
- Fold in Chocolate Chips: Gently fold in 1 ½ cups of chocolate chips until evenly distributed.
- Fill Muffin Tin: Divide the batter evenly among the 12 muffin cups. Fill each cup almost to the top. This generous filling also contributes to tall muffin tops. Sprinkle extra chocolate chips on top of each muffin for a beautiful finish.
- Bake at High Heat: Place the muffin tin in the preheated oven. Bake at 425°F (220°C) for 5 minutes.
- Reduce Heat and Continue Baking: Without opening the oven door, reduce the oven temperature to 375°F (190°C) and continue baking for another 15-18 minutes, or until the muffins are golden brown and a toothpick inserted into the center comes out clean.
- Cool: Let the muffins cool in the tin for 5 minutes before transferring them to a wire rack to cool completely. Enjoy warm or at room temperature!
Notes
- Do Not Overmix: This is the golden rule for tender muffins. Mix until just combined.
- Room Temperature Ingredients: Ensure eggs and buttermilk are at room temperature for a smoother, more emulsified batter.
- High Initial Heat: The blast of high heat at the beginning helps the muffins rise quickly, creating those desirable domed tops.
Tips and Variations for Your Muffins
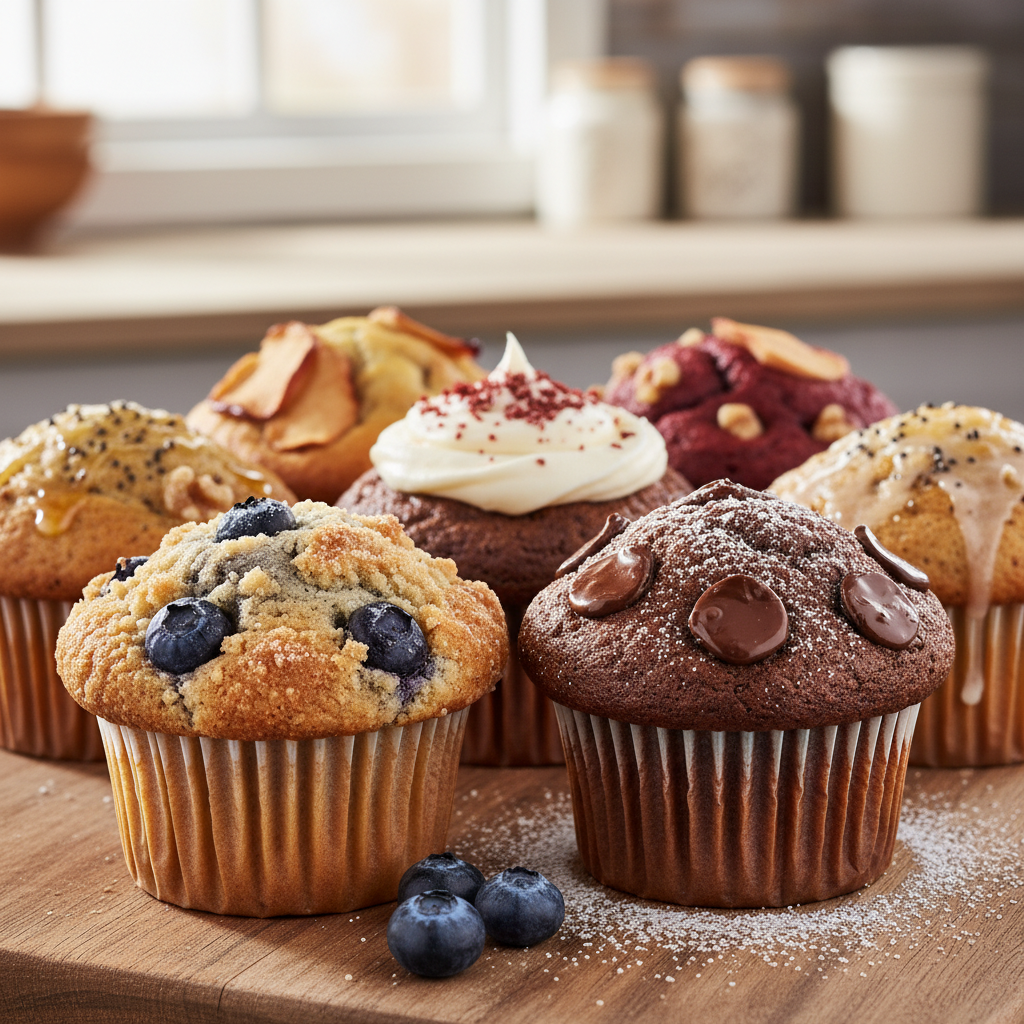
Once you’ve mastered the basic recipe, feel free to get creative! Here are some ideas to customize your chocolate chip muffins:
- Add Nuts: Fold in ½ cup of chopped walnuts or pecans with the chocolate chips for extra crunch and flavor.
- Different Chocolates: Experiment with white chocolate chips, dark chocolate chunks, or a mix of different types of chocolate.
- Fruit Infusion: Add ½ cup of fresh or frozen (not thawed) berries like raspberries or blueberries along with the chocolate chips for a fruity twist.
- Citrus Zest: A teaspoon of orange or lemon zest can brighten the flavor beautifully.
- Spices: A pinch of cinnamon or nutmeg can add a warm, comforting note.
- Streusel Topping: For an extra bakery touch, mix 1/4 cup flour, 2 tablespoons sugar, and 2 tablespoons cold butter until crumbly. Sprinkle over the muffin tops before baking.
Pro Chef Tips for the Best Muffins
Want to elevate your muffin game even further? These pro tips will help you achieve perfection:
- The Muffin Method: Always combine dry ingredients in one bowl and wet ingredients in another, then quickly combine them. This minimizes gluten development.
- Don’t Be Afraid of Lumps: A slightly lumpy batter is actually ideal for muffins. Overmixing makes them tough.
- Fill Them High: Don’t be shy about filling your muffin cups almost to the very top. This is key for those tall, domed tops.
- Quality Ingredients Matter: Use fresh baking powder and soda, good quality vanilla, and your favorite chocolate for the best flavor.
- Rest the Batter (Optional but Recommended): If you have time, let the batter rest in the fridge for 15-30 minutes before baking. This allows the flour to fully hydrate and results in a more tender crumb and higher rise.
Common Mistakes to Avoid

Even experienced bakers can sometimes make small errors that impact muffin quality. Here’s what to watch out for:
- Overmixing the Batter: This is the number one culprit for tough, rubbery muffins. Mix until just combined, even if there are a few flour streaks.
- Underfilling Muffin Cups: If you don’t fill the cups generously, your muffins won’t get those desirable tall, domed tops.
- Using Cold Ingredients: Cold eggs and buttermilk don’t emulsify as well with the melted butter, leading to a less cohesive batter.
- Opening the Oven Door Too Early: Resist the urge to peek! Opening the oven door lets out heat, which can cause muffins to collapse, especially during the crucial initial rise.
- Not Measuring Flour Correctly: Scooping flour directly from the bag can pack it down, resulting in too much flour and dry muffins. Spoon and level for accuracy.
Storage and Meal Prep
Once your delicious muffins are baked, proper storage ensures they stay fresh and enjoyable:
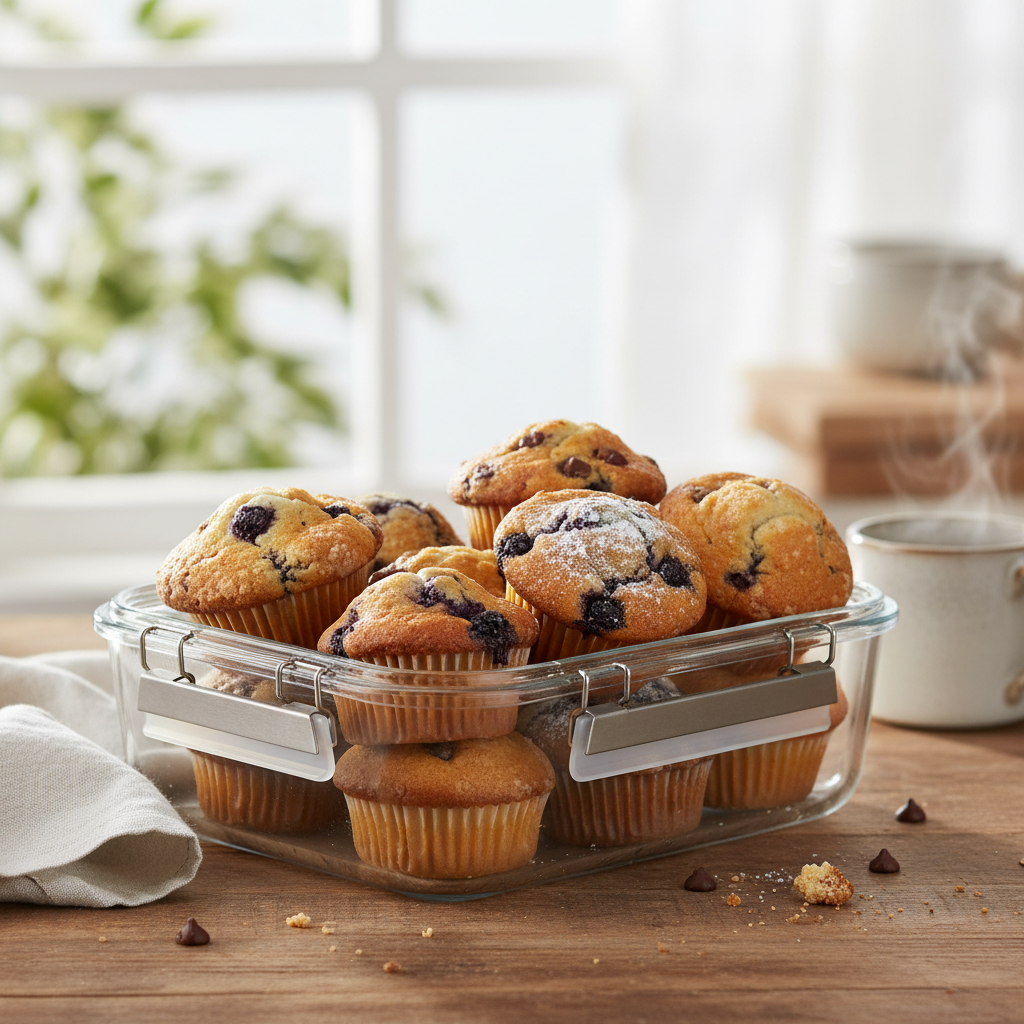
- Room Temperature: Store cooled muffins in an airtight container at room temperature for up to 3-4 days. Placing a paper towel at the bottom of the container can help absorb excess moisture and prevent sogginess.
- Refrigeration: While you can refrigerate them, it can sometimes dry them out. If you do refrigerate, bring them back to room temperature or warm slightly before serving.
- Meal Prep: These muffins are fantastic for meal prep! Bake a batch on Sunday, and you’ll have delicious breakfasts or snacks ready for the week.
Make-Ahead and Freezer Notes
Want to enjoy fresh muffins whenever the craving strikes? This recipe is freezer-friendly!
- Freezing Baked Muffins: Once completely cooled, place muffins in a single layer on a baking sheet and freeze for about an hour until solid. Then transfer them to a freezer-safe bag or airtight container. They will last for up to 3 months. To reheat, thaw at room temperature or warm in the microwave for 30-60 seconds, or in a preheated oven at 300°F (150°C) for 10-15 minutes.
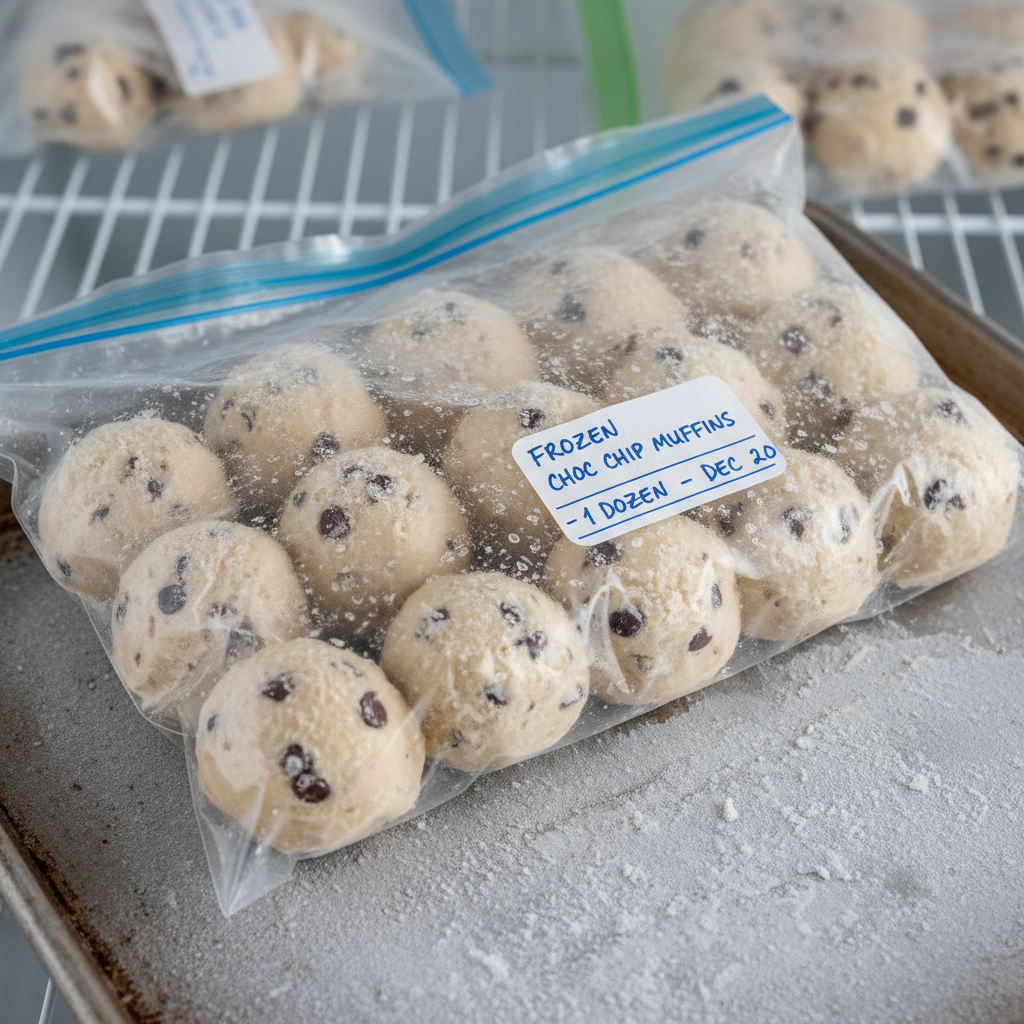
- Freezing Muffin Batter: You can also freeze the unbaked batter! Scoop the batter into lined muffin cups and freeze until solid. Once frozen, pop the frozen batter discs out of the muffin tin and store them in a freezer-safe bag for up to 1 month. When ready to bake, place frozen batter discs back into a lined muffin tin and bake as directed, adding a few extra minutes to the baking time.
Serving Suggestions
These bakery-style chocolate chip muffins are delicious on their own, but here are some ideas to make them even more special:
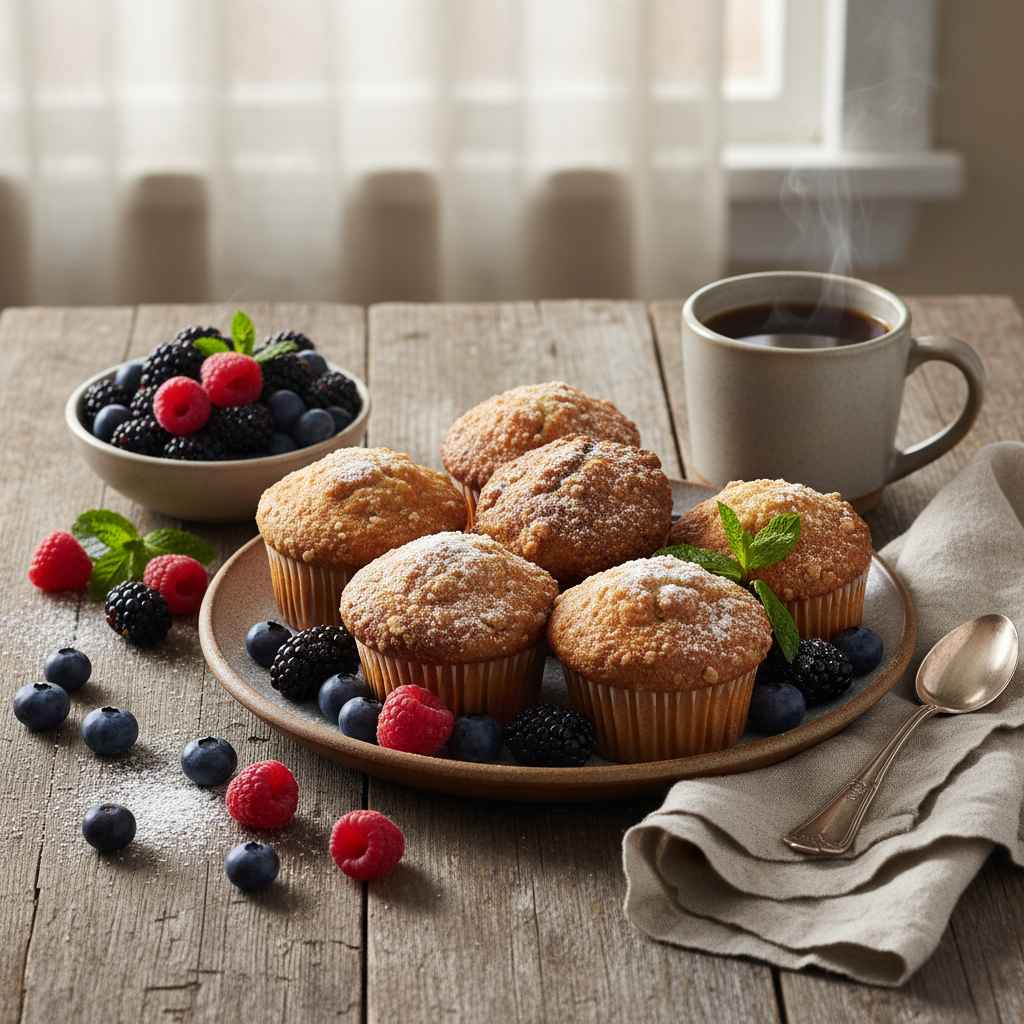
- Classic Breakfast: Enjoy with a cup of coffee or tea for a perfect start to your day.
- Brunch Spread: A wonderful addition to any brunch table, alongside fresh fruit, yogurt, and other pastries.
- With Butter or Jam: A smear of soft butter or your favorite fruit jam can elevate the experience.
- Dessert Treat: Warm them slightly and serve with a scoop of vanilla ice cream for an indulgent dessert.
- Afternoon Pick-Me-Up: A delightful snack to accompany your mid-day break.