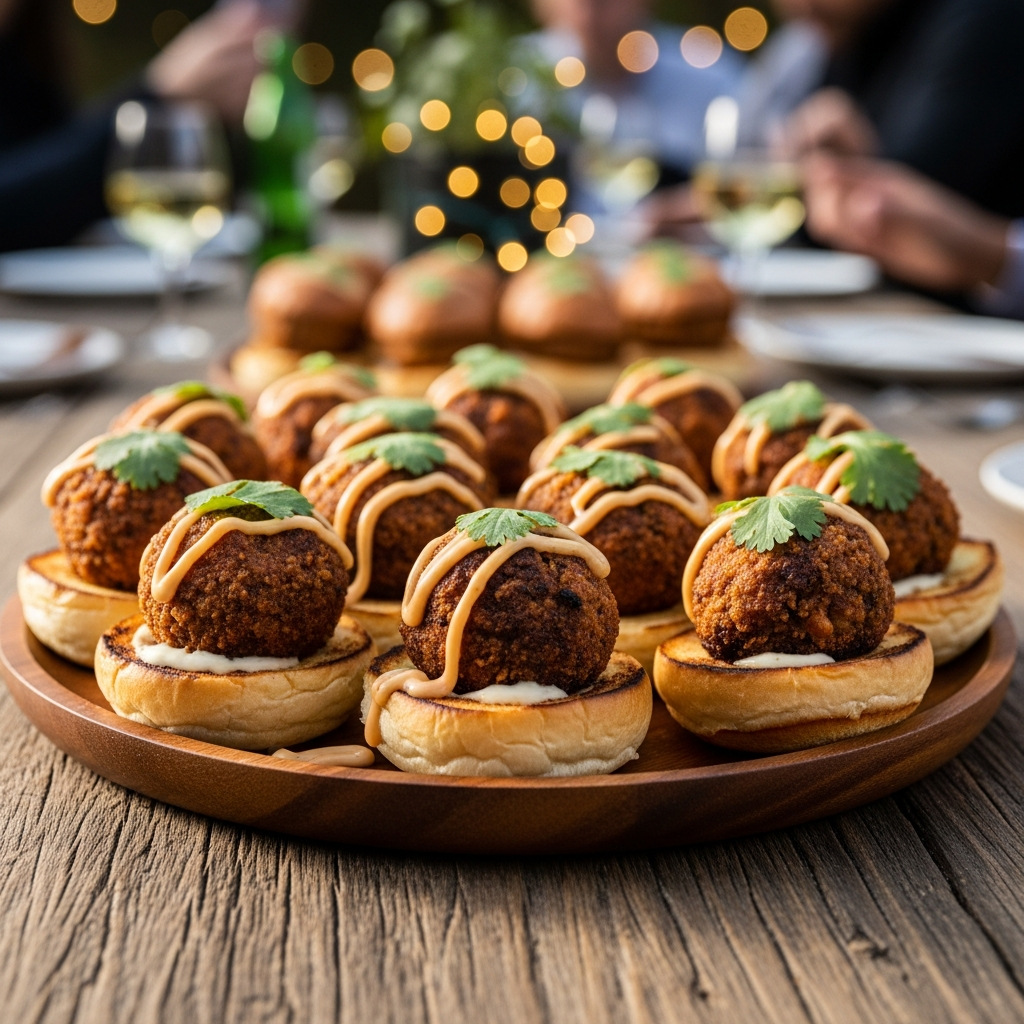
Hello, fellow food lovers! Are you looking for that perfect dish that brings everyone together without hours of kitchen stress? Well, you’ve hit the jackpot! We’re diving into the wonderful world of Smashed Chicken Meatball Sliders today. These little bites of deliciousness are an absolute game-changer for any get-together, from casual backyard BBQs to more formal indoor parties.
Imagine juicy, flavorful chicken meatballs, smashed thin for maximum crispy surface area, tucked into soft slider buns with your favorite toppings. Sounds amazing, right? They’re super easy to make, incredibly versatile, and guaranteed to disappear fast. Get ready to impress your guests and maybe even yourself with this fantastic recipe!
History / Background

The concept of meatballs has a rich history, dating back centuries and appearing in various forms across countless cultures, from Italian polpette to Swedish köttbullar. Sliders, on the other hand, are a more recent American invention, traditionally small hamburgers that gained popularity in the early 20th century. The beauty of the slider is its bite-sized nature, perfect for sampling and sharing.
Marrying the hearty meatball with the convenient slider bun was a stroke of genius, creating a dish that offers all the flavor without the formality of a full meal. Smashed meatballs take this a step further, borrowing a technique from smashed burgers to create more surface area for a delightful crispiness, ensuring every bite is packed with texture and flavor.
Why You’ll Love This Recipe
- Crowd-Pleasing: Everyone loves a good slider! These are always a hit at parties.
- Easy to Make: Don’t let the ‘meatball’ part intimidate you. It’s simpler than you think.
- Customizable: From different spices in the meatballs to various sauces and toppings, the possibilities are endless.
- Budget-Friendly: Chicken is an economical choice, making this a great option for feeding a crowd without breaking the bank.
- Perfect for Meal Prep: Many components can be prepped in advance, saving you time on party day.
- Kid-Friendly: Their small size and familiar flavors make them a big hit with the younger crowd too.
Ingredient Notes
For the Smashed Chicken Meatballs:
Ground Chicken: We recommend using ground chicken with a bit of fat (like ground chicken thigh or a mix) for juicier meatballs. Leaner breast meat can work but might result in drier meatballs if overcooked.
Breadcrumbs: Panko breadcrumbs give the best texture, helping to bind the meatballs while keeping them light. Regular breadcrumbs work too. For gluten-free, use gluten-free breadcrumbs.
Egg: Acts as a binder, holding everything together so your meatballs don’t fall apart when smashed.
Aromatics: Finely minced onion and garlic are key for flavor. Don’t skip these!
Seasonings: Salt, black pepper, and your choice of herbs like dried oregano, thyme, or a blend like Italian seasoning elevate the taste.
For the Sliders:
Slider Buns: Brioche slider buns are fantastic for their soft texture and slight sweetness. Potato rolls also work wonderfully. Make sure they are fresh!
Toppings & Sauces: This is where you can get creative! Think cheese slices, lettuce, tomato, pickles, and sauces like marinara, special sauce, or even a creamy dill sauce.
Equipment Needed
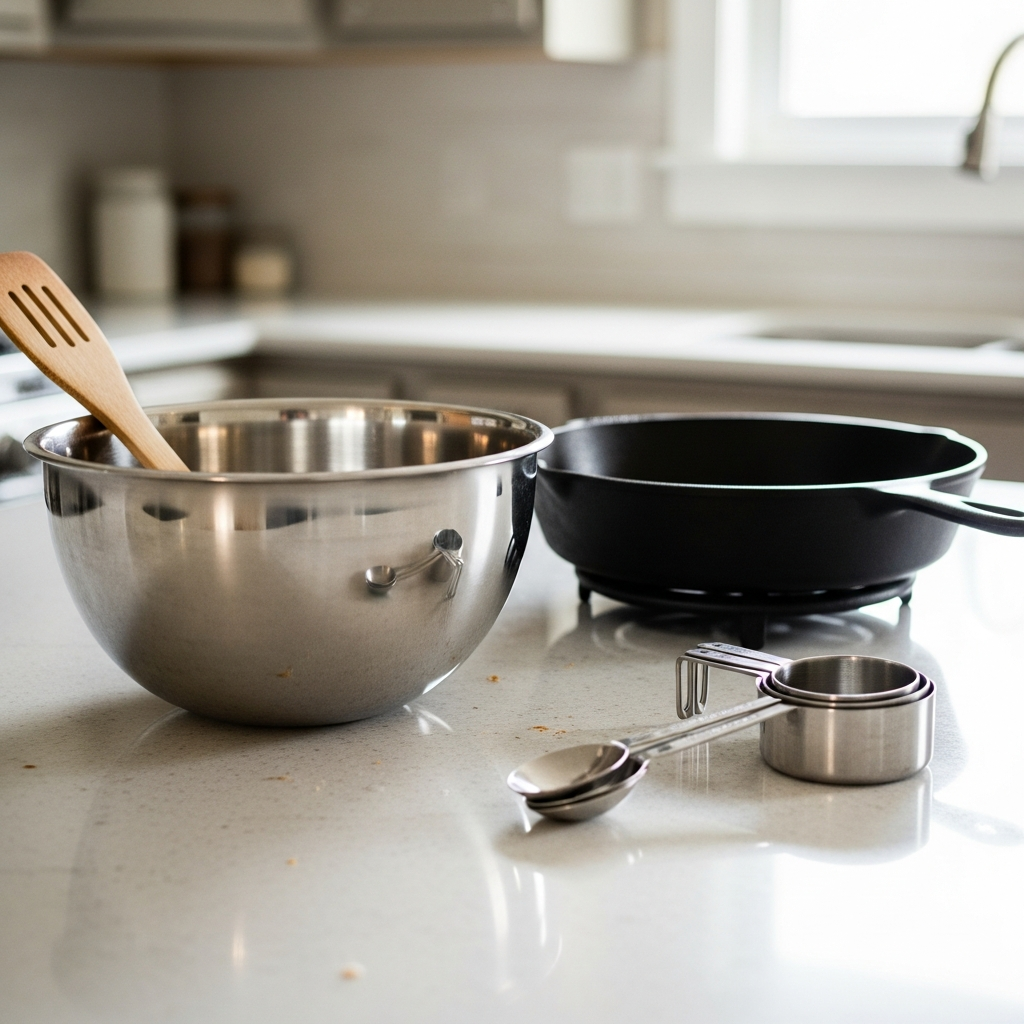
- Large mixing bowl
- Measuring cups and spoons
- Cutting board and sharp knife
- Large non-stick skillet or cast-iron griddle
- Sturdy spatula (preferably metal for smashing)
- Baking sheet (for toasting buns or resting meatballs)
- Small bowls for toppings
Full Recipe Card
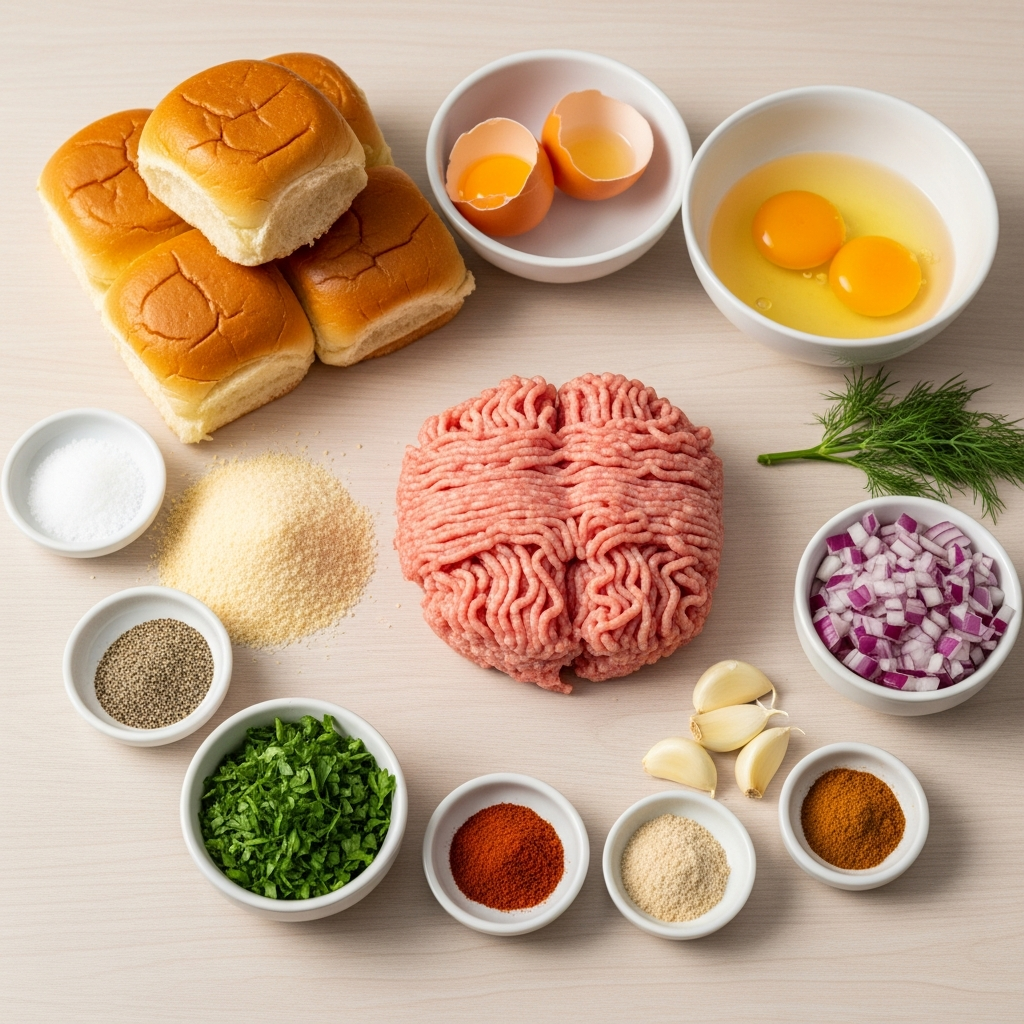
Ingredients:
- 1.5 lbs ground chicken (preferably 90/10 for juiciness)
- 1/2 cup panko breadcrumbs
- 1 large egg
- 1/4 cup finely minced yellow onion
- 2 cloves garlic, minced
- 1 teaspoon dried oregano (or Italian seasoning)
- 1/2 teaspoon salt
- 1/4 teaspoon black pepper
- 2 tablespoons olive oil (for cooking)
- 12 slider buns, split
- 6 slices provolone or cheddar cheese (optional, cut in half)
- Your favorite slider toppings and sauces (e.g., marinara, pickles, lettuce, tomato)
Instructions:
1. Prepare the Meatball Mixture: In a large mixing bowl, combine the ground chicken, panko breadcrumbs, egg, minced onion, minced garlic, oregano, salt, and pepper. Use your hands to gently mix everything until just combined. Be careful not to overmix, as this can make the meatballs tough.
2. Form the Meatballs: Divide the mixture into 12 equal portions. Roll each portion into a small, tight ball, about 1.5 inches in diameter. You can lightly wet your hands to prevent sticking.
3. Cook the Meatballs: Heat olive oil in a large non-stick skillet or cast-iron griddle over medium-high heat. Once hot, place the meatballs in the skillet, leaving some space between them. Don’t overcrowd the pan; you might need to cook them in batches.
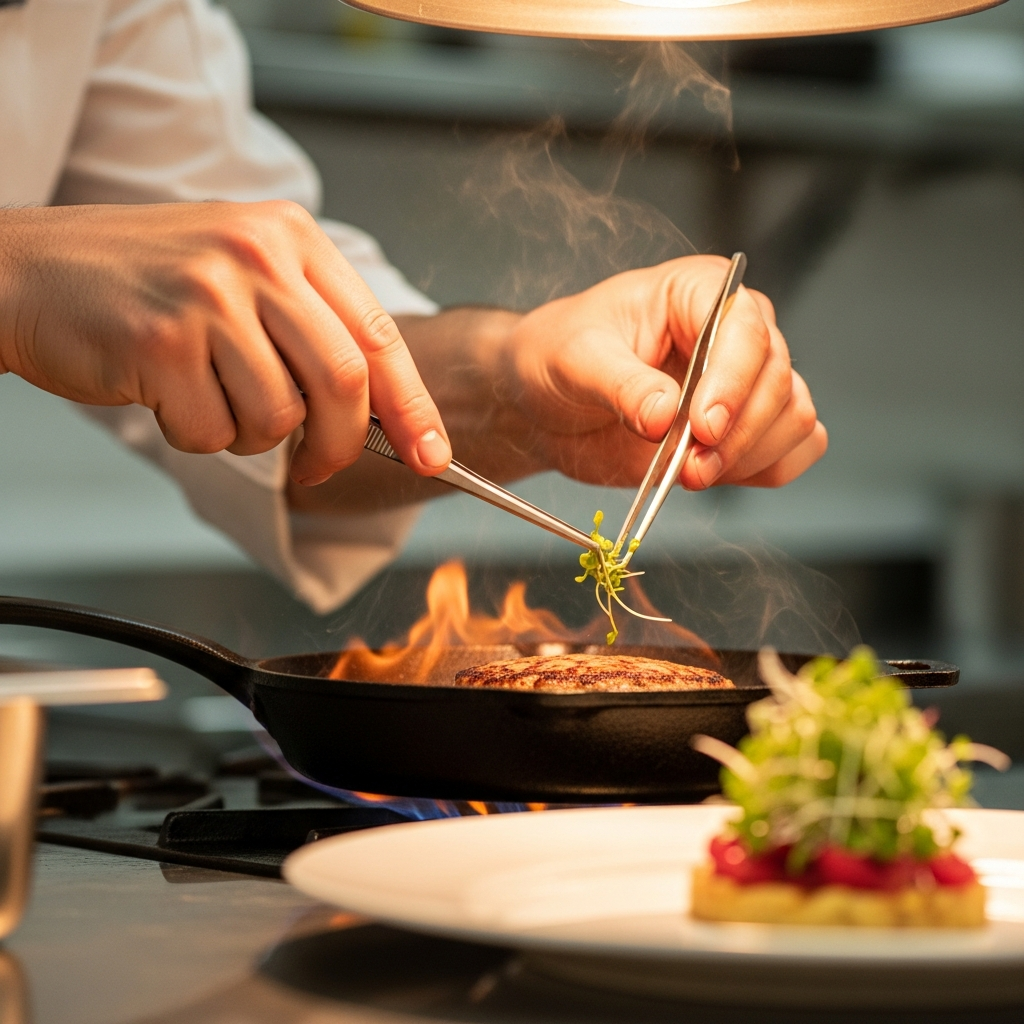
4. Smash ‘Em!: Immediately after placing them in the pan, use a sturdy metal spatula or a burger press to firmly smash each meatball flat, about 1/4 to 1/2 inch thick. Press down firmly for about 10 seconds. Cook for 3-4 minutes on the first side until deeply golden brown and crispy.
5. Flip and Finish: Flip the smashed meatballs. If using cheese, immediately place half a slice of cheese on each meatball. Cook for another 2-3 minutes, or until the cheese is melted and bubbly, and the meatballs are cooked through (internal temperature of 165°F / 74°C). Transfer cooked meatballs to a plate and keep warm.
6. Toast the Buns: While the last batch of meatballs cooks, lightly butter the cut sides of your slider buns. You can toast them briefly in a separate pan, under the broiler, or in the same skillet after removing the meatballs, until golden brown.
7. Assemble Your Sliders: Place a warm smashed chicken meatball (with cheese, if using) onto the bottom half of a toasted slider bun. Add your desired toppings and sauces, then top with the other bun half. Serve immediately and watch them disappear!
Notes:
- Don’t overwork the meat mixture; a light hand ensures tender meatballs.
- Ensure your skillet is hot before adding the meatballs for a good sear.
- You can prepare the meatball mixture ahead of time and store it in the fridge.
Tips & Variations

- Spicy Kick: Add a pinch of red pepper flakes to the meatball mixture or a dash of hot sauce to your spread.
- Herb Garden: Experiment with fresh herbs like chopped parsley, chives, or basil in your meatballs.
- Mediterranean Twist: Serve with feta cheese, a dollop of tzatziki sauce, and thinly sliced red onion.
- Asian Inspired: Add grated ginger, soy sauce, and a touch of sesame oil to the chicken. Serve with a sriracha mayo and quick pickled cucumbers.
- BBQ Style: Brush the meatballs with your favorite BBQ sauce during the last minute of cooking. Top with crispy fried onions or a simple coleslaw.
- Vegetarian Option: Substitute ground chicken with a plant-based ground meat alternative, following the same smashing technique.
Pro Chef Tips
Achieving that perfect crust on your smashed meatballs is all about heat. Make sure your pan is truly hot before the meat hits it. A cast-iron skillet is ideal for this as it holds heat consistently.
When smashing, apply firm, even pressure once. Avoid wiggling or smashing multiple times. This ensures maximum contact with the hot surface for a fantastic sear. A clean, heavy spatula works best.
For maximum flavor, consider finely grating a small amount of Parmesan cheese into your meatball mixture. It adds a lovely umami depth without being overpowering.
Common Mistakes to Avoid

- Overmixing the Meat: This is a common culprit for tough meatballs. Mix just until ingredients are combined.
- Not Heating the Pan Enough: A cold or lukewarm pan won’t give you that desirable crispy crust. Wait for it to be nice and hot.
- Overcrowding the Skillet: Too many meatballs at once will lower the pan temperature, steaming them instead of searing. Cook in batches if necessary.
- Forgetting to Season: Bland meatballs are no fun! Don’t be shy with salt, pepper, and herbs.
- Skipping the Toasted Buns: Toasted buns add a crucial layer of texture and prevent them from getting soggy from the juicy meatballs.
Storage & Meal Prep
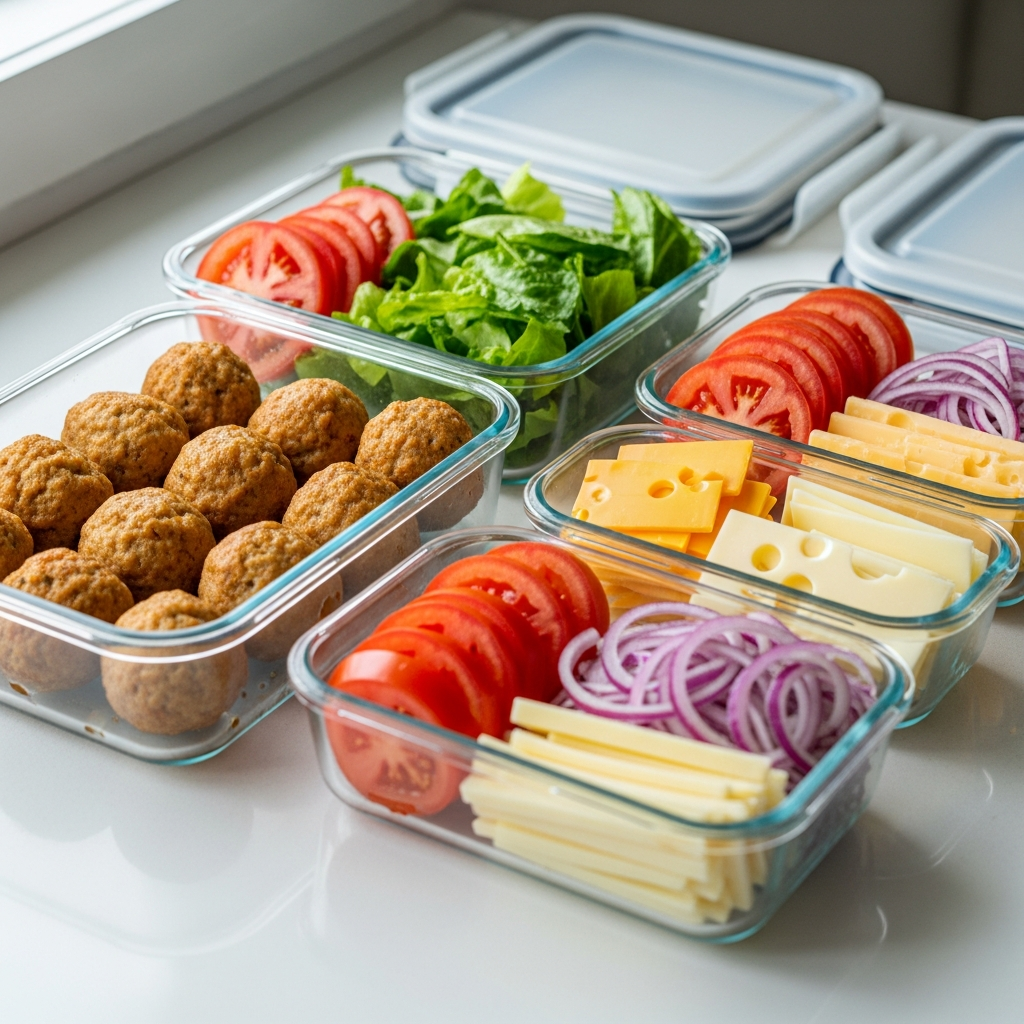
Cooked smashed chicken meatballs can be stored in an airtight container in the refrigerator for up to 3-4 days. They reheat well in a skillet or oven. Keep any prepared toppings and sauces separate until serving to maintain freshness.
For meal prep, you can prepare the raw meatball mixture up to a day in advance. Form the balls and store them covered in the fridge. This saves a lot of time on the day you plan to cook.
Make-Ahead & Freezer Notes

You can absolutely make these meatballs ahead of time and freeze them. For raw meatballs, form the balls, then place them on a parchment-lined baking sheet and freeze until solid. Once frozen, transfer them to a freezer-safe bag or container. They can be frozen for up to 3 months. Thaw in the refrigerator before smashing and cooking.
Cooked smashed meatballs can also be frozen. Allow them to cool completely, then arrange them in a single layer on a baking sheet and freeze. Transfer to a freezer-safe container. Reheat from frozen in a preheated oven at 350°F (175°C) until warmed through, about 15-20 minutes.
Serving Suggestions

- Classic Sides: Potato salad, coleslaw, or a simple green salad are always winners.
- Fries or Chips: A side of crispy French fries or your favorite potato chips pairs perfectly.
- Veggie Sticks: Offer some carrot and celery sticks with ranch dip for a fresh crunch.
- Pasta Salad: A light and zesty pasta salad can be a refreshing contrast to the richness of the sliders.
- Soup Shooters: For a fun party twist, serve small cups of tomato soup alongside for dipping.