Introduction
If you love coconut and you love cake, this fluffy and divine coconut cake might become your new favorite dessert.
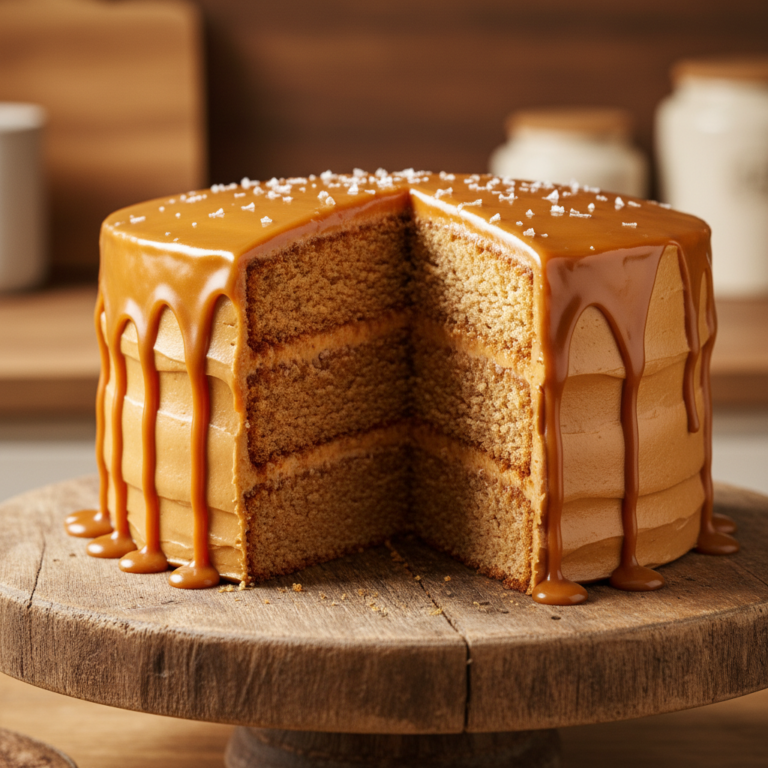
Picture this: soft, light, and tender layers of coconut cake that are deeply moist, but never heavy. Each bite is full of coconut flavor, with a hint of vanilla, and a beautiful, velvety crumb. On top, instead of a thick, heavy frosting, we pour over a silky cream cheese glaze that drips down the sides in the most irresistible way. A final shower of shredded coconut makes it look as special as it tastes.
This is not a dry, crumbly coconut cake that needs a gallon of milk on the side. This is a super moist coconut cake that stays soft for days, thanks to coconut milk, oil, and just the right balance of ingredients.
And the best part? The method is simple and very beginner-friendly. If you can cream butter and sugar, mix some ingredients in a bowl, and pour cake batter into pans, you can absolutely make this cake.
In this guide, I’ll walk you through:
- The background and story behind coconut cake
- Which ingredients make it extra fluffy and moist
- Step-by-step instructions for the cake and cream cheese glaze
- Helpful tips, variations, and pro secrets
- How to store, freeze, and serve it beautifully
Let’s turn your kitchen into a little coconut-scented bakery and bake this lovely cake together.
History / Background
Coconut cake has a cozy, old-fashioned charm to it. You’ll find different versions all around the world, but in many places, especially in the American South, coconut cake is a beloved classic.
Traditionally, Southern coconut cakes were:
- Tall, white layer cakes
- Filled and frosted with boiled icing or buttercream
- Covered all over with shredded coconut
They were often made for special occasions like Easter, Christmas, birthdays, and Sunday dinners. Fresh coconut used to be a real treat—cracking it open, grating the flesh, and using the coconut milk in the cake batter.
Over time, coconut cake recipes evolved:
- Canned coconut milk and cream became easier to find.
- Shredded coconut in bags replaced grating fresh coconut.
- Cream cheese frosting and glazes became popular because they add tangy richness that balances the sweetness.
This recipe is a modern, home-baker-friendly version of that traditional idea. It keeps the spirit of the classic coconut cake but:
- Uses coconut milk to boost moisture and flavor
- Combines butter and oil for both taste and softness
- Tops with a pourable cream cheese glaze that feels light but still indulgent
The result is a cake that feels impressive and special, but is surprisingly simple to make in your own kitchen.
Why You’ll Love This Recipe
- Ultra moist crumb – Coconut milk, oil, and just enough butter create a cake that stays moist and tender for days.
- Light and fluffy texture – The cake is soft and airy, not dense or heavy.
- Big coconut flavor – Coconut milk, shredded coconut, and optional coconut extract make the flavor shine.
- Dreamy cream cheese glaze – Instead of heavy frosting, you get a silky, slightly tangy glaze that drips beautifully and balances the sweetness.
- Beginner-friendly method – Clear steps in easy English, great for new bakers and experienced ones alike.
- Simple, everyday ingredients – Nothing fancy or hard to find; most things are in your regular grocery store.
- Flexible serving style – Make it as a simple one-layer cake, a pretty two-layer cake, or even a sheet cake.
- Perfect for any celebration – Birthdays, holidays, family dinners, or just a weekend treat.
- Easy to decorate – A handful of shredded coconut on top looks elegant without complicated piping or decorations.
- Make ahead friendly – You can bake the cake layers ahead, glaze later, and even freeze leftovers.
Ingredient Notes
Let’s talk about the ingredients that make this coconut cake extra fluffy and divine. Understanding each one will help you get perfect results and make smart substitutions, if needed.
For the Coconut Cake
All-Purpose Flour
This is your main structure. All-purpose flour keeps the crumb soft and tender. For best results:
- Spoon the flour into your measuring cup and level it off (don’t pack it in), or
- Use a kitchen scale if you have one.
Baking Powder and Baking Soda
These are the leavening agents that help the cake rise and stay light.
- Baking powder gives lift throughout the batter.
- A little baking soda works with the acidity in the sour cream and cream cheese glaze for extra tenderness.
Make sure they’re fresh—old leavening can make cakes flat.
Salt
Just a small amount brings out the flavors and balances the sweetness. Don’t skip it.
Unsalted Butter
Butter adds rich flavor and a tender crumb.
- Use unsalted so you can control the salt level.
- It should be softened to room temperature, not melted or icy cold.
Neutral Oil
Using part butter and part oil gives you the best of both worlds:
- Butter = flavor
- Oil = long-lasting moisture
Use a light vegetable oil like canola, sunflower, or light olive oil.
Granulated Sugar
Sugar sweetens the cake and helps keep the crumb soft.
Eggs
Eggs bind the ingredients and provide structure and richness.
- Use large eggs, at room temperature if possible.
- Room temperature eggs incorporate more easily into the batter.
Canned Coconut Milk
This is a big secret for amazing coconut cakes.
- Use full-fat canned coconut milk, shaken well.
- Do not use coconut water or the thin refrigerated coconut drink.
This adds moisture and real coconut flavor.
Sour Cream or Plain Greek Yogurt
Just a small amount gives extra richness, moisture, and a tender crumb.
- Full-fat sour cream or full-fat yogurt works best.
- It also adds a gentle tang that balances the sweetness.
Vanilla Extract
Vanilla deepens and rounds out the flavors. Pure vanilla extract is best if you have it.
Coconut Extract (Optional but Great)
If you want a stronger coconut punch, add a little coconut extract. Using just coconut milk and shredded coconut already gives great flavor, but this extra step makes it truly coconutty.
Shredded Coconut
This adds texture and extra coconut flavor.
- You can use sweetened shredded coconut or unsweetened.
- Sweetened will make the cake slightly sweeter; unsweetened will keep it more balanced.
We’ll mix a little into the batter and save some for decorating the top.
For the Cream Cheese Glaze
Cream Cheese
The base of the glaze.
- Use full-fat cream cheese, softened to room temperature so it blends smoothly.
It adds tanginess and richness.
Powdered Sugar (Icing Sugar / Confectioners’ Sugar)
This sweetens and thickens the glaze while keeping it smooth.
- Sift it if it looks lumpy.
Coconut Milk or Regular Milk
This thins the glaze to a pourable consistency and adds a light coconut note if you use coconut milk.
Vanilla Extract
For extra warmth and flavor.
Pinch of Salt
Balances the sweetness and brightens the flavor of the glaze.
Equipment Needed
You don’t need fancy bakery equipment to make this fluffy coconut cake. Here’s what helps:
Essential Equipment
- Two 8-inch or 9-inch round cake pans
8-inch pans will give slightly taller layers; 9-inch pans will give wider, slightly thinner layers. - Mixing bowls
A large one for the batter and a smaller one for the glaze. - Electric mixer
A hand mixer or stand mixer for creaming butter and sugar and making the glaze. It’s possible by hand, but much easier with a mixer. - Measuring cups and spoons
For accurate ingredient measurements. - Whisk and rubber spatula
The whisk helps mix dry ingredients; the spatula helps fold and scrape batter. - Parchment paper
For lining the bottom of the pans so the cakes release easily. - Cooling racks
So the cake layers cool evenly and don’t get soggy. - Offset spatula or spoon
To help spread the cream cheese glaze.
Nice-to-Have Equipment
- Kitchen scale – For very accurate flour and sugar measurements.
- Serrated knife or cake leveler – If you want to level the tops of your cake layers.
- Turntable – If you like to spin the cake while glazing, but it’s not required.
- Sifter – For powdered sugar, if it’s clumpy.
Full Recipe Card (Fluffy and Divine Coconut Cake)
Fluffy Coconut Cake with Cream Cheese Glaze
Servings: 10–12 slices
Prep Time: 30 minutes
Bake Time: 25–30 minutes
Cooling + Assembly Time: 1–1½ hours
Total Time: About 2 hours
Difficulty: Easy to Intermediate
Ingredients
For the Coconut Cake
- 2½ cups (300 g) all-purpose flour
- 2½ teaspoons baking powder
- ¼ teaspoon baking soda
- ½ teaspoon fine salt
- ½ cup (113 g / 1 stick) unsalted butter, softened
- ½ cup (120 ml) neutral oil (canola, vegetable, sunflower, or light olive oil)
- 1½ cups (300 g) granulated sugar
- 4 large eggs, at room temperature
- 1 teaspoon vanilla extract
- 1 teaspoon coconut extract (optional, for stronger coconut flavor)
- 1 cup (240 ml) full-fat canned coconut milk, shaken well
- ½ cup (120 g) sour cream or full-fat plain Greek yogurt, at room temperature
- ¾ cup (60 g) shredded coconut (sweetened or unsweetened), plus extra for topping
For the Cream Cheese Glaze
- 4 oz (113 g) cream cheese, softened
- 1½–2 cups (180–240 g) powdered sugar, sifted
- 2–4 tablespoons coconut milk or regular milk, plus more as needed
- 1 teaspoon vanilla extract
- Pinch of salt
- Extra shredded coconut, for sprinkling on top
Instructions
1. Prepare your pans and oven
- Preheat your oven to 350°F (175°C).
- Grease two 8-inch or 9-inch round cake pans with butter or cooking spray.
- Line the bottom of each pan with a circle of parchment paper, then lightly grease the paper too.
- Lightly dust the sides with flour and tap out any excess.
2. Mix the dry ingredients
- In a medium bowl, whisk together:
- Flour
- Baking powder
- Baking soda
- Salt
- Set aside.
3. Cream butter, oil, and sugar
- In a large mixing bowl, add the softened butter and granulated sugar.
- Beat with an electric mixer on medium speed until light and fluffy, about 2–3 minutes. The mixture should look paler and a bit airy.
- Add the oil and beat again until fully combined and creamy.
4. Add eggs and flavorings
- Add the eggs one at a time, beating well after each addition. Scrape down the sides of the bowl as needed.
- Mix in the vanilla extract and coconut extract (if using).
5. Add coconut milk and sour cream
- In a small bowl or measuring cup, stir together the coconut milk and sour cream until fairly smooth.
- With the mixer on low speed, add about ⅓ of the dry ingredients to the butter mixture and mix just until combined.
- Add ½ of the coconut milk/sour cream mixture and mix gently.
- Repeat: add another ⅓ of the dry ingredients, then the remaining coconut milk mixture, and finally the last ⅓ of the dry ingredients, mixing gently each time.
- Stop mixing as soon as the batter is mostly smooth with no dry streaks. Do not overmix.
- Gently fold in the ¾ cup shredded coconut with a spatula.
6. Bake the cakes
- Divide the batter evenly between the two prepared cake pans. You can use a scale to be exact or just eyeball it.
- Smooth the tops gently with a spatula.
- Place the pans in the preheated oven and bake for 25–30 minutes, or until:
- The cakes are lightly golden on top
- A toothpick inserted into the center comes out mostly clean, with just a few moist crumbs attached (no wet batter)
- Remove the pans from the oven and place them on cooling racks.
- Let the cakes cool in the pans for 10–15 minutes.
- Run a knife around the edges, then gently invert each cake onto the cooling rack. Peel off the parchment paper.
- Let the layers cool completely before glazing, at least 45–60 minutes.
7. Make the cream cheese glaze
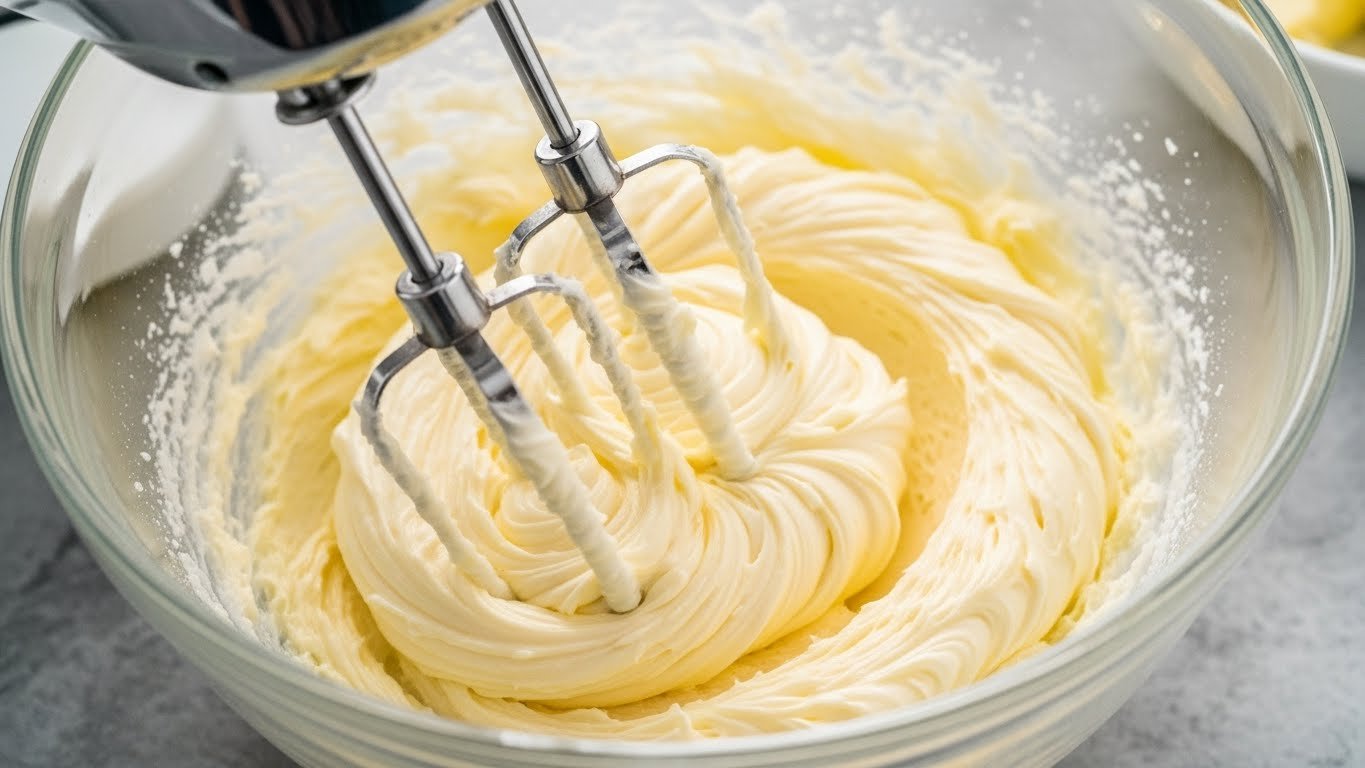
- In a medium bowl, beat the softened cream cheese with a mixer until smooth and creamy.
- Add 1½ cups of the sifted powdered sugar, vanilla, and a pinch of salt.
- Add 2 tablespoons of coconut milk or regular milk.
- Beat on low speed until combined, then increase to medium and mix until smooth.
- Check the consistency:
- For a pourable glaze that runs down the sides of the cake, you want it thick but able to slowly flow off a spoon.
- If it’s too thick, add more milk 1 teaspoon at a time.
- If it’s too thin, add more powdered sugar a little at a time.
8. Assemble and glaze the cake
- Place one cooled cake layer on your serving plate or cake stand.
- If the tops are very domed, you can level them gently with a serrated knife (optional).
- You can either:
- Use about ¼–⅓ of the glaze between the layers, or
- Keep all the glaze for the top and let it drip down the sides.
- Place the second cake layer on top (if using two layers).
- Pour the cream cheese glaze over the top of the cake, starting in the center and letting it slowly drip toward the edges. Gently nudge it with a spoon or spatula so it cascades down the sides.
- While the glaze is still soft, sprinkle extra shredded coconut over the top and lightly around the edges.
- Let the glaze set for about 15–30 minutes before slicing, if you can wait.
Enjoy your fluffy and divine coconut cake!
Recipe Notes
- You can make this recipe as a single layer in a 9 x 13 inch pan. The baking time will be about 30–35 minutes, and you can pour the glaze over the cooled cake in the pan.
- Sweetened shredded coconut will give a sweeter, slightly chewier texture; unsweetened will be a bit more delicate and less sweet.
- To toast the coconut for topping, spread it on a baking sheet and bake at 325°F (160°C) for 5–7 minutes, stirring often, until lightly golden. Watch carefully—it can burn quickly.
Tips & Variations
Once you’ve mastered the basic fluffy coconut cake with cream cheese glaze, you can have fun customizing it.
Flavor Variations
- Lime Coconut Cake:
Add 1–2 teaspoons of lime zest to the batter and a little lime juice to the glaze. Top with lime zest and coconut. - Pineapple Coconut Cake (Pina Colada Style):
Fold ½–¾ cup well-drained crushed pineapple into the batter (pat dry first), and top with pineapple chunks and toasted coconut. - Almond Coconut Cake:
Replace half of the vanilla with almond extract and sprinkle toasted sliced almonds on top with the coconut. - Chocolate Coconut Cake:
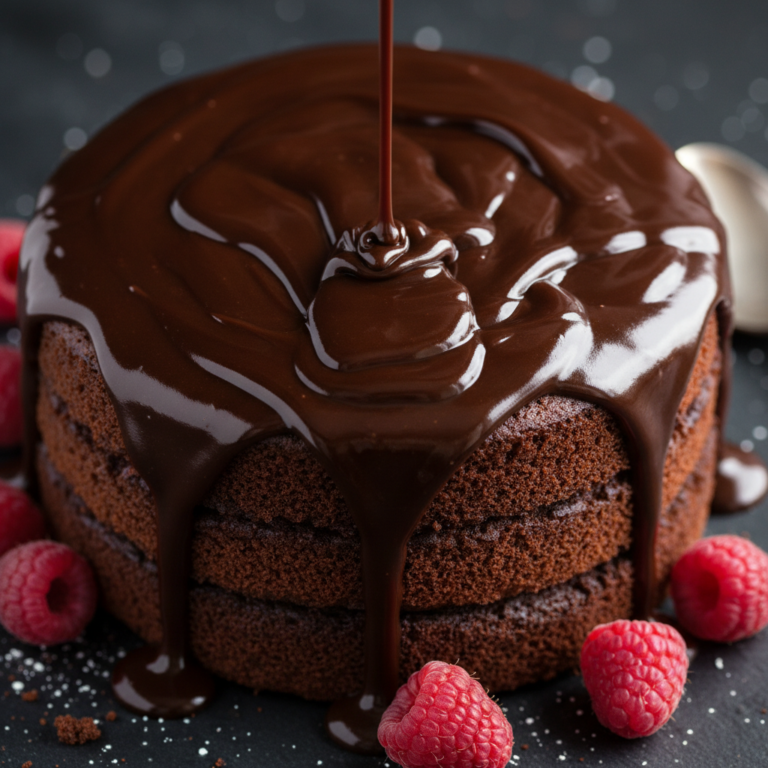
Stir a handful of mini chocolate chips into the batter and drizzle melted dark chocolate over the glazed cake.
Texture Variations
- More Coconut Texture:
Increase shredded coconut in the batter to 1 cup if you like more chewy coconut bits. - Lighter Crumb:
Sift the flour before measuring, or replace ¼ cup of the flour with cornstarch for an even softer crumb. - Rich Coconut Glaze:
Use coconut cream instead of coconut milk in the glaze for extra richness.
Pan Variations
- Bundt Cake:
Bake in a well-greased and floured Bundt pan. Baking time will be longer (about 45–55 minutes). Drizzle the cream cheese glaze over the cooled Bundt. - Cupcakes:
Divide batter into lined muffin tins and bake at 350°F (175°C) for about 18–22 minutes. Dip the top of each cooled cupcake in the glaze or spoon it over.
Pro Chef Tips
Here are some pro-style tips that make a big difference in the final cake:
- Room temperature ingredients
Bring eggs, sour cream, and coconut milk close to room temperature before mixing. This helps the batter come together smoothly and rise more evenly. - Cream the butter and sugar well
Don’t rush this step. Creaming adds air, which gives a lighter cake. Mix until the mixture is noticeably paler and fluffy. - Don’t overmix after adding flour
Once the flour goes in, mix on low and stop as soon as everything is just combined. Overmixing can make the cake tough. - Rotate your pans
If your oven has hot spots, rotate the pans halfway through baking so the cakes brown evenly. - Check early for doneness
Start checking a few minutes before the suggested time. All ovens are slightly different, and you don’t want to overbake such a moist cake. - Cool completely for cleaner cuts
Glaze and slice only after the cake is fully cool for neat slices and the best texture. - Sift the powdered sugar
For a silky-smooth glaze without lumps, sift the powdered sugar before adding. - Adjust glaze thickness slowly
Add milk to the glaze a tiny bit at a time. It’s much easier to thin a thick glaze than to fix a glaze that’s too runny.
Common Mistakes to Avoid
Even simple cakes can go wrong in a few spots. Here’s what to watch out for:
1. Dry or Dense Cake
Possible causes:
- Overbaking
- Too much flour (packed into the cup)
- Overmixing after adding the flour
How to avoid it:
- Measure flour by spooning into the cup and leveling, or use a scale.
- Check for doneness early and often.
- Stir gently once the flour is added; don’t beat hard.
2. Cake Sticking to the Pan
Possible causes:
- Pans not greased and lined properly
- Skipping parchment paper
How to avoid it:
- Always grease, line with parchment, and flour the sides of your pans.
- Let the cake rest for 10–15 minutes before turning it out.
3. Glaze Too Runny
Possible causes:
- Too much milk
- Not enough powdered sugar
- Cream cheese too warm
How to avoid it:
- Add milk a little at a time.
- Thicken by adding more powdered sugar, if needed.
- Use softened, not melted, cream cheese.
4. Glaze Too Thick to Pour
Possible causes:
- Too much powdered sugar
- Not enough liquid
How to fix it:
- Add milk 1 teaspoon at a time until it reaches a pourable consistency.
5. Cake Sinking in the Middle
Possible causes:
- Underbaked center
- Too much leavening
- Oven door opened too soon
How to avoid it:
- Make sure the cake is fully baked in the center before removing.
- Measure baking powder and baking soda carefully.
- Avoid opening the oven for the first 20 minutes.
Storage & Meal Prep
One of the best things about this coconut cake is that it stays moist for days.
Storing the Assembled Cake
- Keep the glazed cake covered (cake dome or loose plastic wrap).
- Because of the cream cheese glaze, it’s best to store it in the refrigerator.
- It will keep well for 3–4 days.
Before serving leftover slices, let them sit at room temperature for about 20–30 minutes so the cake and glaze soften slightly.
Storing Cake Layers (Without Glaze)
- Once the cake layers are completely cooled, wrap each one tightly in plastic wrap.
- Keep at room temperature for up to 1 day, or refrigerate for up to 3 days.
- You can also freeze them (see below) and glaze later.
This is great for meal prep or planning ahead for a party.
Make-Ahead & Freezer Notes
Make-Ahead Ideas
- Day Before Serving:
- Bake the cake layers and let them cool.
- Wrap them well and leave at room temperature or in the fridge.
- On the day you’re serving, make the glaze, assemble, and decorate.
- A Few Days Ahead:
- Bake and cool the layers, then freeze them.
- Thaw and glaze on the day you need the cake.
Freezing the Cake
Freezing Cake Layers:
- Cool cake layers completely.
- Wrap each layer tightly in plastic wrap, then in foil.
- Place in a freezer-safe bag or container.
- Freeze for up to 2–3 months.
To thaw:
- Transfer to the refrigerator overnight, still wrapped.
- Bring to room temperature before glazing and serving.
Freezing Slices:
- Cut the cooled, glazed cake into slices.
- Wrap each slice in plastic wrap.
- Place wrapped slices in a freezer bag or container.
- Freeze for up to 1–2 months.
To enjoy:
- Thaw slices in the fridge or at room temperature.
- For a just-baked feel, let them come to room temp before eating.
Serving Suggestions
This fluffy coconut cake looks beautiful and tastes amazing on its own, but a few simple touches can make it even more special.
Simple Serving Ideas
- Serve each slice with a small spoonful of extra cream cheese glaze on the side.
- Add a sprinkle of toasted coconut on each plate for crunch.
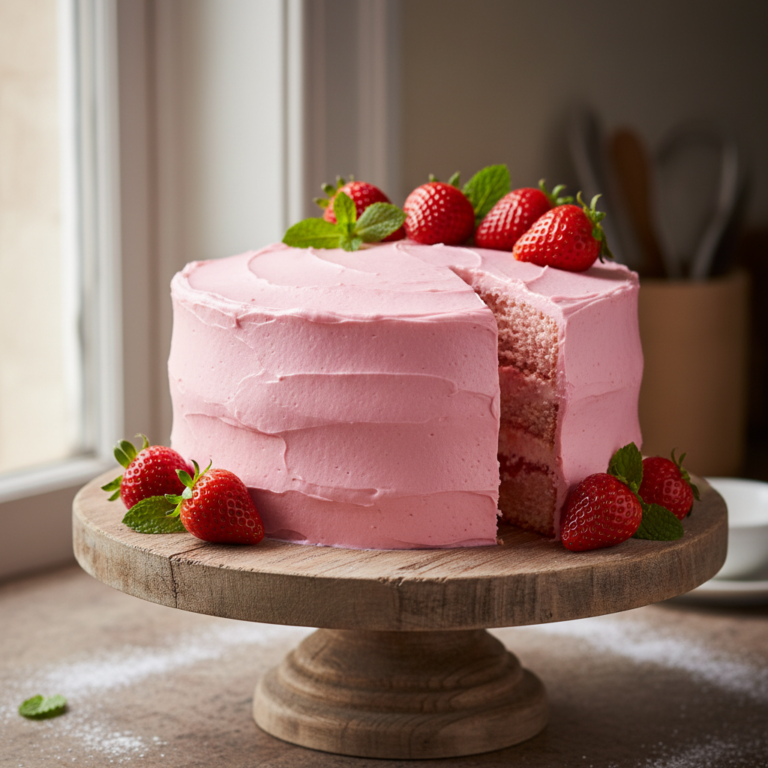
- Add a few fresh berries, pineapple chunks, or mango slices for color and freshness.
For Special Occasions
- Birthday Cake:
Decorate with a few candles and maybe some white chocolate curls with the coconut. - Holiday Dessert:
For Easter or Christmas, add colorful berries or small edible flowers on top. - Summer Party:
Serve with fresh tropical fruit and a little lime zest for a bright, summery feel.
Drinks to Pair
- Hot coffee or a latte
- Black or herbal tea
- Iced coffee or cold brew
- Light dessert wine, Prosecco, or sparkling water with lime
FAQs
Q: Can I make this coconut cake without coconut extract?
A: Yes. The coconut milk and shredded coconut already give plenty of flavor. Coconut extract just boosts it more, but it’s optional.
Q: Can I use low-fat coconut milk?
A: Full-fat coconut milk gives the best moisture and richness. Low-fat will work, but the cake may be slightly less moist and flavorful.
Q: Can I use regular milk instead of coconut milk?
A: You can, but the coconut flavor will be much milder. If you do, keep the shredded coconut and maybe increase the coconut extract for flavor.
Q: Can I use cream cheese frosting instead of glaze?
A: Definitely. You can use a thicker cream cheese frosting and spread it between the layers and on top instead of a pourable glaze.
Q: My glaze is lumpy. What did I do wrong?
A: The powdered sugar or cream cheese might not have been fully softened or sifted. Beat the glaze longer or strain it through a fine sieve to smooth it out.
Q: Can I turn this into a sheet cake?
A: Yes. Bake in a 9 x 13 inch pan at 350°F (175°C) for about 30–35 minutes. Pour the glaze over the cooled cake in the pan.
Q: Can I make this cake gluten-free?
A: You can try using a 1:1 gluten-free baking flour blend in place of all-purpose flour. The texture may be slightly different, but it should still be tasty.
Q: Can I make this ahead for a party?
A: Yes. You can bake the layers 1–2 days ahead and store them tightly wrapped. Glaze and decorate on the day of your event for the freshest look.
Q: How do I keep the cake from drying out in the fridge?
A: Keep it covered with a cake dome or wrap loosely in plastic wrap. Because this cake is very moist, it stores quite well if covered.
Conclusion (friendly and encouraging)
You’ve just walked through everything you need to know to bake a fluffy and divine coconut cake with a luxuriously moist crumb and a silky cream cheese glaze.
What looks like a bakery-style showstopper is really just a collection of simple steps:
- Cream butter, oil, and sugar
- Mix in eggs, coconut milk, and sour cream
- Stir in flour and coconut
- Bake, cool, glaze, and sprinkle with shredded coconut
You absolutely can make this cake at home, even if you’re not an experienced baker. And once you do, you’ll have a reliable, go-to recipe for birthdays, holidays, and any time you want a dessert that feels a little bit special.
Don’t worry if your glaze drips a little unevenly, or if your layers aren’t perfectly level. That’s part of the charm of homemade cake. The taste—soft, moist, rich with coconut and cream cheese—is what people will remember.
So the next time you crave something sweet and coconutty, or you need a dessert that will make people smile, come back to this recipe. Preheat your oven, open that can of coconut milk, and get baking.