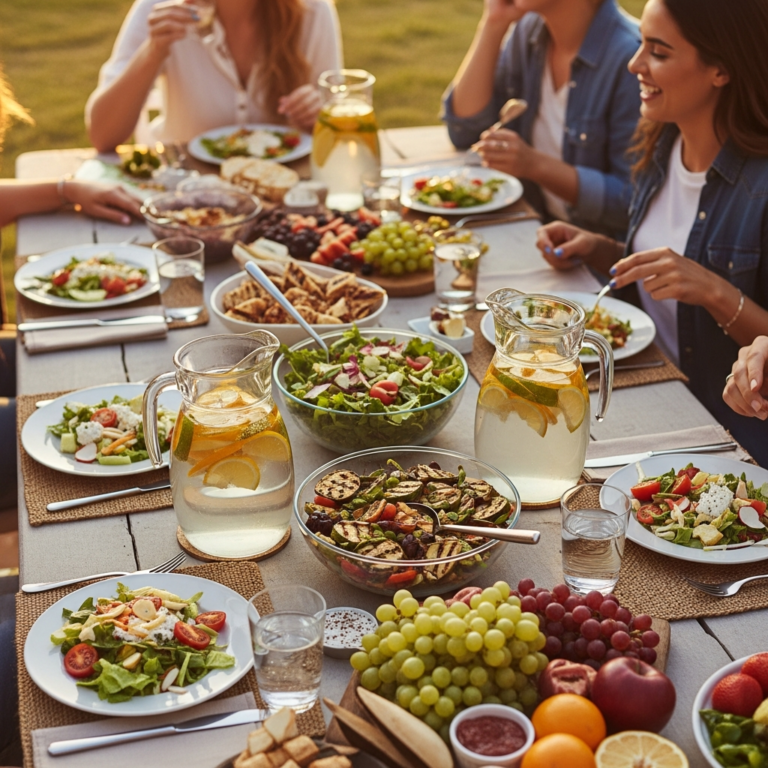
Ah, summer! The kids are home, the sun is shining, and the endless calls for snacks begin. Keeping little ones fueled and happy during these warmer months can sometimes feel like a full-time job. We all want easy, healthy options that taste great and help us beat the heat, right? Store-bought treats are convenient, but nothing quite beats the goodness of homemade. Today, we are diving into a super simple, incredibly refreshing snack that kids adore: homemade fruit yogurt popsicles! They are a perfect blend of creamy, fruity, and cool.
History / Background

Snacks have been a part of childhood for generations, evolving from simple fruit and bread to more elaborate concoctions. Summer treats, in particular, hold a special place in our hearts, reminding us of carefree days. Believe it or not, the beloved popsicle was actually invented by an 11-year-old boy named Frank Epperson way back in 1905! He accidentally left a mixture of powdered soda, water, and a stirring stick out on his porch overnight. The next morning, it was frozen solid, and a legend was born. It just goes to show how some of the best ideas are born from simple moments, much like these homemade popsicles.
Why You’ll Love This Recipe
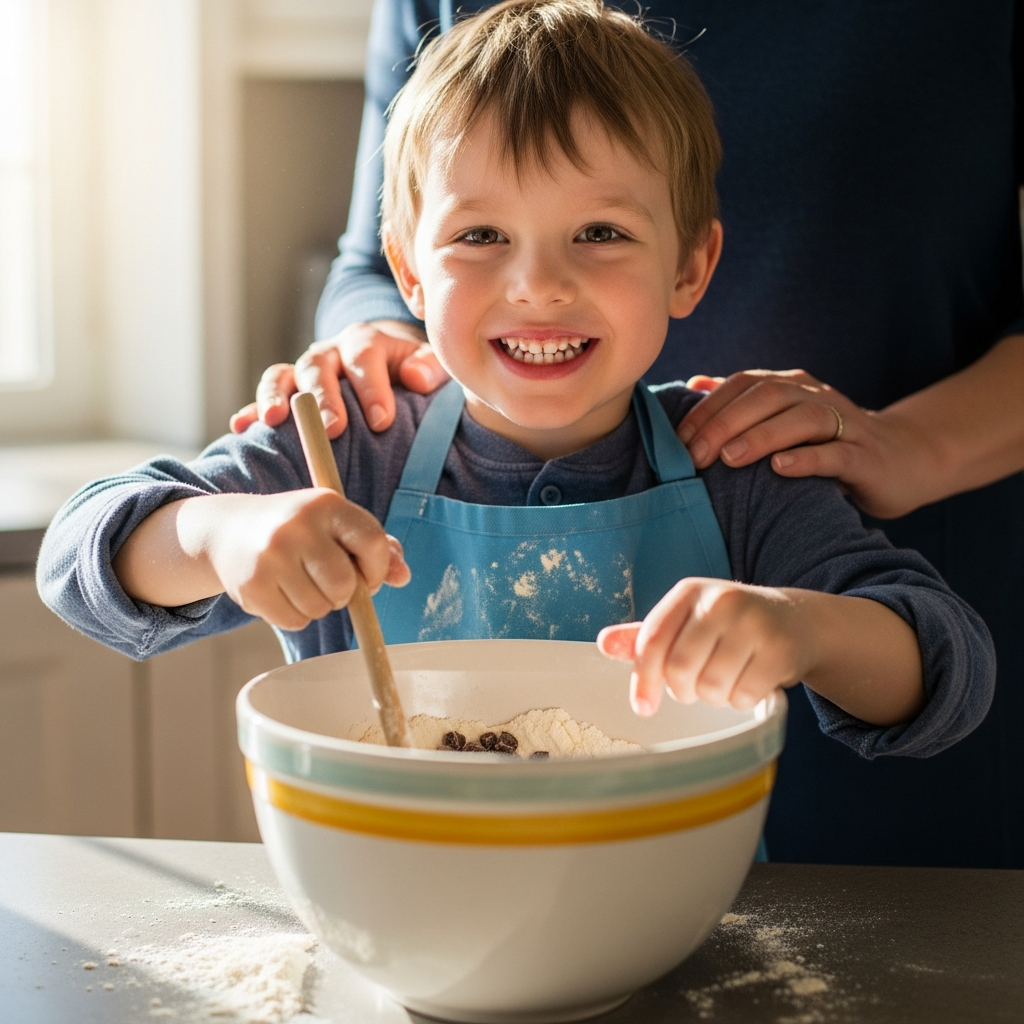
These popsicles are incredibly easy to make, perfect for getting kids involved in the kitchen.
- They are packed with fresh fruit and healthy yogurt, making them a nutritious choice.
- Customizable! You can use any fruit combination your family loves or has on hand.
- A wonderfully cooling and refreshing treat, perfect for hot summer days.
- Much more budget-friendly than buying specialty popsicles from the store.
- A great way to sneak in extra fruit and dairy into your child’s diet.
Ingredient Notes
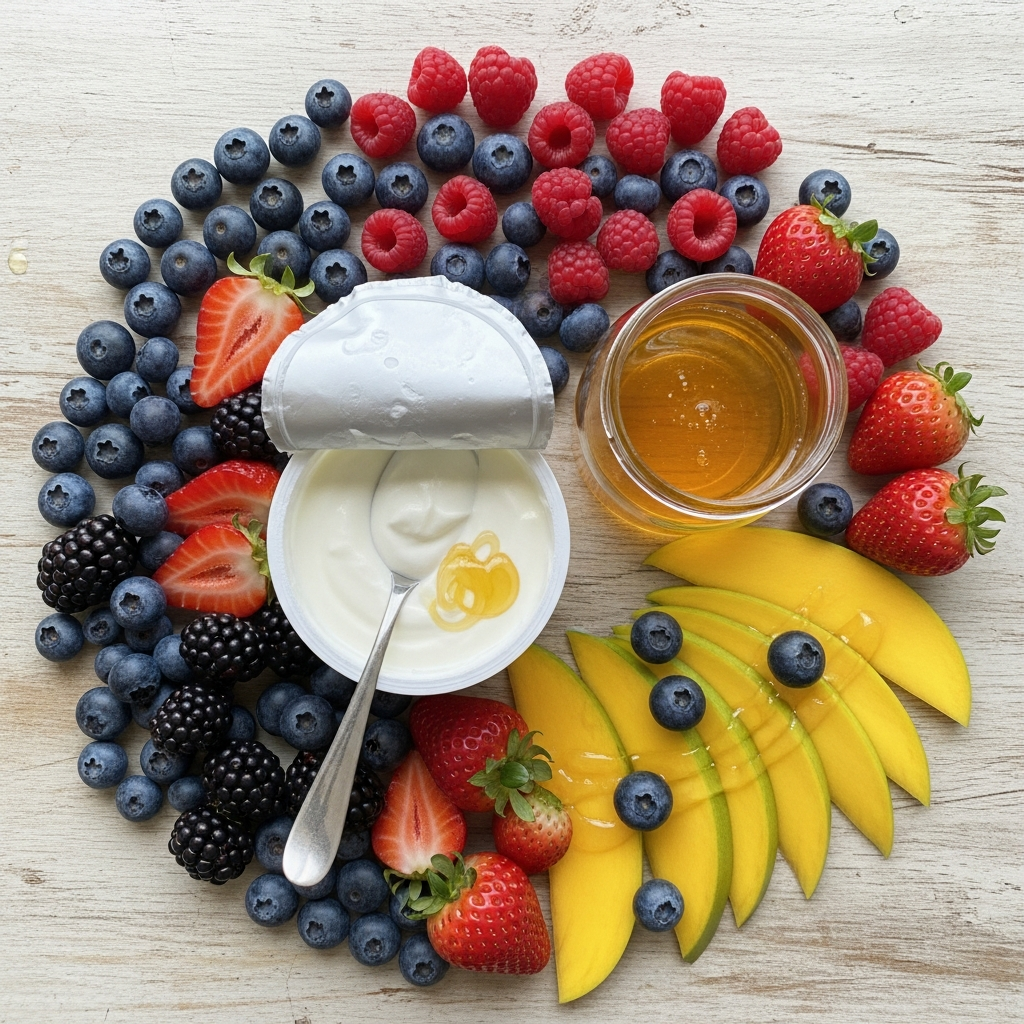
The beauty of these fruit yogurt popsicles lies in their simplicity and the quality of a few key ingredients. Choosing fresh, ripe produce will make all the difference in flavor. Here’s what you’ll need and some tips for each.
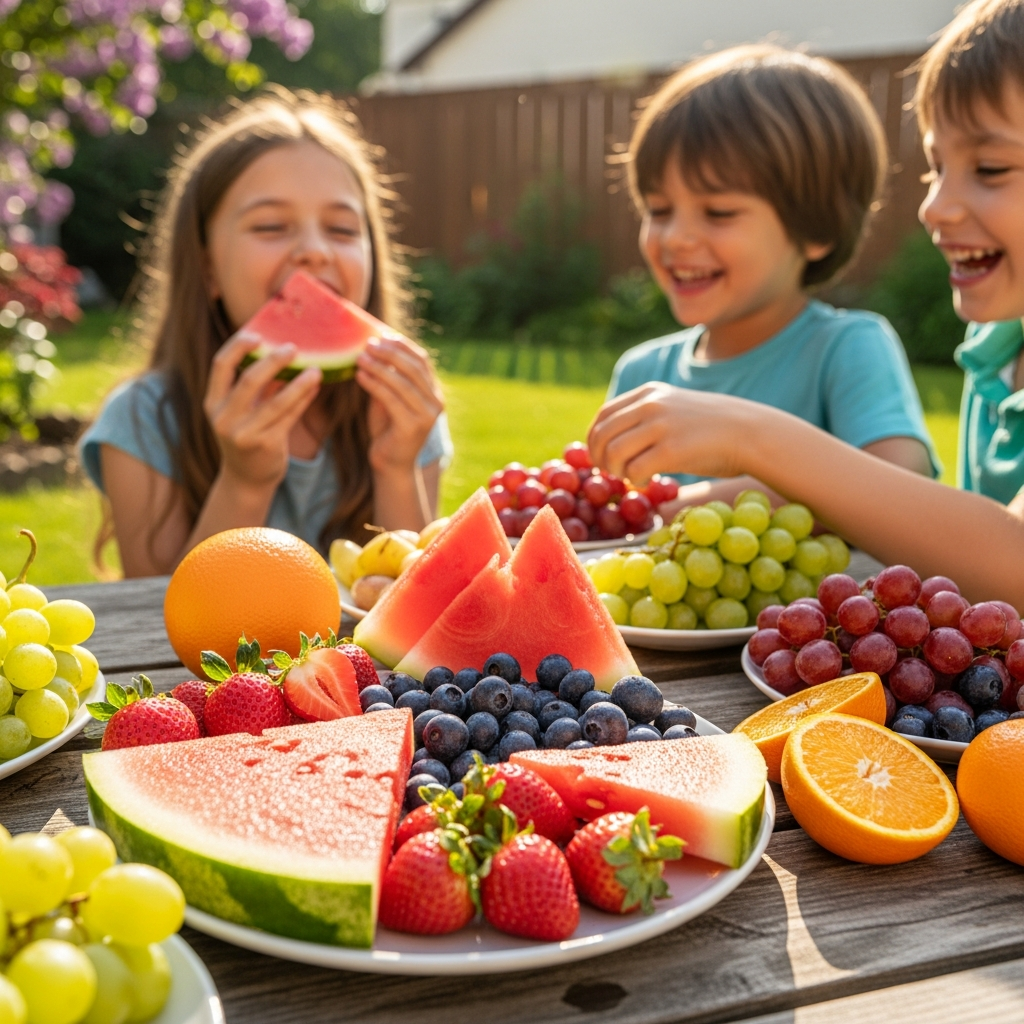
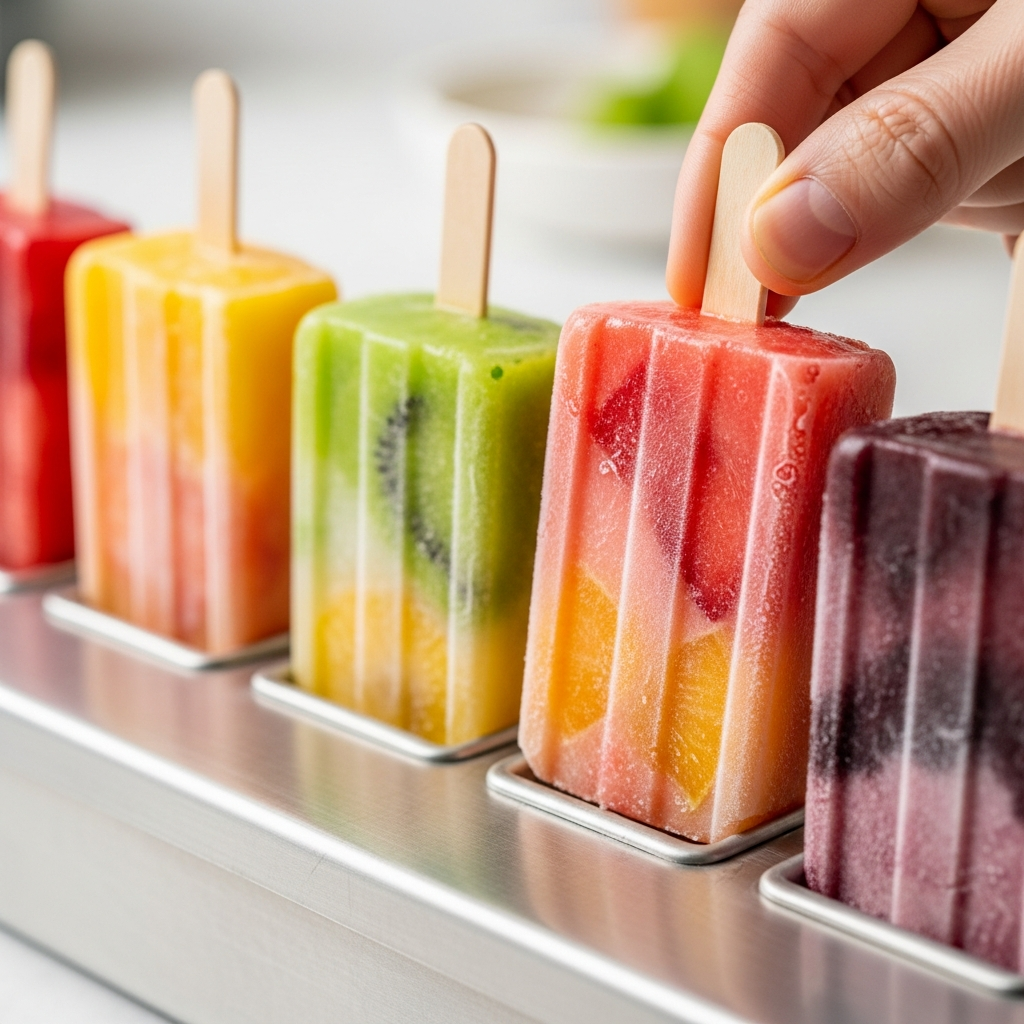
- Fresh Fruits: Go for what’s in season! Berries (strawberries, blueberries, raspberries), mango, peaches, melon, or even kiwi work wonderfully. Ripe fruit is naturally sweet and flavorful.
- Yogurt: Plain Greek yogurt is my favorite because it adds a creamy texture and a good protein boost. You can also use regular plain yogurt or even a flavored one if you prefer, just adjust the added sweetener. Dairy-free options like coconut or almond yogurt are also fantastic.
- Sweetener (Optional): Depending on the sweetness of your fruit and your family’s preference, you might want a touch of honey, maple syrup, or agave nectar. Start with a little and add more if needed.
- Vanilla Extract (Optional): A tiny splash of vanilla can really enhance the overall flavor, giving your popsicles a delightful aroma.
- Liquid (Optional): Sometimes a tiny splash of milk (dairy or non-dairy) or even water helps the blending process if your mixture is very thick.
Equipment Needed
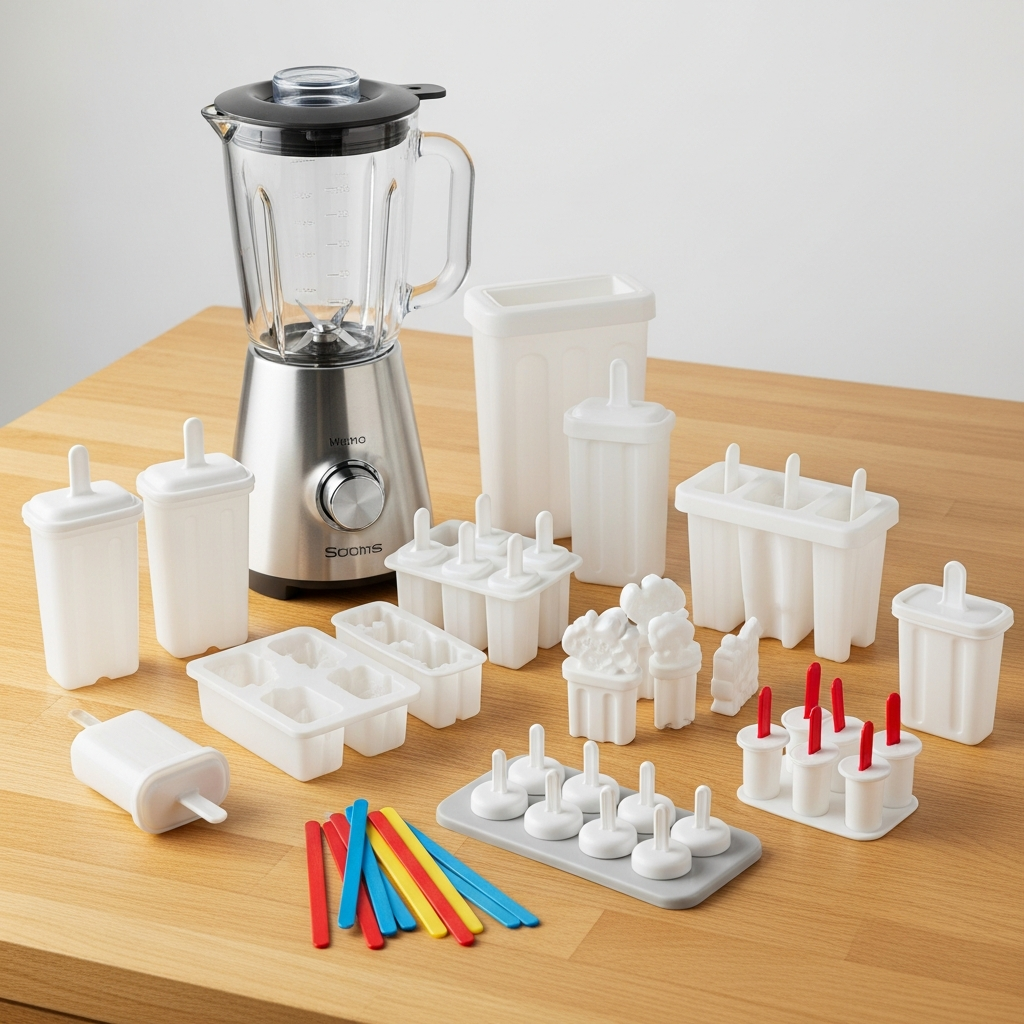
Blender or Food Processor: Essential for getting that smooth, creamy consistency for your fruit yogurt mixture.
- Popsicle Molds: These come in all shapes and sizes! Silicone molds are great for easy removal, but traditional plastic ones work perfectly too. If yours don’t have built-in sticks, you’ll need separate wooden ones.
- Measuring Cups and Spoons: For accurate ingredient proportions.
- Mixing Bowl (Optional): If you’re making different layers or want to mix by hand before blending, a bowl can be helpful.
- Freezer: Of course, a reliable freezer is key to transforming your liquid mixture into solid, frosty treats!
Full Recipe Card

Refreshing Fruit Yogurt Popsicles
Ingredients
- 1.5 cups mixed fresh fruit (e.g., sliced strawberries, blueberries, chopped mango)
- 1 cup plain Greek yogurt (full-fat for creamier results)
- 1-2 tablespoons honey or maple syrup (adjust to taste, optional)
- 1 teaspoon vanilla extract (optional)
- 1-2 tablespoons milk or water (optional, for smoother blending)
Instructions
- First, wash and prepare your chosen fresh fruits. If using larger fruits like mango or peaches, make sure they are peeled and chopped into smaller pieces.
- Combine the prepared fruit, Greek yogurt, honey or maple syrup (if using), and vanilla extract (if using) in your blender or food processor.
- Blend the mixture until it is completely smooth and creamy. If the mixture is too thick to blend easily, add a tablespoon or two of milk or water to help it along.
- Carefully pour the blended mixture into your popsicle molds. Try not to overfill them, leaving a little space at the top as liquids expand slightly when frozen.
- Insert your popsicle sticks into the center of each mold.
- Place the filled popsicle molds in the freezer. Allow them to freeze for at least 4-6 hours, or preferably overnight, until they are completely solid.
- To remove a frozen popsicle, briefly run the outside of the mold under warm water for a few seconds. This helps loosen it, allowing for easy extraction.
Notes
- Feel free to get creative with your fruit combinations! Berry and banana, peach and raspberry, or tropical mango-pineapple are all wonderful choices.
- Always taste your blended mixture before freezing. You can adjust the sweetness level based on the ripeness of your fruit and your family’s preference.
- For a pretty layered effect, you can alternate pouring different fruit purees or plain yogurt into the molds before freezing each layer for about 30 minutes.
- If you want extra nutrition, consider blending in a tablespoon of chia seeds or flax seeds. They thicken the mixture slightly and add healthy fats and fiber.
Tips & Variations
Hidden Veggies: For the picky eaters, blend in a handful of baby spinach. The green color might be masked by dark berries, and they won’t taste it!
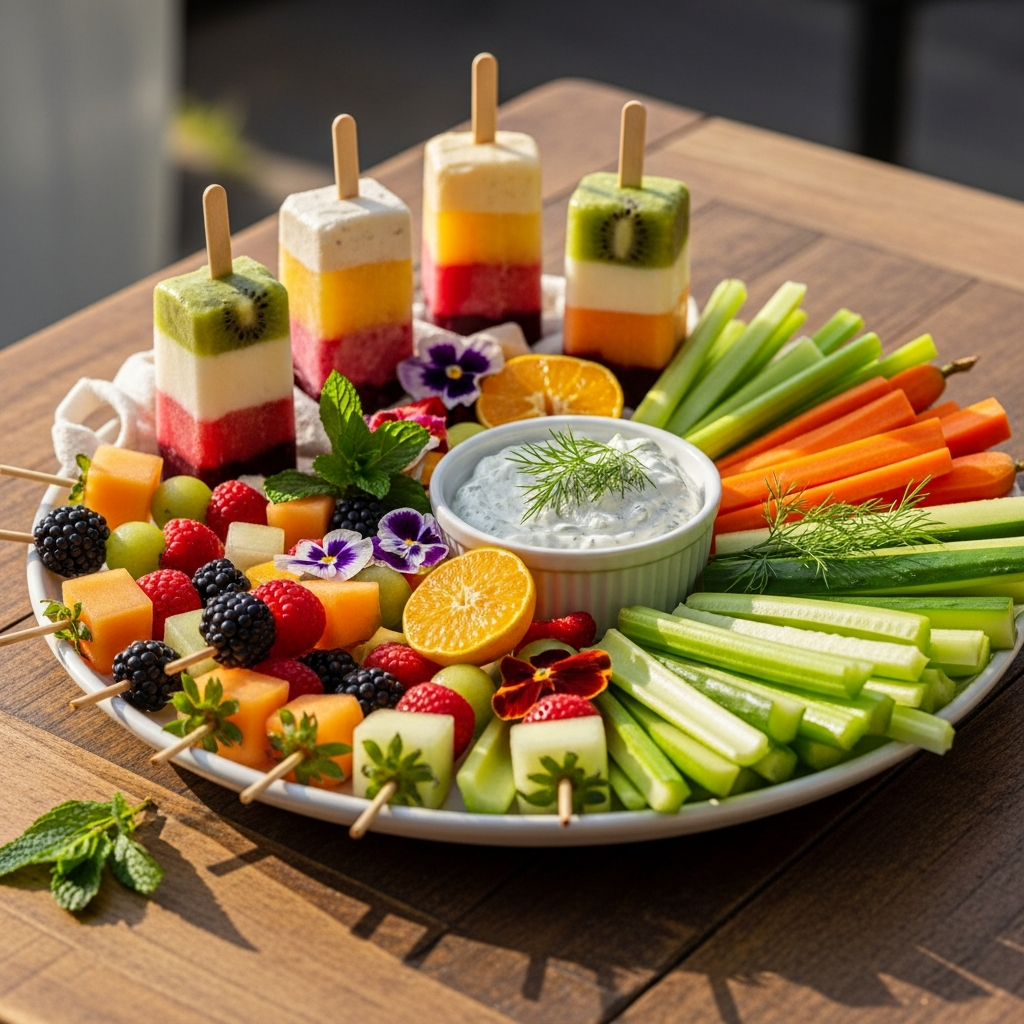
- Layered Pops: Create stunning popsicles by making different fruit purees. Pour one layer, freeze for 30 minutes, then add the next. Repeat until full.
- Creamy Pops: For an extra decadent treat, replace some of the yogurt with coconut milk (full-fat for richness) or a touch of heavy cream.
- Texture Fun: Add small, finely diced fruit pieces, mini chocolate chips, or a sprinkle of granola to the molds before pouring in the mixture for extra texture.
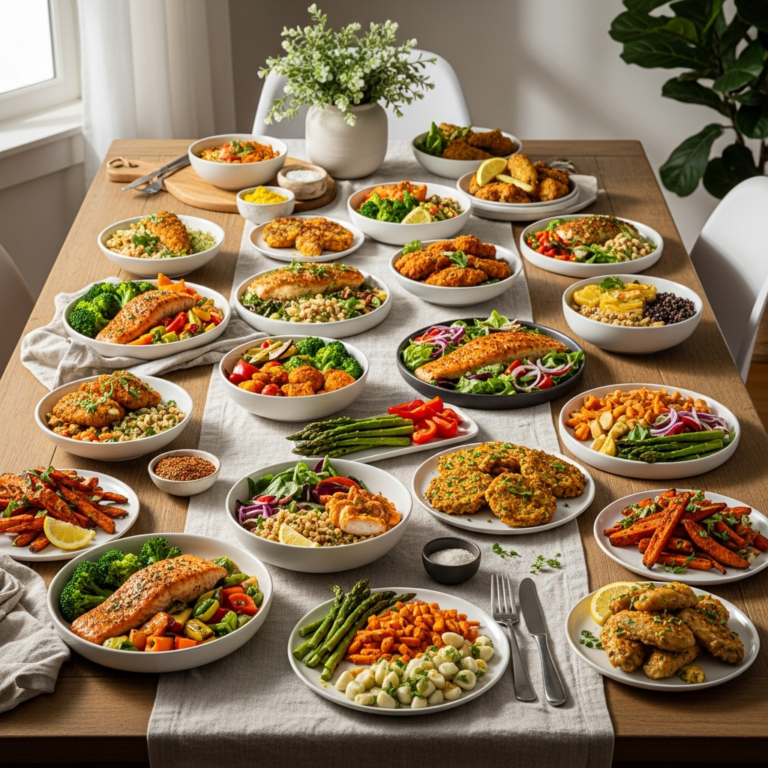
- Other Quick Snacks: Think beyond popsicles! Fruit skewers with cheese cubes, mini whole wheat pita pizzas, cucumber slices with cream cheese, or apple slices with nut butter are also great summer options.
Pro Chef Tips
Always use ripe, in-season fruit. It provides the best natural sweetness and flavor, reducing the need for added sugars.
- Taste your mixture before freezing. Remember, freezing can slightly dull flavors, so you want it to taste vibrant when liquid.
- Do not overfill your molds. Liquids expand slightly when they freeze, and overfilling can lead to messy freezer situations or difficulty inserting sticks.
- For easy removal, a quick dip in warm (not hot) water around the outside of the mold for just a few seconds is usually all you need. Don’t leave it too long, or they will start melting.
- For an extra creamy texture, especially with watery fruits, add a ripe banana to the blend. It acts as a natural thickener and adds sweetness.