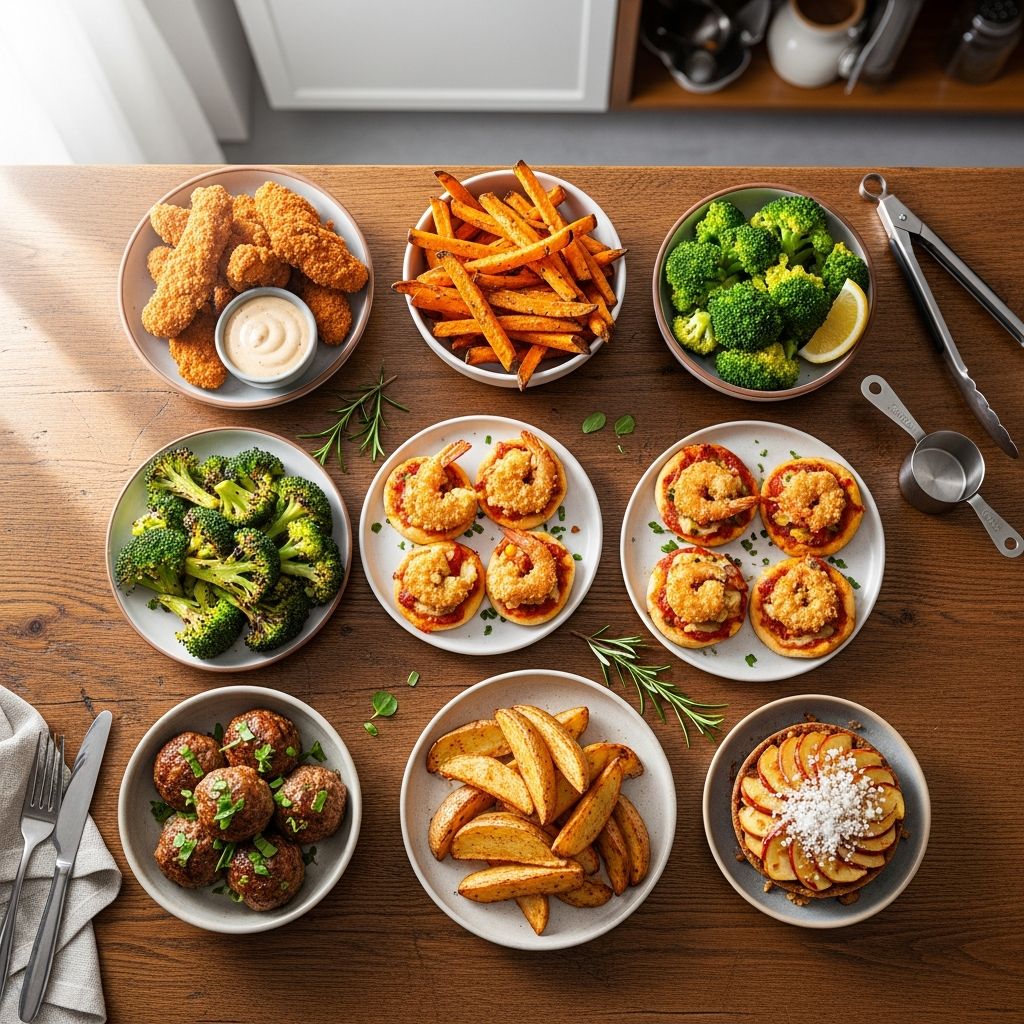
The air fryer has quickly become an essential kitchen appliance for modern households, offering a convenient way to prepare delicious meals with significantly less oil than traditional frying methods. For beginners, the prospect of using a new gadget can be intimidating, but the air fryer is remarkably user-friendly once you understand the basics. By utilizing rapid air circulation, this appliance creates a crispy exterior while maintaining a juicy interior for a wide variety of foods. In this guide, we explore eight simple and foolproof recipes designed to help you master your air fryer and elevate your daily cooking routine.
1. Classic Crispy French Fries
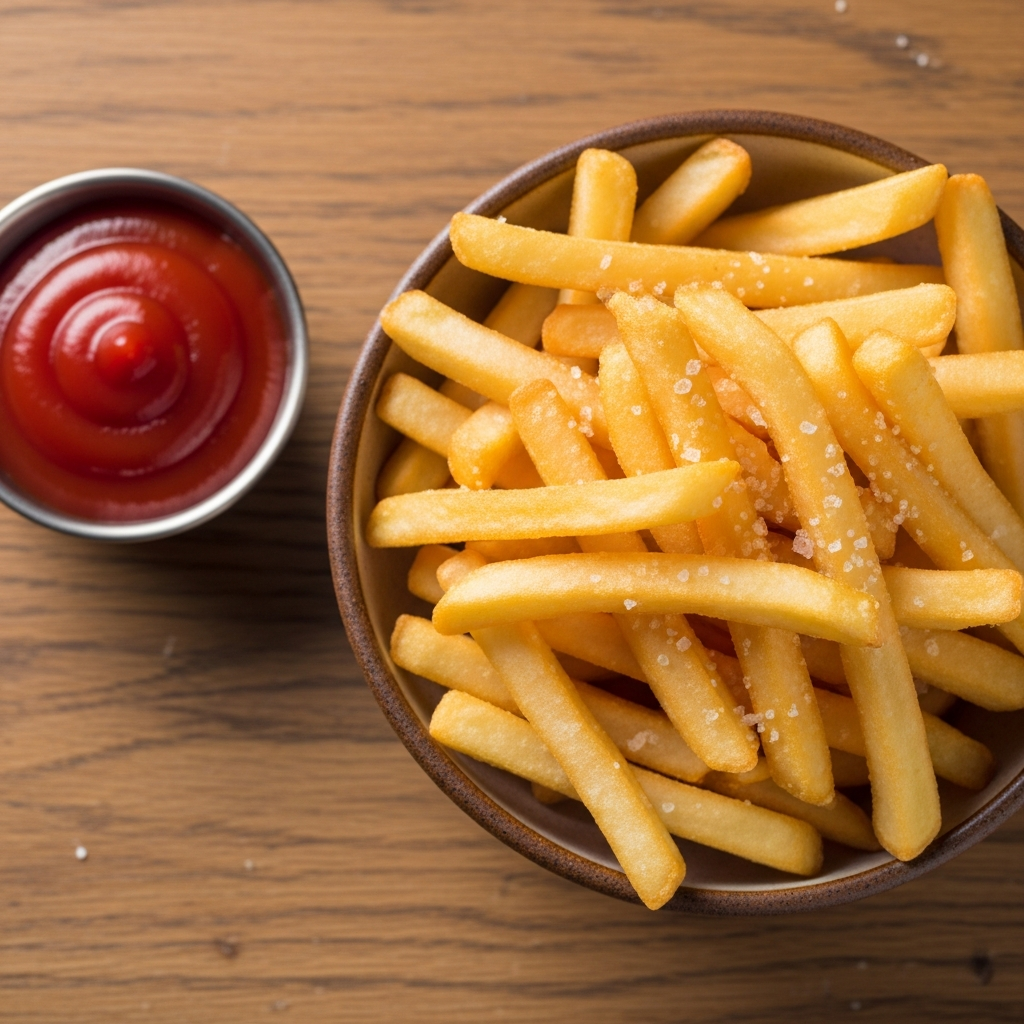
One of the most popular uses for an air fryer is creating perfect french fries without the mess of deep frying. To begin, peel and cut two large Russet potatoes into thin strips. Soak the strips in cold water for thirty minutes to remove excess starch, which ensures maximum crispiness. Pat them completely dry with a paper towel and toss them in a bowl with one tablespoon of olive oil, salt, and pepper. Arrange the fries in a single layer in the air fryer basket. Cook at 400 degrees Fahrenheit for 15 to 20 minutes, shaking the basket halfway through to ensure even browning. The result is a golden, crunchy exterior with a fluffy center.
2. Lemon Herb Chicken Breast
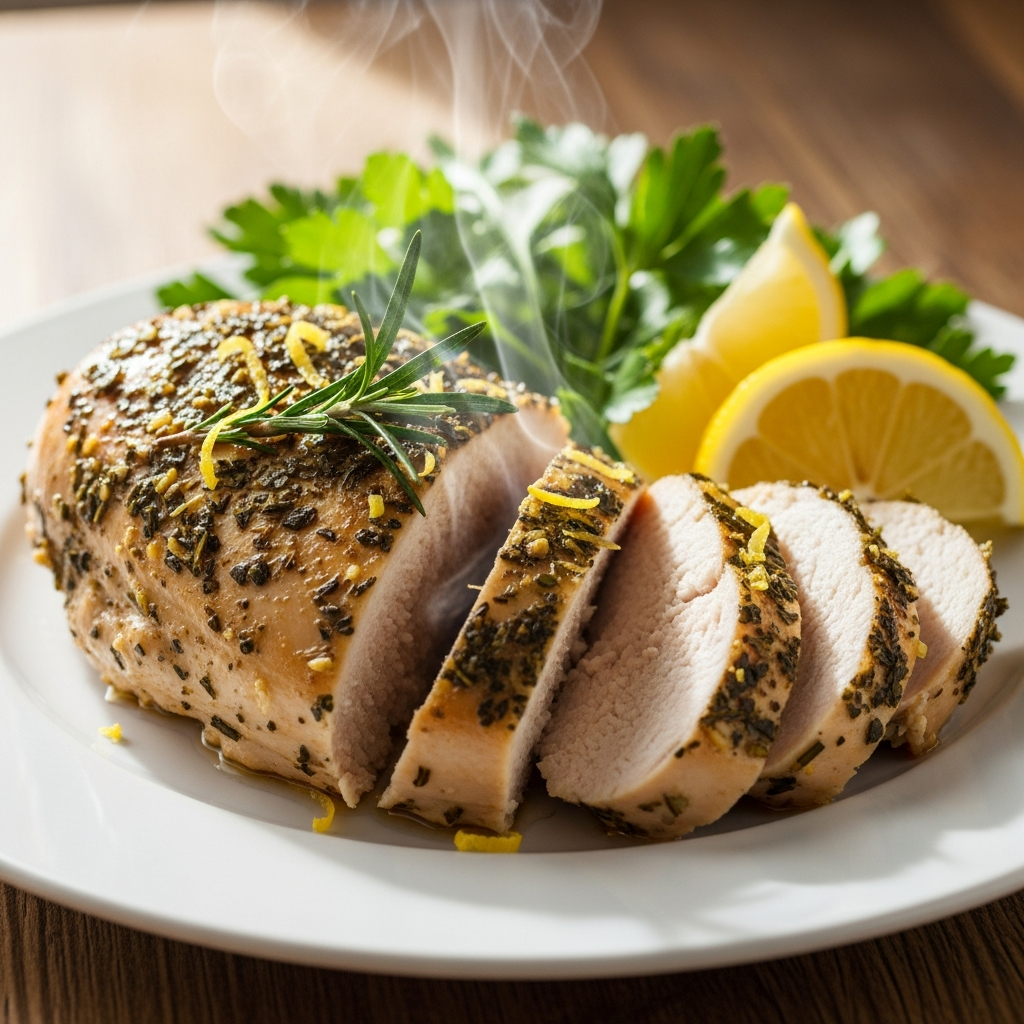
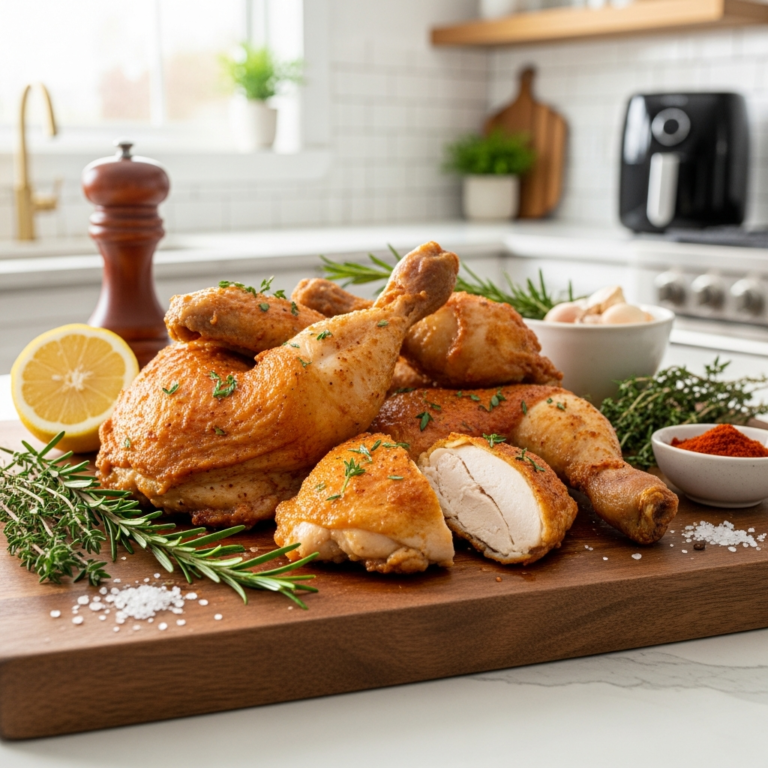
Cooking chicken breast in the air fryer is a reliable way to achieve a moist and flavorful result in a fraction of the time required by a conventional oven. Start by seasoning two boneless, skinless chicken breasts with olive oil, dried oregano, garlic powder, onion powder, and a squeeze of fresh lemon juice. Preheating the air fryer is recommended for this dish to sear the meat instantly. Cook the chicken at 375 degrees Fahrenheit for approximately 12 to 15 minutes, or until the internal temperature reaches 165 degrees Fahrenheit. Allow the chicken to rest for five minutes before slicing to lock in the juices.
3. Garlic Butter Salmon
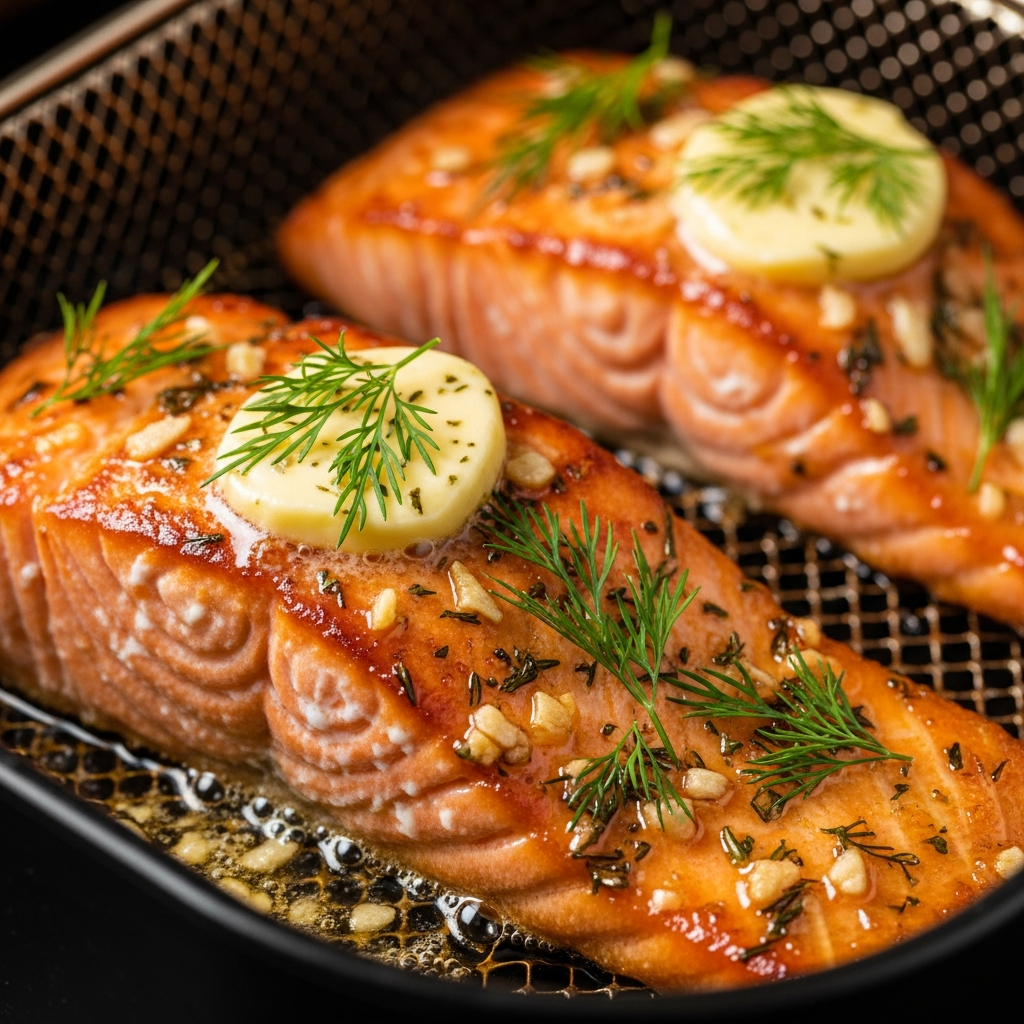
Salmon is an excellent protein choice for beginners because it cooks very quickly and benefits greatly from the high-heat environment of an air fryer. Prepare your fillets by brushing them with a mixture of melted butter, minced garlic, and a pinch of salt. Place the fillets skin-side down in the air fryer basket. Set the temperature to 400 degrees Fahrenheit and cook for 7 to 10 minutes depending on the thickness of the fish. The air fryer creates a beautiful caramelization on the surface while keeping the salmon tender and flaky. This dish pairs perfectly with steamed vegetables or a fresh garden salad.
4. Roasted Broccoli with Parmesan
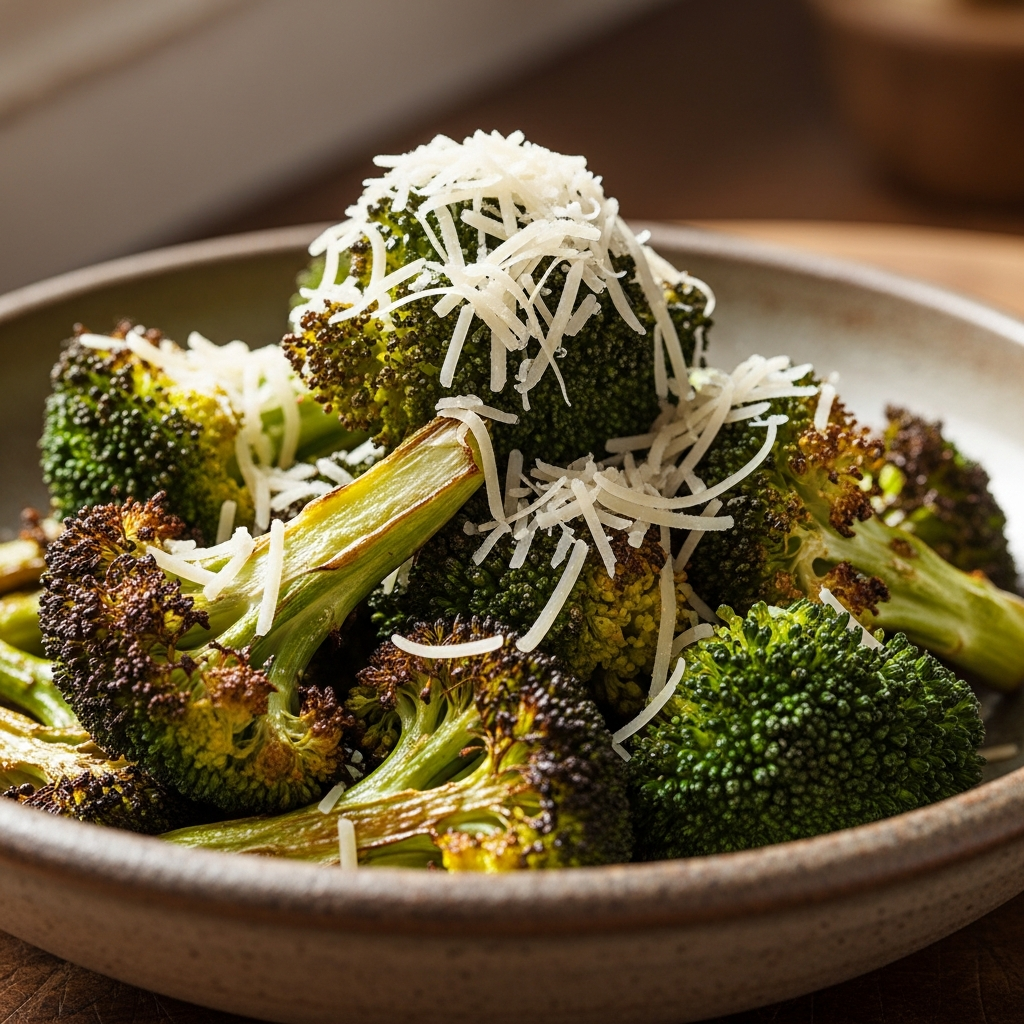
Vegetables are often overlooked in the air fryer, but they can be transformed into delicious side dishes with minimal effort. Cut a large head of broccoli into bite-sized florets and toss them with olive oil, salt, and red pepper flakes. Place them in the air fryer at 375 degrees Fahrenheit for 8 to 10 minutes. The high heat causes the edges of the florets to become slightly charred and crispy, adding a deep nutty flavor. Immediately after removing them from the air fryer, sprinkle a generous amount of grated Parmesan cheese over the hot broccoli for a savory finish.
5. Honey Glazed Pork Chops
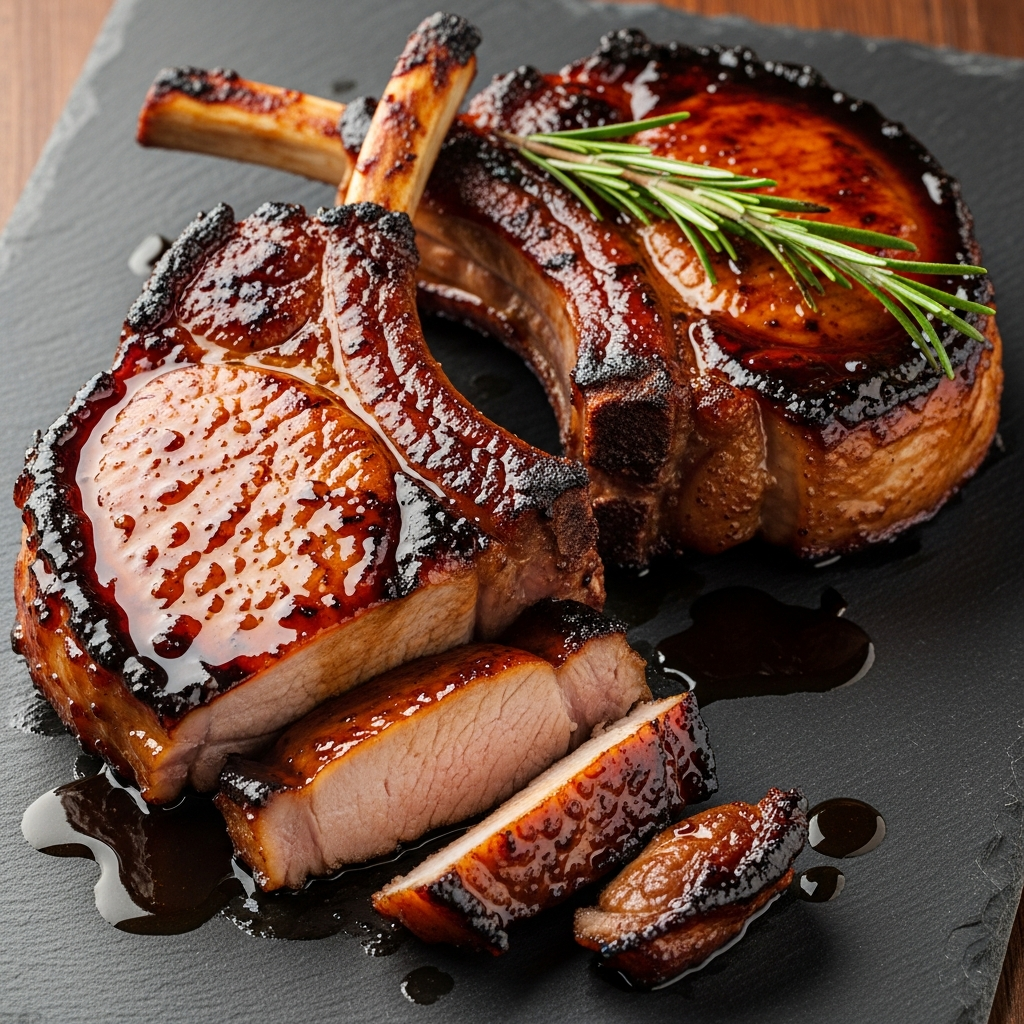
Pork chops can often become dry when cooked on the stove, but the air fryer helps maintain their moisture through rapid cooking. Create a simple marinade using honey, soy sauce, and a dash of ginger. Coat two thick-cut pork chops in the glaze and let them sit for ten minutes. Place the chops in the air fryer at 380 degrees Fahrenheit for 12 to 14 minutes, flipping them once at the halfway point. The sugars in the honey will caramelize under the heat, creating a sticky and savory coating that enhances the natural flavor of the meat.
6. Crunchy Chickpea Snacks
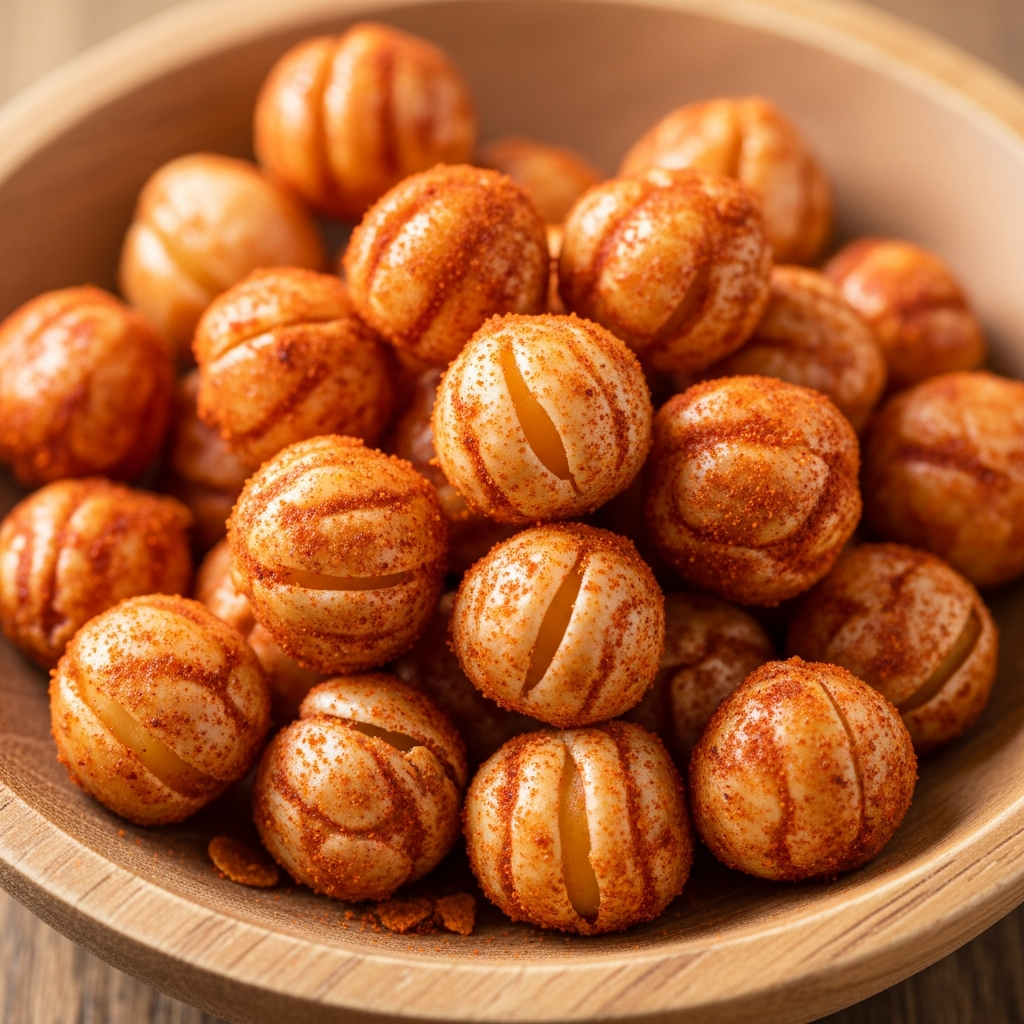
If you are looking for a healthy and easy snack, air-fried chickpeas are a fantastic option. Drain and rinse a can of chickpeas, ensuring they are completely dry before proceeding. Toss the chickpeas with a small amount of olive oil and your choice of seasoning, such as smoked paprika, cumin, or chili powder. Air fry the chickpeas at 390 degrees Fahrenheit for 12 to 15 minutes, shaking the basket frequently. They will transform into a crunchy, high-protein snack that is far healthier than traditional potato chips and can be stored in an airtight container for several days.
7. Bacon Wrapped Asparagus
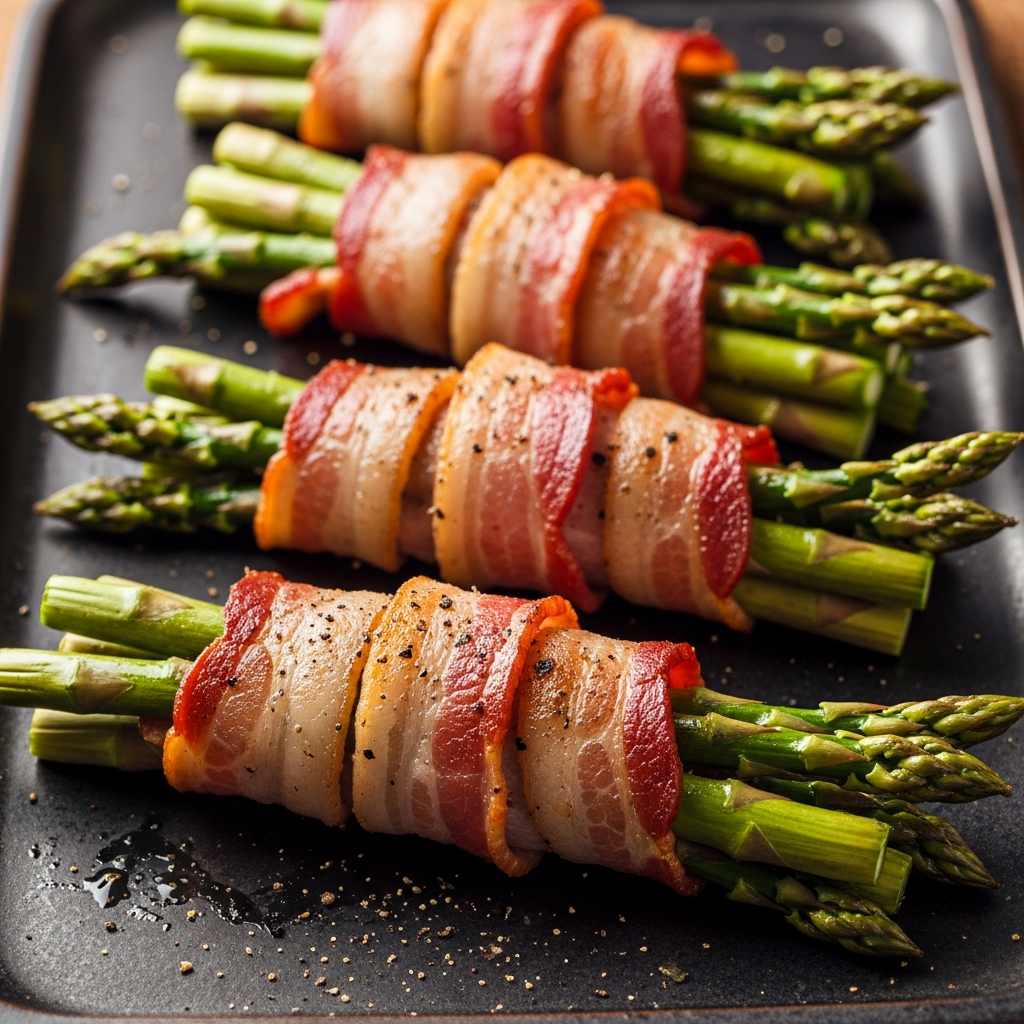
This recipe is a sophisticated yet simple appetizer that highlights the air fryer’s ability to render fat and crisp up textures simultaneously. Trim the woody ends off a bunch of asparagus spears. Wrap a half-slice of bacon tightly around each spear, or group three spears together and wrap them as a bundle. Place the bundles in the air fryer at 400 degrees Fahrenheit for 10 minutes. The bacon will become perfectly crisp while the asparagus remains tender-crisp. This dish is ideal for hosting guests or as a keto-friendly side dish for a weeknight dinner.
8. Cinnamon Sugar Donut Holes

The air fryer is not just for savory meals; it is also capable of producing quick and easy desserts. Using a tube of refrigerated biscuit dough, cut each biscuit into four pieces and roll them into small balls. Lightly spray the dough balls with oil and place them in the air fryer at 350 degrees Fahrenheit for 5 to 6 minutes until they are golden brown. While they are still hot, toss them in a bowl containing a mixture of melted butter, granulated sugar, and ground cinnamon. These donut holes are best served warm and offer a delightful sweet treat with very little preparation time.
Conclusion
Mastering the air fryer is a journey that begins with these eight foundational recipes. By experimenting with different proteins, vegetables, and even desserts, you will discover the versatility and efficiency that this appliance brings to your kitchen. The key to success is ensuring even spacing in the basket and monitoring cooking times, as every air fryer model varies slightly. With these simple techniques and recipes in your repertoire, you are well on your way to enjoying healthier, faster, and more flavorful meals every day.