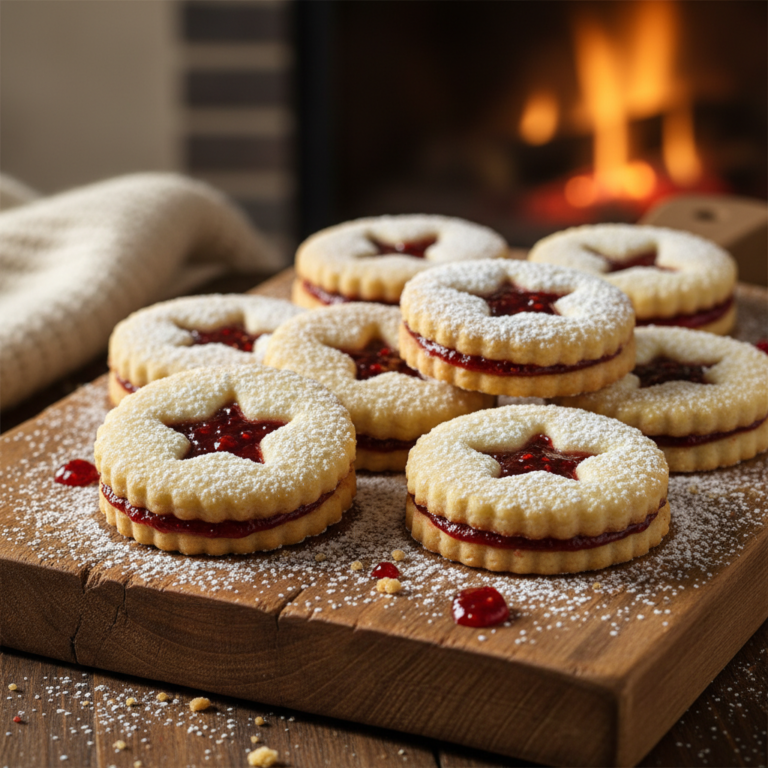
Who doesn’t love a good cookie? That warm, comforting bite, the perfect sweetness – it’s pure joy. But for those navigating gluten sensitivities or simply looking for healthier dessert options, finding that perfect cookie can sometimes feel like a quest. Many store-bought gluten-free cookies are packed with sugars and unhealthy fats, making them less than ideal for a truly wholesome treat.
But what if we told you that you can have your cookie and eat it too, without any of the guilt? We’re here to share a delightful recipe for gluten-free cookies that are not only incredibly easy to make but also genuinely healthy. Get ready to bake a batch of treats that will satisfy your sweet cravings and nourish your body!
A Sweet History of Gluten Free Baking

The journey of gluten-free baking has come a long way. For centuries, wheat was a staple, and the concept of gluten sensitivity was largely unknown. However, with increasing awareness and scientific understanding, more and more people have discovered the benefits of a gluten-free diet. What started as a necessity for those with celiac disease has blossomed into a vibrant culinary movement, offering delicious alternatives for everyone.
In recent years, the focus has also shifted from simply removing gluten to creating genuinely healthy and wholesome gluten-free options. This means incorporating nutrient-dense ingredients, reducing refined sugars, and embracing natural flavors. Our recipe today stands firmly in this modern tradition, proving that healthy can be incredibly delicious.
Why You Will Love This Recipe

- Simple Ingredients No hard-to-find flours or obscure additives.
- Beginner Friendly Easy-to-follow steps, perfect for new bakers.
- Deliciously Healthy Wholesome ingredients without compromising on taste.
- Customizable Easily adapt to your preferences and pantry staples.
- Quick to Make From mixing bowl to oven in no time.
- Crowd Pleaser Loved by gluten-free and gluten-eaters alike!
Ingredient Notes for Perfection
Understanding your ingredients is key to great baking. Here’s a quick rundown of what you’ll need and why:
- Gluten-Free Flour Blend Opt for a good quality all-purpose gluten-free blend. Many brands include xanthan gum, which helps with texture.
- Rolled Oats (Gluten-Free Certified) Adds chewiness and fiber. Make sure they are certified gluten-free to avoid cross-contamination.
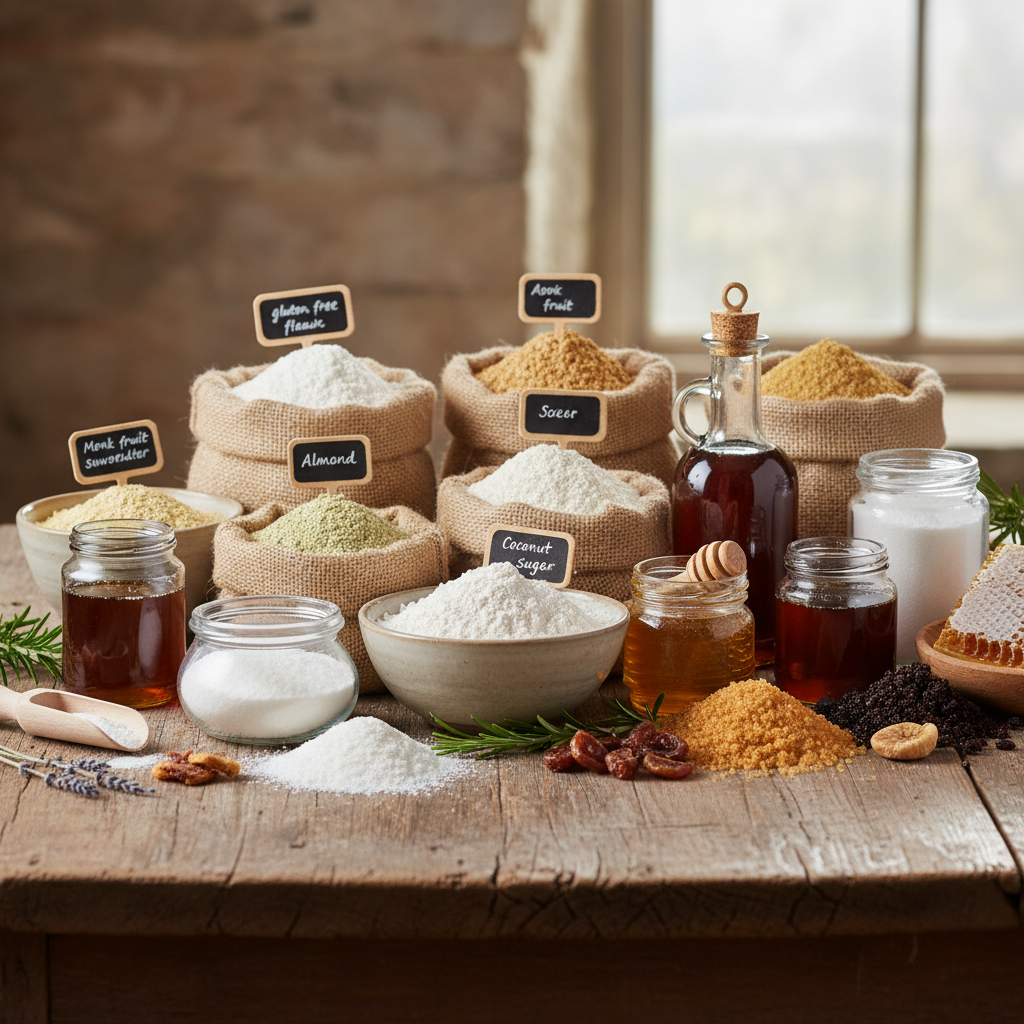
- Natural Sweetener We recommend maple syrup or honey for a healthier touch, but you can also use coconut sugar.
- Coconut Oil A wonderful dairy-free fat that adds richness and a subtle flavor. Make sure it’s melted and cooled slightly.
- Egg Acts as a binder. For a vegan option, use a ‘flax egg’ (1 tbsp ground flaxseed + 3 tbsp water, let sit for 5 minutes).
- Vanilla Extract Essential for that classic cookie flavor.
- Baking Soda Helps the cookies rise and spread slightly.
- Chocolate Chips (Dairy-Free if preferred) Choose your favorite! Dark chocolate chips offer a richer flavor and less sugar.
Equipment Needed for Baking Success
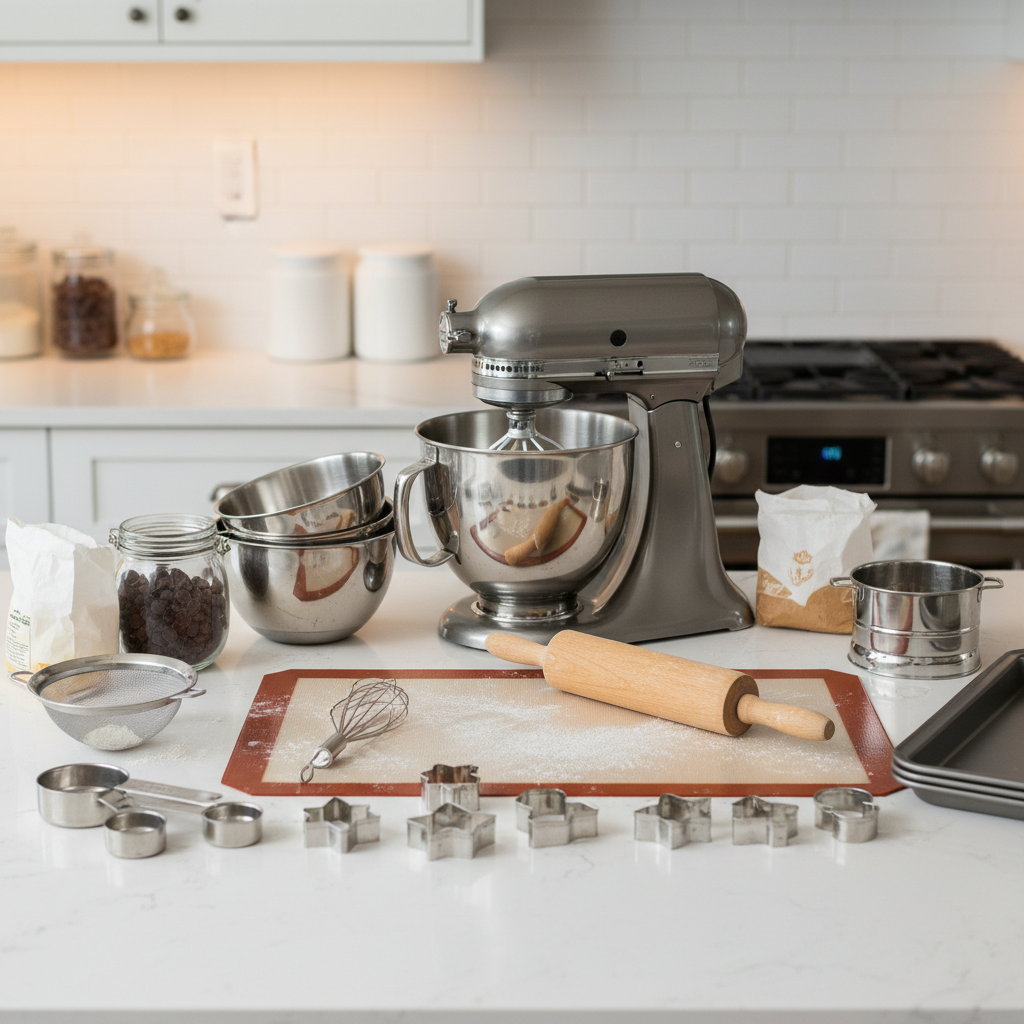
You don’t need a fancy kitchen to make these cookies. Here’s what will come in handy:
- Large Mixing Bowl
- Whisk or Electric Mixer
- Measuring Cups and Spoons
- Baking Sheets
- Parchment Paper
- Cookie Scoop (optional, but great for even cookies)
- Cooling Rack
Full Recipe Card
Ingredients
- 1 ½ cups (180g) all-purpose gluten-free flour blend
- ½ cup (45g) gluten-free rolled oats
- ½ teaspoon baking soda
- ¼ teaspoon salt
- ½ cup (120ml) melted coconut oil, cooled
- ½ cup (120ml) maple syrup or honey
- 1 large egg (or flax egg for vegan)
- 1 teaspoon vanilla extract
- ¾ cup (130g) chocolate chips (dairy-free optional)
Instructions
- Preheat Oven Preheat your oven to 350°F (175°C). Line a baking sheet with parchment paper.
- Combine Dry Ingredients In a large bowl, whisk together the gluten-free flour blend, rolled oats, baking soda, and salt.
- Combine Wet Ingredients In a separate medium bowl, whisk together the cooled melted coconut oil, maple syrup, egg, and vanilla extract until well combined.
- Combine Wet and Dry Pour the wet ingredients into the dry ingredients. Mix with a spatula until just combined. Be careful not to overmix.
- Fold in Chocolate Chips Gently fold in the chocolate chips until evenly distributed.
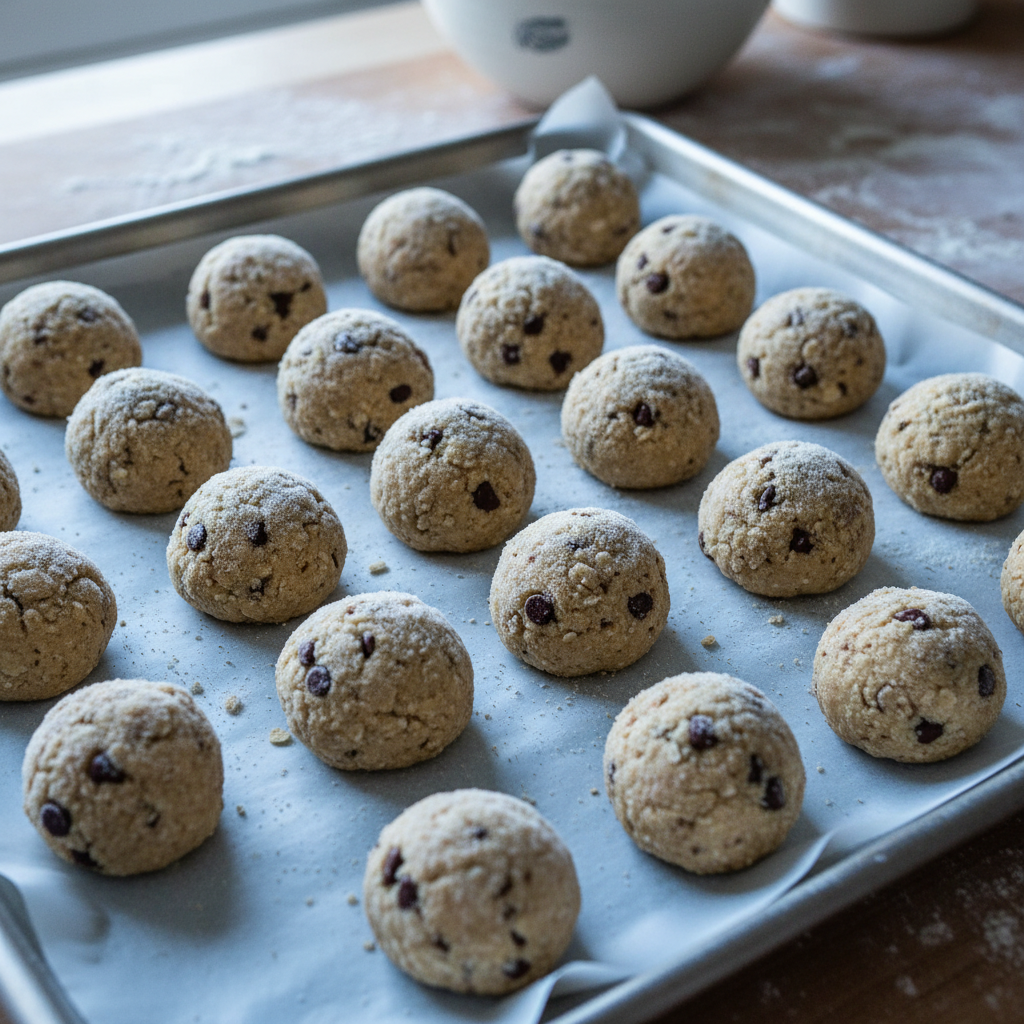
- Scoop Dough Drop rounded tablespoons of dough onto the prepared baking sheet, leaving about 2 inches between each cookie. Use a cookie scoop for uniform size.
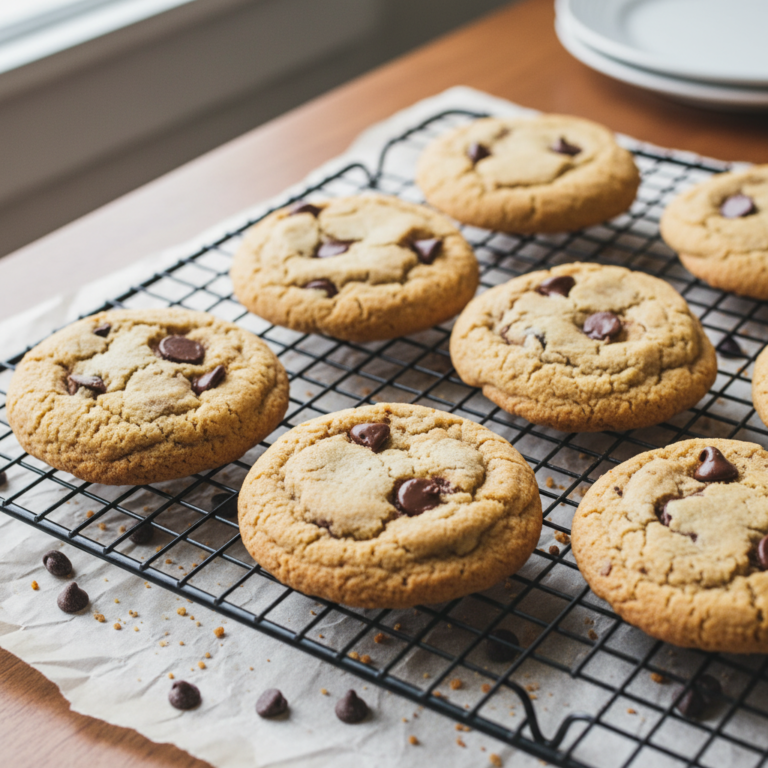
- Bake Bake for 10-12 minutes, or until the edges are golden brown and the centers are set.
- Cool Let the cookies cool on the baking sheet for 5 minutes before transferring them to a wire rack to cool completely. Enjoy!
Notes
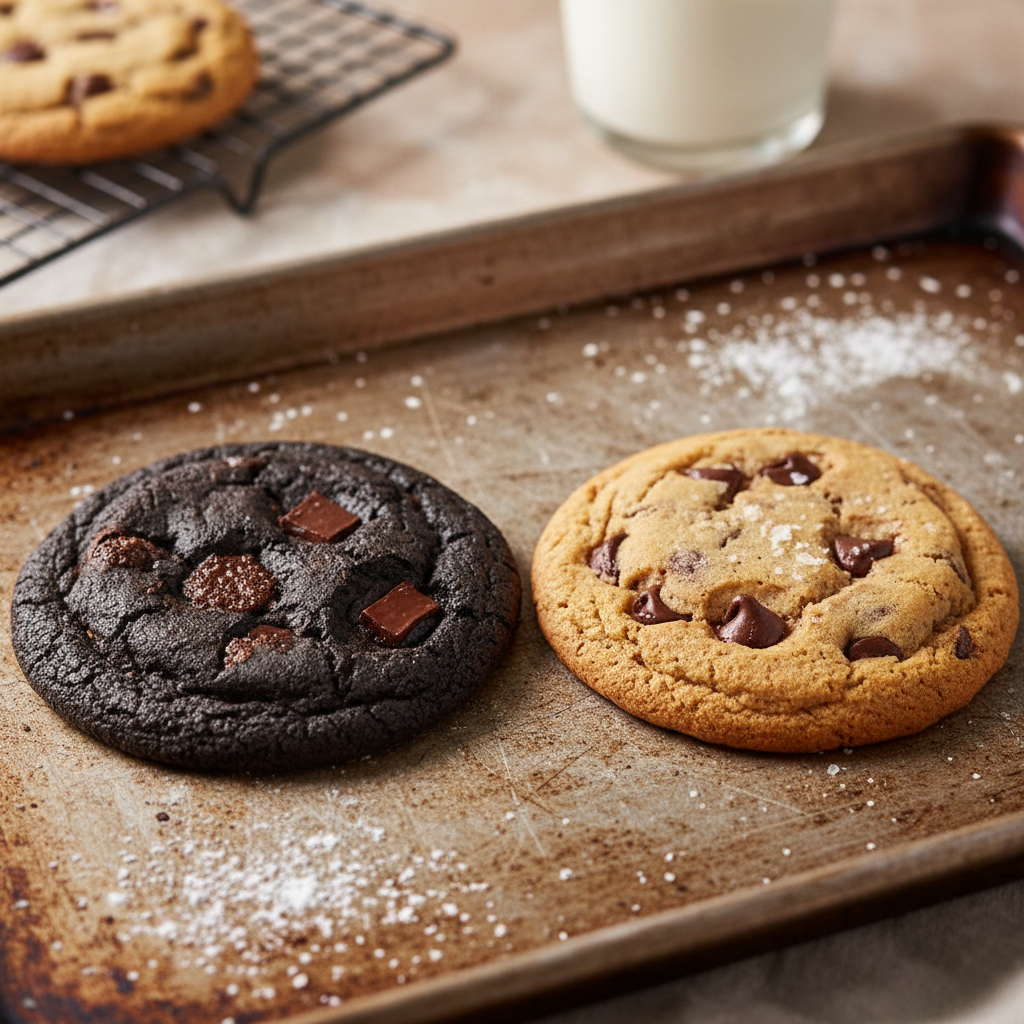
For a softer cookie, bake for less time. For a crispier cookie, bake for a minute or two longer. Dough can be refrigerated for up to 3 days before baking.
Tips and Variations for Your Cookies
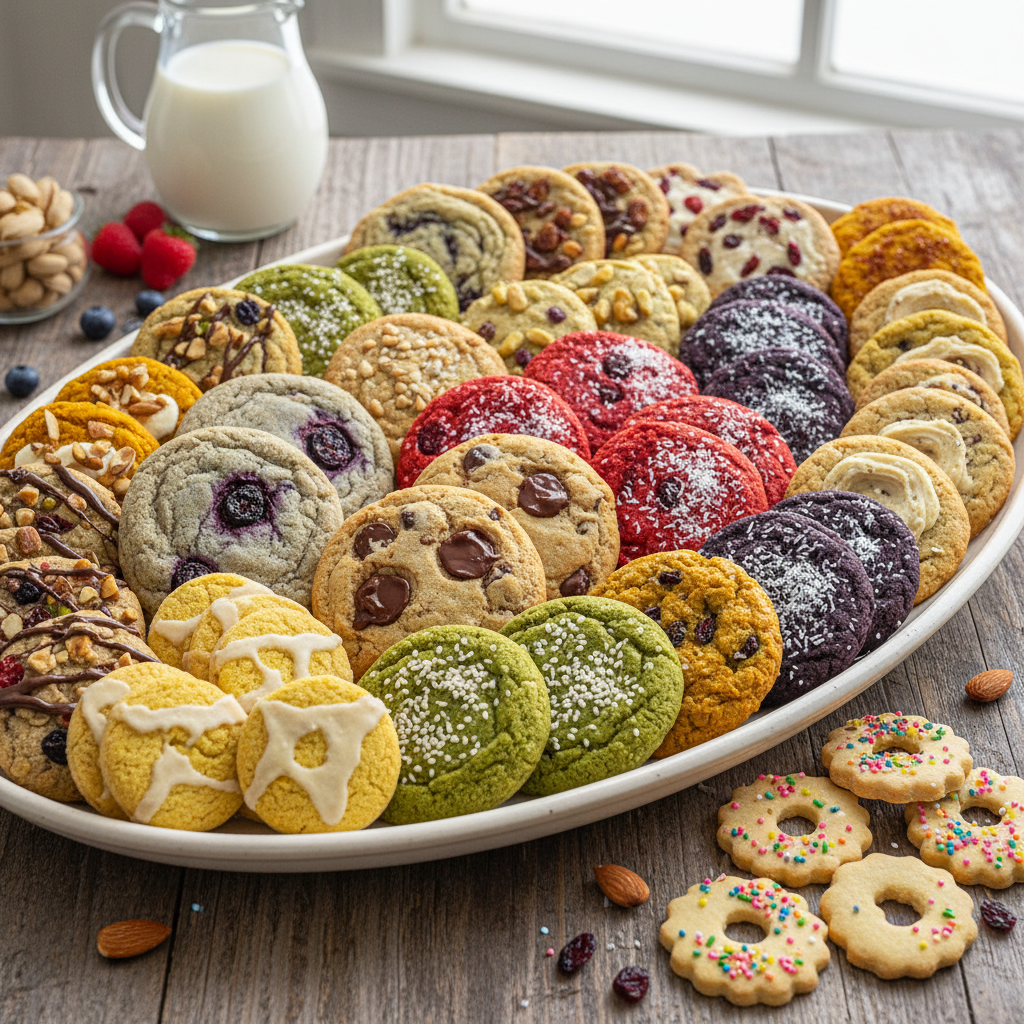
- Nutty Crunch Add a handful of chopped walnuts, pecans, or almonds for extra texture and flavor.
- Dried Fruit Delight Mix in dried cranberries, raisins, or chopped apricots for a chewy, fruity twist.
- Spice It Up A pinch of cinnamon or nutmeg can add wonderful warmth to your cookies.
- Citrus Zest Grate in some orange or lemon zest for a bright, fresh flavor.
- Protein Boost Add a scoop of your favorite unflavored or vanilla protein powder to the dry ingredients for an extra protein kick. You might need to add a tiny bit more liquid if the dough becomes too dry.
Pro Chef Tips for the Best Outcome

- Measure Flour Correctly Spoon flour into your measuring cup and then level it off with a straight edge. Don’t scoop directly from the bag, as this can pack the flour and lead to dry cookies.
- Don’t Overmix Overmixing develops gluten (even in gluten-free flours, some blends have gums that can become tough if overworked), leading to tougher cookies. Mix until just combined.
- Chill the Dough If your kitchen is warm or the dough seems too soft, chill it for 20-30 minutes before baking. This helps prevent excessive spreading and results in thicker cookies.
- Even Scoops Use a cookie scoop to ensure all your cookies are the same size. This guarantees even baking.
- Don’t Overbake Cookies continue to cook slightly after they come out of the oven. Remove them when the edges are golden, and the centers still look a little soft.
Common Mistakes to Avoid
- Using Cold Coconut Oil Ensure your coconut oil is melted and then cooled slightly. If it’s too hot, it can cook the egg. If it’s solid, it won’t incorporate properly.
- Skipping Parchment Paper Parchment paper prevents sticking and makes cleanup a breeze. Don’t skip it!
- Baking on a Hot Sheet If baking multiple batches, let your baking sheet cool down between batches. Placing dough on a hot sheet will cause the cookies to spread too quickly.
- Not Using Certified GF Oats If you have celiac disease or severe gluten sensitivity, always use oats explicitly labeled ‘certified gluten-free’ to avoid cross-contamination.
Storage and Meal Prep
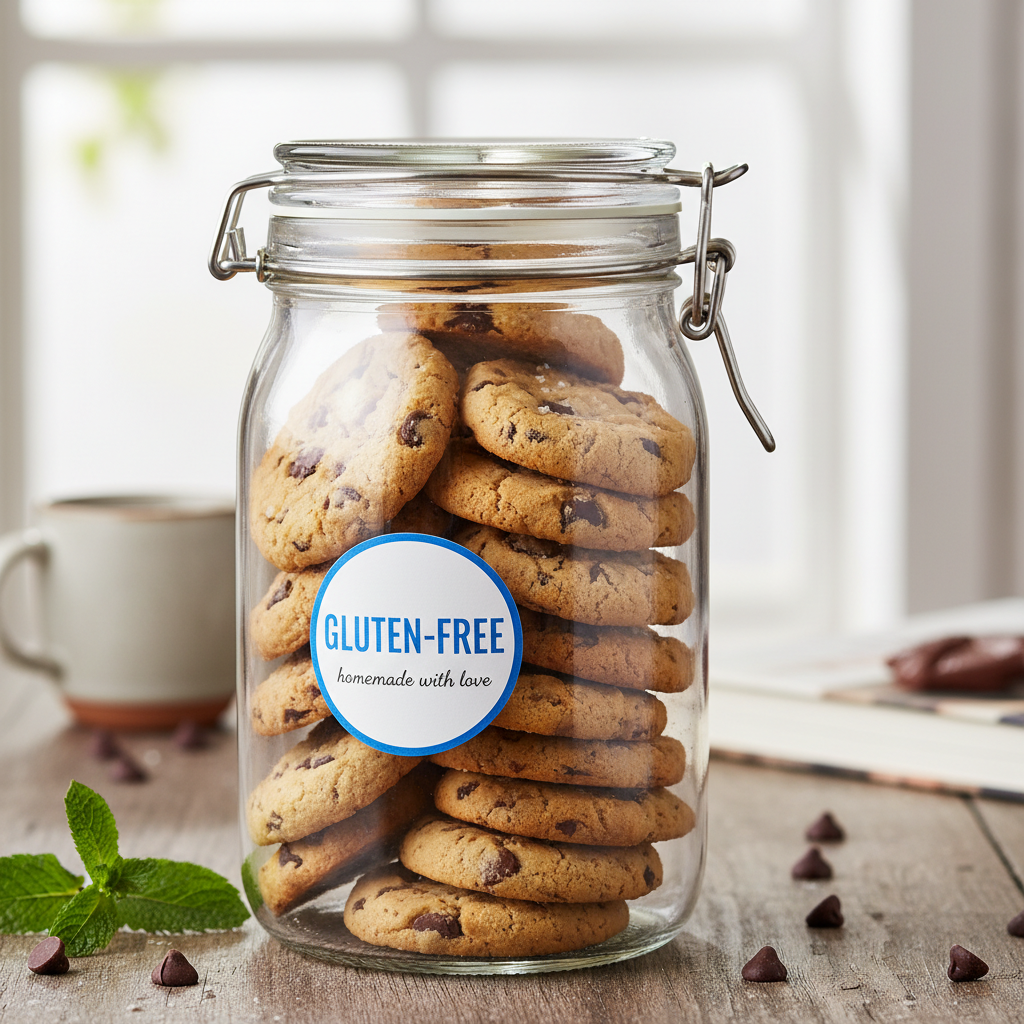
These healthy gluten-free cookies are perfect for meal prep! Once completely cooled, store them in an airtight container at room temperature for up to 3-4 days. For longer storage, see the freezer notes below.
Make-Ahead and Freezer Notes
You can easily make these cookies ahead of time:
- Dough Prepare the dough as instructed, then scoop individual portions onto a parchment-lined baking sheet. Freeze until solid (about 1-2 hours), then transfer the frozen dough balls to a freezer-safe bag or container. They can be stored for up to 3 months. When ready to bake, place frozen dough balls on a baking sheet and add 2-4 minutes to the baking time.
- Baked Cookies Once baked and fully cooled, individual cookies can be frozen in a single layer on a baking sheet. Once solid, transfer them to a freezer-safe bag or container, separated by parchment paper to prevent sticking. They’ll keep for up to 2 months. Thaw at room temperature or warm gently in the microwave for a few seconds.
Serving Suggestions for Delight
These versatile cookies are wonderful on their own, but here are a few ideas to elevate your experience:
- With Coffee or Tea A classic pairing for a delightful afternoon treat.
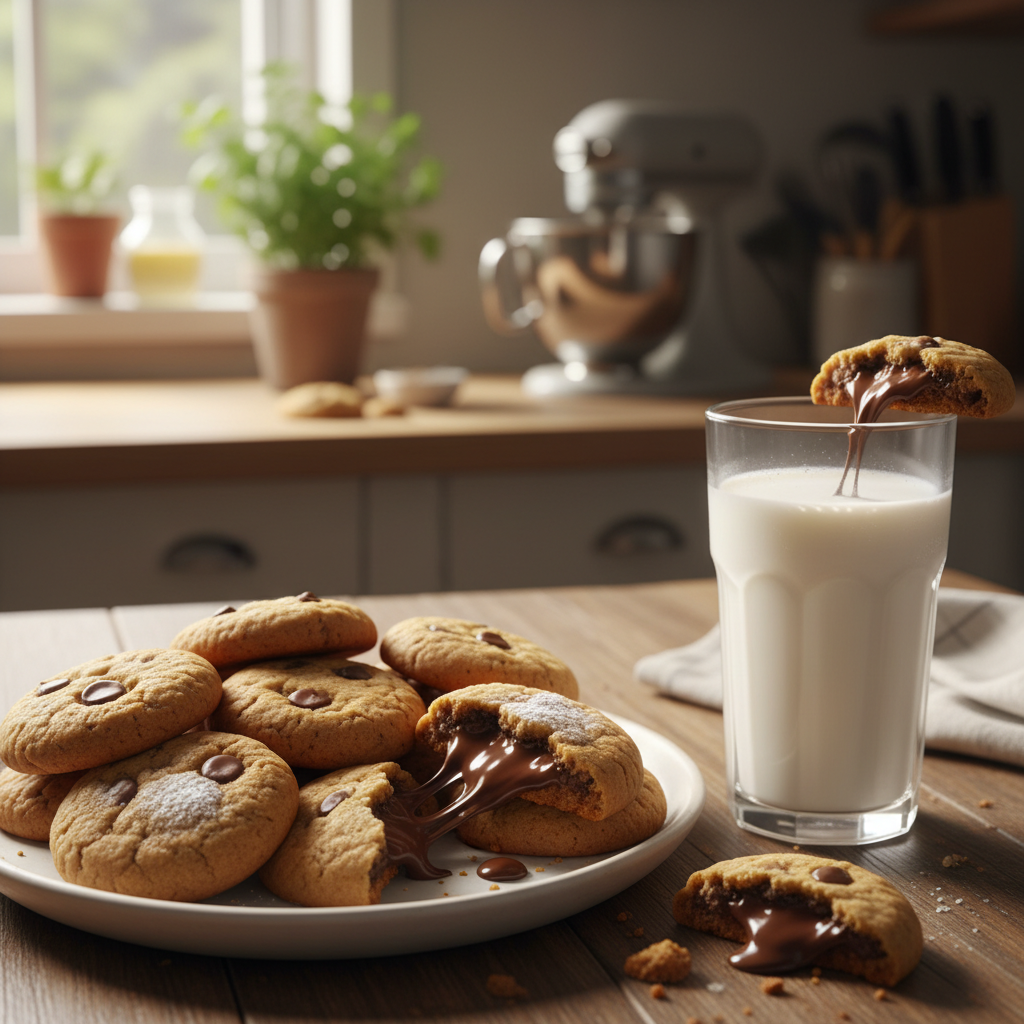
- Milk and Cookies Recreate that nostalgic feeling with a glass of your favorite milk (dairy or non-dairy).
- Ice Cream Sandwich For an extra indulgent (but still healthier!) dessert, sandwich a scoop of your favorite dairy-free ice cream between two cookies.
- Yogurt Topping Crumble a cookie over a bowl of Greek yogurt or plant-based yogurt for a delicious breakfast or snack.
- After-Dinner Treat A perfect light and satisfying end to any meal.