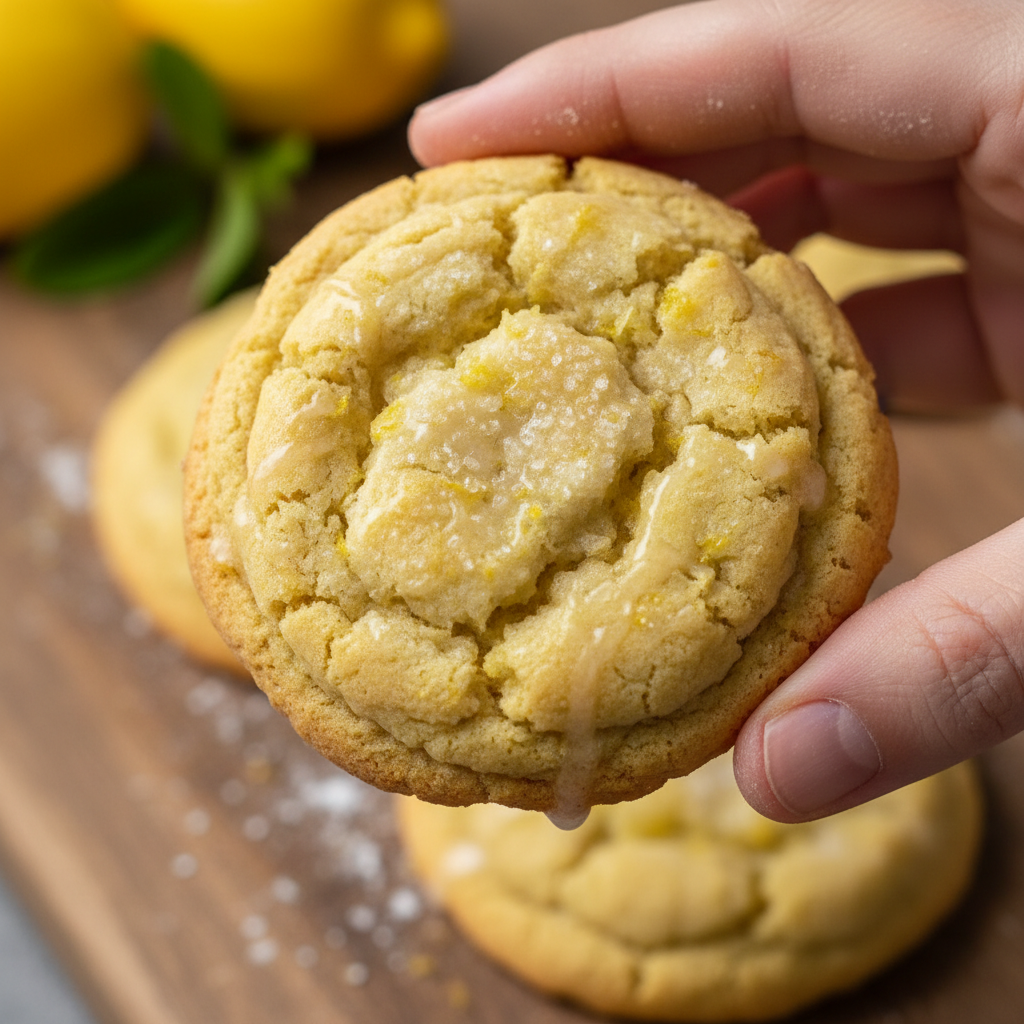
Oh, hello there, fellow baking enthusiast! Are you ready to fill your kitchen with the most incredible aroma of fresh lemon? Because today, we’re diving into the wonderful world of Bright Lemon Cookies – and trust me, they are as soft and tangy as they sound. If you’re looking for a treat that’s sunshine in every bite, you’ve found your new favorite recipe!
These cookies aren’t just delicious; they’re an experience. Imagine a delicate, chewy texture with a vibrant burst of lemon that perfectly balances sweetness and tang. They’re simple enough for a beginner but impressive enough to share with anyone. Let’s get baking!
A Little History and Background

While the exact origin of lemon cookies is a bit fuzzy, citrus has been a beloved ingredient in baking for centuries, especially in Mediterranean and European cuisines. Lemons, with their refreshing acidity, have always been perfect for cutting through richness and adding a bright note to desserts. Cookies themselves evolved from small cakes or pastries, often baked to test oven temperatures. Over time, as ingredients became more accessible, lemon cookies, in their various forms, became a cherished treat, evolving into the soft, chewy delights we adore today. This recipe captures that classic, comforting spirit with a modern twist for ultimate tanginess!
Why You’ll Love This Recipe
- Super Soft Texture: These cookies are incredibly tender and chewy, never dry or crumbly.
- Bright Lemon Flavor: We use both lemon zest and juice for an intense, natural citrus punch.
- Easy to Make: A straightforward recipe perfect for bakers of all skill levels.
- Perfect for Any Occasion: Great for parties, bake sales, or a simple afternoon treat.
- Freezer-Friendly: The dough and baked cookies can be frozen for later enjoyment.
Ingredient Notes
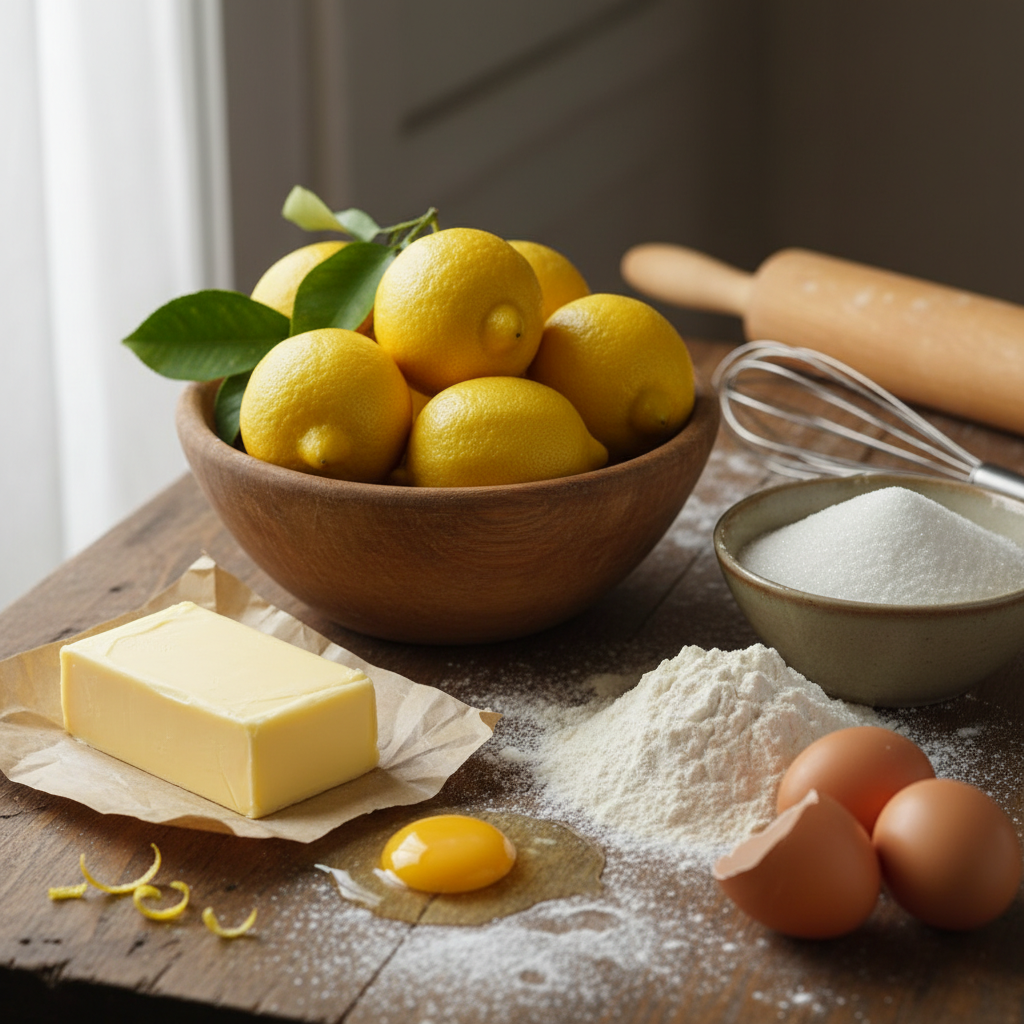
Let’s talk about the stars of our show – the ingredients! Using quality ingredients makes all the difference in achieving that perfect bright lemon flavor and soft texture.
- All-Purpose Flour: The foundation of our cookie. Make sure to measure it correctly by spooning it into your measuring cup and leveling it off.
- Baking Soda: Our leavening agent, helping the cookies rise and stay soft.
- Salt: A pinch of salt enhances all the other flavors, especially the sweetness and tang.
- Unsalted Butter: Make sure it’s softened to room temperature. This is crucial for creaming it with sugar, creating a light and airy base.
- Granulated Sugar: Provides sweetness and helps with the cookie’s structure.
- Large Egg: Binds the ingredients together and adds richness.
- Fresh Lemon Zest: This is where most of that amazing lemon aroma and flavor comes from! Don’t skip it.
- Fresh Lemon Juice: Adds tanginess and brightens the overall flavor. Freshly squeezed is always best!
- Vanilla Extract: A touch of vanilla complements the lemon beautifully without overpowering it.
- Powdered Sugar (for dusting): Optional, but it adds a lovely finish and an extra touch of sweetness.
Equipment Needed
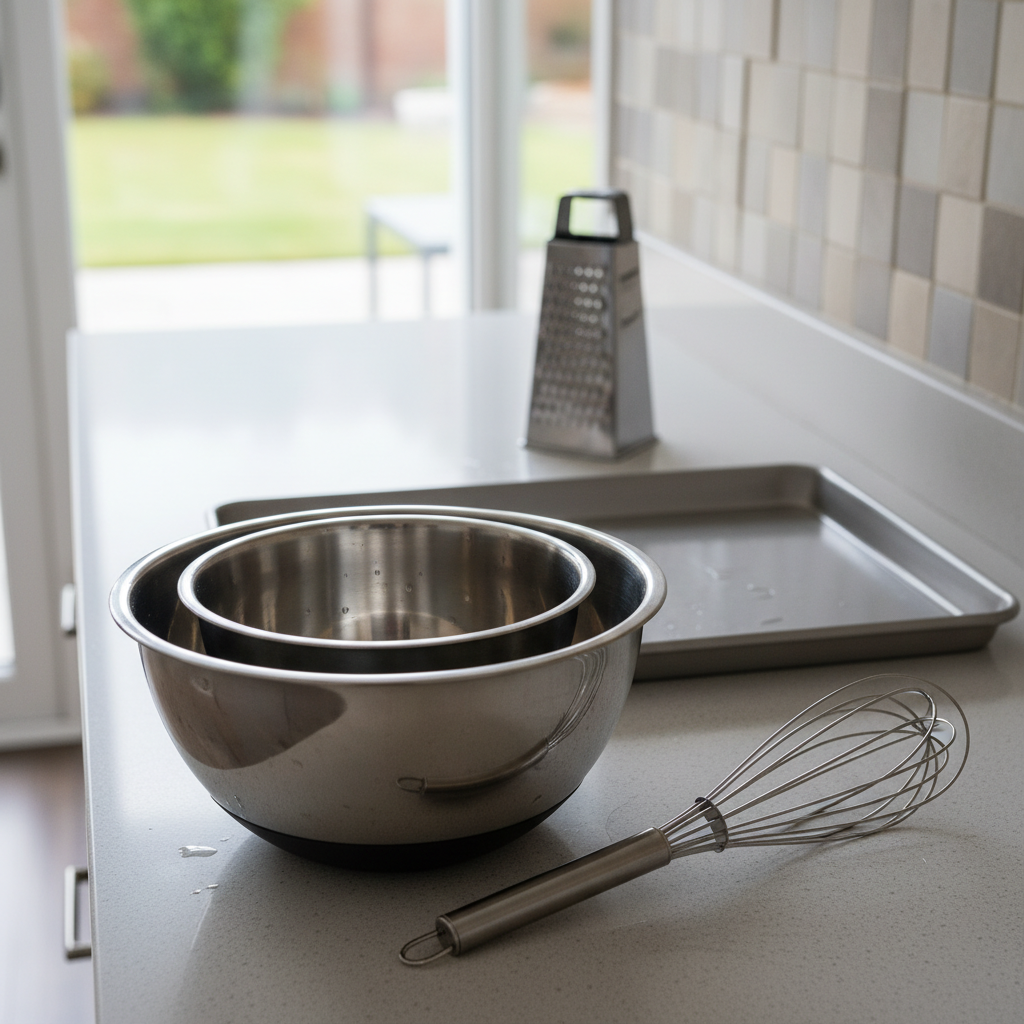
Gathering your tools before you start makes the baking process so much smoother!
- Large Mixing Bowl: For combining your wet and dry ingredients.
- Electric Mixer (stand or hand-held): Essential for creaming butter and sugar.
- Rubber Spatula: For scraping down the sides of the bowl.
- Measuring Cups and Spoons: For accurate ingredient measurements.
- Zester or Microplane: To get that precious lemon zest.
- Baking Sheets: Non-stick or lined with parchment paper.
- Parchment Paper: Prevents sticking and makes cleanup a breeze.
- Wire Rack: For cooling the cookies completely.
- Small Cookie Scoop (optional): For perfectly uniform cookies.
Full Recipe Card – Bright Lemon Cookies Soft & Tangy
Ingredients
- 2 ¼ cups all-purpose flour
- 1 teaspoon baking soda
- ¼ teaspoon salt
- ½ cup (1 stick) unsalted butter, softened to room temperature
- 1 ½ cups granulated sugar
- 1 large egg
- 1 tablespoon fresh lemon zest (from about 2 medium lemons)
- 3 tablespoons fresh lemon juice
- 1 teaspoon vanilla extract
- ¼ cup powdered sugar, for dusting (optional)
Instructions
- Prep Your Oven and Pans: Preheat your oven to 350°F (175°C). Line two baking sheets with parchment paper.
- Whisk Dry Ingredients: In a medium bowl, whisk together the flour, baking soda, and salt. Set aside.
- Cream Butter and Sugar: In a large mixing bowl, using an electric mixer, cream together the softened butter and granulated sugar on medium speed until light and fluffy, about 2-3 minutes.
- Add Wet Ingredients: Beat in the egg until just combined. Then, add the lemon zest, lemon juice, and vanilla extract, mixing until fully incorporated. The mixture might look slightly curdled, which is normal.
- Combine Wet and Dry: Gradually add the dry ingredient mixture to the wet ingredients, mixing on low speed until just combined. Be careful not to overmix; overmixing can lead to tough cookies.
- Chill the Dough (Optional but Recommended): For best results and to prevent spreading, cover the dough and chill in the refrigerator for at least 30 minutes. This step helps the flavors meld and the cookies maintain their shape.
- Scoop and Bake: Drop rounded tablespoons of dough (or use a small cookie scoop) onto the prepared baking sheets, leaving about 2 inches between each cookie.
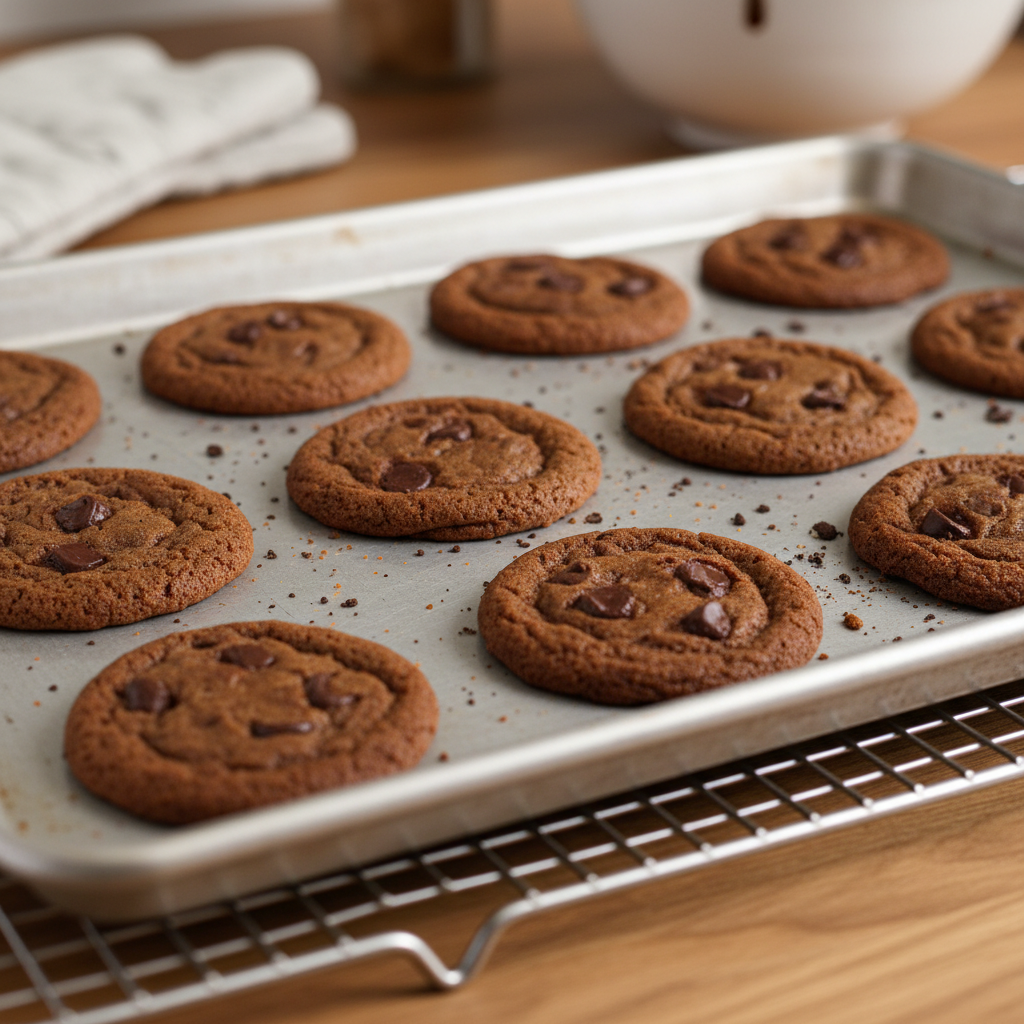
- Bake: Bake for 9-11 minutes, or until the edges are lightly golden and the centers are set. Do not overbake! The cookies will continue to set as they cool.
- Cool: Let the cookies cool on the baking sheets for 5 minutes before transferring them to a wire rack to cool completely.
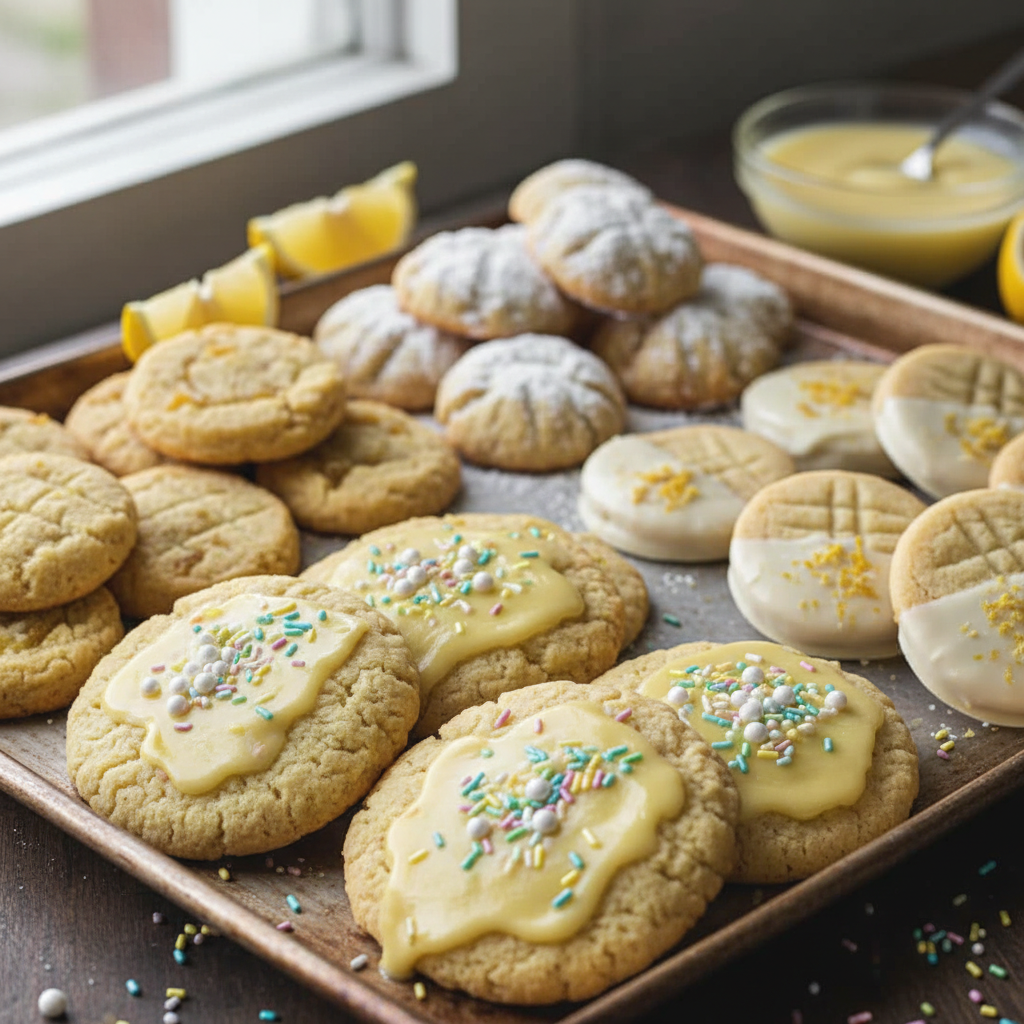
- Dust and Serve: Once cooled, dust generously with powdered sugar, if desired, and enjoy your bright, tangy cookies!
Recipe Notes
- Fresh is Best: Always use fresh lemon zest and juice for the brightest flavor. Bottled juice won’t give you the same vibrant taste.
- Don’t Overmix: Overmixing the dough develops the gluten too much, resulting in tough cookies. Mix until just combined.
- Chill Time: If you’re short on time, you can skip the chill, but chilling helps prevent spreading and deepens the flavor.
Tips & Variations
Want to get creative with your lemon cookies? Here are a few ideas to try:
- Lemon Glaze: Instead of powdered sugar, whisk together ½ cup powdered sugar with 1-2 tablespoons fresh lemon juice for a simple glaze. Drizzle over cooled cookies.
- Poppy Seeds: Add 1-2 teaspoons of poppy seeds to the dough for a classic lemon-poppy seed twist.
- White Chocolate Chips: Fold in ½ cup of white chocolate chips for an extra layer of sweetness and texture.
- Lavender Lemon: Add ¼ teaspoon of culinary lavender to the dough for a sophisticated floral note.
- Extra Zest: If you’re a serious lemon lover, add an extra ½ tablespoon of lemon zest to the dough.
Pro Chef Tips

Even simple recipes benefit from a few expert touches:
- Room Temperature Ingredients are Key: Ensure your butter and egg are at room temperature. This allows them to emulsify properly, creating a smoother, more uniform dough and a better cookie texture.
- Zest Before Juicing: Always zest your lemons before you cut and juice them. It’s much easier!
- Don’t Overbake: The biggest mistake with soft cookies is overbaking. Pull them out when the edges are just barely golden and the centers look set but still slightly soft. They will firm up as they cool.
- Use a Scale for Accuracy: For the most precise baking, especially with flour, consider using a kitchen scale.
Common Mistakes to Avoid
Steer clear of these common pitfalls for perfect lemon cookies every time:
- Using Cold Butter: This will result in a dense, crumbly dough that won’t cream properly with the sugar.
- Overmixing the Dough: As mentioned, this develops gluten, leading to tough, cakey cookies instead of soft ones.
- Not Zesting Enough: Most of the lemon flavor comes from the zest’s oils, not just the juice. Don’t skimp on it!
- Baking on Warm Sheets: If using the same baking sheet for multiple batches, let it cool completely between batches. Placing dough on a warm sheet causes the butter to melt too quickly, leading to flat, greasy cookies.
- Skipping the Chill Time: While optional, chilling helps prevent spreading, especially if your kitchen is warm.
Storage & Meal Prep
These cookies are so good, you’ll want to make sure they last!
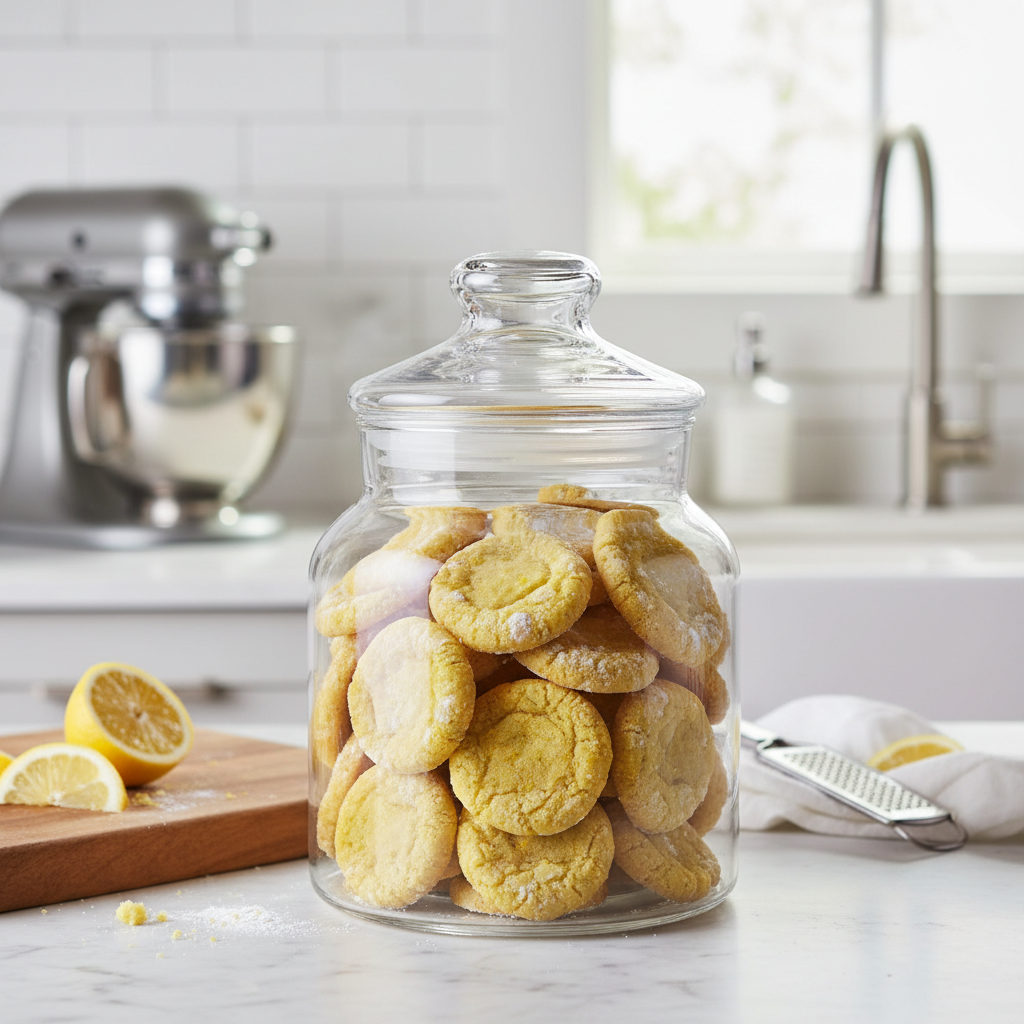
- Countertop Storage: Store cooled lemon cookies in an airtight container at room temperature for up to 3-4 days.
- Refrigeration: While not strictly necessary, you can refrigerate them for up to a week. Bring to room temperature before serving for the best texture.
Make-Ahead & Freezer Notes
Planning ahead? You’re in luck!
- Dough: You can prepare the cookie dough and store it in an airtight container in the refrigerator for up to 3 days. Let it come to room temperature slightly before scooping and baking.
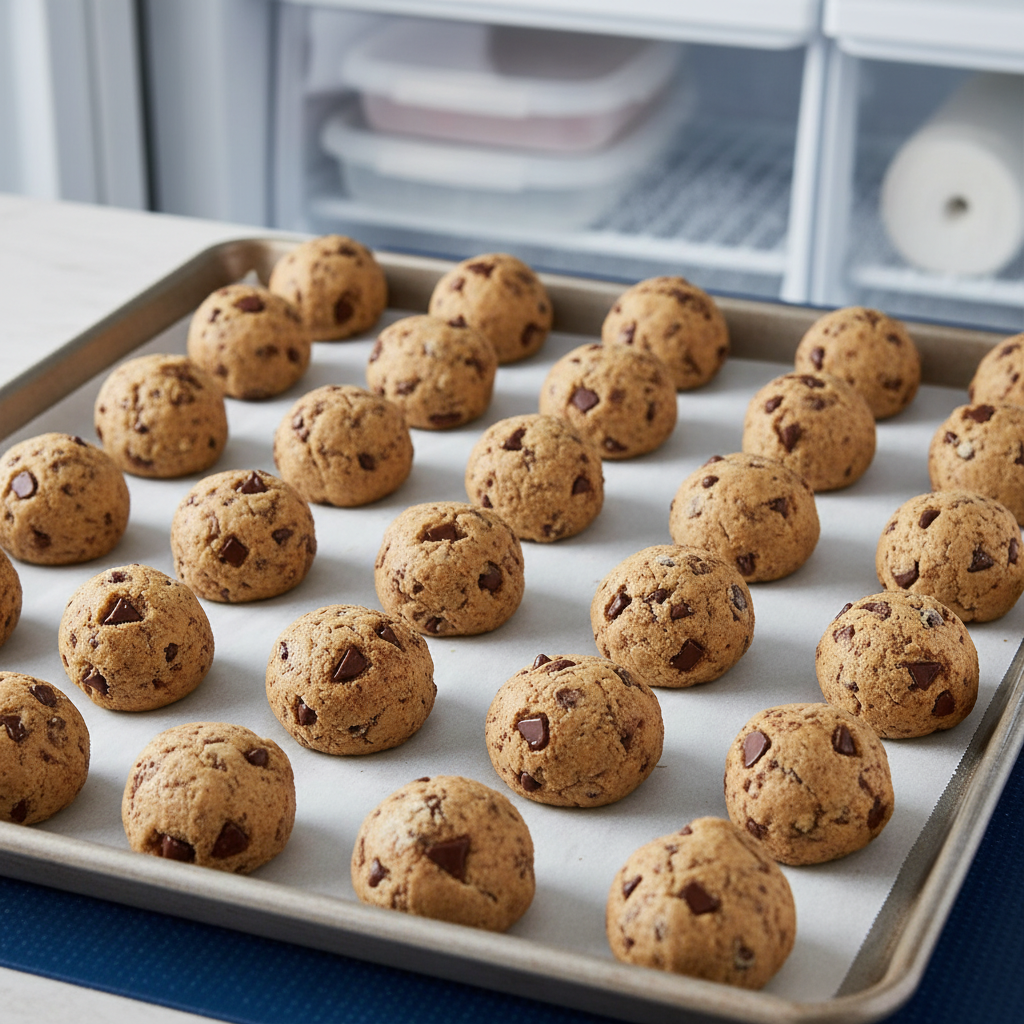
- Freezing Dough Balls: Scoop dough into balls and place them on a parchment-lined baking sheet. Freeze until solid, then transfer to a freezer-safe bag or container. Bake from frozen, adding an extra 2-3 minutes to the baking time.
- Freezing Baked Cookies: Once completely cooled, place baked cookies in a single layer in a freezer-safe container, separating layers with parchment paper. Freeze for up to 3 months. Thaw at room temperature before serving.
Serving Suggestions

These bright lemon cookies are delightful on their own, but here are a few ways to elevate your serving experience:
- With Tea or Coffee: A classic pairing for a cozy afternoon treat.
- Dessert Platter: Arrange them alongside other small treats for a beautiful spread.
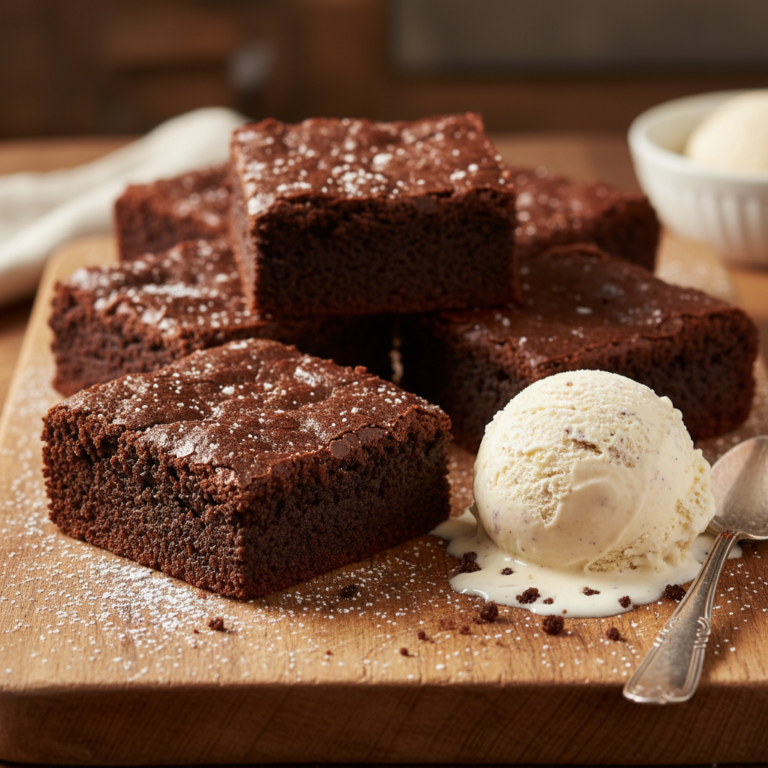
- Ice Cream Topping: Crumble a cookie over a scoop of vanilla or lemon sorbet for an extra special dessert.
- Gift Giving: Package them in a pretty box or bag for a thoughtful homemade gift.