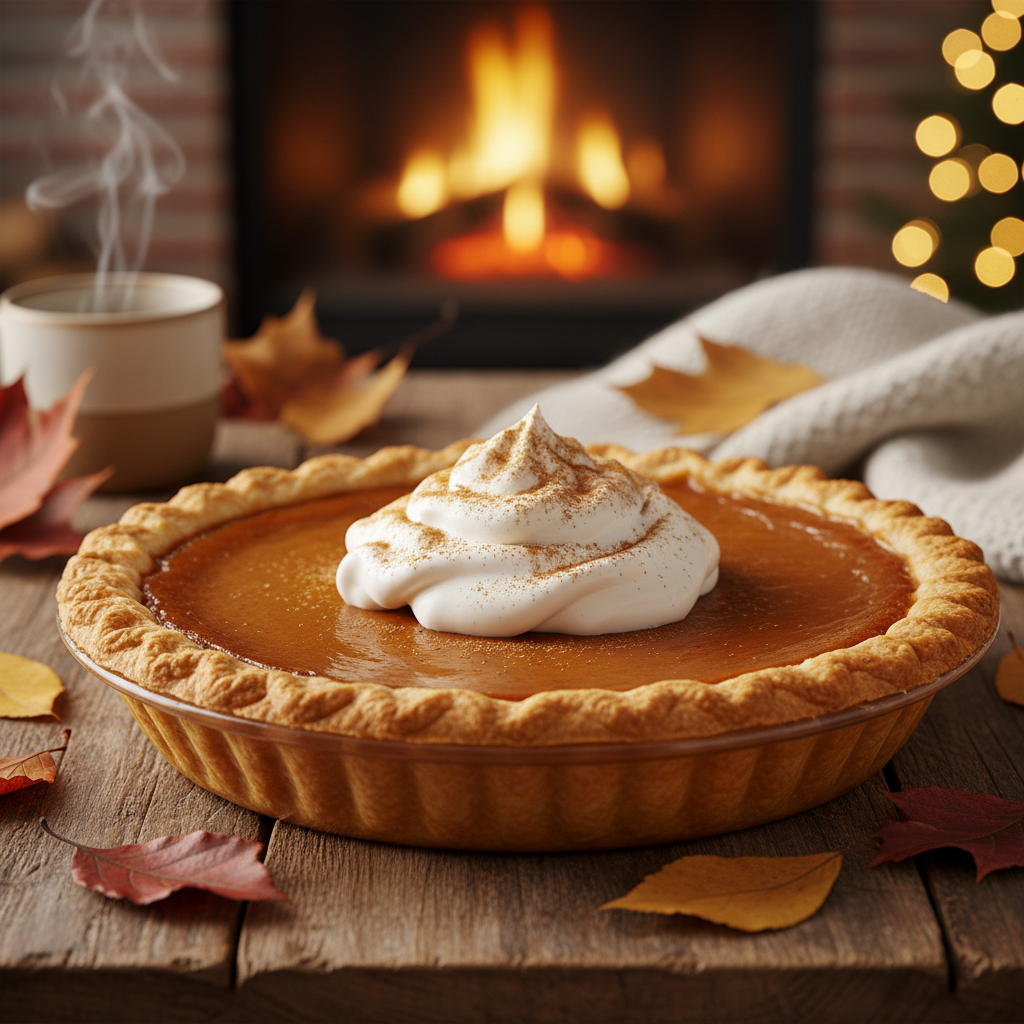
The aroma of a freshly baked pumpkin pie is the unofficial scent of the holiday season, isn’t it? As the leaves turn golden and a crisp chill fills the air, there’s nothing quite like gathering with loved ones around a table laden with delicious food. And at the heart of many of these festive celebrations sits a glorious, sweet pumpkin pie. It’s more than just a dessert; it’s a warm hug, a sweet tradition, and a comforting slice of pure joy.
Perhaps you’ve always wanted to bake one from scratch but felt a little intimidated. Or maybe your past attempts didn’t quite live up to your dessert dreams. Fear not, dear baker! This guide is designed to make your pumpkin pie journey simple, enjoyable, and incredibly rewarding. We’re going to walk through every step, ensuring you create a show-stopping pie that will earn you rave reviews and become a cherished part of your holiday spread. Get ready to fill your home with the most wonderful, sweet, and spicy scents of the season!
History and Background of Pumpkin Pie
Did you know pumpkin pie has a surprisingly rich history? While we often associate it with American holidays like Thanksgiving, pumpkins themselves are native to North America. Indigenous peoples cultivated pumpkins for thousands of years, long before European settlers arrived. Early colonists in America actually used pumpkins in various ways, including hollowing them out, filling them with milk, spices, and honey, and baking them in hot ashes.
The concept of a ‘pie’ with a crust came much later, evolving from English recipes for savory meat pies that eventually incorporated sweet fillings. By the 17th century, pumpkin recipes resembling modern pies started appearing in cookbooks. It truly became a holiday staple in the 19th century, cementing its place as an iconic dessert, especially after Abraham Lincoln declared Thanksgiving a national holiday. So, when you bake this pie, you’re not just making a dessert; you’re continuing a delicious tradition that spans centuries!
Why You’ll Love This Recipe
- Beginner-Friendly This recipe is designed with simplicity in mind, making it perfect for first-time pie bakers.
- Incredibly Flavorful A balanced blend of spices and rich pumpkin creates an unforgettable taste.
- Perfectly Creamy Texture Achieve that silky-smooth, melt-in-your-mouth filling every time.
- Holiday Crowd-Pleaser A guaranteed hit at any festive gathering.
- Customizable Easy to adapt with your favorite spices or crust variations.
Ingredient Notes
Every great pie starts with great ingredients. Here’s a quick look at some key players and why they matter:
- Pumpkin Puree Use 100% pure pumpkin puree, not pumpkin pie filling, which already has spices and sweeteners. Canned is perfectly fine and convenient!
- Sweetened Condensed Milk This is our secret weapon for a wonderfully creamy texture and just the right amount of sweetness, eliminating the need for extra sugar.
- Eggs They act as a binder, helping the pie filling set beautifully.
- Spices Cinnamon, nutmeg, ginger, and cloves are the classic quartet that gives pumpkin pie its signature warmth. Don’t skimp on fresh spices for the best aroma and flavor.
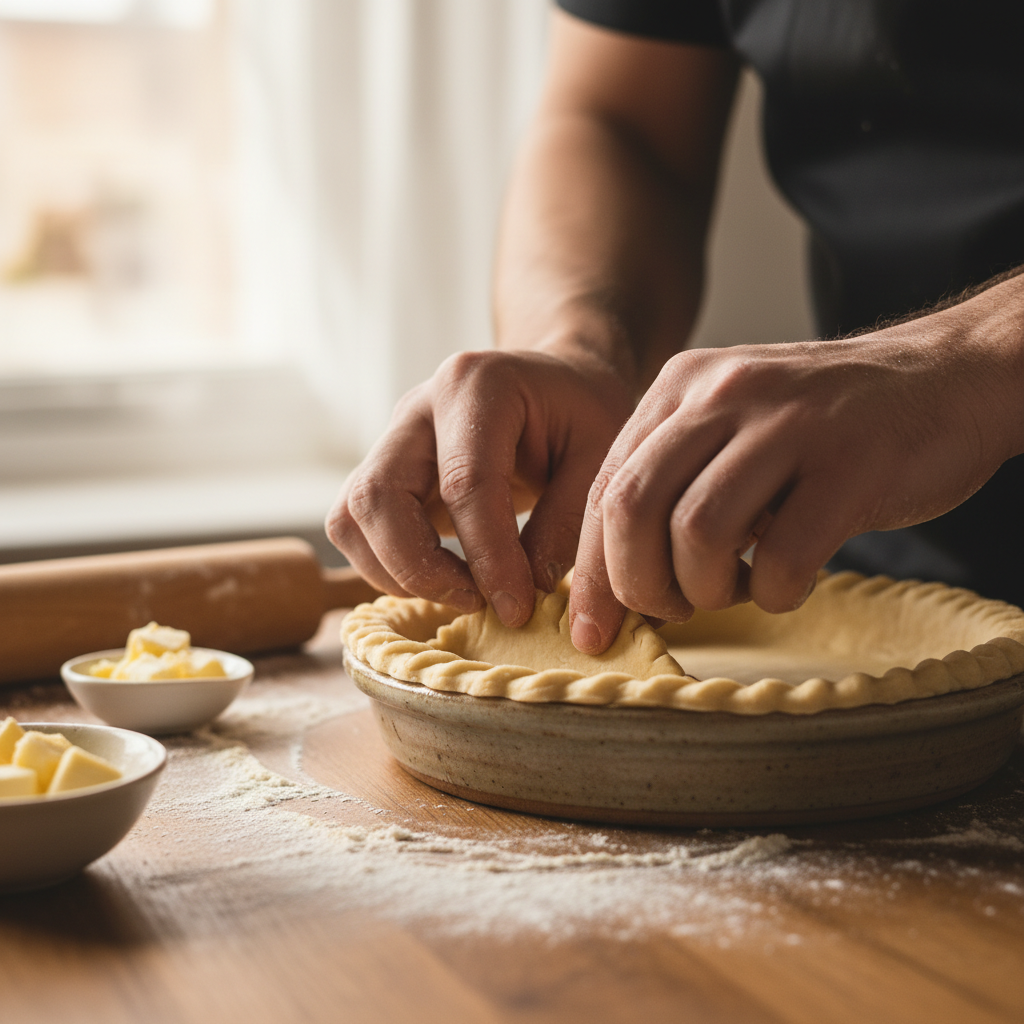
- Pie Crust You can use a store-bought crust for convenience (we recommend a good quality one!) or make your own from scratch if you’re feeling ambitious.
Equipment Needed
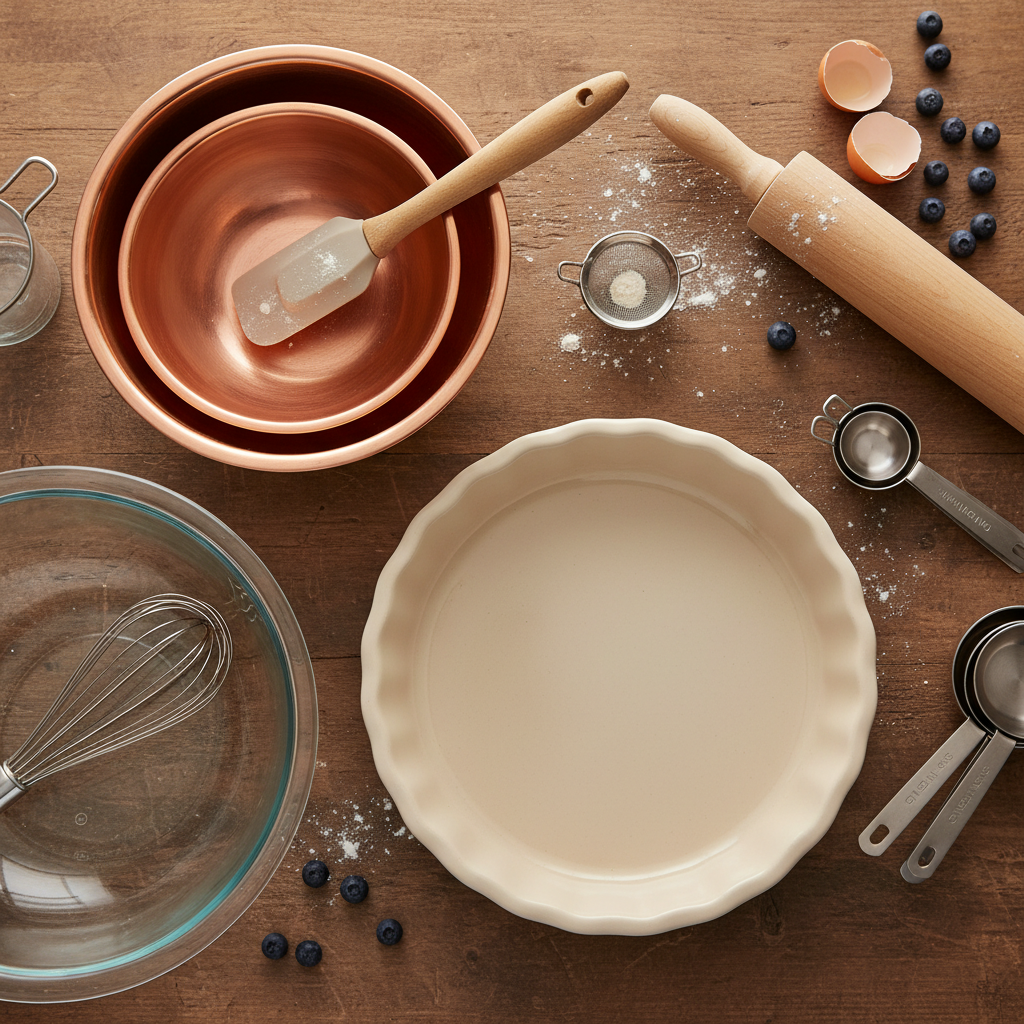
Gathering your tools before you start makes baking a breeze:
- 9-inch Pie Plate A standard glass or ceramic pie plate works best for even baking.
- Large Mixing Bowl For combining all the filling ingredients.
- Whisk To ensure a smooth, lump-free filling.
- Measuring Cups and Spoons Accuracy is key in baking.
- Rubber Spatula For scraping down the bowl and pouring the filling.
- Wire Rack For cooling the pie completely.
Full Recipe Card
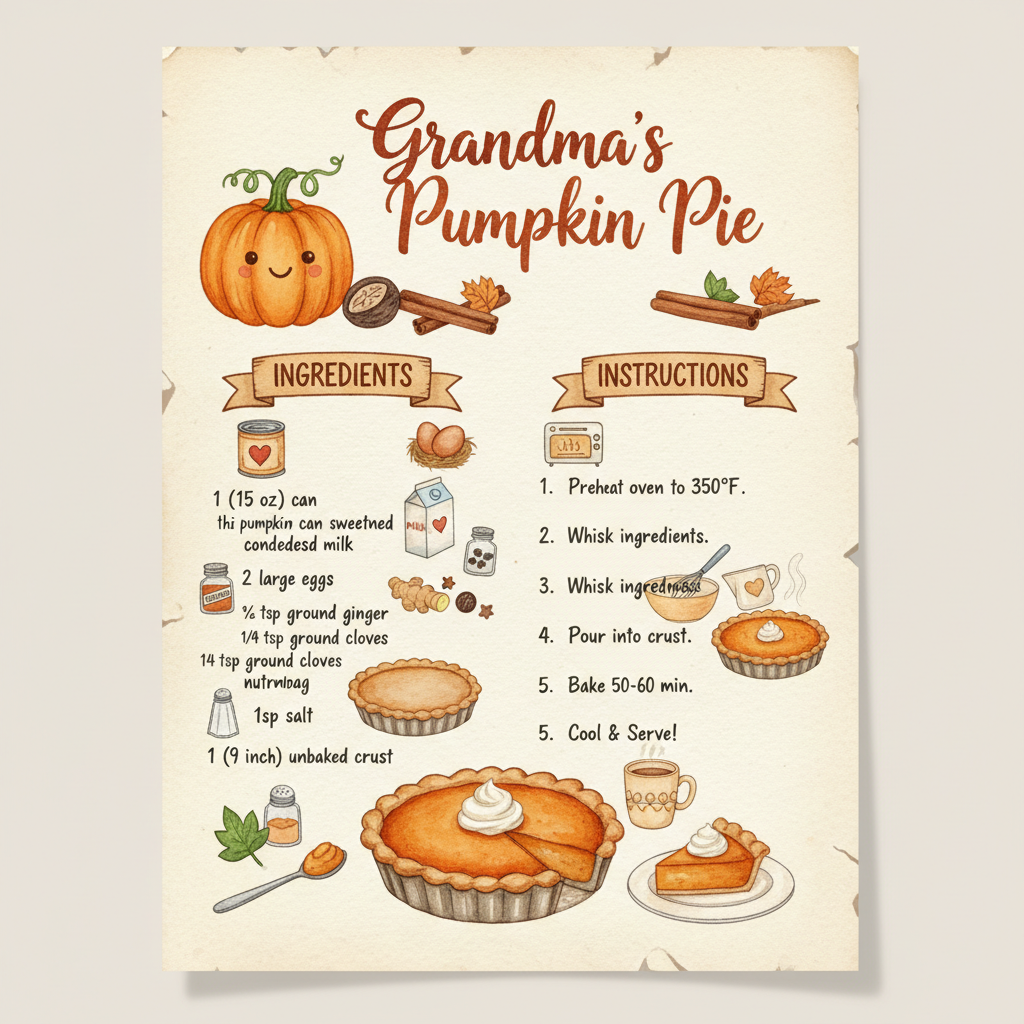
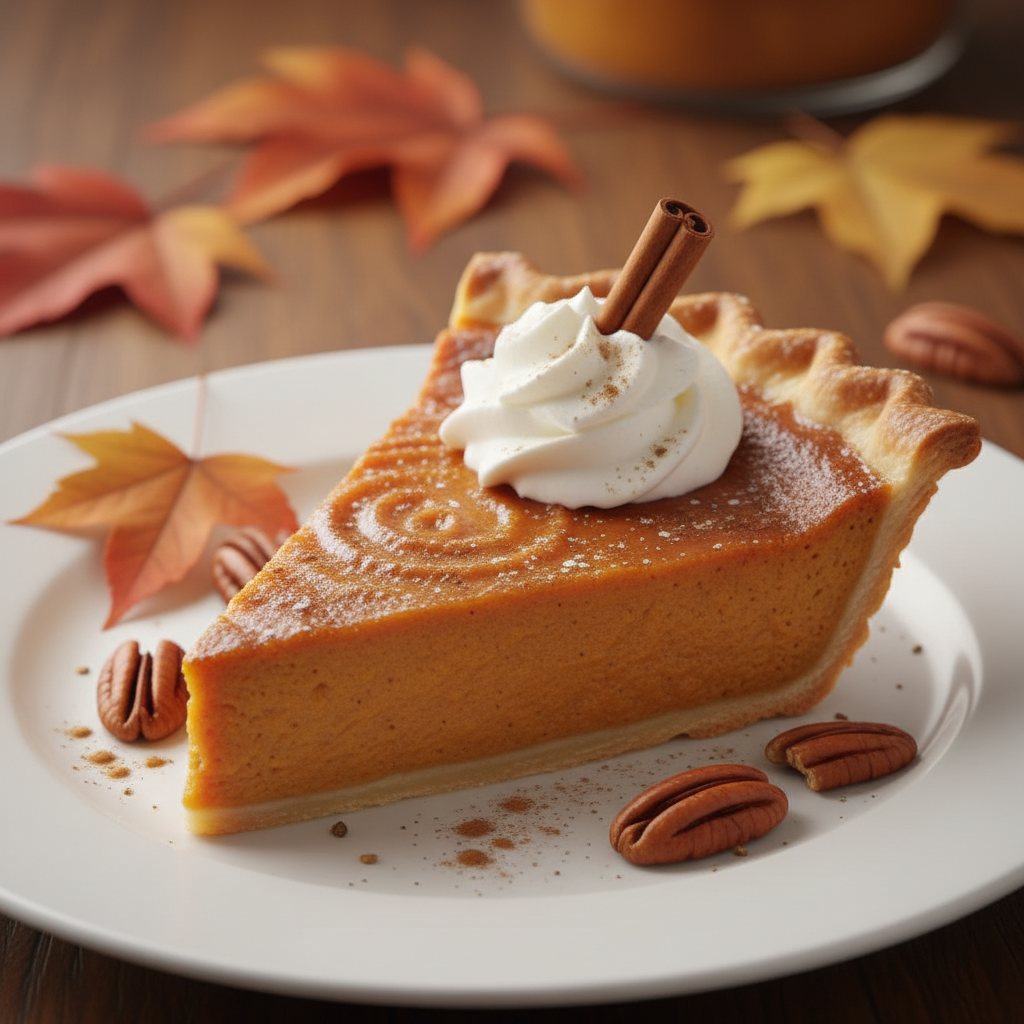
Here it is, the moment you’ve been waiting for! Follow these steps for a perfect sweet pumpkin pie.
Yield 8 servings
Prep time 15 minutes
Cook time 50-60 minutes
Ingredients
- 1 (15 ounce) can 100% pure pumpkin puree
- 1 (14 ounce) can sweetened condensed milk
- 2 large eggs
- 1 teaspoon ground cinnamon
- 1/2 teaspoon ground nutmeg
- 1/2 teaspoon ground ginger
- 1/4 teaspoon ground cloves
- 1/2 teaspoon salt
- 1 unbaked 9-inch pie crust (store-bought or homemade)
Instructions
- Preheat Oven Preheat your oven to 425°F (220°C).
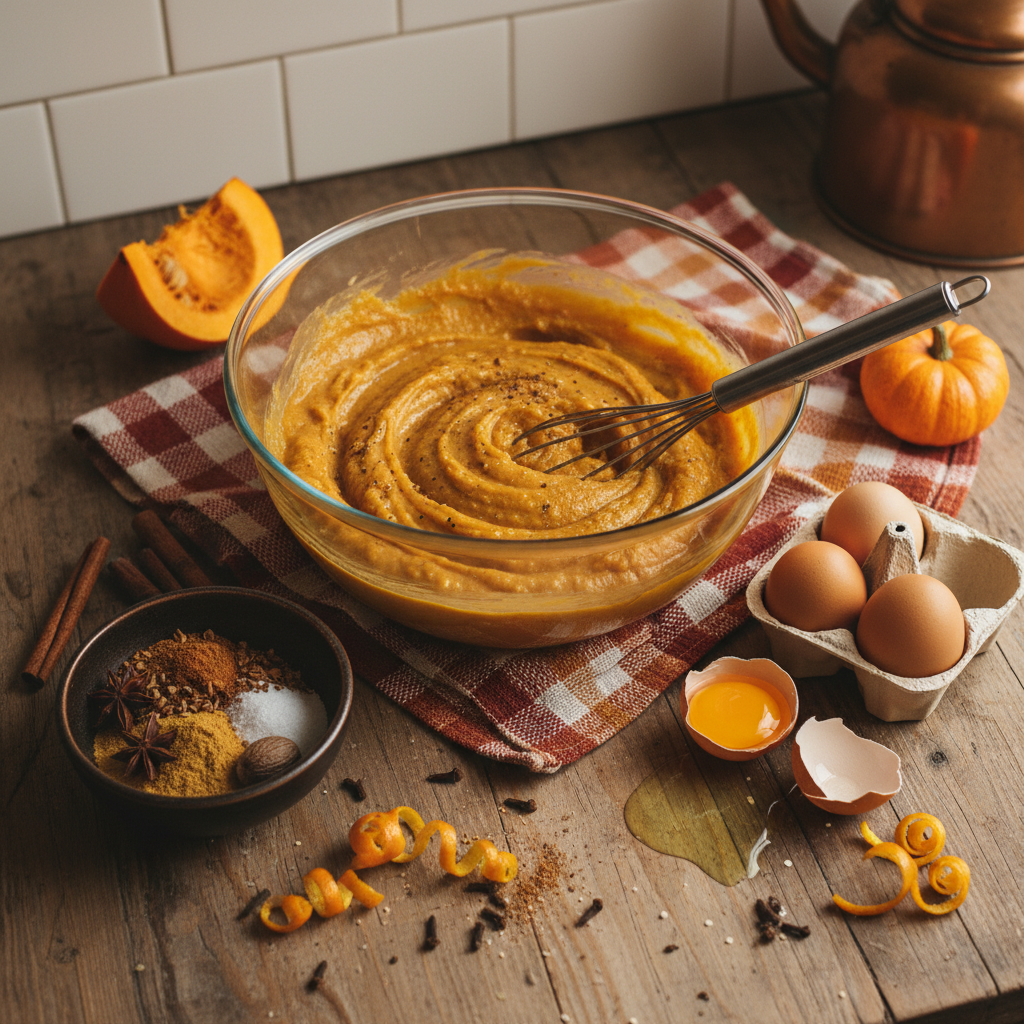
- Prepare Filling In a large mixing bowl, whisk together the pumpkin puree, sweetened condensed milk, eggs, cinnamon, nutmeg, ginger, cloves, and salt until completely smooth and well combined.
- Pour into Crust Carefully pour the pumpkin mixture into the unbaked pie crust.
- Bake Initial Bake for 15 minutes at 425°F (220°C).
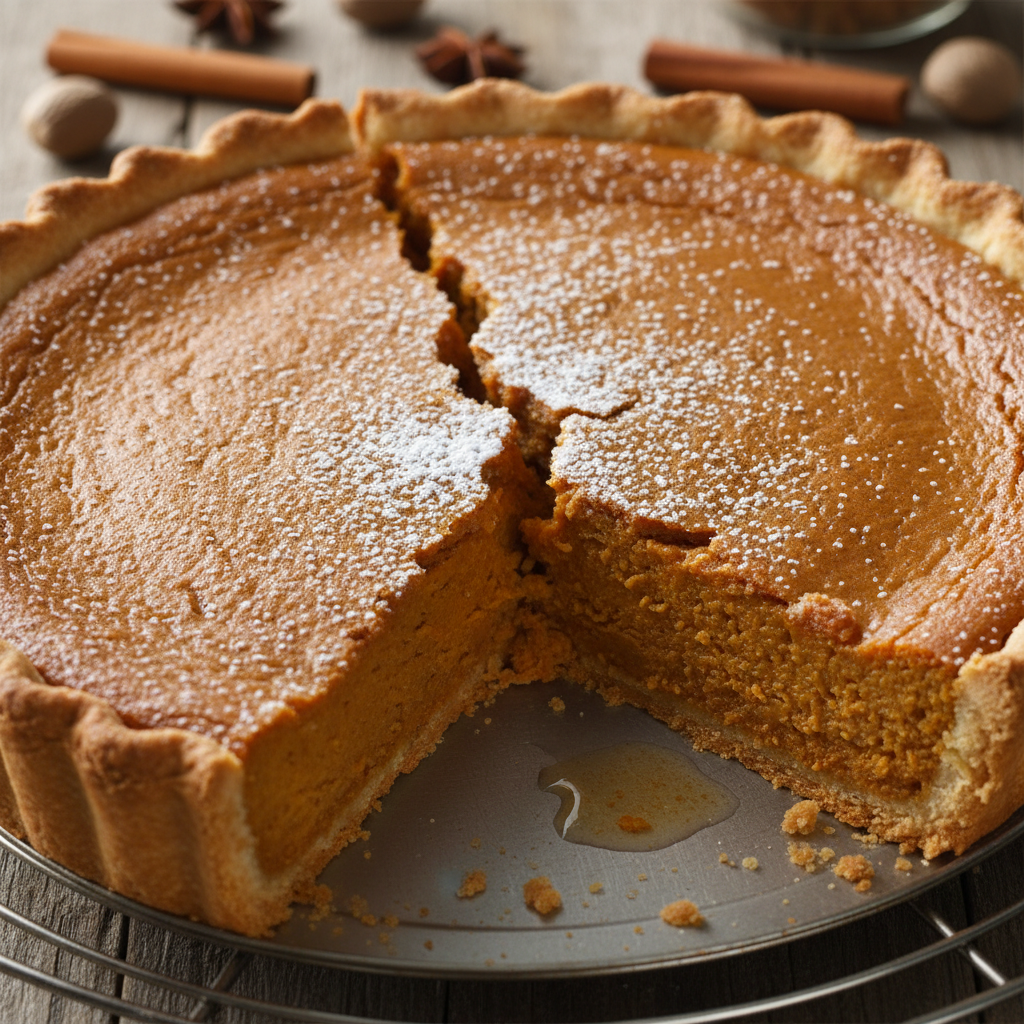
- Reduce Heat and Continue Baking Reduce the oven temperature to 350°F (175°C). Continue baking for another 35-45 minutes, or until a knife inserted near the center comes out clean. The edges of the pie should be set, but the very center might still have a slight jiggle.
- Cool Completely Remove the pie from the oven and place it on a wire rack to cool completely. This is crucial for the pie to set properly. Allow at least 2-3 hours, or preferably chill in the refrigerator for several hours before serving.
Notes
If your pie crust edges start to brown too quickly, you can gently cover them with aluminum foil or a pie crust shield for the remainder of the baking time.
Tips and Variations
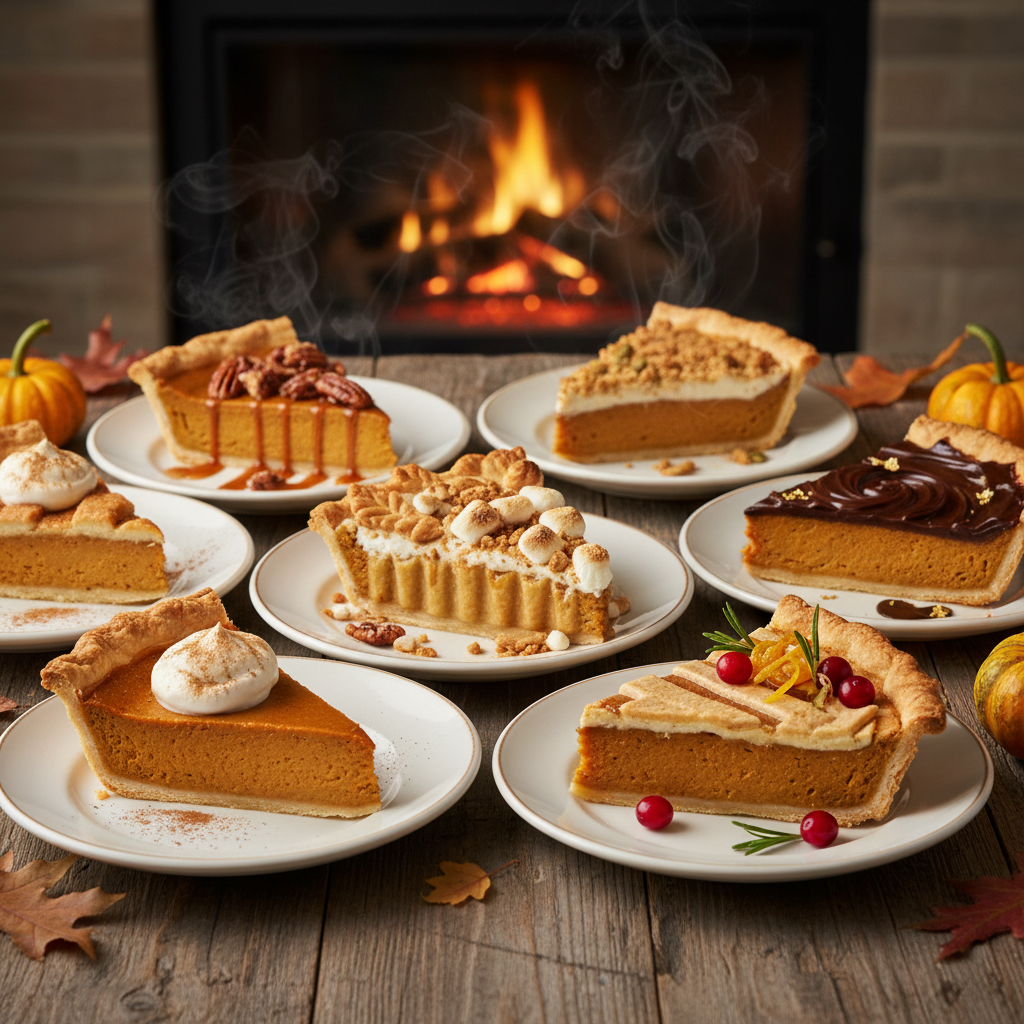
Want to get creative? Here are some ideas to make this pie uniquely yours:
- Spiced Crust Brush your pie crust with an egg wash and sprinkle with a little cinnamon sugar before baking for extra flavor.
- Boozy Kick Add 1-2 tablespoons of brandy, bourbon, or rum to the filling for a sophisticated twist.
- Citrus Zest A touch of orange or lemon zest in the filling can brighten the flavors beautifully.
- Nutty Topping Sprinkle chopped pecans or walnuts over the pie during the last 10 minutes of baking for a crunchy texture.
- Chocolate Swirl Melt some dark chocolate and swirl it through the filling before baking for a decadent treat.
Pro Chef Tips
Elevate your pumpkin pie game with these insider secrets:
- Don’t Overmix the Filling Whisk just until combined. Overmixing can incorporate too much air, leading to cracks in the finished pie.
- Blind Bake if Needed If you’re using a homemade crust or find your bottom crust is often soggy, a quick blind bake (pre-baking the crust empty for 10-15 minutes) can make a huge difference.
- The Water Bath Trick For an ultra-creamy, crack-free pie, bake your pie in a water bath (bain-marie). Place the pie plate inside a larger roasting pan, then carefully pour hot water into the roasting pan until it comes halfway up the sides of the pie plate.
- Gradual Cooling Avoid drastic temperature changes. Let the pie cool slowly on the counter before moving it to the fridge.
Common Mistakes to Avoid
We all make mistakes, especially in the kitchen. Here’s how to steer clear of common pumpkin pie pitfalls:
- Overbaking This is the number one culprit for a cracked, dry pie. The pie should still have a slight jiggle in the center when you take it out. It will continue to set as it cools.
- Under-spicing Don’t be shy with the spices! A bland pie is a sad pie.
- Not Cooling Completely Patience is a virtue here. Slicing into a warm pie before it’s fully set will result in a messy, runny disaster.
- Using Pumpkin Pie Filling Remember, pure pumpkin puree is what you need. Pie filling is a different product.
Storage and Meal Prep
Proper storage ensures your delicious pie stays fresh and safe to eat:
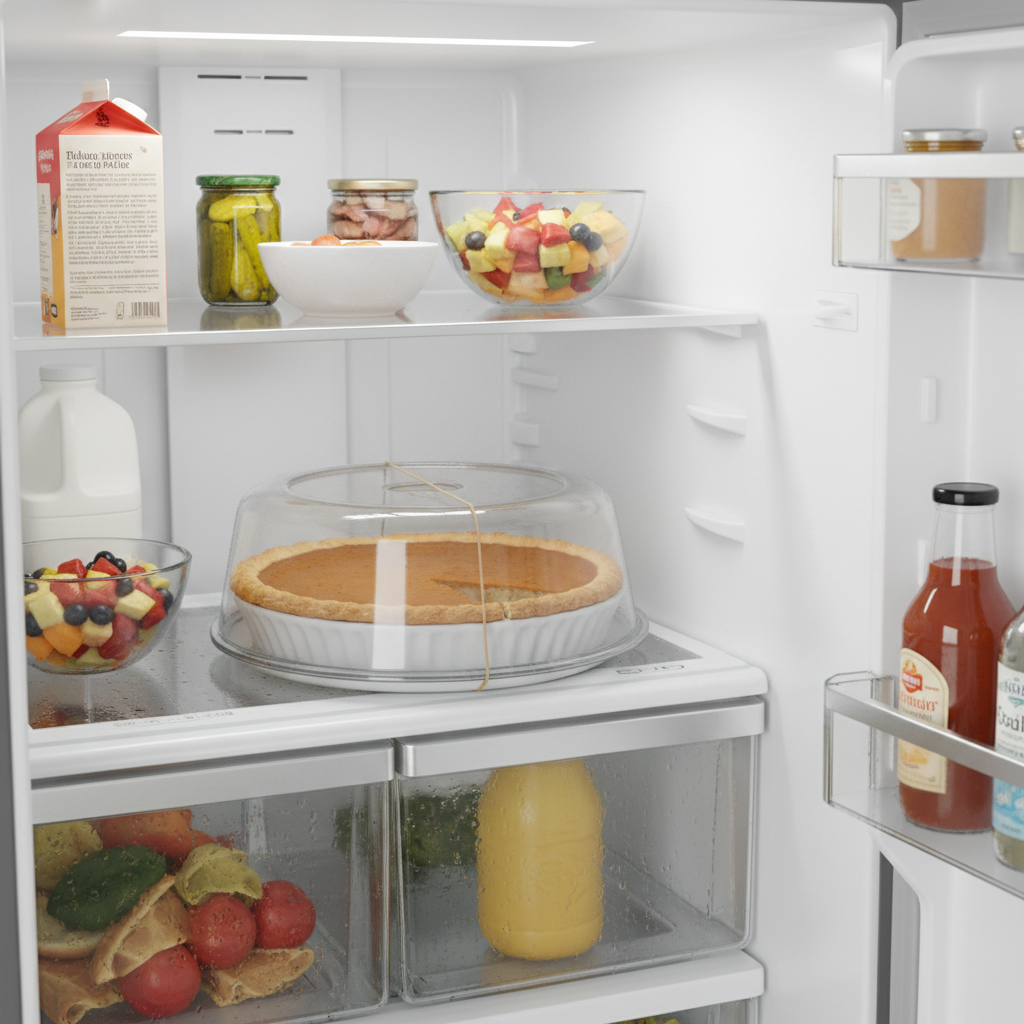
- Refrigeration is Key Because of its egg and dairy content, pumpkin pie must be stored in the refrigerator. Cover it loosely with plastic wrap or aluminum foil.
- Shelf Life It will keep well in the refrigerator for 3-4 days.
- Room Temperature Avoid leaving pumpkin pie at room temperature for more than two hours.
Make-Ahead and Freezer Notes
Planning ahead for holiday meals is a lifesaver!
- Make-Ahead You can bake the pie up to 2-3 days in advance and store it in the refrigerator. The flavors often deepen and improve overnight.
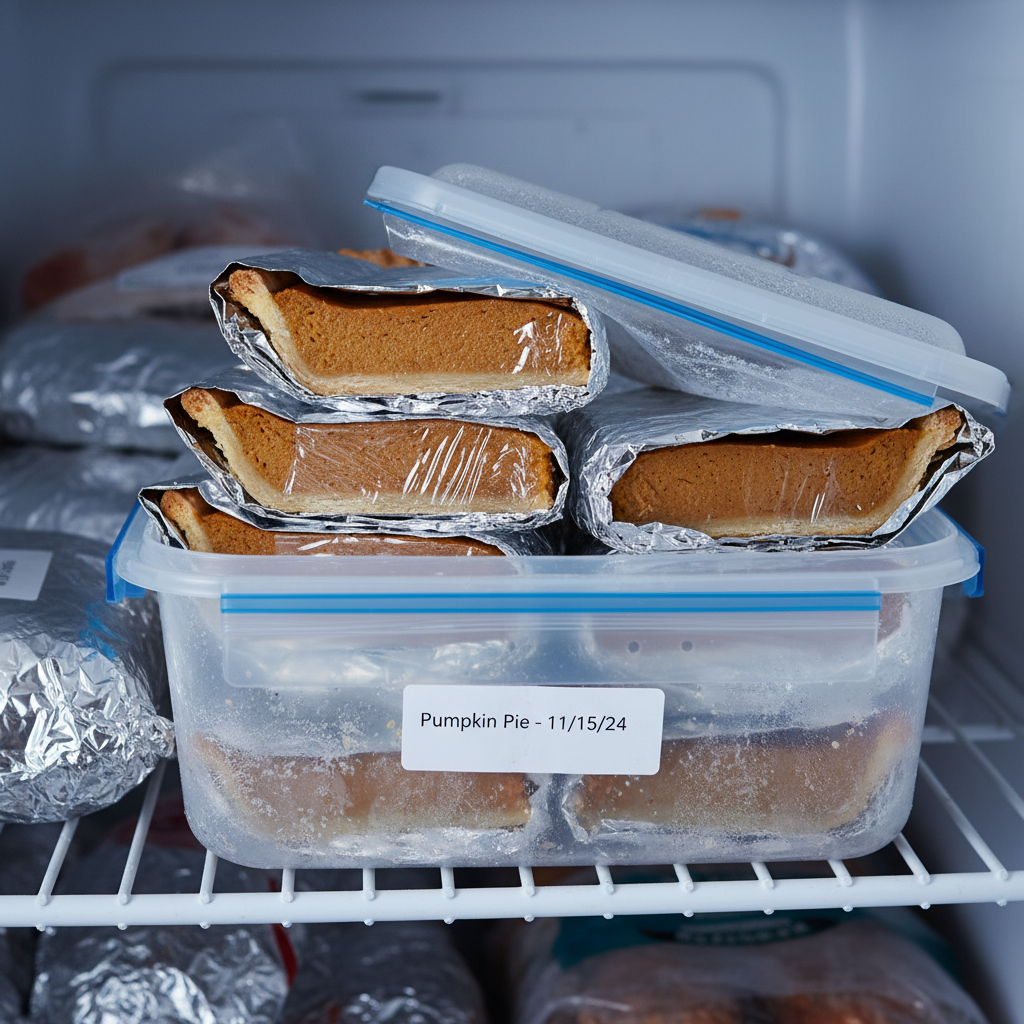
- Freezing Baked Pie Yes, you can freeze pumpkin pie! Bake and cool the pie completely. Wrap it tightly in several layers of plastic wrap, then a layer of aluminum foil. Freeze for up to 1 month. Thaw overnight in the refrigerator before serving.
- Freezing Unbaked Pie You can also prepare the filling and pour it into an unbaked crust, then freeze the whole pie. Wrap well. When ready to bake, place the frozen pie directly into a preheated oven (you may need to add 15-20 minutes to the baking time).
Serving Suggestions
While pumpkin pie is glorious on its own, a few accompaniments can make it even more special:
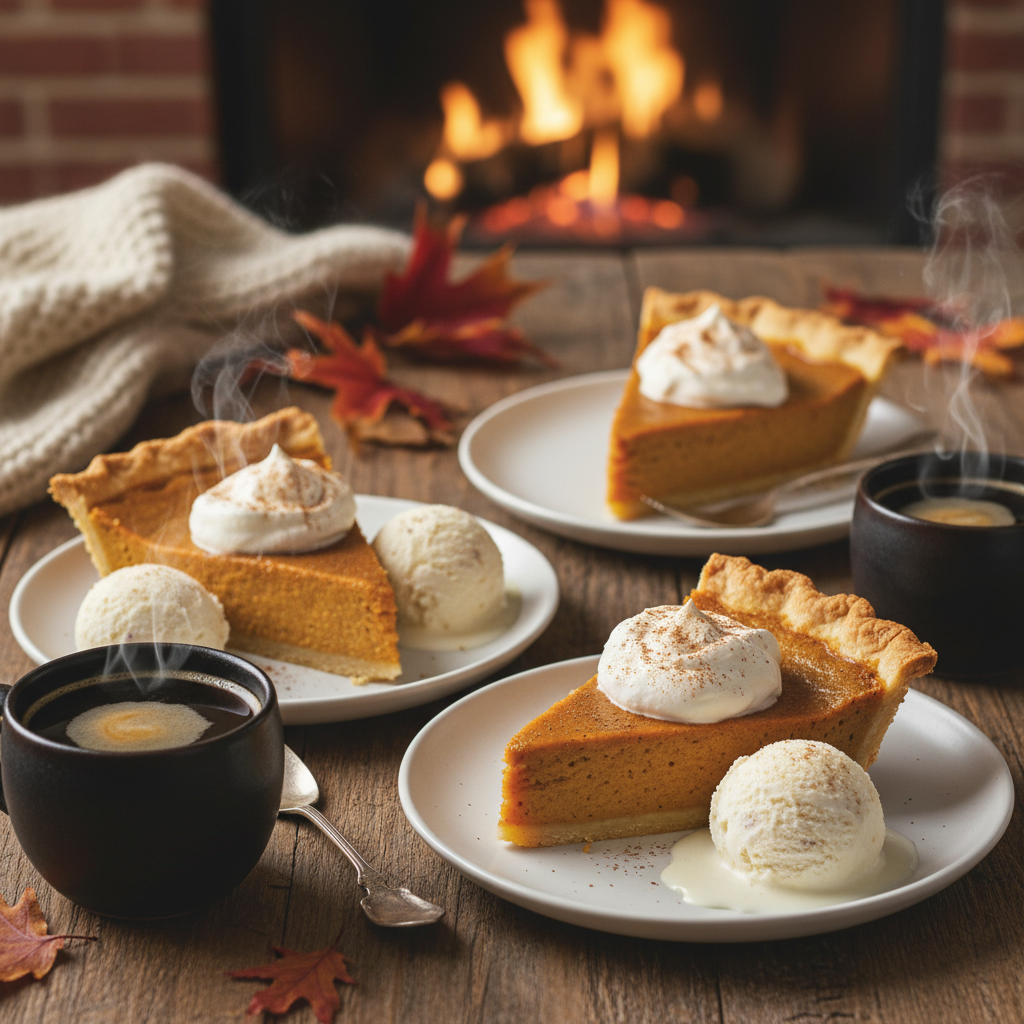
- Classic Whipped Cream A dollop of freshly whipped cream is the ultimate pairing. Sweeten it lightly with vanilla extract.
- Vanilla Bean Ice Cream The cold, creamy ice cream contrasts beautifully with the warm, spiced pie.
- Caramel Sauce A drizzle of warm caramel sauce adds an extra layer of sweetness and richness.
- Candied Pecans Sprinkle some homemade candied pecans for crunch and flavor.
- Aromatic Coffee or Tea Serve with a warm cup of coffee, a chai latte, or a spiced herbal tea for a cozy experience.