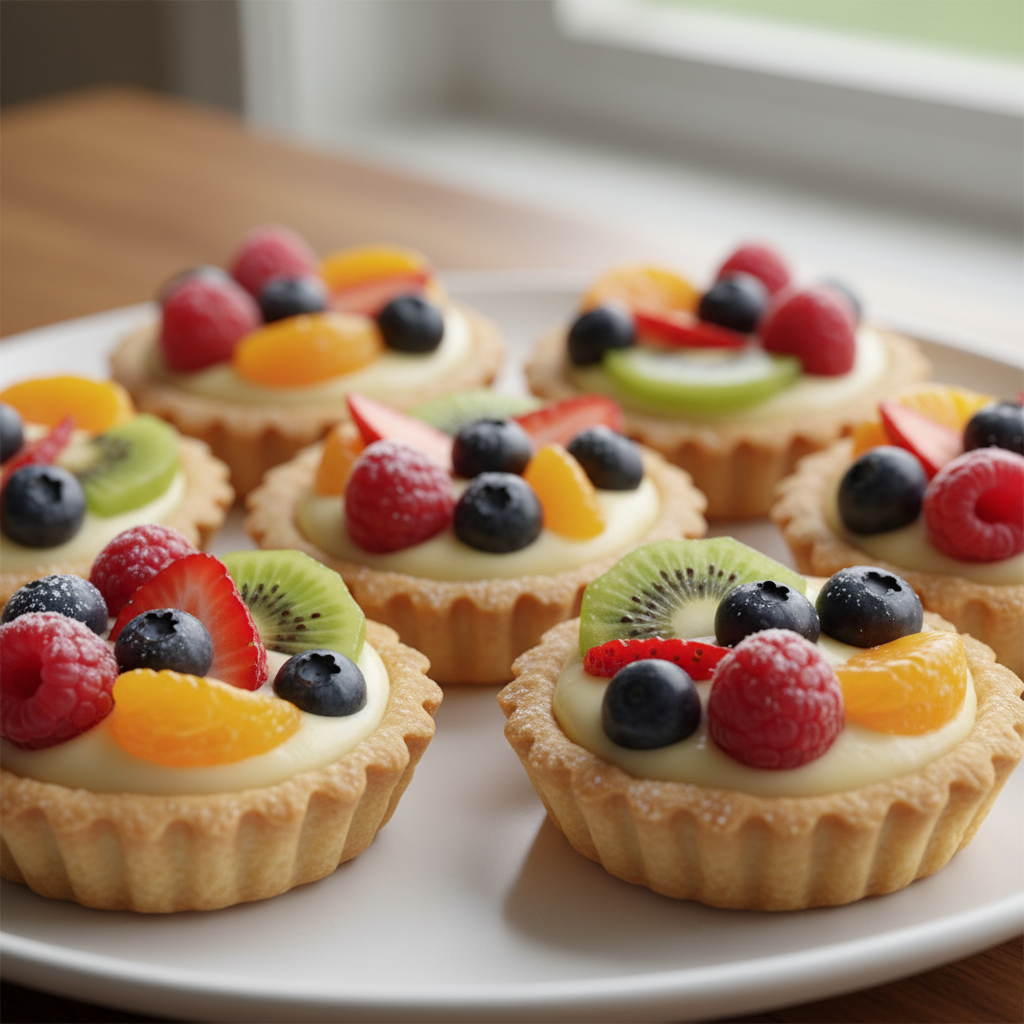
Welcome, fellow dessert lovers! Are you ready to dive into the wonderful world of patisserie, but feel a little intimidated by fancy-sounding desserts? Well, fear not! Today, we’re embarking on a delightful journey to create something truly special yet surprisingly simple: Mini Fruit Tarts with Vanilla Cream. These little gems are not just treats for your taste buds; they’re miniature works of art that are perfect for parties, brunches, or simply making an ordinary day feel extraordinary. Imagine delicate, buttery crusts, filled with silky smooth vanilla cream, and topped with a vibrant medley of fresh, seasonal fruits. Sounds heavenly, right? Let’s get baking!
A Sweet History and Background
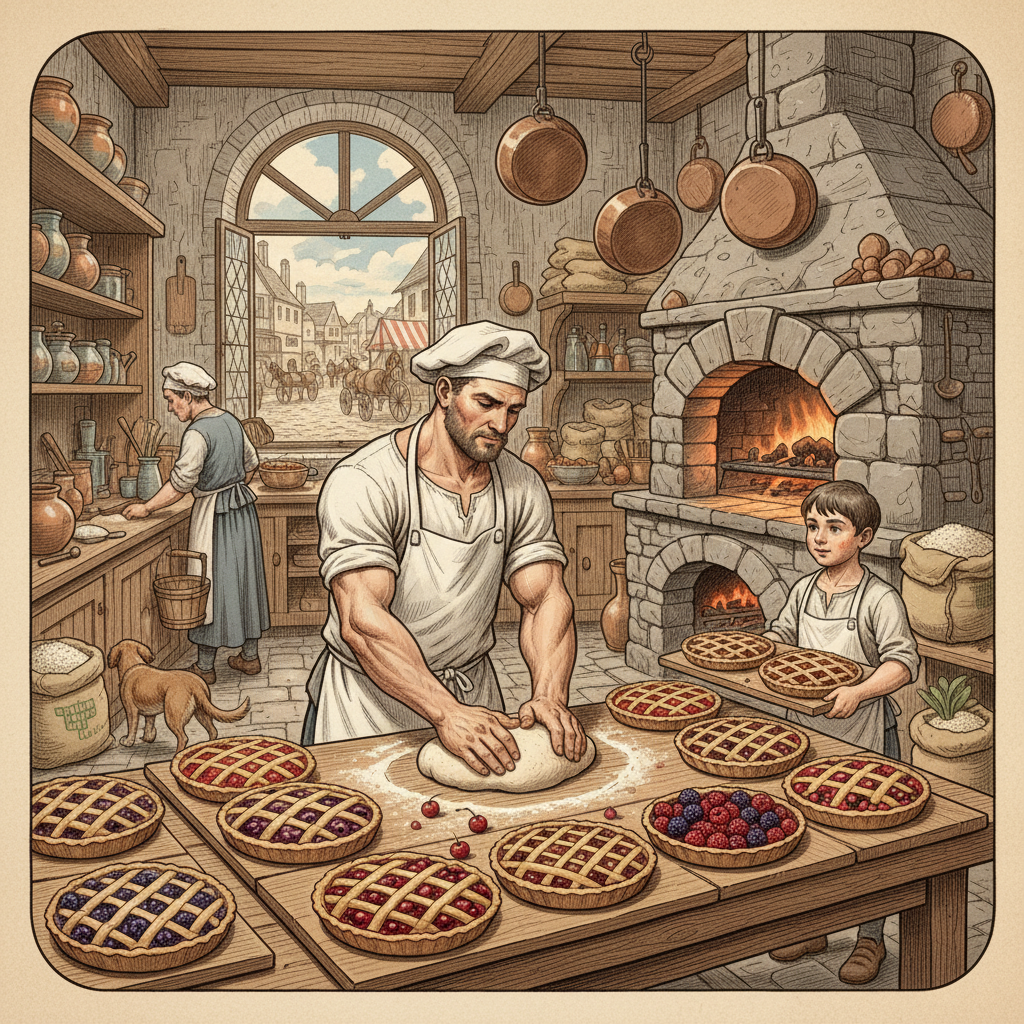
Tarts have a rich and fascinating history, dating back to medieval times. Originally, they were savory dishes, often encased in thick pastry used more as a container than for eating. Over centuries, as sugar became more accessible and baking techniques evolved, tarts transformed into the sweet delights we know and love today. Fruit tarts, in particular, became popular in France and England, celebrated for their delicate balance of sweet and tart flavors. Mini tarts, or tartlets, emerged as a charming way to serve individual portions, perfect for elegant gatherings. They represent a tradition of combining simple, high-quality ingredients to create something truly magical. Our recipe honors this tradition, bringing you a modern, approachable version of a timeless classic.
Why You’ll Love This Recipe
There are so many reasons to fall in love with these mini fruit tarts. Here are just a few:
- Beginner-Friendly: Don’t let their elegant appearance fool you; this recipe is straightforward and perfect for novice bakers.
- Customizable: Easily swap out fruits and flavors to match your preference or the season.
- Visually Stunning: These tarts are an absolute showstopper, guaranteed to impress your guests.
- Perfectly Portioned: Individual tarts mean no awkward slicing and serving.
- Fresh and Flavorful: The combination of crisp crust, rich cream, and fresh fruit is simply irresistible.
- Versatile for Any Occasion: Ideal for holidays, potlucks, birthdays, or a delightful weekend treat.
Ingredient Notes
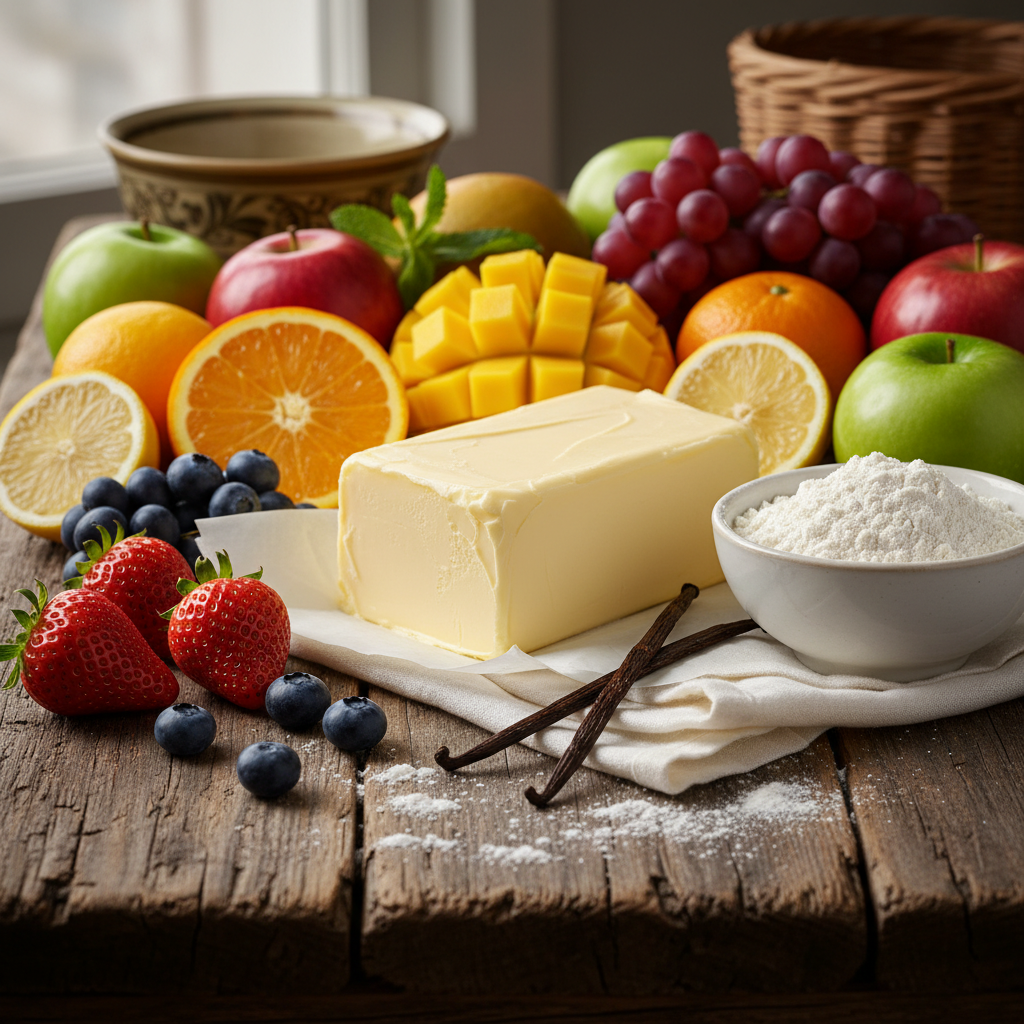
Quality ingredients make all the difference in these tarts. Here’s a closer look at what you’ll need and why:
- All-Purpose Flour: The foundation of our buttery tart crust. Make sure it’s fresh for the best texture.
- Unsalted Butter: Cold, unsalted butter is crucial for a flaky, tender crust. It creates pockets of steam during baking, leading to that desirable texture.
- Granulated Sugar: Sweetens both the crust and the vanilla cream.
- Large Egg Yolks: These add richness and help bind the crust, and they are essential for the custard’s creamy texture and color.
- Heavy Cream: The star of our vanilla cream, providing luxurious richness and a smooth mouthfeel.
- Whole Milk: Thins out the cream slightly while maintaining a rich flavor.
- Vanilla Extract or Vanilla Bean Paste: This is where the magic happens! Use good quality vanilla for the best flavor. Vanilla bean paste will give you those beautiful flecks.
- Cornstarch: Our secret weapon for thickening the vanilla cream without making it heavy.
- Fresh Fruits: A vibrant mix of berries (strawberries, blueberries, raspberries), kiwi, mandarin oranges, or grapes. Choose fruits that are ripe and in season for maximum flavor and visual appeal.
- Apricot Jam or Glaze: Optional, but a thin layer brushed over the fruit adds a beautiful shine and helps preserve freshness.
Equipment Needed
Having the right tools makes baking a breeze. Here’s what you’ll need:
- Mini Tart Pans (2.5-3 inch): With removable bottoms for easy unmolding. You’ll need about 12-18.
- Large Mixing Bowls: For preparing the dough and cream.
- Whisk: Essential for smooth cream.
- Rolling Pin: For rolling out the tart dough.
- Pastry Cutter or Food Processor: To cut butter into flour for the crust.
- Measuring Cups and Spoons: Accuracy is key in baking!
- Small Saucepan: For cooking the vanilla cream.
- Fine-Mesh Sieve: To strain the cream for an extra-smooth texture.
- Plastic Wrap: For chilling dough and cream.
- Baking Sheet: To hold the tart pans during baking.
Full Recipe Card
Ingredients for the Tart Crust
- 1 ½ cups (180g) all-purpose flour
- ½ cup (113g) cold unsalted butter, cut into small cubes
- ¼ cup (50g) granulated sugar
- ¼ teaspoon salt
- 1 large egg yolk
- 2-3 tablespoons ice water
Ingredients for the Vanilla Cream (Pastry Cream)
- 1 ½ cups (360ml) heavy cream
- ½ cup (120ml) whole milk
- ½ cup (100g) granulated sugar, divided
- ¼ cup (30g) cornstarch
- 3 large egg yolks
- 1 teaspoon vanilla extract or vanilla bean paste
Ingredients for Topping
- 2 cups assorted fresh fruits (strawberries, blueberries, raspberries, kiwi, mandarin oranges)
- 2 tablespoons apricot jam (optional, for glaze)
Instructions
- Make the Tart Crust: In a large bowl, whisk together flour, sugar, and salt. Cut in the cold butter using a pastry cutter or your fingertips until the mixture resembles coarse crumbs. Add the egg yolk and 1 tablespoon of ice water, mixing until just combined. Add more ice water, a teaspoon at a time, until the dough comes together. Do not overmix.
- Chill the Dough: Form the dough into a disk, wrap it in plastic wrap, and refrigerate for at least 30 minutes.
- Prepare Tart Shells: Preheat oven to 375°F (190°C). On a lightly floured surface, roll out the chilled dough to about 1/8 inch thickness. Use a round cutter slightly larger than your tart pans to cut out circles. Gently press each circle into the mini tart pans, trimming any excess dough. Prick the bottoms with a fork.
- Blind Bake: Line each tart shell with parchment paper or foil and fill with pie weights or dried beans. Bake for 15 minutes. Remove weights and parchment/foil, then bake for another 5-7 minutes, or until golden brown. Let cool completely on a wire rack.
- Make the Vanilla Cream: In a medium saucepan, combine heavy cream, milk, and half of the sugar. Heat over medium heat until simmering, stirring occasionally.
- In a separate bowl, whisk together the remaining sugar, cornstarch, and egg yolks until smooth.
- Gradually pour about half of the hot cream mixture into the egg yolk mixture, whisking constantly to temper the yolks. Pour the tempered mixture back into the saucepan with the remaining cream.
- Cook over medium-low heat, whisking constantly, until the cream thickens significantly and comes to a gentle boil (about 2-3 minutes). Remove from heat and stir in the vanilla extract or paste.
- Chill the Cream: Pour the cream through a fine-mesh sieve into a clean bowl to remove any lumps. Press plastic wrap directly onto the surface of the cream to prevent a skin from forming. Refrigerate for at least 2 hours, or until completely chilled and set.
- Assemble the Tarts: Once the tart shells are cool and the vanilla cream is chilled, spoon or pipe the vanilla cream into each tart shell.
- Decorate with Fruit: Arrange your fresh fruits artistically on top of the vanilla cream.
- Glaze (Optional): If using, gently heat the apricot jam with a teaspoon of water until melted and smooth. Brush a thin layer over the fruit for a beautiful shine.
- Serve and Enjoy: Serve immediately or chill until ready to serve.
Recipe Notes
- Ensure all ingredients for the crust are cold for the best flaky texture.
- Do not overwork the dough; this can make it tough.
- Blind baking prevents the crust from puffing up and ensures a crisp bottom.
- Chilling the vanilla cream completely is essential for a firm, scoopable consistency.
Tips and Variations
Want to put your own spin on these delightful tarts? Here are some ideas:
- Citrus Zest: Add a teaspoon of lemon or orange zest to the tart dough or the vanilla cream for a bright, tangy flavor.
- Chocolate Drizzle: Drizzle melted dark or white chocolate over the finished tarts for an extra layer of indulgence.
- Nutty Crust: Replace a quarter of the flour with finely ground almonds or pistachios for a nutty, aromatic crust.
- Cream Cheese Filling: For a tangier cream, mix in 2-4 ounces of softened cream cheese to the cooled vanilla cream before filling the shells.
- Tropical Twist: Use tropical fruits like mango, passion fruit, and pineapple for a sunny variation.
- Mini Chocolate Tarts: Add 2 tablespoons of cocoa powder to the flour for a chocolate crust, and perhaps a chocolate ganache filling instead of vanilla cream.
Pro Chef Tips
- Cold Butter is Key: For the flakiest crust, ensure your butter is ice-cold. You can even cube it and pop it in the freezer for 10-15 minutes before mixing.
- Don’t Overwork the Dough: Mix just until the dough comes together. Overworking develops gluten, leading to a tough crust.
- Chill, Chill, Chill: Chilling the dough helps relax the gluten, making it easier to roll and preventing shrinkage during baking. Chilling the cream ensures it sets perfectly.
- Temper Your Egg Yolks: When making the vanilla cream, slowly adding hot liquid to the egg yolks (tempering) prevents them from scrambling.
- Strain for Smoothness: Always strain your pastry cream through a fine-mesh sieve. This removes any tiny lumps and ensures a silky-smooth texture.
- Brush with Egg Wash: For an extra golden and slightly crispier crust, lightly brush the tart shells with an egg wash (1 egg yolk mixed with 1 tablespoon water) before the final few minutes of blind baking.
Common Mistakes to Avoid
- Warm Ingredients for Crust: Using warm butter or water will result in a tough, less flaky crust. Keep everything cold!
- Overmixing the Dough: This activates too much gluten, making the crust chewy instead of tender and crumbly.
- Not Blind Baking: Skipping this step often leads to a soggy crust once the filling is added.
- Under-baking the Crust: An under-baked crust is pale and soft. Ensure it’s golden brown and crisp.
- Not Chilling the Cream Enough: Rushing this step will result in a runny filling that won’t hold its shape.
- Overfilling the Tart Shells: This can cause the cream to overflow and make a mess. Leave a small margin at the top.
- Damp Fruit: Ensure your fruits are completely dry before placing them on the cream. Excess moisture can make the cream watery.
Storage and Meal Prep
These tarts are best enjoyed fresh, but you can certainly prepare components ahead of time!
- Assembled Tarts: Store assembled tarts in an airtight container in the refrigerator for up to 2-3 days. The crust may soften slightly over time.
- Unfilled Tart Shells: Baked and cooled tart shells can be stored in an airtight container at room temperature for up to 3 days, or frozen for up to 2 weeks.
- Vanilla Cream: The prepared vanilla cream can be stored in an airtight container with plastic wrap directly on the surface in the refrigerator for up to 3-4 days. Whisk briefly before using to restore its smooth texture.
Make-Ahead and Freezer Notes
Planning ahead makes entertaining so much easier!
- Dough: The tart dough can be made up to 2 days in advance and stored in the refrigerator. You can also freeze the dough for up to 1 month. Thaw in the refrigerator overnight before rolling.
- Baked Tart Shells: Once baked and cooled, you can freeze the empty tart shells for up to 2 weeks. Wrap them tightly in plastic wrap and then foil. Thaw at room temperature before filling.
- Vanilla Cream: The pastry cream can be made 1-2 days in advance. Ensure it’s well-chilled before filling the tarts. It does not freeze well once made.
- Assembled Tarts: It is generally not recommended to freeze fully assembled fruit tarts, as the fruit and cream can become watery and lose texture upon thawing.
Serving Suggestions
Mini Fruit Tarts are incredibly versatile and perfect for a variety of occasions:
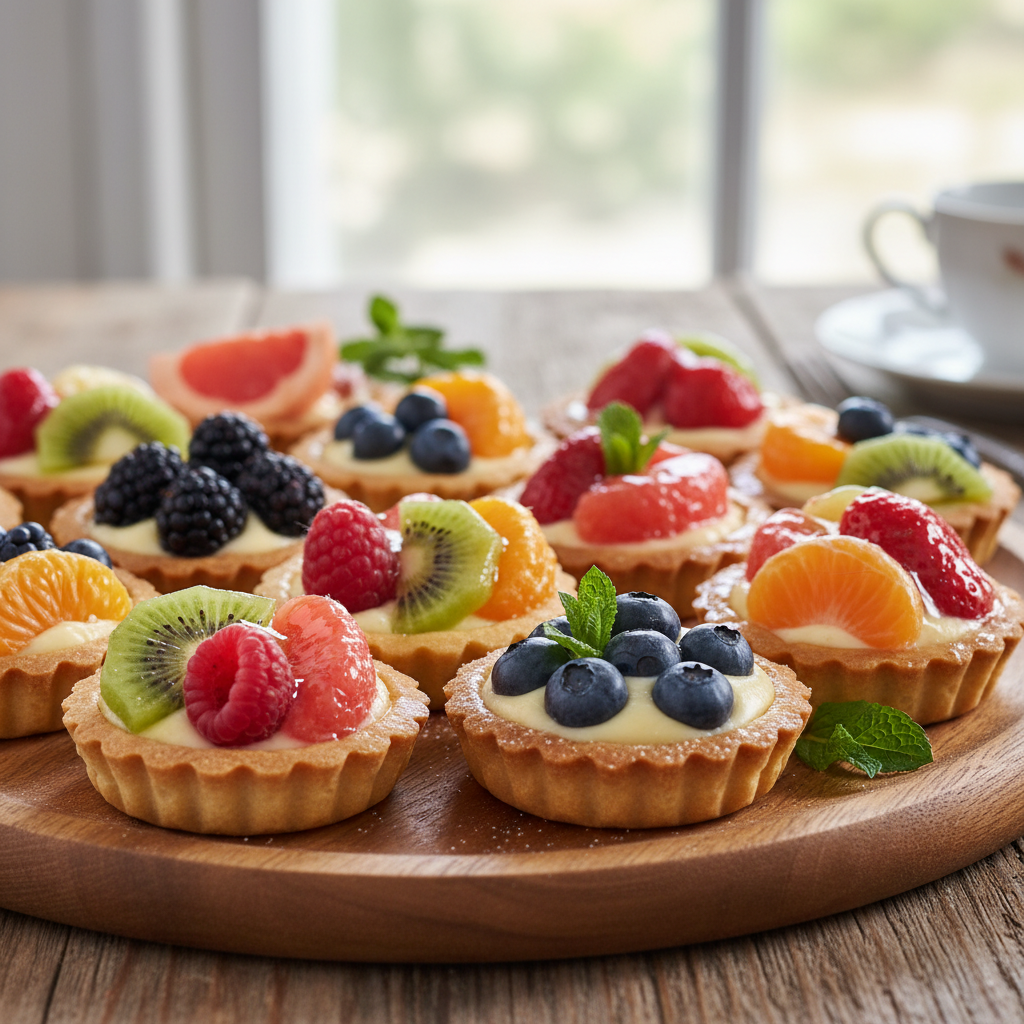
- Dessert Platter: Arrange them beautifully on a large platter with other small desserts for a stunning display.
- Brunch Treat: A lovely addition to any brunch spread, offering a light and fruity option.
- Afternoon Tea: Pair them with a cup of your favorite tea for an elegant afternoon snack.
- Party Favorite: Their individual portions make them ideal for parties and gatherings.
- Garnish: A tiny sprig of fresh mint or a sprinkle of powdered sugar can add a professional finishing touch.
- With Coffee: Enjoy them alongside a freshly brewed coffee for a delightful pick-me-up.