Welcome, fellow dessert lovers! Are you searching for that perfect sweet treat that’s incredibly simple to make, yet utterly impressive? Look no further! Today, we’re diving into the delightful world of Oreo Truffles, specifically a dreamy version coated in smooth white chocolate. These no-bake wonders are a true kitchen hero, requiring just a few ingredients and minimal effort for maximum deliciousness. Whether you’re a seasoned baker or just starting your culinary journey, this recipe promises a rewarding experience and a plate full of smiles. Get ready to create some magic!
History and Background of the Oreo Truffle
The story of Oreo truffles is a testament to culinary creativity born from simplicity. While classic chocolate truffles have a rich history dating back to 19th-century France, the Oreo truffle is a much more modern, American-inspired invention. It emerged as a brilliant way to transform the beloved Oreo cookie into something even more decadent. The concept likely gained widespread popularity through home cooks and online food communities in the early 2000s, quickly becoming a viral sensation. Its appeal lies in its no-bake nature and the ingenious combination of crushed cookies and cream cheese, mimicking the richness of a traditional truffle with the familiar taste of America’s favorite cookie. Adding a white chocolate coating elevates it further, offering a delightful contrast to the dark cookie base and a touch of elegance.
Why You’ll Love This Recipe

- Incredibly Easy You only need three main ingredients!
- No Baking Required Perfect for hot days or when you don’t want to turn on the oven.
- Crowd-Pleaser Everyone, from kids to adults, adores these sweet bites.
- Customizable Endless possibilities for toppings and variations.
- Perfect for Any Occasion Holidays, parties, potlucks, or just a sweet craving.
- Budget-Friendly Made with readily available and inexpensive ingredients.
Ingredient Notes for Perfect Truffles
Let’s talk about the stars of our show! While the ingredient list is short, understanding each one helps ensure your truffles turn out perfectly every time.
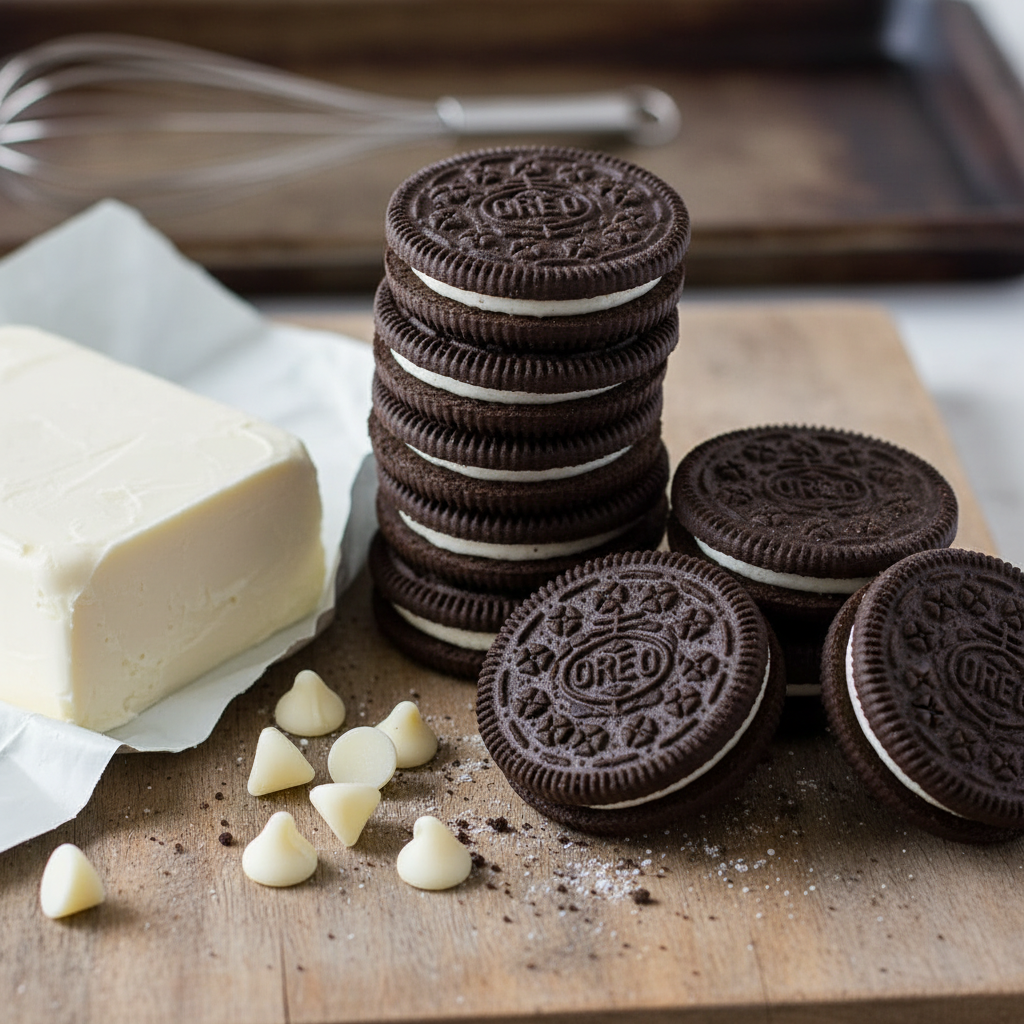
- Oreo Cookies You’ll need one standard package (about 36 cookies). Don’t remove the cream filling! That’s part of the magic. For best results, use classic Oreos, but feel free to experiment with different flavors once you’ve mastered the basic recipe.
- Cream Cheese Full-fat cream cheese is key here. It provides the necessary richness and binds the crushed cookies together into a truffle-like consistency. Make sure it’s softened to room temperature before you start. This makes it much easier to mix evenly with the cookie crumbs.
- White Chocolate Chips or Melting Wafers High-quality white chocolate makes a big difference in both taste and texture. Melting wafers or candy melts are often easier to work with as they melt smoothly and set firmly, giving your truffles a beautiful, glossy finish. If using white chocolate chips, add a teaspoon of coconut oil or shortening to help with melting and smoothness.
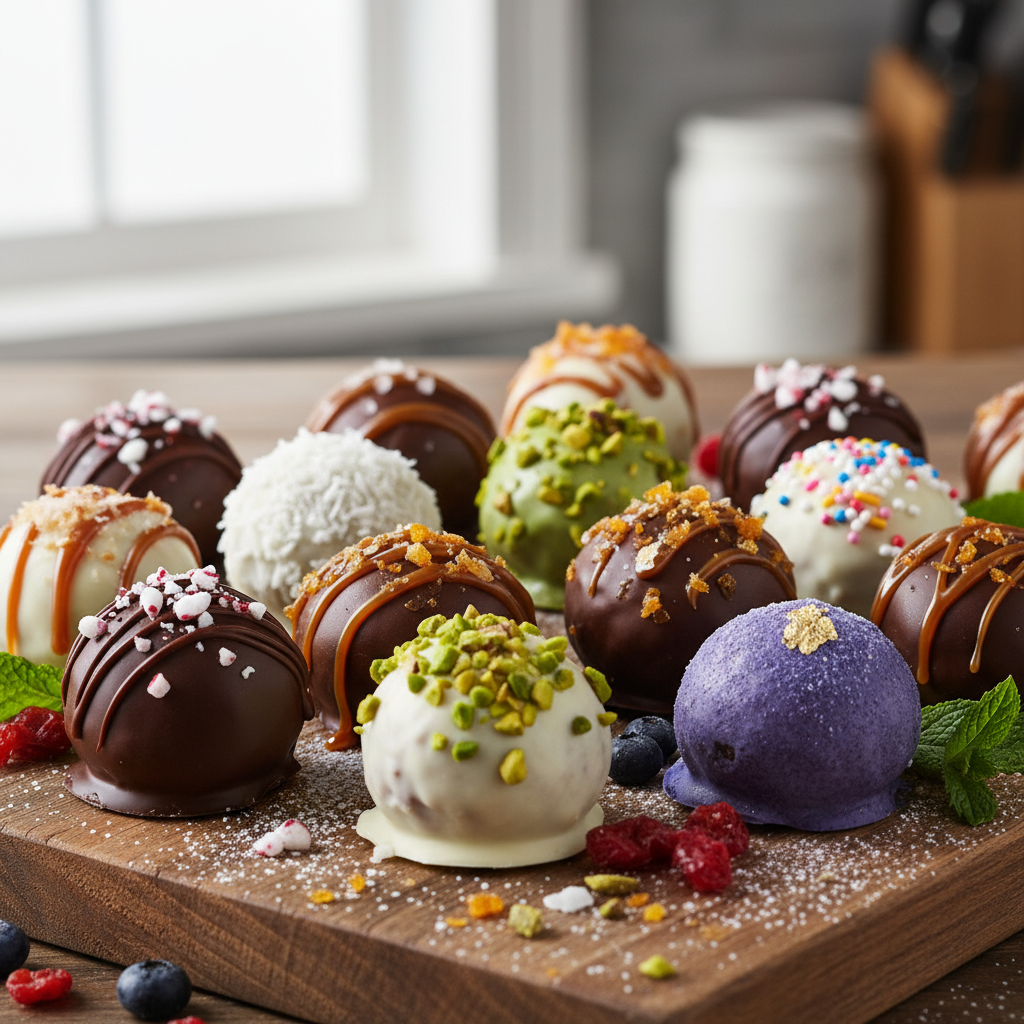
- Optional Toppings Sprinkles, crushed Oreos, chopped nuts, colored candy melts, or a drizzle of dark chocolate can add extra flair.
Equipment Needed
Gathering your tools beforehand makes the process smooth and enjoyable!
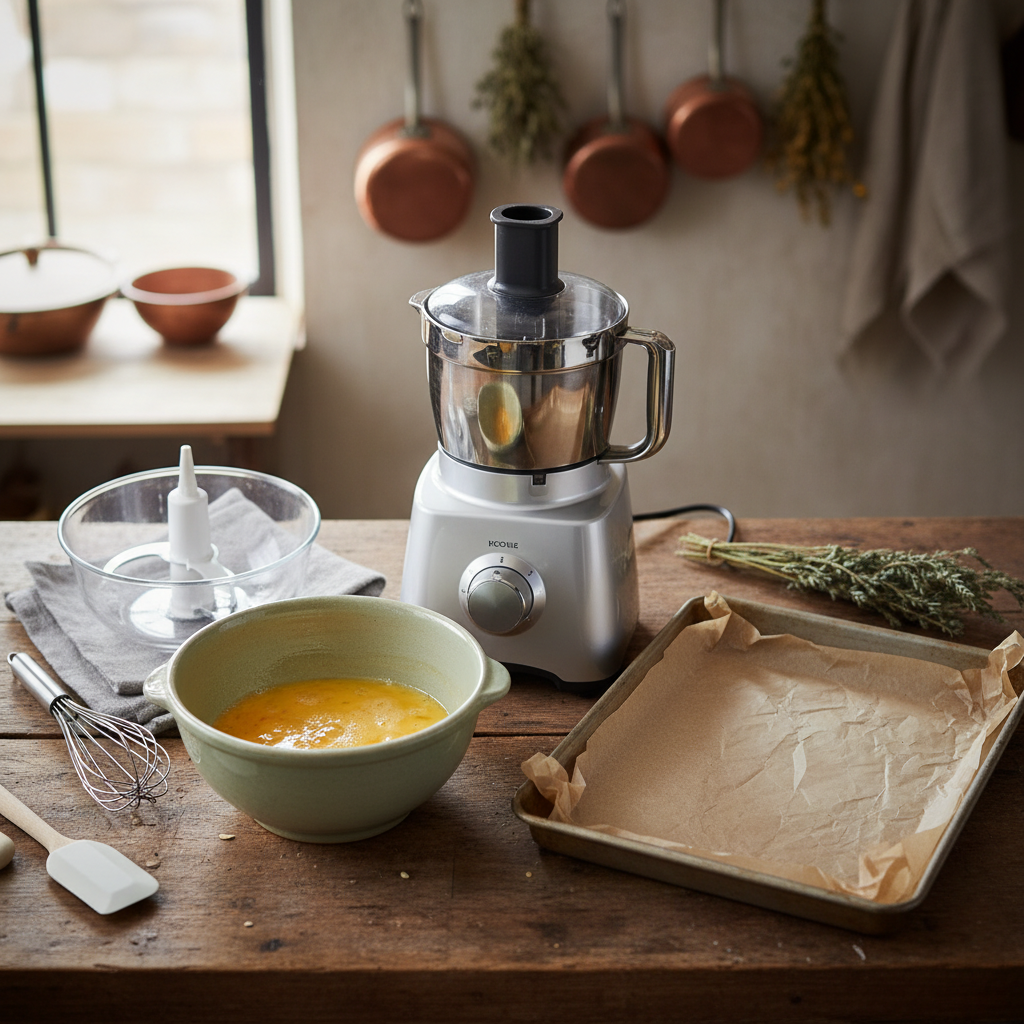
- Food Processor This is highly recommended for quickly crushing the Oreos into fine crumbs. If you don’t have one, a sturdy Ziploc bag and a rolling pin will also work, though it requires a bit more effort.
- Large Mixing Bowl For combining the cookie crumbs and cream cheese.
- Electric Mixer (Optional) A stand mixer or hand mixer can help combine the cream cheese and crumbs, but a sturdy spoon or spatula works just fine.
- Baking Sheet To place your truffles on for chilling.
- Parchment Paper or Wax Paper To line the baking sheet, preventing sticking.
- Small Microwave-Safe Bowl or Double Boiler For melting the white chocolate.
- Spoon or Fork For dipping the truffles.
Full Recipe Card for Easy Oreo Truffles
Ingredients
- 1 (14.3 ounce) package Oreo cookies (about 36 cookies)
- 1 (8 ounce) block full-fat cream cheese, softened
- 12 ounces white chocolate chips or melting wafers
- Optional toppings: sprinkles, extra crushed Oreos, mini chocolate chips
Instructions
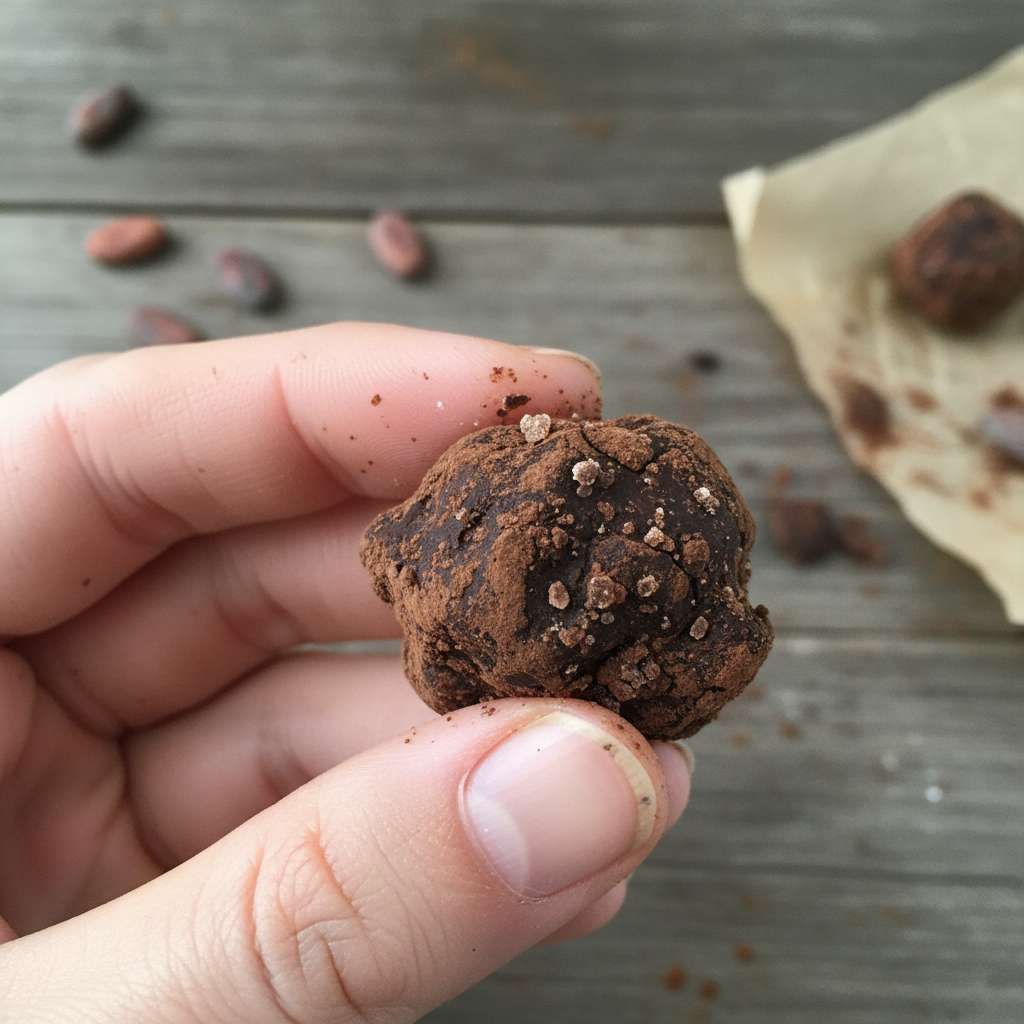
- Crush the Oreos Place the entire package of Oreo cookies (with the cream filling) into a food processor. Pulse until they are finely crushed into crumbs. You want a consistency similar to sand, with no large chunks remaining. Reserve about 2 tablespoons of crumbs for garnish, if desired.
- Mix with Cream Cheese Transfer the crushed Oreo crumbs to a large mixing bowl. Add the softened cream cheese. Using a sturdy spoon, spatula, or an electric mixer on low speed, mix until thoroughly combined. The mixture should be thick and uniform, forming a dough-like consistency.
- Form the Truffles Roll the mixture into 1-inch balls. This recipe typically yields about 30-35 truffles. Place the rolled truffles onto a baking sheet lined with parchment paper or wax paper.
- Chill Place the baking sheet with the truffles in the refrigerator for at least 30 minutes. This helps them firm up, making them easier to coat with chocolate.
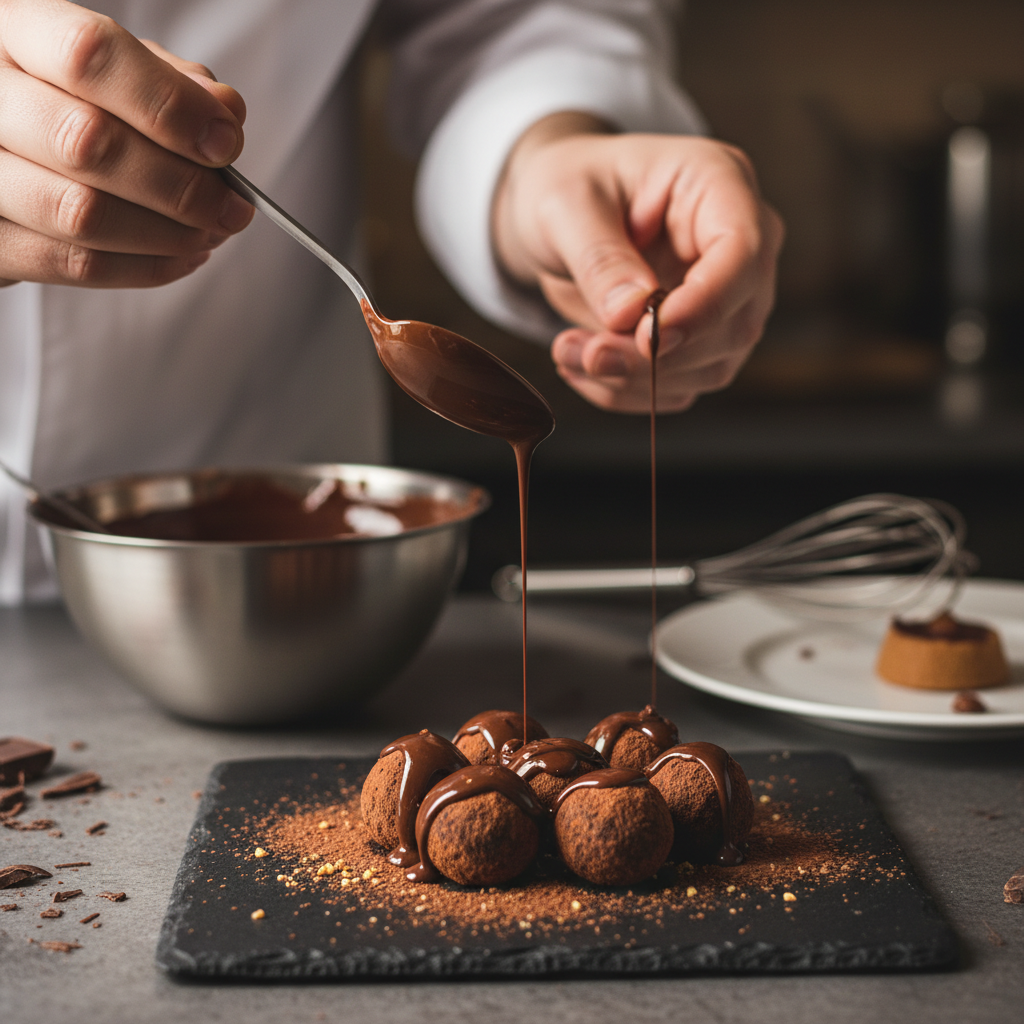
- Melt the White Chocolate In a microwave-safe bowl, melt the white chocolate chips or wafers. Microwave in 30-second intervals, stirring well after each, until smooth and creamy. Be careful not to overheat the chocolate, as it can seize. Alternatively, use a double boiler over simmering water.
- Coat the Truffles Dip each chilled truffle into the melted white chocolate. You can use a fork to gently lower and lift the truffle, allowing excess chocolate to drip off. Place the coated truffles back onto the parchment-lined baking sheet.
- Add Toppings (Optional) If adding sprinkles or other toppings, do so immediately after coating each truffle, while the white chocolate is still wet.
- Chill Again to Set Return the truffles to the refrigerator for another 15-20 minutes, or until the white chocolate coating is fully set.
- Serve and Enjoy Once set, your Easy Oreo Truffles with White Chocolate are ready to be devoured!
Notes
- For extra flavor, add 1/2 teaspoon of vanilla extract to the cream cheese mixture.
- If your white chocolate becomes too thick while dipping, microwave it for another 10-15 seconds or add a tiny bit of coconut oil to thin it out.
- Store truffles in an airtight container in the refrigerator.
Tips and Variations to Spark Your Creativity
Once you’ve mastered the basic recipe, the fun truly begins! These truffles are incredibly versatile.
- Flavorful Oreo Bases Try using different Oreo flavors like Peanut Butter, Mint, or Golden Oreos for a whole new experience.
- Chocolate Coatings Instead of white chocolate, try milk chocolate, dark chocolate, or even a mix of both for a marbled effect.
- Added Extracts A few drops of peppermint extract in the cream cheese mixture can transform these into festive mint truffles. Almond or orange extract can also be delightful.
- Nutty Crunch Roll the truffles in finely chopped nuts like pecans, walnuts, or almonds before or after coating in chocolate.
- Coconut Delight For a tropical twist, roll them in shredded coconut.
- Holiday Themes Use colored candy melts and festive sprinkles to match any holiday. Red and green for Christmas, pastels for Easter, or orange and black for Halloween.
- Boozy Bites For adult gatherings, add a tablespoon of your favorite liqueur (like Kahlua, Bailey’s, or rum) to the cream cheese mixture.
Pro Chef Tips for Flawless Truffles
Even though this recipe is simple, a few professional insights can elevate your truffles from good to absolutely glorious!
- Room Temperature Cream Cheese is Non-Negotiable Seriously, this is crucial. Cold cream cheese will result in a lumpy, uneven mixture that’s hard to roll. Take it out of the fridge at least an hour before you start.
- Fine Crumbs are Key Don’t rush the food processor step. Fine, uniform crumbs ensure a smooth truffle texture. Any large chunks will make the truffles crumbly and difficult to form.
- Chill Thoroughly Chilling the truffle balls before dipping is vital. It helps them hold their shape and prevents them from melting into the warm chocolate coating. A solid 30 minutes is the minimum.
- Tempering Chocolate (Advanced) While not strictly necessary for this recipe, if you want a professional, glossy, snap-worthy chocolate coating that won’t bloom (get white streaks), consider tempering your white chocolate. It’s an extra step but yields stunning results.
- Use a Dipping Fork or Toothpicks For a cleaner coating, use a specialized dipping fork or two toothpicks to submerge and lift the truffles from the melted chocolate. Gently tap off excess chocolate before placing them back on parchment paper.
- Work in Batches If you’re making a large quantity, melt your chocolate in smaller batches so it doesn’t cool and thicken too much while you’re dipping.
Common Mistakes to Avoid
Even the simplest recipes can have pitfalls. Here’s what to watch out for to ensure your truffles are perfect!
- Using Cold Cream Cheese As mentioned, this makes mixing difficult and can leave you with an uneven, lumpy truffle base.
- Overheating White Chocolate White chocolate is delicate. If microwaved too long or at too high a power, it can seize, becoming thick, grainy, and unusable. Melt in short bursts, stirring frequently.
- Not Chilling Truffles Enough If your truffle balls are too soft when you dip them, they can fall apart in the warm chocolate, or the chocolate coating will be too thin and uneven.
- Skipping the Parchment Paper This can lead to your truffles sticking to the baking sheet once the chocolate sets, making them difficult to remove without damage.
- Too Much Cream Cheese While you want a moist mixture, too much cream cheese can make the truffles overly soft and difficult to roll and hold their shape. Stick to the specified amount.
- Dipping into Thick Chocolate If your melted chocolate is too thick, your coating will be clumpy and messy. Thin it out with a tiny bit of coconut oil or shortening if needed.
Storage and Meal Prep

These truffles are fantastic for making ahead and storing, which makes them perfect for parties or just having a sweet treat on hand.
- Refrigerator Store your finished Oreo truffles in an airtight container in the refrigerator for up to 1-2 weeks. Layer them with parchment paper between layers to prevent sticking.
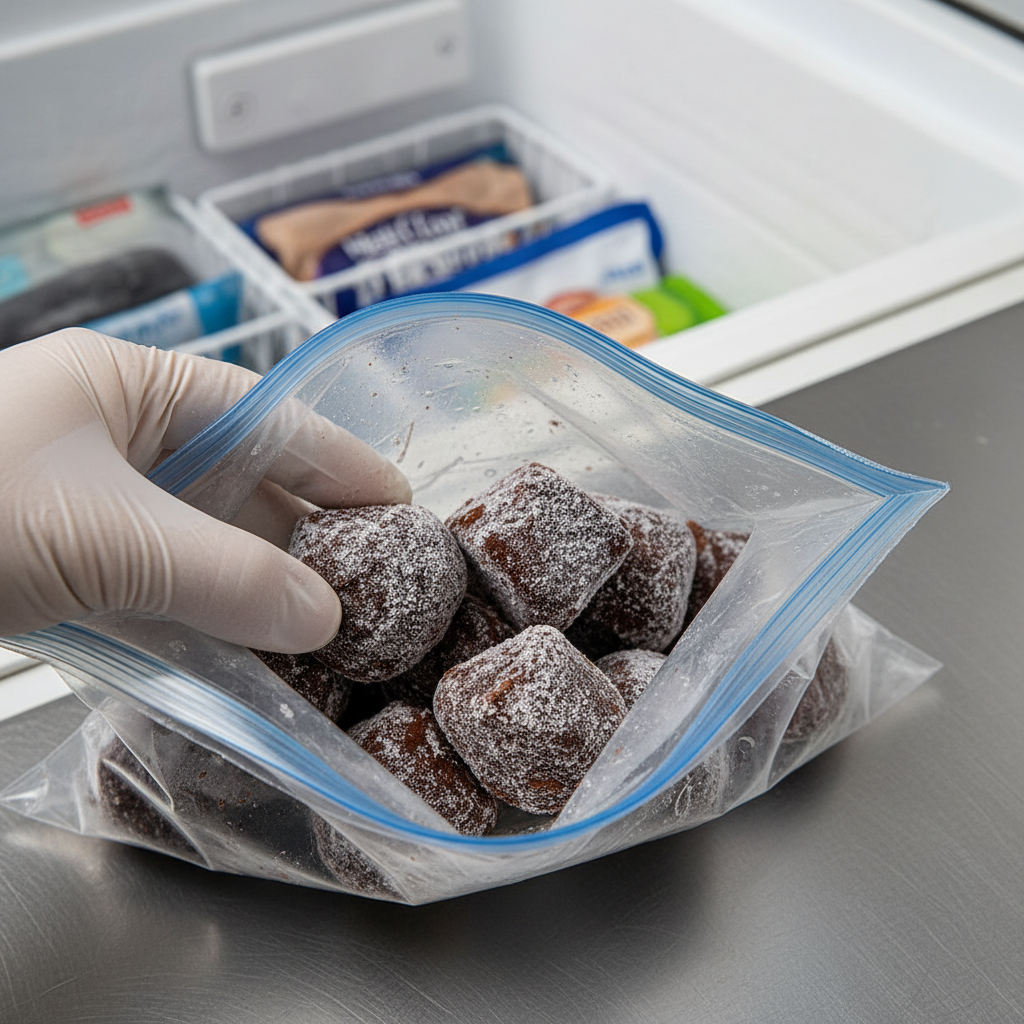
- Freezer For longer storage, truffles freeze beautifully. Place the set truffles in a single layer on a parchment-lined baking sheet and freeze for about an hour until solid. Then, transfer them to a freezer-safe airtight container or bag. They can be stored in the freezer for up to 2-3 months. Thaw in the refrigerator for a few hours before serving.
Make-Ahead and Freezer Notes
These truffles are a dream for meal prep! You can prepare them entirely in advance, or break down the process into steps.
- Make Ahead You can make the truffle balls (before dipping) and store them in an airtight container in the refrigerator for up to 3-4 days. When ready to serve, simply melt your chocolate and dip them.
- Freeze Undipped Truffle Balls If you want to prepare a large batch of truffle bases, roll them into balls, freeze them solid on a baking sheet, then transfer to a freezer bag. When you’re ready to dip, simply thaw the balls in the refrigerator for about 30 minutes to an hour, then proceed with melting and dipping the chocolate.
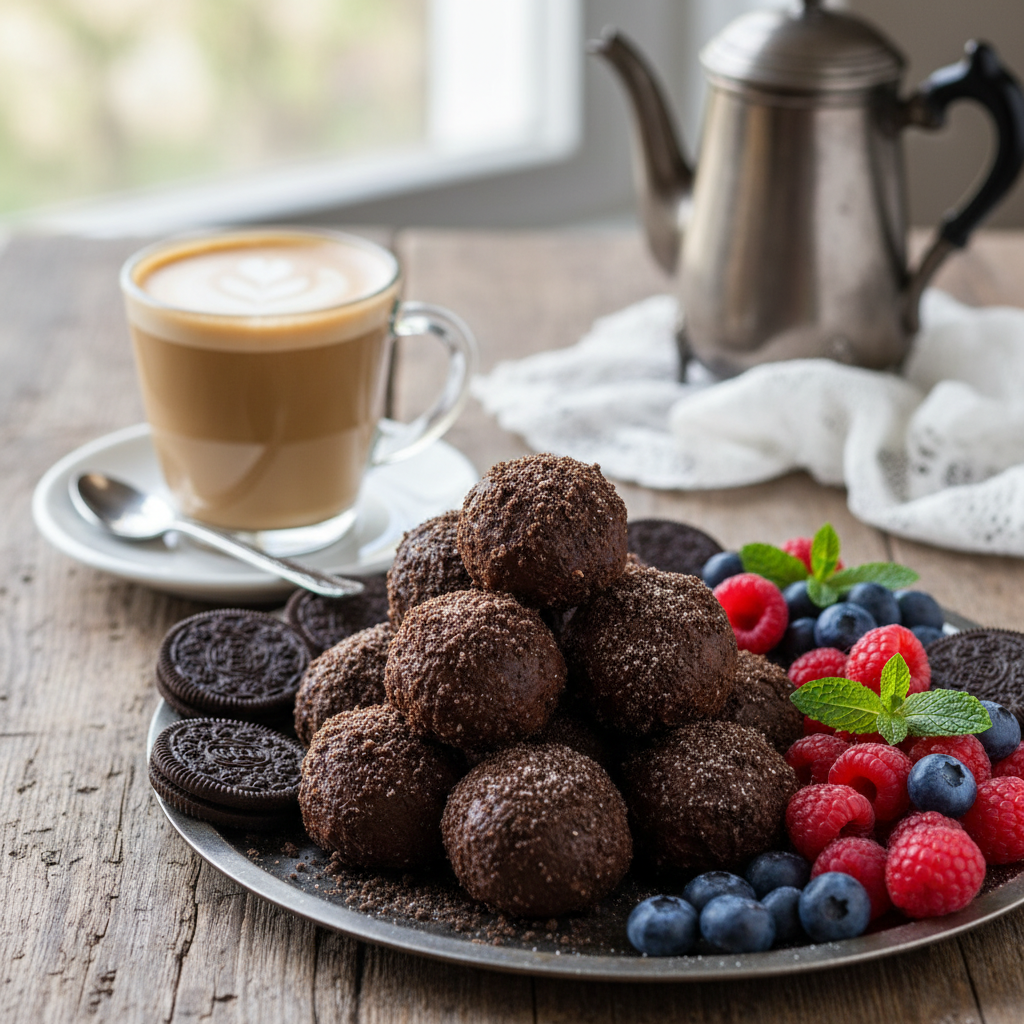
Serving Suggestions for Your Truffles
Oreo truffles are delightful on their own, but here are some ideas to make them even more special:
- Dessert Platter Arrange them on a beautiful platter with other small desserts like mini cupcakes, fruit tarts, or fresh berries.
- Coffee or Tea Companion They pair wonderfully with a hot cup of coffee, espresso, or your favorite tea.
- Gift Giving Package them in pretty cellophane bags or small decorative boxes for a thoughtful homemade gift.
- Party Favors Offer them as delicious party favors for birthdays, weddings, or baby showers.
- Ice Cream Topping Crumble a few truffles over a scoop of vanilla ice cream for an extra indulgent treat.
- Milkshake Boost Blend a truffle or two into a vanilla milkshake for an ultimate Oreo experience.