Welcome, fellow baking enthusiasts! Are you craving that delightful crunch and rich buttery flavor of classic cookies but don’t want to spend hours in the kitchen with a long list of ingredients? You’re in luck! Today, we’re diving into the wonderful world of homemade treats with a recipe so simple, so straightforward, and so utterly delicious, it’ll become your new go-to. Get ready to bake the most incredible crispy butter cookies using just four basic ingredients you likely already have in your pantry.
History and Background of Butter Cookies
Butter cookies, sometimes known as Danish butter cookies, boast a rich and comforting history rooted deeply in European baking traditions. These delightful treats originated in Denmark and quickly spread across the globe, becoming a beloved staple in many cultures, especially around holidays. The beauty of these cookies lies in their simplicity, allowing the pure, creamy taste of butter to shine through. Historically, they were a sign of prosperity and hospitality, often given as gifts. While many variations exist, our 4-ingredient version strips it back to the absolute essentials, honoring their humble yet delicious origins.
Why You’ll Love This Recipe
- Incredibly Simple: Only four ingredients mean less shopping and less fuss.
- Beginner-Friendly: Perfect for new bakers or those looking for a quick win.
- Deliciously Crispy: Achieves that satisfying snap with every bite.
- Versatile: Easy to customize with simple additions.
- Quick to Make: From mixing bowl to cookie jar in under an hour.
- Crowd-Pleaser: Everyone adores a classic butter cookie!
Ingredient Notes

With so few ingredients, the quality of each one truly matters! Here’s a quick guide to ensure your cookies turn out perfect every time:
- Unsalted Butter: This is the star of the show! Make sure it’s softened to room temperature, which is crucial for a smooth, lump-free dough. Using unsalted butter gives you control over the saltiness, allowing the pure butter flavor to come through.
- Granulated Sugar: Simple white sugar is all you need. It provides sweetness and helps with the crisp texture.
- All-Purpose Flour: Standard all-purpose flour works perfectly. There’s no need for special flours here.
- Vanilla Extract: A touch of vanilla elevates the flavor, adding warmth and depth. Use good quality extract for the best results.
Equipment Needed
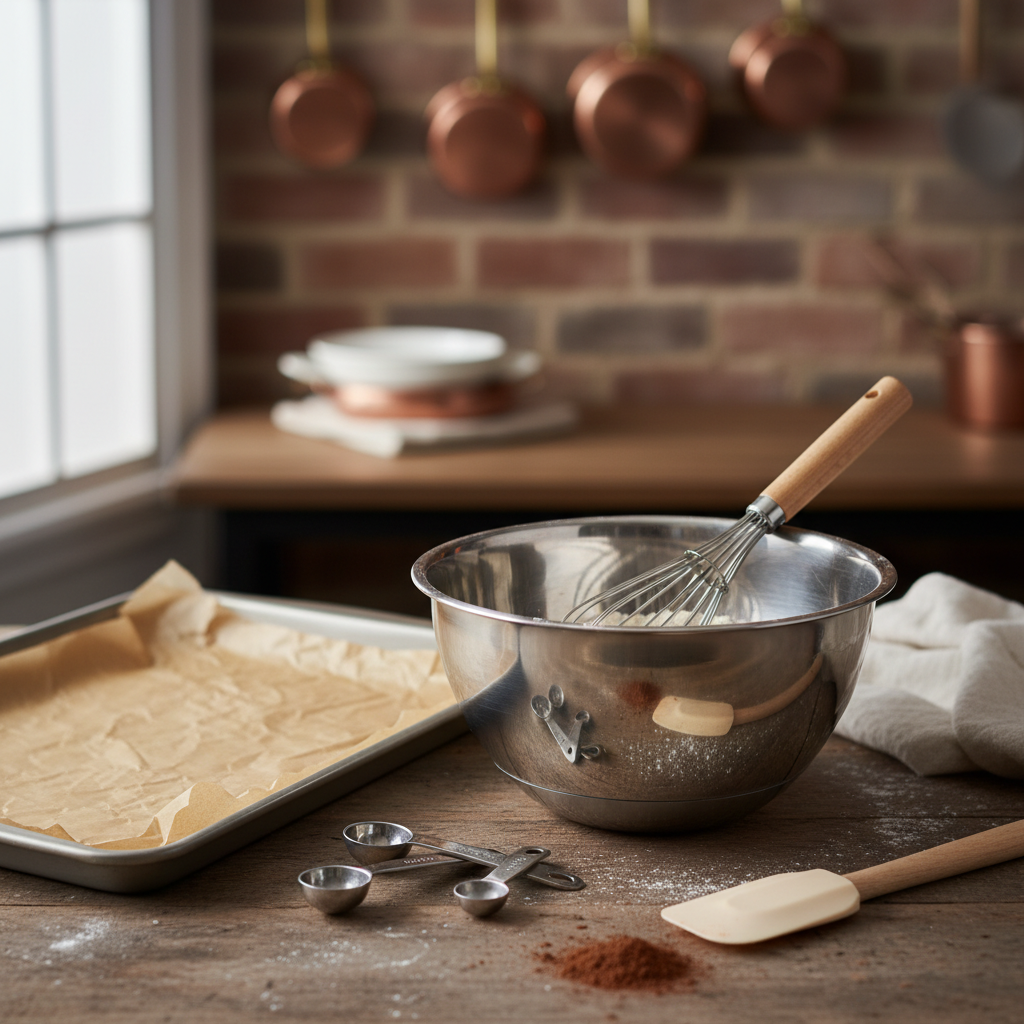
You don’t need a fancy kitchen to whip up these cookies. Here’s what you’ll need:
- Large mixing bowl
- Electric mixer (handheld or stand mixer) or a sturdy whisk and strong arm
- Spatula or wooden spoon
- Baking sheets
- Parchment paper or silicone baking mats
- Measuring cups and spoons
Full Recipe Card
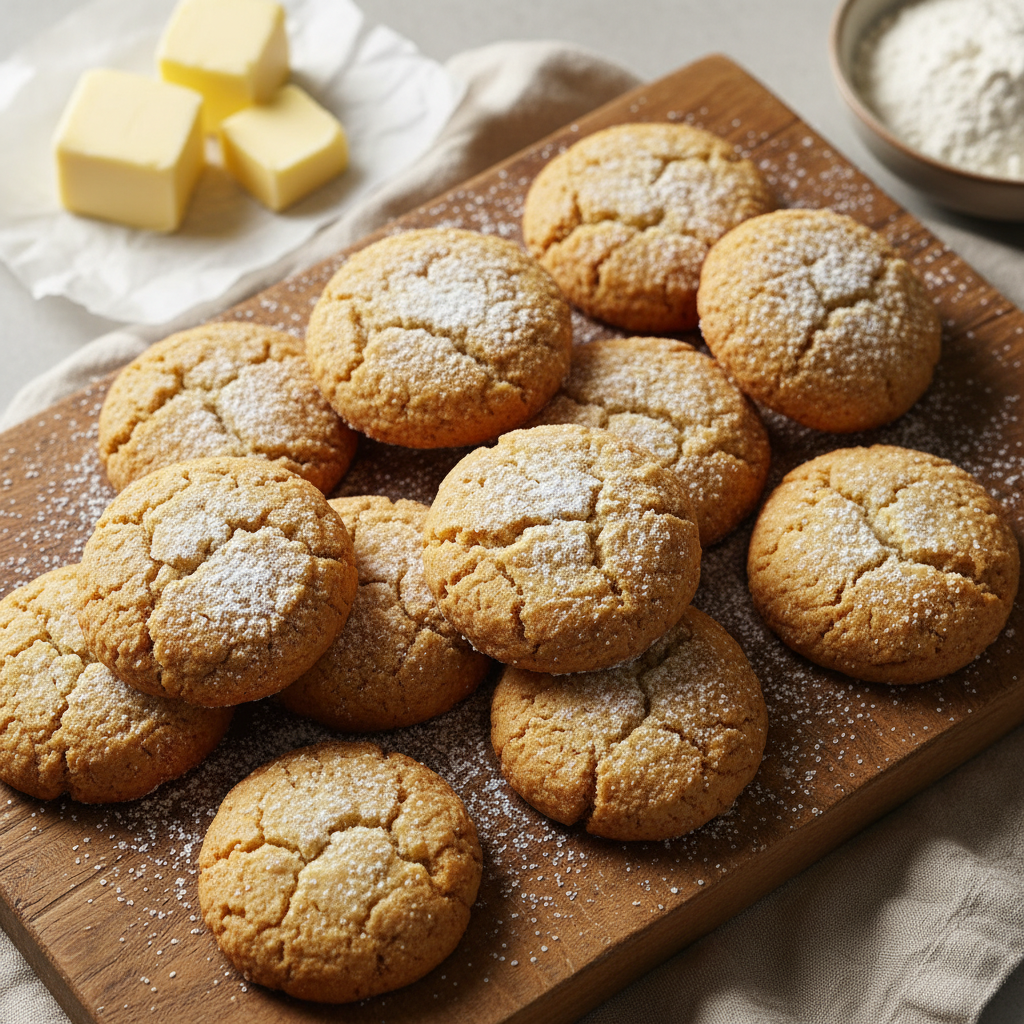
Crispy Butter Cookies
Yields: Approximately 2 dozen cookiesPrep time: 15 minutesCook time: 10-12 minutes
Ingredients
- 1 cup (2 sticks or 226g) unsalted butter, softened
- ½ cup (100g) granulated sugar
- 2 cups (240g) all-purpose flour
- 1 teaspoon vanilla extract
Instructions
- Preheat Oven: Preheat your oven to 350°F (175°C). Line two baking sheets with parchment paper or silicone mats.
- Cream Butter and Sugar: In a large mixing bowl, using an electric mixer, cream together the softened butter and granulated sugar until light and fluffy, about 2-3 minutes.
- Add Vanilla: Beat in the vanilla extract until just combined.
- Mix in Flour: Gradually add the all-purpose flour, mixing on low speed until just combined and a soft dough forms. Be careful not to overmix!
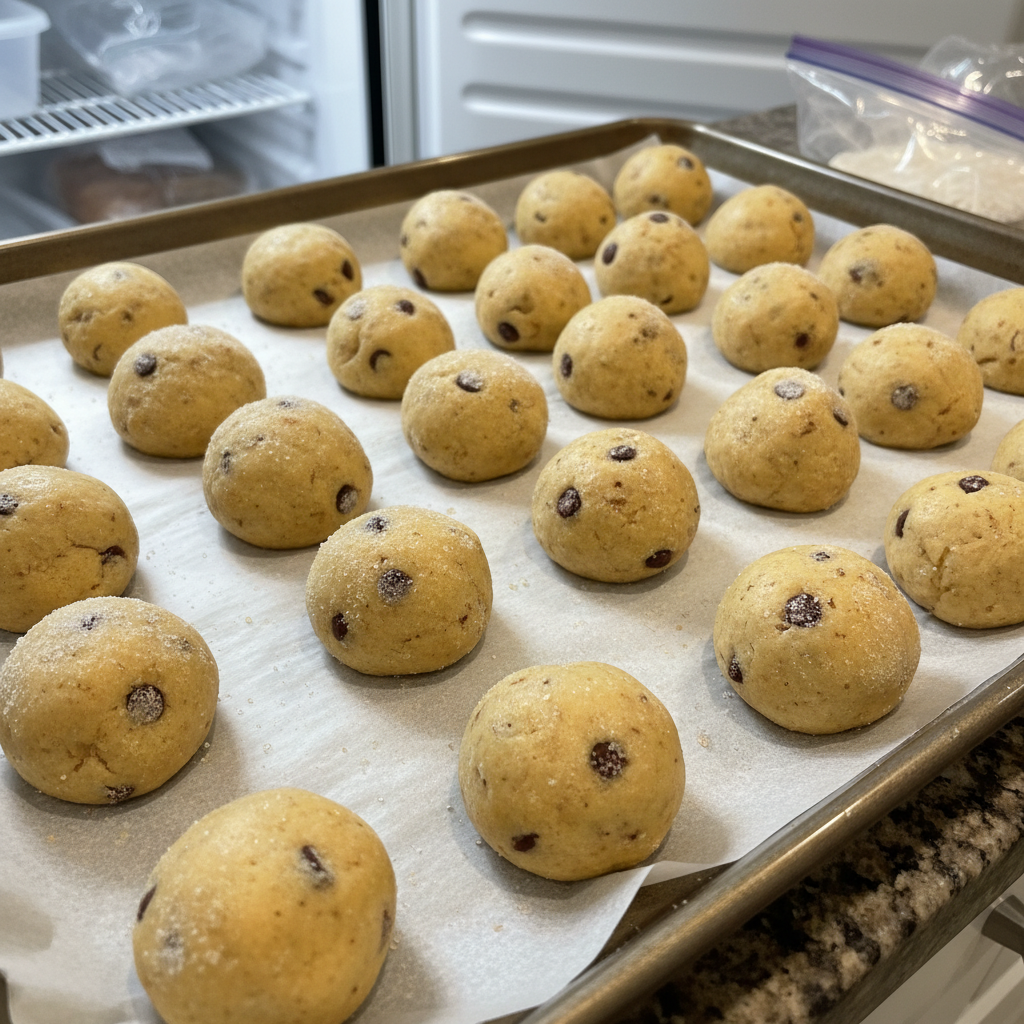
- Shape Cookies: Roll the dough into small balls, about 1 inch in diameter. Place them about 2 inches apart on the prepared baking sheets.
- Flatten: Use the back of a fork to gently flatten each cookie ball, creating a crisscross pattern.
- Bake: Bake for 10-12 minutes, or until the edges are lightly golden. The centers might still look a little soft, but they will crisp up as they cool.
- Cool: Let the cookies cool on the baking sheets for 5 minutes before transferring them to a wire rack to cool completely. Enjoy!
Notes
For extra crispiness, ensure your butter is truly softened but not melted. Don’t overcrowd your baking sheets to allow for even baking.
Tips and Variations
These cookies are wonderful as is, but here are some ideas to make them your own:
- Citrus Zest: Add 1 teaspoon of lemon or orange zest to the dough for a bright, tangy twist.
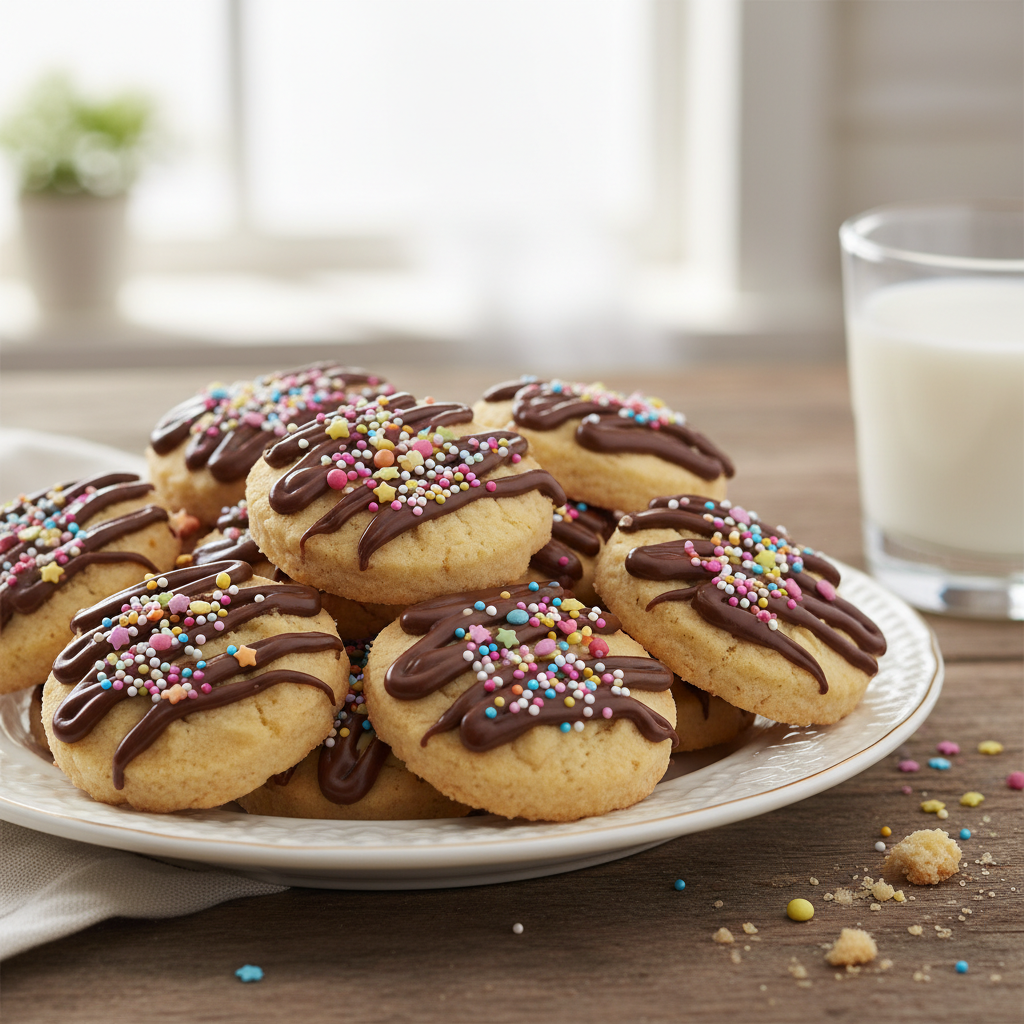
- Chocolate Dipped: Once cooled, dip half the cookie in melted dark or white chocolate.
- Sprinkles: Add a festive touch by rolling the dough balls in sprinkles before baking.
- Almond Extract: Substitute half the vanilla extract with almond extract for a nutty flavor.
- Jam Thumbprints: Make an indentation in the center of each dough ball before baking and fill with a tiny dollop of your favorite jam.
Pro Chef Tips
- Don’t Overmix: Overmixing the flour can develop the gluten too much, leading to tough cookies instead of tender, crispy ones. Mix until just combined.
- Room Temperature Butter is Key: If your butter is too cold, it won’t cream properly with the sugar. If it’s too warm, the cookies might spread too much. It should be soft enough to indent with your finger without melting.
- Chill the Dough (Optional): If your kitchen is warm or your dough feels too soft to handle, chill it in the refrigerator for 15-30 minutes. This can help prevent spreading.
- Even Sizing: Try to make your cookie balls uniform in size for even baking. A small cookie scoop can be very helpful here.
Common Mistakes to Avoid
- Using Cold Butter: As mentioned, this makes creaming difficult and affects texture.
- Overmixing the Dough: Leads to dense, chewy cookies.
- Baking Too Long: Results in burnt edges and a dry cookie. Keep an eye on them; the edges should just be lightly golden.
- Not Lining Baking Sheets: Cookies can stick, making them difficult to remove and potentially breaking them.
Storage and Meal Prep
These crispy butter cookies store beautifully, making them perfect for meal prep or enjoying throughout the week.
- At Room Temperature: Store cooled cookies in an airtight container at room temperature for up to 1 week.
- Refrigerated: The baked cookies do not need to be refrigerated.
Make-Ahead and Freezer Notes
Want to have fresh cookies whenever the craving strikes? This dough is freezer-friendly!
- Freezing Dough: Prepare the dough as instructed, then roll it into balls and flatten with a fork. Place the shaped dough balls on a baking sheet lined with parchment paper and freeze until solid (about 1-2 hours). Transfer the frozen dough balls to a freezer-safe bag or airtight container. They can be stored for up to 3 months.
- Baking from Frozen: When ready to bake, place the frozen dough balls on a lined baking sheet. You might need to add an extra 2-4 minutes to the baking time.
- Freezing Baked Cookies: Fully baked and cooled cookies can also be frozen in an airtight container for up to 2 months. Thaw at room temperature before serving.
Serving Suggestions
These crispy butter cookies are incredibly versatile and pair well with so many things!
- Coffee or Tea: A classic pairing for a delightful afternoon treat.
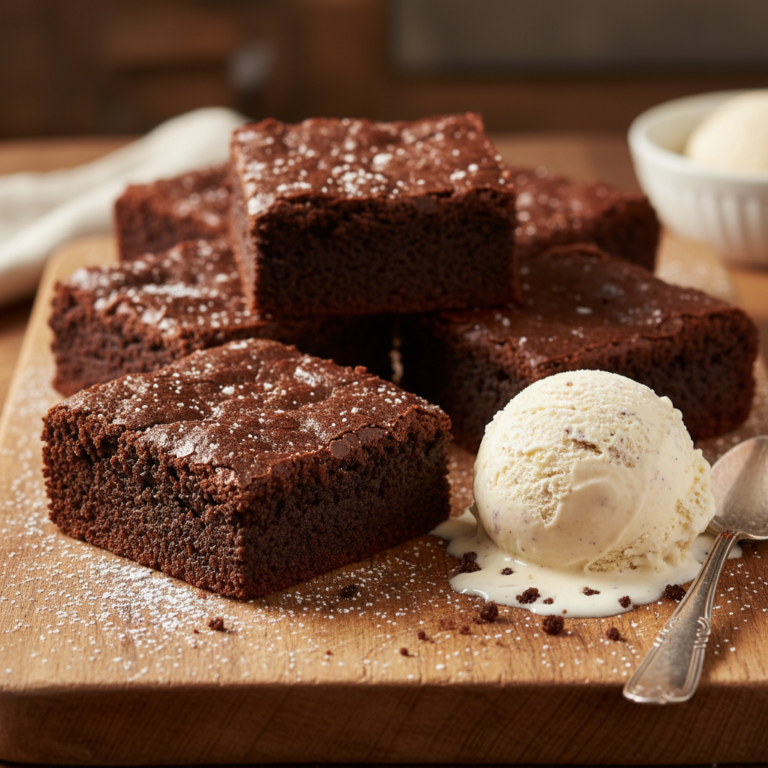
- Ice Cream: Crumble them over vanilla ice cream for added texture.
- Hot Chocolate: Perfect for dipping into a warm mug of cocoa.
- Fruit Platter: Serve alongside fresh berries for a lighter dessert.
- Gift Giving: Package them beautifully in a tin or cellophane bag for a thoughtful homemade gift.