Hey there, fellow cookie lovers! Are you craving something sweet, chewy, and utterly delightful, but perhaps you’re avoiding gluten, or just looking for a simple, wholesome treat? Well, you’ve stumbled upon the perfect place! Today, we’re diving into the wonderful world of no-flour cookies. Forget complicated ingredients and lengthy steps; this recipe is all about ease, flavor, and pure cookie joy. Get ready to bake up a batch of naturally gluten-free goodness that everyone will adore!
History / Background of Flourless Delights

While wheat flour has been a staple in baking for centuries, the concept of flourless confections is far from new. Many traditional desserts, especially from European and Middle Eastern cuisines, naturally omit flour, relying instead on ground nuts, eggs, or starches for structure. Think of classic French macarons, Italian amaretti, or even some rich chocolate tortes. These recipes often emerged either out of necessity—when flour was scarce—or as a way to celebrate the unique textures and flavors that alternative ingredients offer. In modern times, with a growing awareness of dietary needs and preferences, flourless baking has seen a fantastic resurgence. This particular recipe draws inspiration from that tradition, offering a simple, accessible way to enjoy a naturally gluten-free cookie without sacrificing an ounce of flavor or texture.
Why You’ll Love This Recipe

- Super Simple You won’t believe how few ingredients and steps are involved!
- Naturally Gluten Free Perfect for those with gluten sensitivities or anyone looking to reduce gluten.
- Deliciously Chewy These cookies have an incredible texture that melts in your mouth.
- Customizable Easy to adapt with your favorite add-ins like chocolate chips or nuts.
- Quick to Make From mixing to baking, you’ll have fresh cookies in no time.
- Crowd-Pleaser Even non-gluten-free eaters will rave about these!
Ingredient Notes
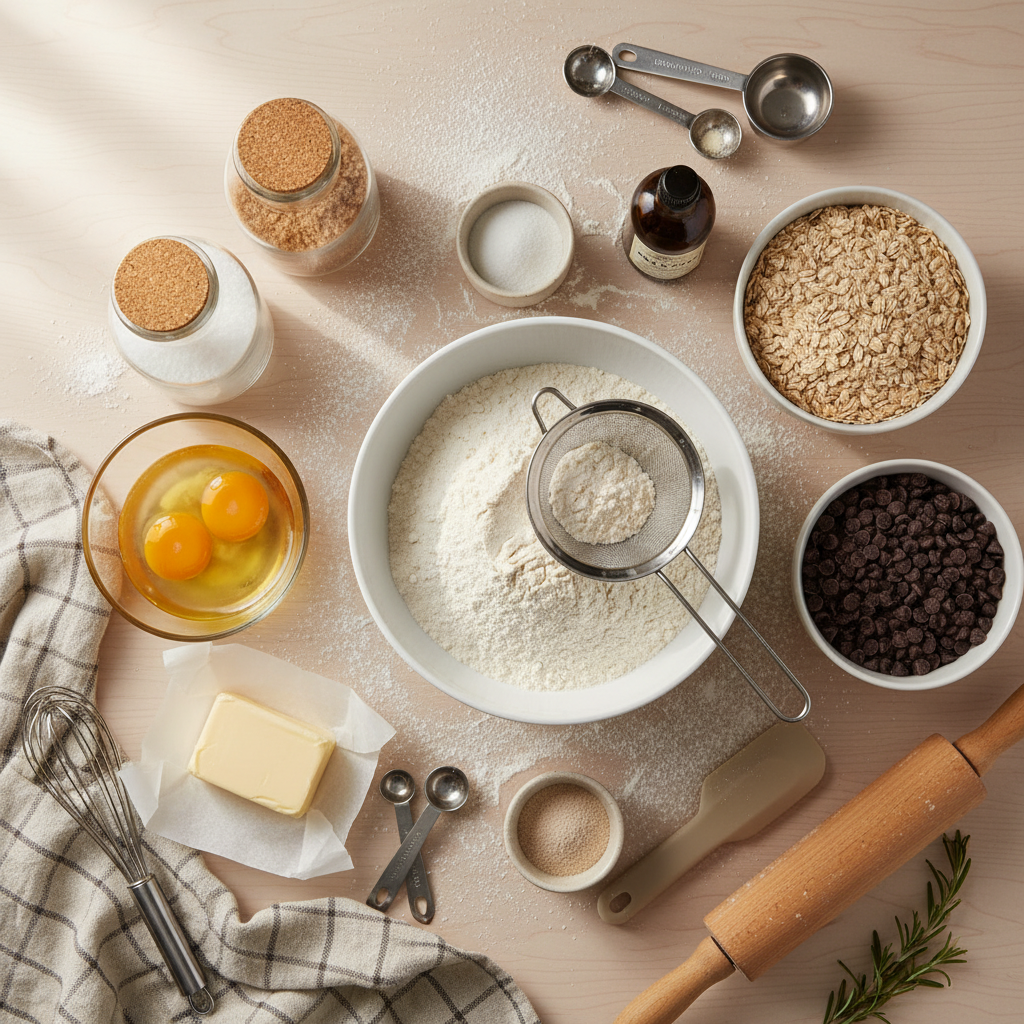
Let’s chat about the stars of our show! Each ingredient plays a crucial role in creating these magical cookies.
- Peanut Butter This is our flour substitute and flavor base. Use creamy, natural peanut butter for the best results—one that only lists peanuts and salt as ingredients. Avoid highly processed, sugary varieties as they can change the texture and sweetness.
- Granulated Sugar Provides sweetness and helps with browning and crispness at the edges.
- Brown Sugar Adds a lovely caramel note and contributes to the chewy texture.
- Egg Acts as a binder, holding everything together and adding richness.
- Vanilla Extract Enhances all the flavors and adds that classic cookie aroma.
- Baking Soda Helps the cookies rise slightly and achieve a tender crumb.
- Salt Balances the sweetness and brings out the nutty flavor of the peanut butter.
Equipment Needed

You don’t need a fancy kitchen to whip these up! Here’s what you’ll want to have on hand:
- Large Mixing Bowl
- Electric Mixer (handheld or stand mixer) or a sturdy whisk/spatula
- Measuring Cups and Spoons
- Baking Sheets
- Parchment Paper or Silicone Baking Mats
- Cookie Scoop (optional, but great for even sizing)
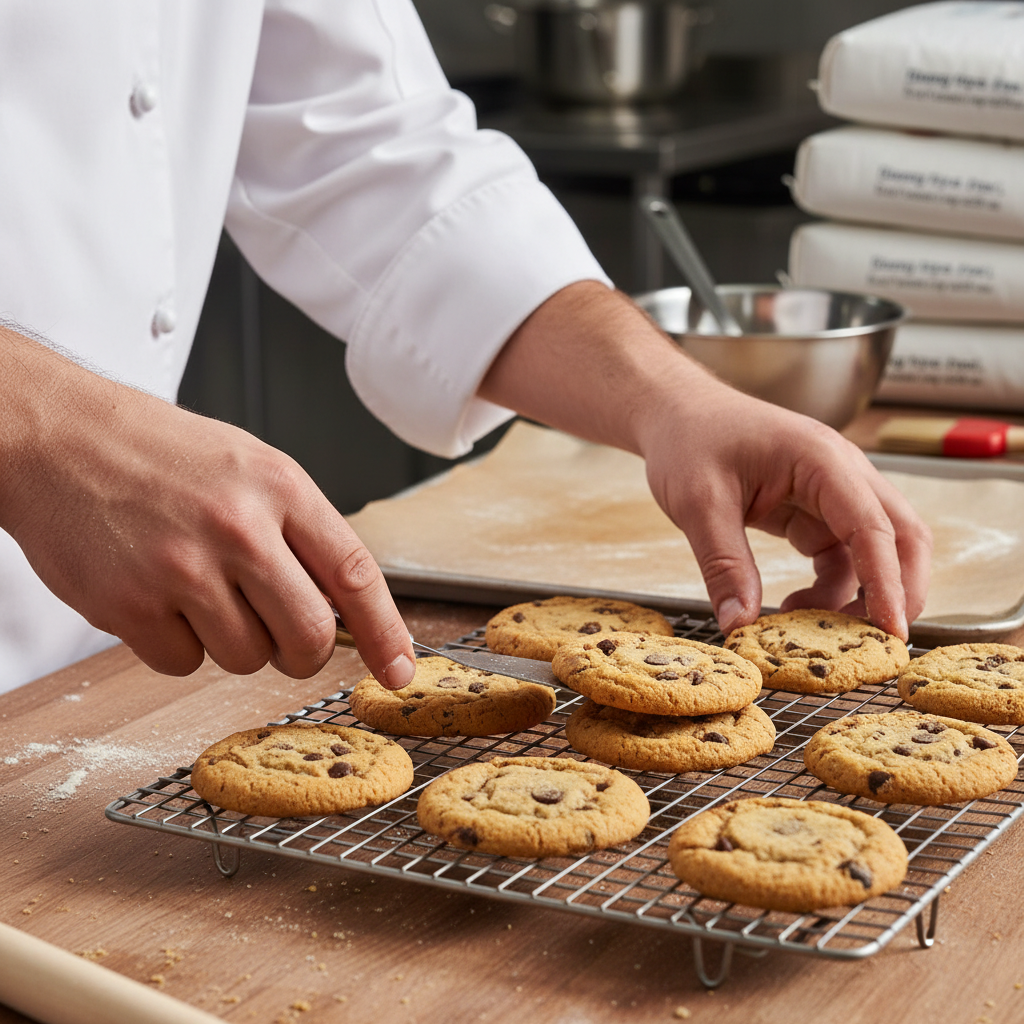
- Wire Cooling Rack
Full Recipe Card
Ingredients
- 1 cup (250g) creamy natural peanut butter
- ½ cup (100g) granulated sugar
- ½ cup (110g) packed light brown sugar
- 1 large egg
- 1 teaspoon vanilla extract
- ½ teaspoon baking soda
- ¼ teaspoon salt
- Optional add-ins like chocolate chips, chopped nuts, or sprinkles
Instructions
- Preheat Oven Preheat your oven to 350°F (175°C). Line two baking sheets with parchment paper or silicone mats.
- Combine Wet Ingredients In a large mixing bowl, combine the peanut butter, granulated sugar, brown sugar, egg, and vanilla extract. Beat with an electric mixer on medium speed until smooth and well combined, about 2-3 minutes.
- Add Dry Ingredients Stir in the baking soda and salt until just combined. Be careful not to overmix. If using, fold in any optional add-ins now.
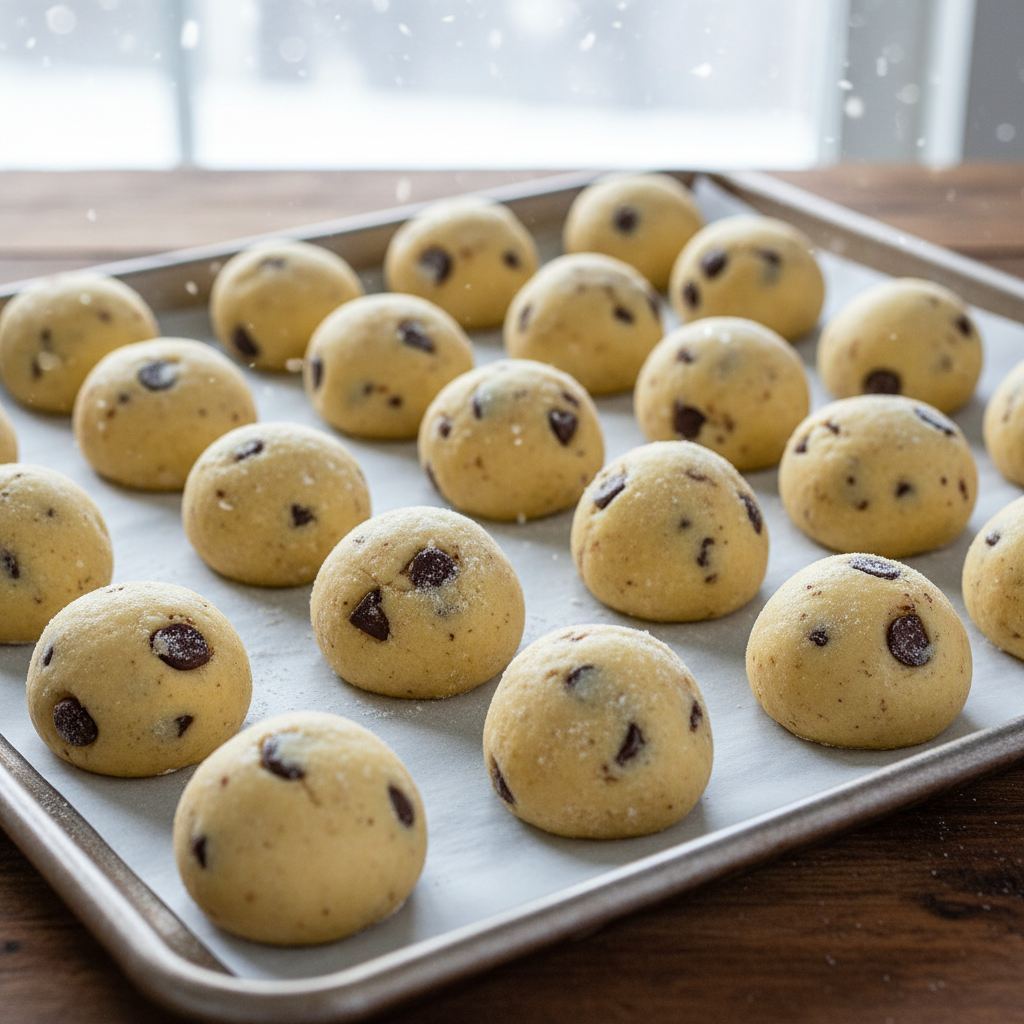
- Scoop and Shape Use a cookie scoop or a spoon to drop rounded tablespoons of dough onto the prepared baking sheets, spacing them about 2 inches apart.
- Flatten (Optional) For that classic peanut butter cookie look, gently press down on each cookie with the back of a fork in a crisscross pattern. This also helps them bake more evenly.
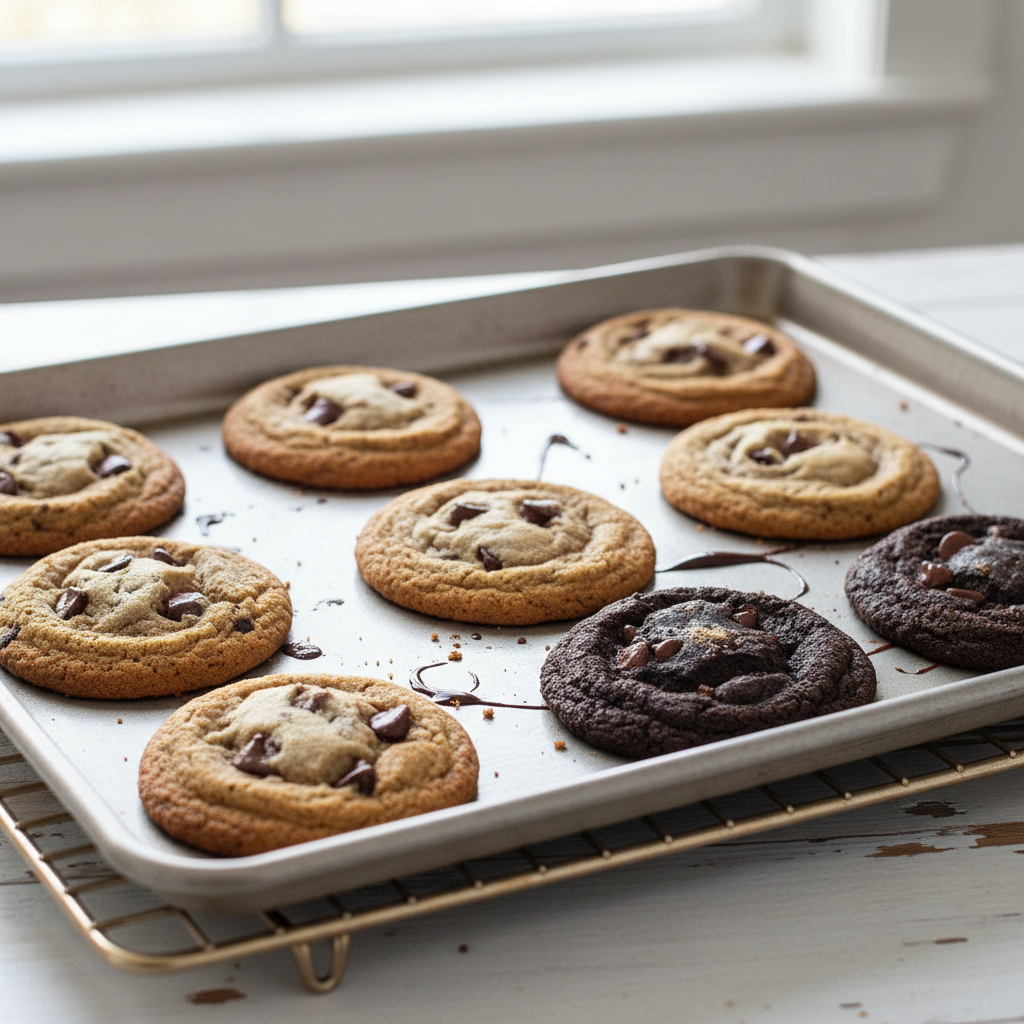
- Bake Bake for 10-12 minutes, or until the edges are lightly golden and the centers are just set. They may still look a little soft in the middle, but they will firm up as they cool.
- Cool Let the cookies cool on the baking sheets for 5 minutes before transferring them to a wire rack to cool completely. Enjoy!
Notes
- For best results, use natural peanut butter that’s well-stirred.
- Don’t overbake! These cookies are best when slightly soft and chewy.
- Feel free to experiment with different nut butters like almond or cashew, but note that the texture might vary slightly.
Tips & Variations
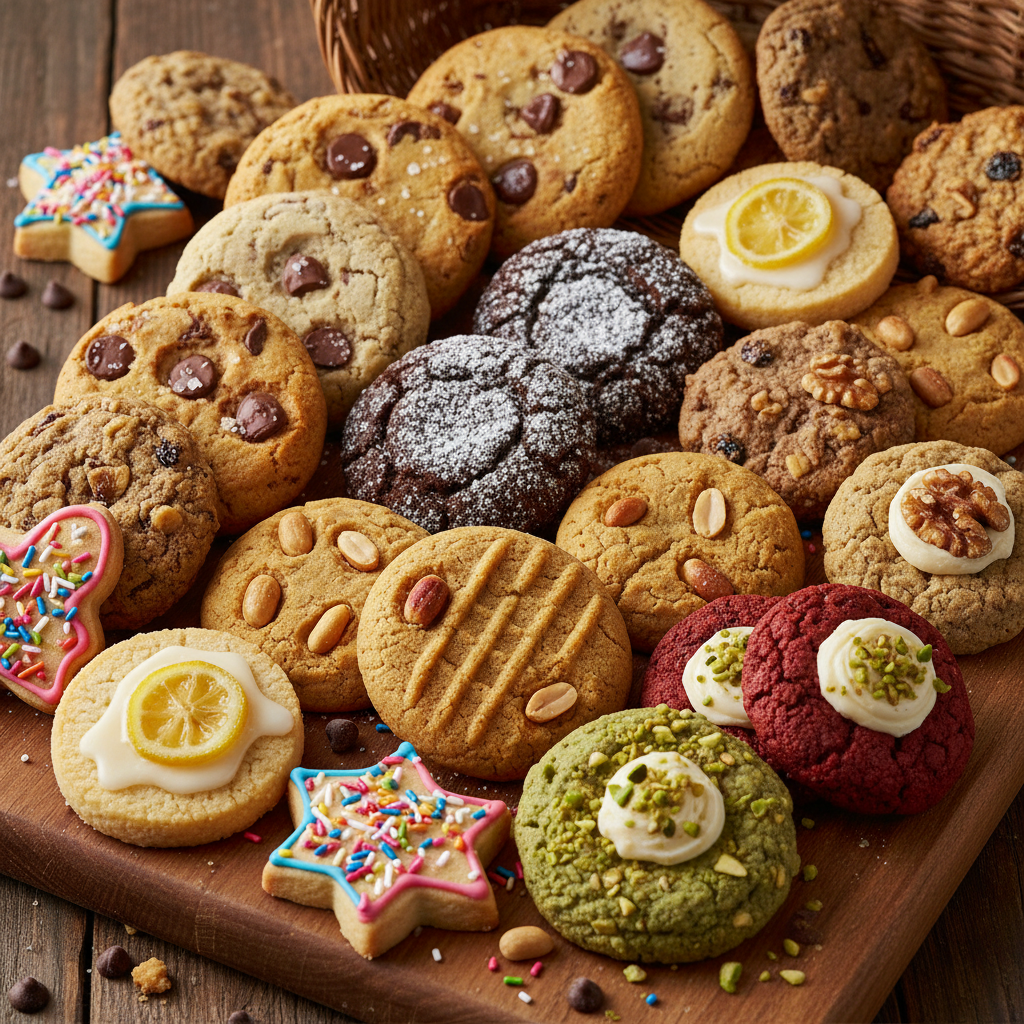
This recipe is a fantastic starting point, but feel free to get creative!
- Chocolate Lover’s Dream Fold in ½ cup of your favorite chocolate chips (milk, dark, or white) with the dry ingredients.
- Nutty Crunch Add ¼ cup of finely chopped peanuts, walnuts, or pecans for extra crunch.
- Spice It Up A pinch of cinnamon or a tiny dash of nutmeg can add a warm, comforting twist.
- Sweet & Salty Sprinkle a tiny bit of flaky sea salt on top of the cookies before baking for an irresistible contrast.
- Mini Cookies Make smaller cookies by using a teaspoon-sized scoop and reduce baking time slightly.
Pro Chef Tips
- Room Temperature Ingredients Ensure your egg is at room temperature. This helps it incorporate more smoothly into the batter, leading to a more uniform cookie texture.
- Don’t Overmix Once you add the dry ingredients, mix just until combined. Overmixing can develop gluten (even in a flourless recipe, through the egg proteins) and lead to tougher cookies.
- Parchment Paper is Your Friend Always use parchment paper or silicone mats. It prevents sticking, ensures even baking, and makes cleanup a breeze.
- Chill the Dough (Optional) If your dough seems too soft to handle, a quick 15-20 minute chill in the refrigerator can make it easier to scoop and shape.
- Even Sizing Use a cookie scoop to ensure all your cookies are the same size. This guarantees they bake evenly and look professional.
Common Mistakes to Avoid
- Using the Wrong Peanut Butter Avoid sugary, processed peanut butter. Its high sugar content and added oils can drastically alter the cookie’s texture and sweetness balance. Stick to natural, creamy peanut butter.
- Overbaking This is the number one culprit for dry, hard cookies. No-flour cookies are meant to be soft and chewy. Pull them from the oven when the edges are just set and lightly golden, even if the centers look a little soft. They will continue to set as they cool.
- Not Spacing Cookies Crowding your baking sheet can lead to uneven baking and cookies that spread into each other. Give them room to breathe!
- Skipping the Salt Salt is essential for balancing the sweetness and enhancing the nutty flavor. Don’t omit it!
Storage & Meal Prep
These cookies are so good, they rarely last long, but here’s how to keep them fresh!
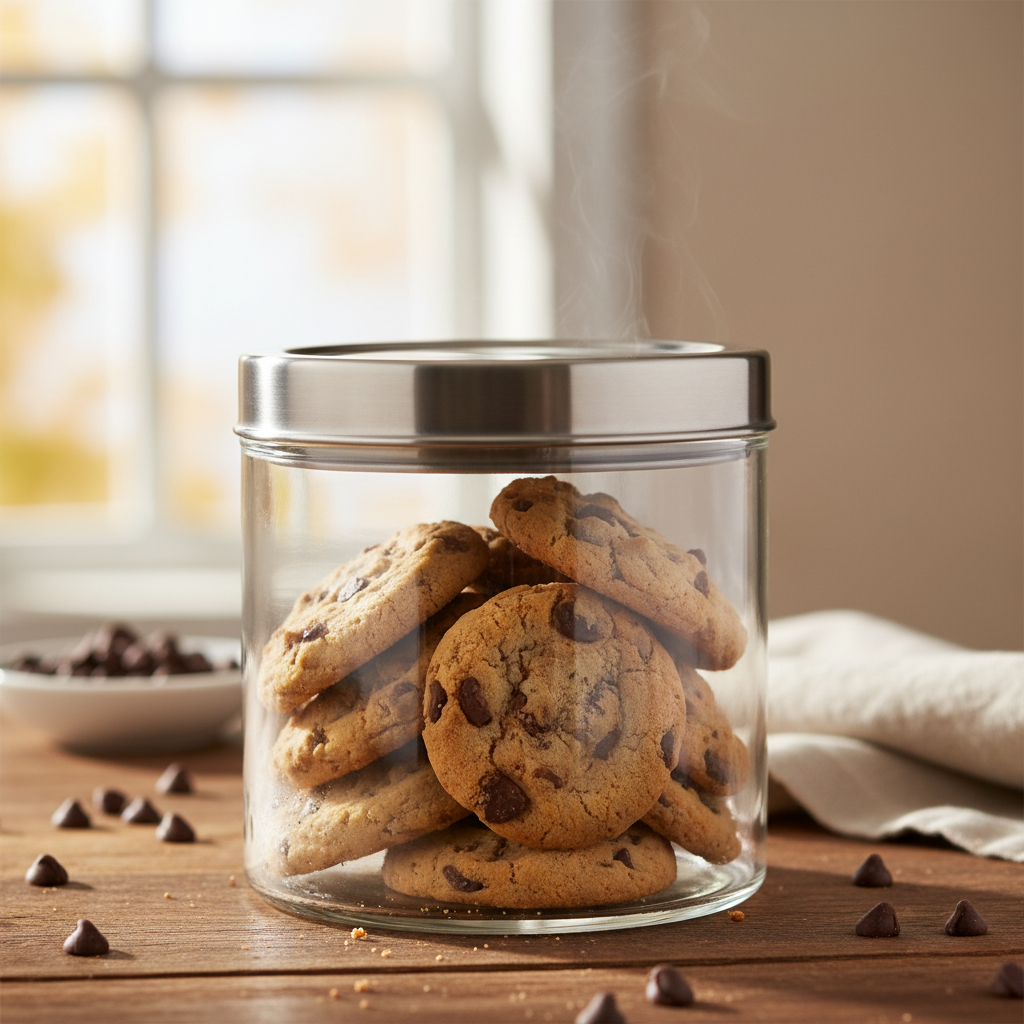
- Room Temperature Store cooled cookies in an airtight container at room temperature for up to 5-7 days.
- Refrigeration Not usually necessary, but if your kitchen is very warm, you can store them in the fridge for up to 2 weeks. Bring them to room temperature before serving for the best texture.
Make-Ahead & Freezer Notes
- Make-Ahead Dough You can prepare the cookie dough up to 2-3 days in advance. Store it in an airtight container in the refrigerator. When ready to bake, let it sit at room temperature for about 15-20 minutes to soften slightly before scooping.
- Freezing Baked Cookies Once completely cooled, place baked cookies in a single layer on a baking sheet and freeze for about an hour until solid. Then, transfer them to a freezer-safe bag or container, separating layers with parchment paper. They will keep for up to 3 months. Thaw at room temperature before enjoying.
- Freezing Dough Balls Scoop the dough into balls and place them on a parchment-lined baking sheet. Freeze until solid, then transfer the frozen dough balls to a freezer-safe bag. Bake directly from frozen, adding a few extra minutes to the baking time (14-16 minutes).
Serving Suggestions

These no-flour cookies are delicious on their own, but here are a few ideas to elevate your cookie experience:
- Classic Comfort Serve warm with a tall glass of cold milk (dairy or non-dairy!).
- Dessert Sandwich Spread a dollop of ice cream between two cookies for an instant ice cream sandwich.
- Coffee Break Buddy They pair perfectly with your morning coffee or afternoon tea.
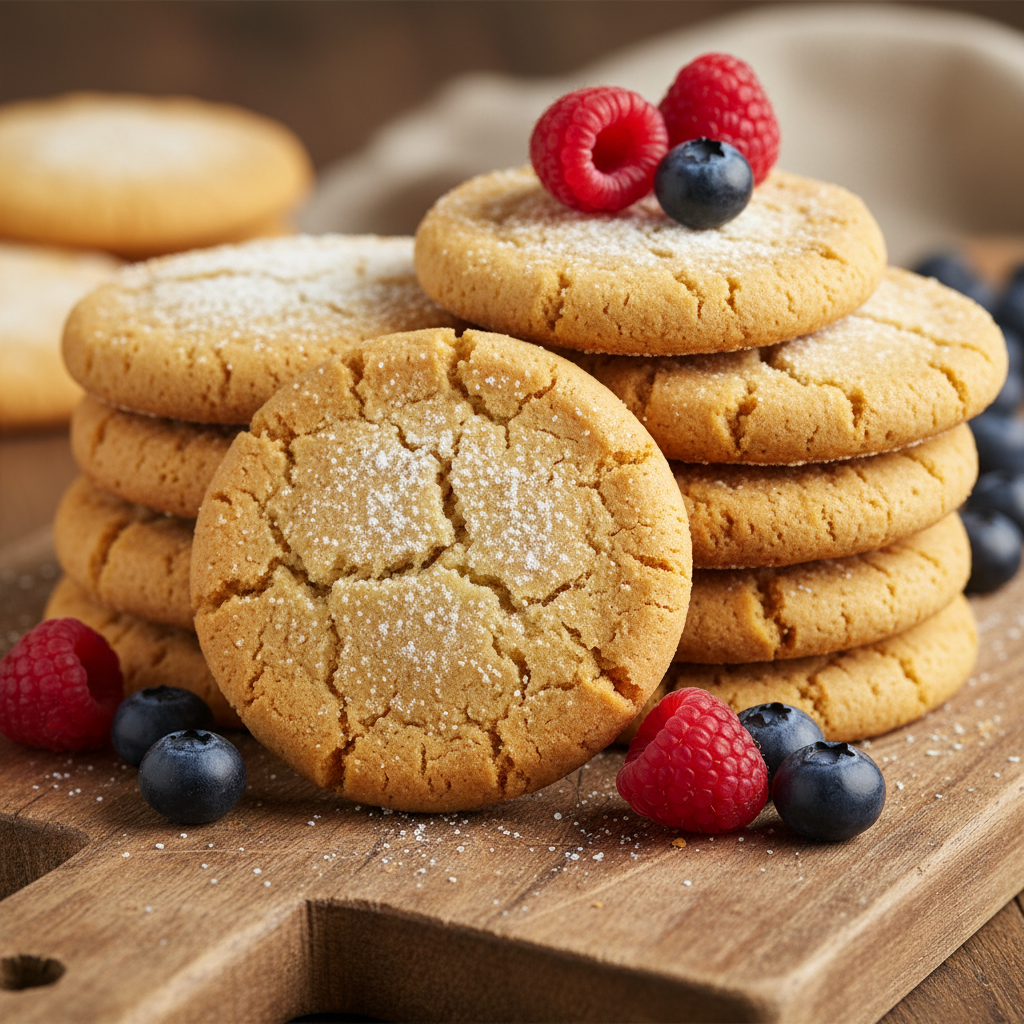
- Fancy Platter Arrange them on a dessert platter with fresh fruit and a dusting of powdered sugar for a simple yet elegant presentation.