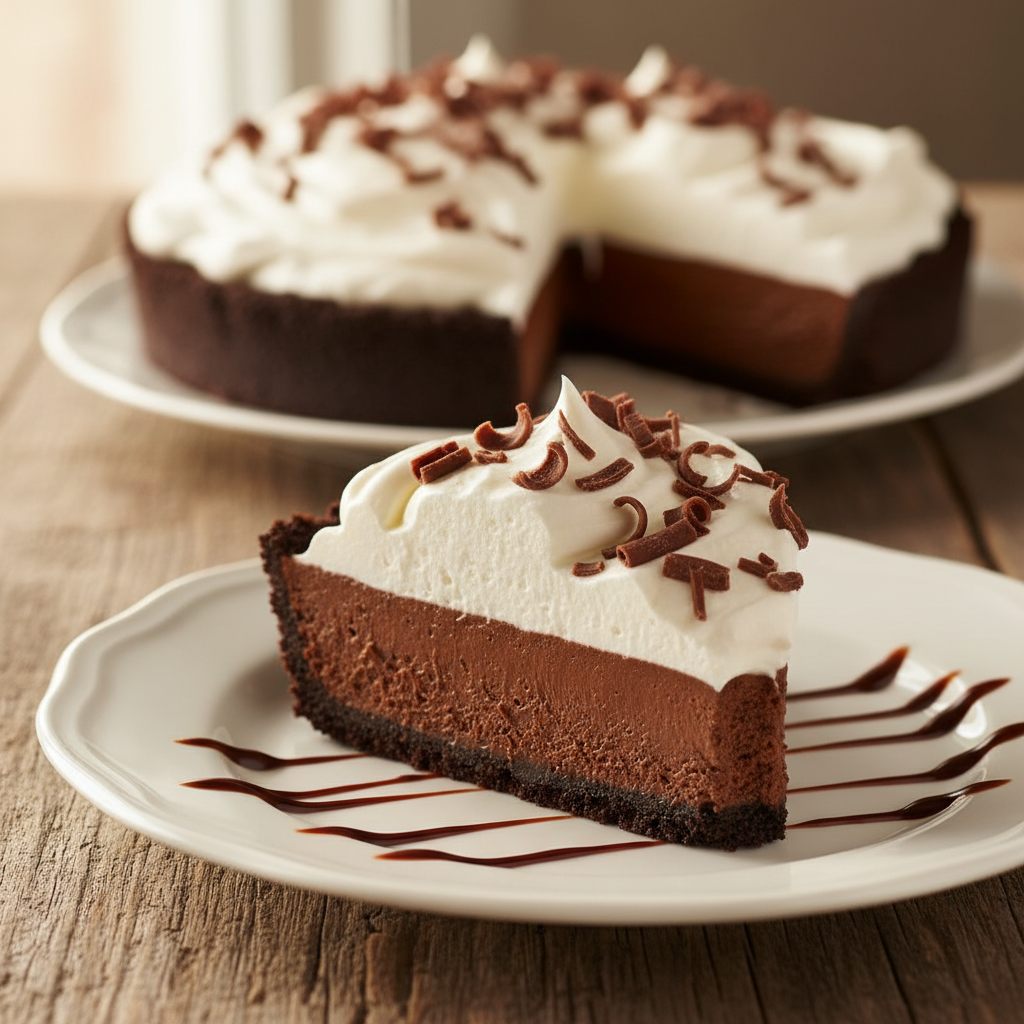
Welcome, fellow dessert lovers! Today, we’re embarking on a delightful journey to create a truly iconic treat: French Silk Pie. If you’ve ever dreamed of sinking your fork into a cloud of rich, velvety chocolate filling nestled in a flaky crust, topped with a generous swirl of homemade whipped cream, then you’re in the right place. This isn’t just a dessert; it’s an experience, a moment of pure indulgence that’s surprisingly simple to achieve at home. Forget complicated techniques and intimidating ingredients; we’re breaking down every step to ensure your French Silk Pie is nothing short of spectacular. Get ready to impress your taste buds and everyone lucky enough to share a slice!
A Rich History of Decadence

While its name suggests a sophisticated French origin, French Silk Pie is actually an American invention, gaining popularity in the mid-20th century. The ‘silk’ in its name perfectly describes its signature texture: incredibly smooth, light, and utterly luxurious, melting in your mouth with every bite. It’s a testament to classic baking, combining simple ingredients to create something truly extraordinary. This pie quickly became a beloved staple at family gatherings, holiday tables, and special occasions, cherished for its deep chocolate flavor and elegant presentation.
Why You’ll Adore This French Silk Pie
- Unbelievably Creamy Texture The filling is pure silk, smooth and rich without being overly heavy.
- Deep Chocolate Flavor Made with quality chocolate, it delivers an intense, satisfying cocoa experience.
- Simple Ingredients, Stunning Results No fancy techniques, just classic baking magic.
- Perfect for Any Occasion Elegant enough for holidays, yet comforting for a weeknight treat.
- Make-Ahead Friendly Prepare it in advance, making entertaining a breeze.
Essential Ingredients for Perfection

The beauty of French Silk Pie lies in its simplicity, but the quality of your ingredients truly shines through. Here’s what you’ll need to gather:
- For the Pie Crust A good quality pre-made pie crust (or your favorite homemade recipe). A buttery, flaky crust is key.
- Unsalted Butter Softened to room temperature. This forms the luscious base of our filling.
- Granulated Sugar For sweetness and structure.
- Unsweetened Cocoa Powder Essential for that deep chocolate flavor.
- Semi-Sweet or Dark Chocolate Melted and cooled. Choose a good quality bar for the best taste.
- Large Eggs At room temperature. These are crucial for the silky texture, as they are incorporated raw into the filling. Ensure they are very fresh and from a reputable source.
- Vanilla Extract A splash enhances all the flavors.
- Heavy Cream Chilled, for the dreamiest whipped topping.
- Powdered Sugar For sweetening the whipped cream.
Gather Your Tools Equipment Needed

Having the right tools makes the process smooth and enjoyable:
- 9-inch Pie Plate A standard glass or ceramic pie dish works perfectly.
- Electric Mixer (Stand or Handheld) Absolutely essential for achieving that light, airy, and silky filling.
- Rubber Spatula For scraping down bowls and folding ingredients.
- Large Mixing Bowls You’ll need a couple for the filling and whipped cream.
- Measuring Cups and Spoons For accurate ingredient proportions.
- Double Boiler or Microwave-Safe Bowl For melting chocolate.
The Ultimate French Silk Pie Recipe Card
Ingredients
For the Pie Crust
- 1 pre-made 9-inch pie crust, baked and cooled according to package directions
For the Chocolate Filling
- 1 cup (2 sticks) unsalted butter, softened
- 1½ cups granulated sugar
- ½ cup unsweetened cocoa powder
- 4 large eggs, at room temperature (ensure they are very fresh)
- 1 teaspoon vanilla extract
- 4 ounces semi-sweet or dark chocolate, melted and cooled
For the Whipped Topping
- 1½ cups heavy cream, chilled
- ¼ cup powdered sugar
- ½ teaspoon vanilla extract
For Garnish (Optional)
- Chocolate shavings or curls
Instructions
- Prepare the Crust Ensure your 9-inch pie crust is baked, cooled completely, and ready to go. This prevents a soggy bottom.
- Cream Butter and Sugar In a large mixing bowl, using an electric mixer, beat the softened butter and granulated sugar together on medium-high speed for 5-7 minutes. It should become very light, fluffy, and pale in color. This step is crucial for the pie’s silky texture.
- Add Cocoa and Melted Chocolate Reduce speed to low and gradually beat in the cocoa powder until just combined. Then, add the cooled melted chocolate and vanilla extract, mixing until smooth.
- Incorporate Eggs One by One This is where the magic happens! With the mixer on low speed, add the eggs one at a time, beating for a full 5 minutes after each addition. Yes, 5 minutes per egg! This incorporates air and creates that signature light, fluffy texture. The mixture will lighten in color and increase in volume.
- Assemble the Pie Pour the silky chocolate filling into the cooled pie crust, spreading it evenly with a spatula.
- Chill Cover the pie loosely with plastic wrap and refrigerate for at least 4 hours, or preferably overnight, until thoroughly set.
- Make Whipped Cream Just before serving, combine the chilled heavy cream, powdered sugar, and vanilla extract in a cold mixing bowl. Beat with an electric mixer on high speed until stiff peaks form.
- Serve Spread or pipe the whipped cream over the chilled pie. Garnish with chocolate shavings if desired. Slice and enjoy immediately!
Recipe Notes
- Always use very fresh, high-quality eggs since they are consumed raw in this recipe.
- Ensure butter is truly softened and chocolate is cooled to avoid scrambling the eggs or melting the butter prematurely.
- The long beating time for the butter-sugar and egg additions is non-negotiable for the perfect texture. Don’t rush it!
Tips and Delicious Variations
- Espresso Kick Add 1-2 teaspoons of instant espresso powder to the cocoa mixture for a deeper chocolate flavor.
- Nutty Crust Use a pre-made graham cracker crust or make your own with crushed Oreos or chocolate wafers for a different texture.
- Mint Chocolate A few drops of peppermint extract in the filling or whipped cream can transform it into a festive mint chocolate silk pie.
- Alcoholic Twist A tablespoon of Kahlua, rum, or Grand Marnier added to the filling can add a sophisticated touch.
Secrets from a Pro Chef

Achieving a truly professional French Silk Pie comes down to a few key details. First, temperature is everything. Ensure your butter is perfectly softened, not melted, and your eggs are at room temperature. This allows for optimal emulsification and aeration. Second, don’t skimp on the beating time. The lengthy whipping of the butter and sugar, and then each egg, is what creates that signature light, airy, and silky texture. It’s not just mixing; it’s incorporating air. Lastly, use the best quality chocolate you can afford. Since chocolate is the star, a superior chocolate will elevate the flavor profile immensely. And always chill your pie thoroughly; patience is a virtue when waiting for perfection!
Avoid These Common Pie Pitfalls
- Not Beating Enough The most common mistake! Rushing the beating steps will result in a dense, grainy filling instead of a light, silky one.
- Warm Eggs or Butter Can lead to a greasy or soupy filling. Room temperature is crucial.
- Over-melting Chocolate If your melted chocolate is too hot, it can cook the eggs when added. Make sure it’s cooled to lukewarm.
- Not Chilling Long Enough A poorly set pie will be messy and won’t hold its shape. Patience is key for proper setting.
- Using Low-Quality Chocolate The flavor will suffer significantly if you use cheap chocolate chips or baking chocolate.
Storing Your Heavenly Dessert
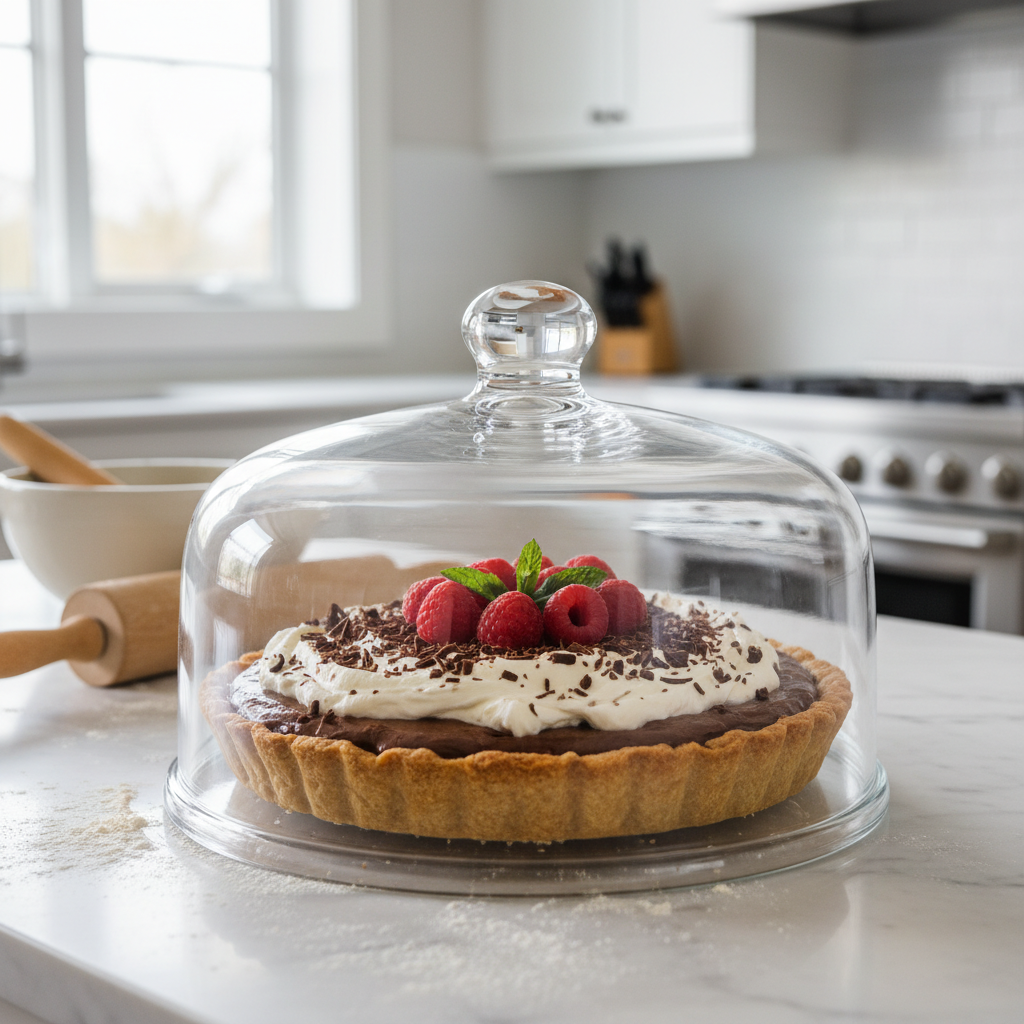
French Silk Pie is best stored in the refrigerator. Cover it loosely with plastic wrap or a pie dome to prevent it from absorbing other odors and to keep the whipped cream fresh. It will remain delicious for 3-4 days when properly chilled. For optimal flavor and texture, allow slices to sit at room temperature for 10-15 minutes before serving to slightly soften the filling.
Make-Ahead and Freezer Friendly Notes
This pie is a fantastic make-ahead dessert! You can prepare the entire pie (without the whipped cream topping) up to 2 days in advance and keep it refrigerated. Add the fresh whipped cream just before serving. For longer storage, French Silk Pie freezes beautifully. Once the pie is fully chilled and set, you can wrap the entire pie (without whipped cream) tightly in several layers of plastic wrap, then a layer of aluminum foil. It can be frozen for up to 1 month. Thaw overnight in the refrigerator before adding fresh whipped cream and serving.
Perfect Serving Suggestions

While French Silk Pie is a showstopper on its own, a few additions can elevate the experience:
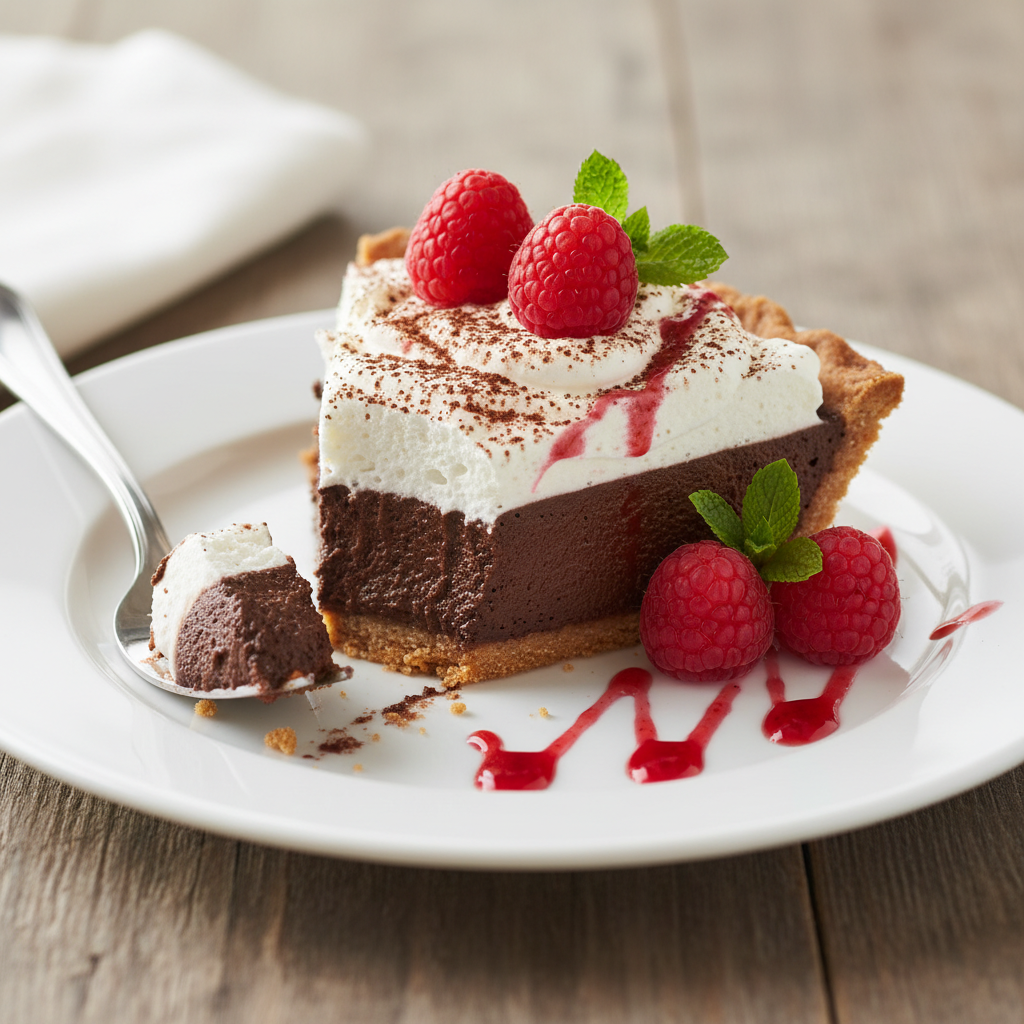
- Fresh Berries Raspberries or strawberries provide a lovely tart contrast to the rich chocolate.
- Coffee or Tea A hot cup of coffee or a robust black tea pairs wonderfully with the sweet, rich flavors.
- A Sprinkle of Sea Salt A tiny pinch of flaky sea salt over a slice can enhance the chocolate’s depth.
- Chocolate Shavings A classic and elegant garnish that always looks impressive.