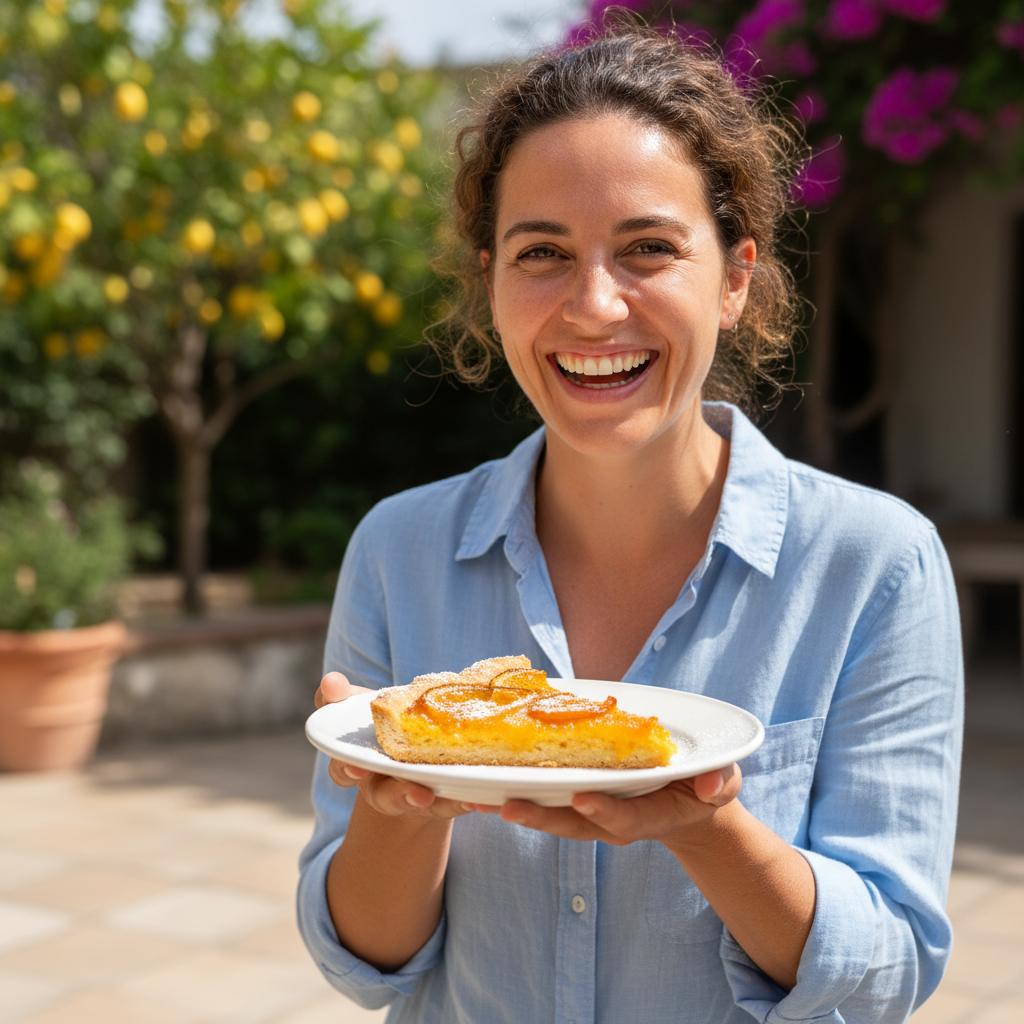
Welcome, fellow food lovers! Today, we’re diving into a dessert that promises to brighten your day with every single bite: a glorious Orange Tart. If you’ve been searching for a dessert that’s both elegant and incredibly refreshing, you’ve just found your new favorite. This recipe is designed to be simple, straightforward, and utterly delicious, bringing a burst of sunshine to your kitchen.
A Sweet History of Tarts
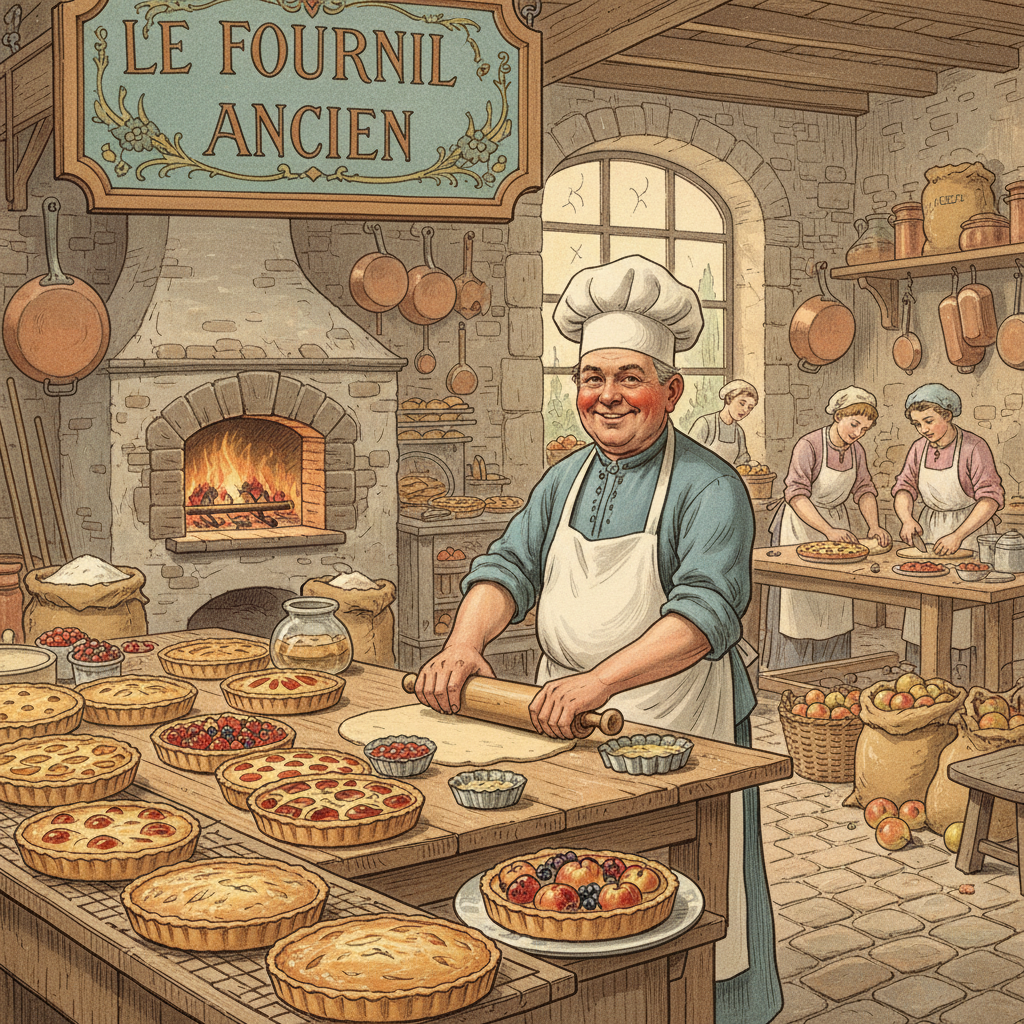
Tarts have graced dessert tables for centuries, evolving from savory meat pies in medieval times to the sweet, fruit-filled delights we cherish today. The word ‘tart’ itself is believed to come from the French ‘tarte,’ referring to an open-faced pastry. While early tarts often featured rich, heavy fillings, the Renaissance brought about a lighter, more refined approach, incorporating fruits, custards, and delicate crusts. Citrus tarts, in particular, gained popularity for their vibrant flavor and ability to cut through richness, becoming a staple in French patisseries and English country kitchens alike. Our orange tart recipe carries on this delightful tradition, offering a perfect balance of zesty brightness and creamy indulgence.
Why You’ll Love This Recipe
- Beginner-Friendly This recipe is designed with simplicity in mind, perfect for new bakers.
- Vibrant Citrus Flavor A true celebration of fresh oranges.
- Elegant Presentation Looks impressive but is surprisingly easy to make.
- Versatile Great for brunches, dinners, or a simple afternoon treat.
- Make-Ahead Potential Many components can be prepared in advance.
Ingredient Notes for Our Tart
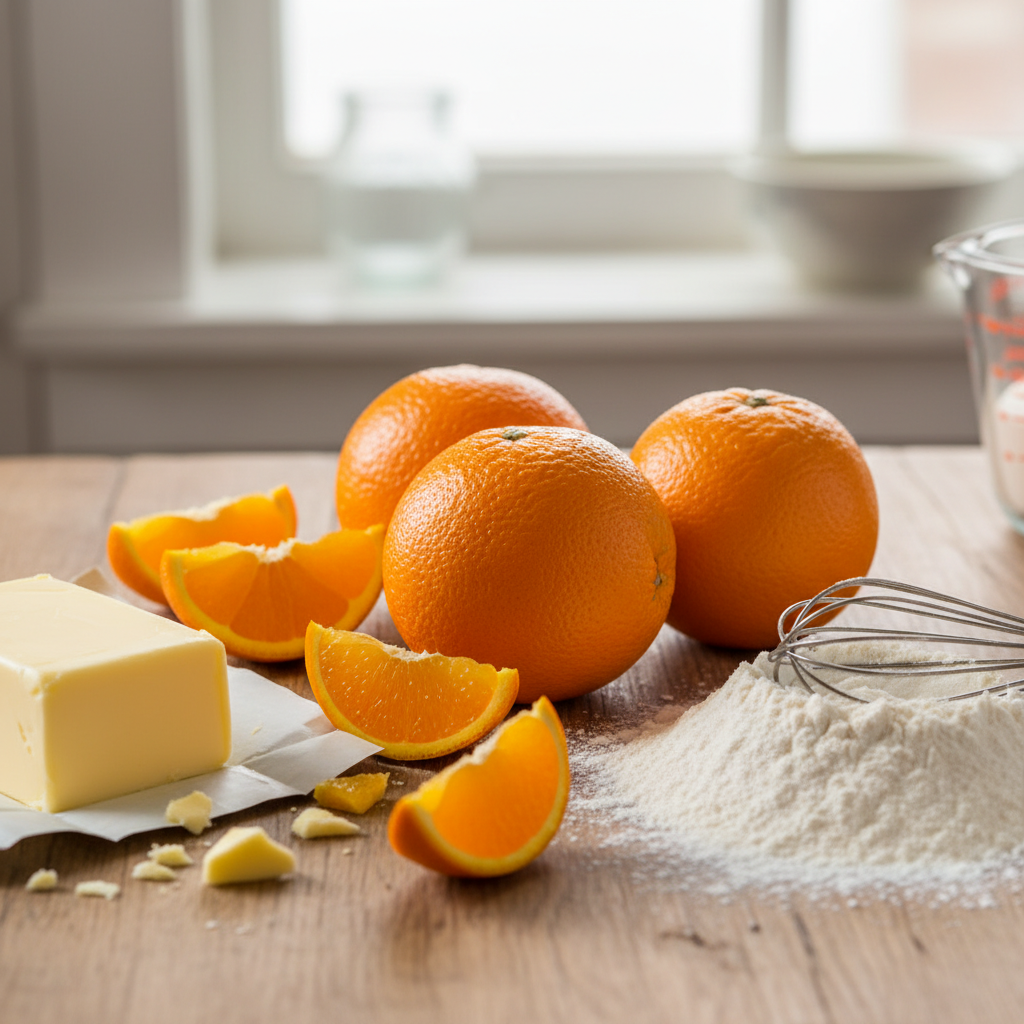
Let’s talk ingredients! Using high-quality components is key to a truly delicious tart. For the crust, you’ll need all-purpose flour, unsalted butter, a pinch of salt, and a little ice water. The butter should be very cold, cut into small cubes, to ensure a flaky crust. For the filling, fresh oranges are non-negotiable! You’ll need both their zest and juice. Eggs provide structure and richness, while granulated sugar balances the tartness. A touch of heavy cream adds lusciousness, and a pinch of cornstarch helps thicken the filling beautifully. Don’t forget a little vanilla extract for warmth and depth of flavor.
Equipment Needed
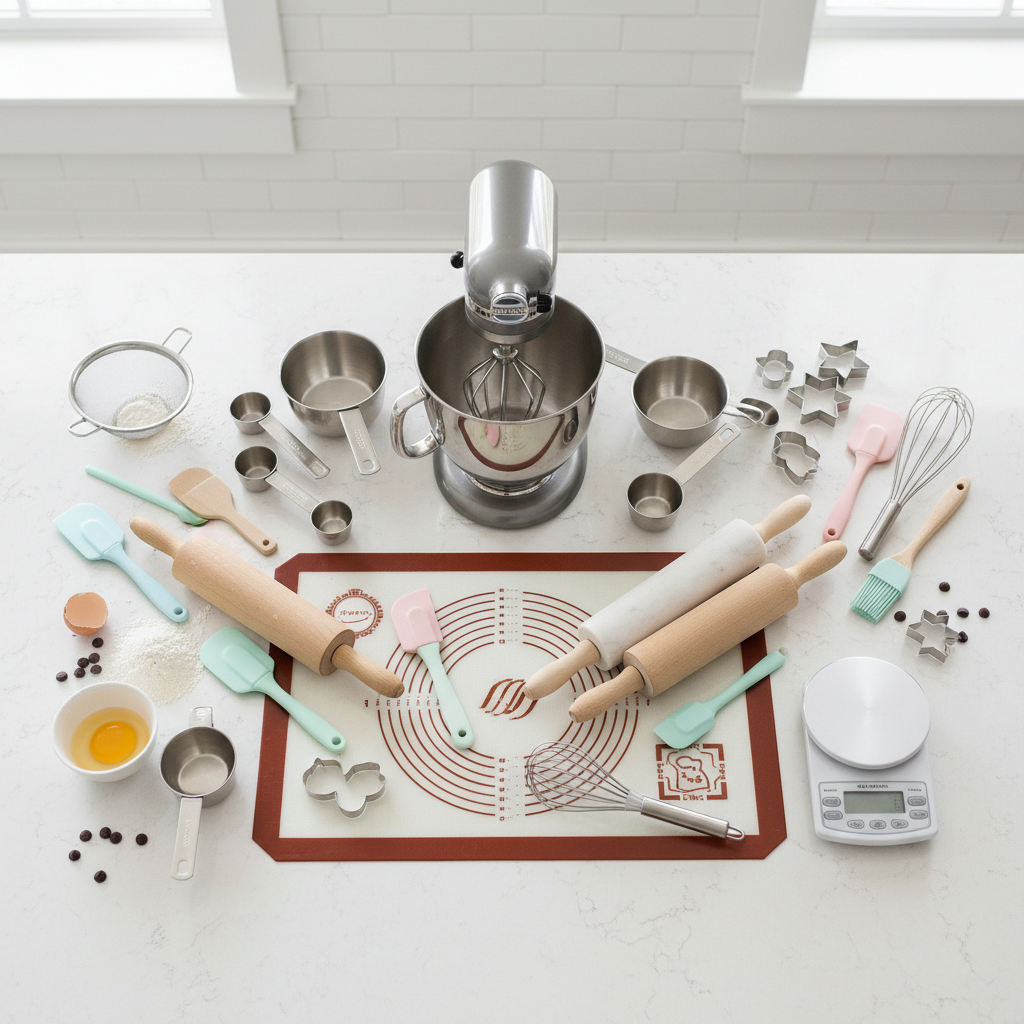
You don’t need a professional kitchen to make this tart, but a few essential tools will make the process smooth and enjoyable:
- 9-inch Tart Pan with Removable Bottom Essential for easy removal and a beautiful presentation.
- Food Processor or Pastry Blender For making the crust quickly and efficiently.
- Mixing Bowls A few different sizes for mixing ingredients.
- Whisk For combining the filling ingredients smoothly.
- Rolling Pin To roll out the tart dough evenly.
- Zester or Microplane For getting that fragrant orange zest.
- Citrus Juicer To extract all the lovely orange juice.
- Fine-Mesh Sieve For a silky-smooth filling.
Full Recipe Card

Ingredients
For the Crust
- 1 ½ cups all-purpose flour
- ½ cup (1 stick) unsalted butter, very cold and cubed
- ¼ teaspoon salt
- 3-4 tablespoons ice water
For the Orange Filling
- 4 large eggs
- 1 cup granulated sugar
- ½ cup fresh orange juice (from 2-3 oranges)
- 2 tablespoons orange zest (from 2 oranges)
- ¼ cup heavy cream
- 2 tablespoons cornstarch
- 1 teaspoon vanilla extract
For Garnish (Optional)
- Candied orange slices
- Fresh mint leaves
Instructions
- Make the Crust In a food processor, combine flour, cold cubed butter, and salt. Pulse until the mixture resembles coarse crumbs. Add ice water, one tablespoon at a time, pulsing until the dough just comes together. Do not overmix.
- Chill the Dough Form the dough into a disc, wrap it in plastic, and refrigerate for at least 30 minutes.
- Preheat Oven Preheat your oven to 375°F (190°C).
- Roll and Press On a lightly floured surface, roll out the chilled dough into a 12-inch circle. Carefully transfer the dough to a 9-inch tart pan with a removable bottom. Press it gently into the bottom and up the sides. Trim any excess dough.
- Blind Bake Prick the bottom of the crust all over with a fork. Line with parchment paper and fill with pie weights or dried beans. Bake for 15 minutes. Remove weights and parchment, then bake for another 5-7 minutes, or until lightly golden. Let cool slightly. Reduce oven temperature to 325°F (160°C).
- Prepare the Filling In a large bowl, whisk together eggs, granulated sugar, orange juice, orange zest, heavy cream, cornstarch, and vanilla extract until smooth. For an extra silky filling, strain the mixture through a fine-mesh sieve.
- Pour and Bake Pour the filling into the pre-baked tart crust. Carefully place the tart pan back into the oven.
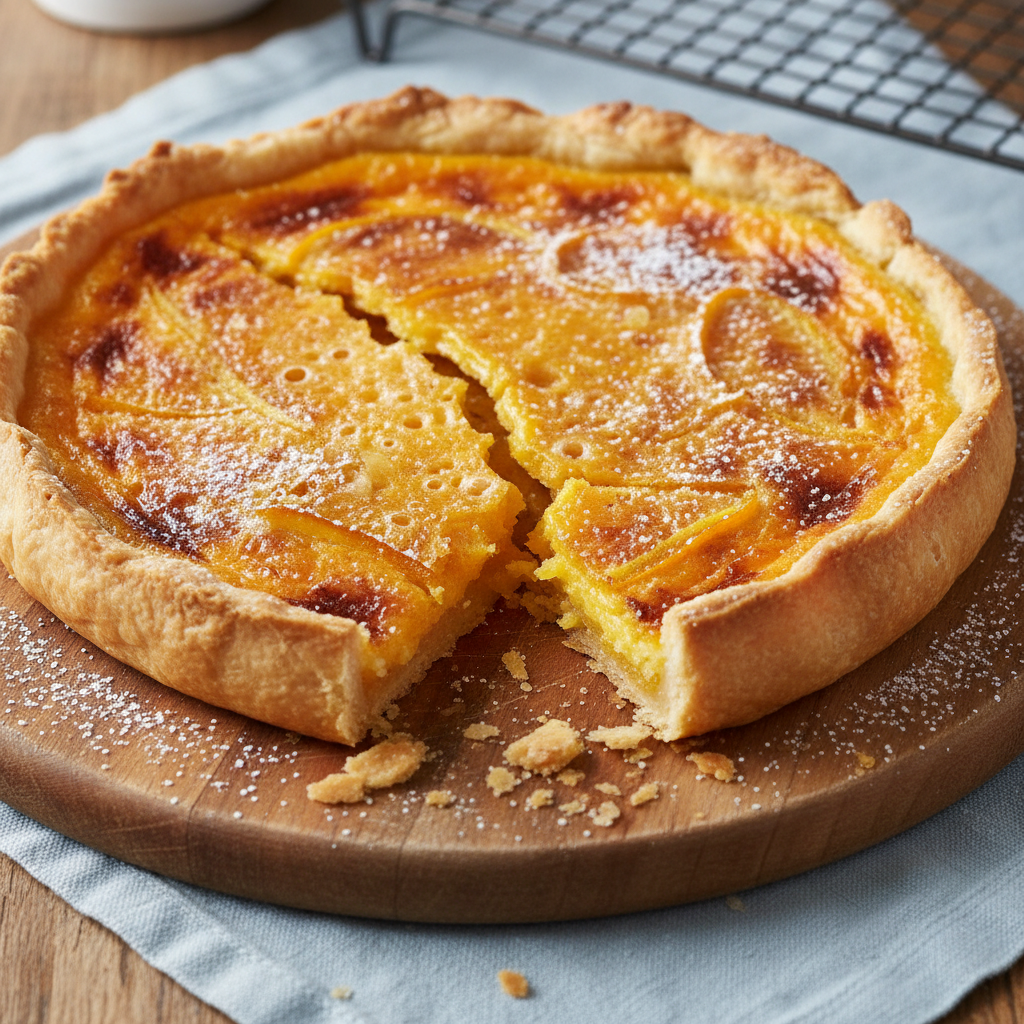
- Bake the Tart Bake for 30-35 minutes, or until the edges are set but the center still has a slight wobble.
- Cool and Chill Let the tart cool completely on a wire rack. Once at room temperature, refrigerate for at least 2 hours (or preferably overnight) before serving. This allows the filling to fully set.
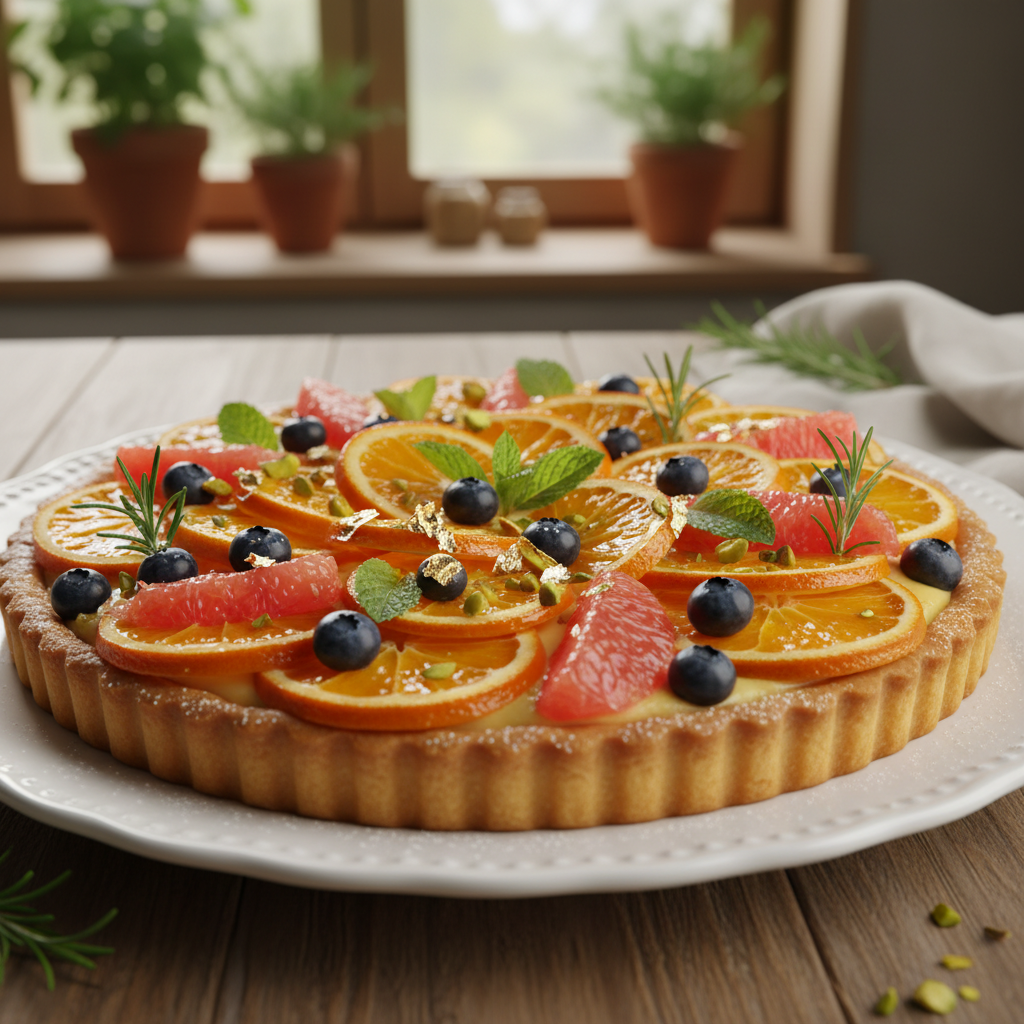
- Garnish and Serve Garnish with candied orange slices and fresh mint leaves, if desired, just before serving.
Notes
For the best flavor, use fresh, ripe oranges. Meyer oranges work wonderfully if you can find them, offering a slightly sweeter and less acidic profile. Ensure your butter is very cold for a flaky crust. If your crust starts to brown too quickly during blind baking, you can loosely tent it with foil.
Tips & Variations
- Lemon-Orange Tart Substitute half of the orange juice and zest with fresh lemon juice and zest for a delightful tangy twist.
- Ginger Snap Crust For a unique flavor, crush ginger snap cookies and mix with melted butter to create a press-in crust instead of a traditional pastry crust.
- Coconut Cream Filling For a dairy-free option, experiment with full-fat coconut cream in the filling, though the texture might be slightly different.
- Glaze It For extra shine and flavor, make a simple glaze with powdered sugar and a touch of orange juice, drizzling it over the cooled tart.
Pro Chef Tips

Even simple recipes benefit from a few expert insights. When making your crust, handle the dough as little as possible to prevent gluten development, which can lead to a tough crust. Use a light hand when rolling. For the filling, ensure all ingredients are at room temperature (except the butter for the crust) for a smoother, more emulsified mixture. Don’t overbake the tart! A slight wobble in the center means it’s perfectly cooked and will set fully as it cools. Finally, chilling the tart thoroughly is crucial for clean slices and optimal flavor development.
Common Mistakes to Avoid
- Overworking the Dough This leads to a tough, dense crust instead of a flaky, tender one. Mix just until combined.
- Not Chilling the Dough Chilling helps the butter solidify, preventing the crust from shrinking excessively during baking.
- Overbaking the Filling An overbaked tart filling can become rubbery or dry. Look for that slight wobble.
- Cutting the Tart Too Soon The filling needs time to set completely in the refrigerator. Patience is key for perfect slices.
- Using Bottled Juice Freshly squeezed orange juice makes a huge difference in flavor; avoid concentrates.
Storage & Meal Prep

This orange tart is best enjoyed within 3-4 days. Store it covered loosely with plastic wrap or in an airtight container in the refrigerator. The citrus flavors actually deepen and meld beautifully overnight, so it’s a fantastic dessert to make in advance. For meal prep, you can make the tart crust dough up to 2 days ahead and keep it refrigerated, or even blind bake the crust a day ahead and store it at room temperature, covered.
Make-Ahead & Freezer Notes

This tart is a dream for make-ahead planning! You can prepare the crust dough and keep it refrigerated for up to 2 days. The unbaked tart shell can also be frozen for up to 1 month; just wrap it tightly. For freezing the baked tart, it’s best to freeze individual slices rather than the whole tart. Wrap each slice tightly in plastic wrap, then in foil, and store in a freezer-safe bag for up to 1 month. Thaw in the refrigerator overnight before serving. The texture might be slightly softer after freezing and thawing, but the flavor will still be wonderful.
Serving Suggestions
Our Orange Tart is absolutely delicious on its own, but a few accompaniments can elevate the experience:
- Dollop of Whipped Cream Lightly sweetened whipped cream provides a lovely contrast.
- Fresh Berries Raspberries or blueberries add a pop of color and complementary tartness.
- Vanilla Bean Ice Cream A scoop of creamy vanilla ice cream is always a crowd-pleaser.
- Orange Zest Garnish A final sprinkle of fresh orange zest brightens both the appearance and aroma.
- Dusting of Powdered Sugar Simple, elegant, and adds a touch of sweetness.