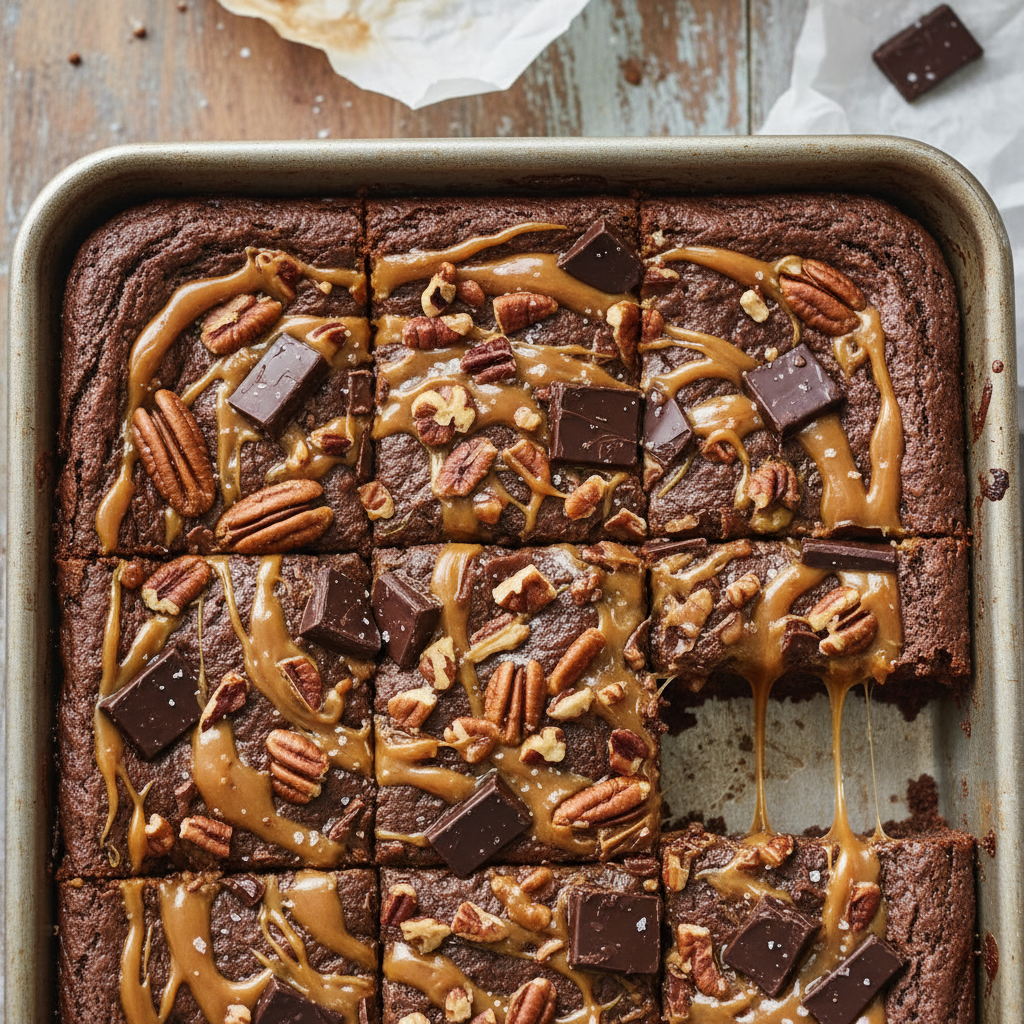
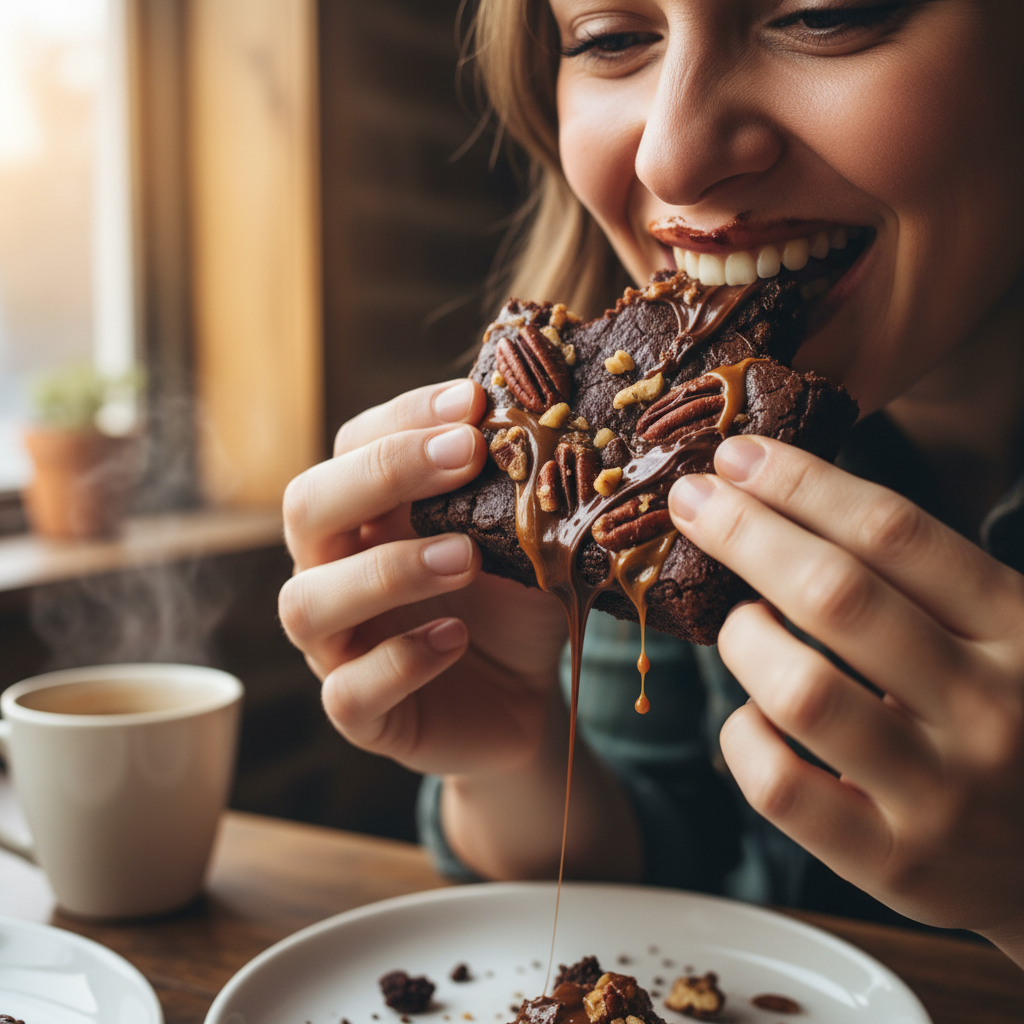
Welcome, fellow chocolate lovers! If there’s one dessert that truly embodies pure indulgence, it’s the turtle brownie. Imagine a rich, fudgy brownie base, swirled with luscious caramel, sprinkled generously with crunchy pecans, and often crowned with an extra drizzle of chocolate. It’s a symphony of textures and flavors that will make your taste buds sing!
This recipe is designed for everyone, from novice bakers to seasoned pros looking for a reliable, show-stopping treat. Forget dry, crumbly brownies; we’re diving into a world of gooey, chocolatey perfection that’s surprisingly simple to achieve. Get ready to bake some magic!
History / Background
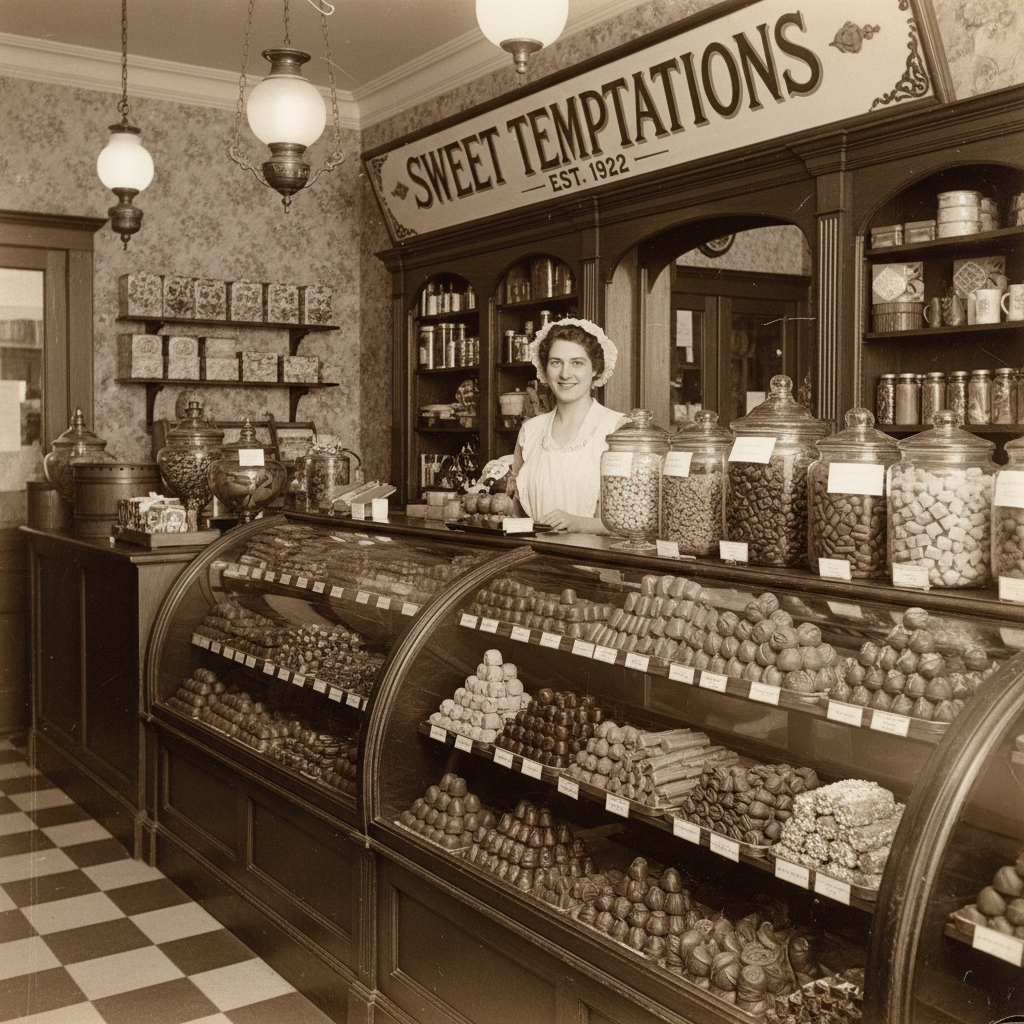
The concept of ‘turtle’ candies dates back to 1918, created by DeMet’s Candy Company. They famously combined pecans, caramel, and chocolate to create a treat resembling a turtle’s shell, hence the name. These delightful confections quickly became a beloved classic.
It wasn’t long before home bakers and professional chefs alike started incorporating these iconic flavor combinations into other desserts. The turtle brownie emerged as a natural evolution, bringing together the irresistible chewiness of a brownie with the sweet, nutty, and gooey elements of the classic turtle candy. It’s a testament to how some flavor pairings are simply meant to be together, creating timeless desserts that comfort and delight.
Why You’ll Love This Recipe
- Unforgettable Gooey Texture Our recipe guarantees a perfectly fudgy, melt-in-your-mouth brownie every time.
- Simple Ingredients You’ll use common pantry staples for these decadent treats.
- Beginner-Friendly Clear, step-by-step instructions make this recipe approachable for all skill levels.
- Crowd-Pleaser These brownies disappear fast at parties, potlucks, and family gatherings.
- Customizable Easy to adapt with your favorite nuts or chocolate.
Ingredient Notes

Every great recipe starts with great ingredients. Here’s a quick guide to what you’ll need and why:
- Unsalted Butter We use unsalted so you can control the salt content. Melted butter creates that fudgy texture.
- Granulated Sugar Provides sweetness and helps with the brownie’s chewiness.
- Light Brown Sugar Adds moisture, depth of flavor, and contributes to the chewy texture.
- Eggs Act as a binder and add richness, contributing to the brownie’s structure.
- Vanilla Extract Enhances all the chocolatey flavors. Don’t skip it!
- All-Purpose Flour Just enough to bind the ingredients without making the brownies cakey.
- Unsweetened Cocoa Powder The star of the show for intense chocolate flavor. Use good quality for best results.
- Salt Balances the sweetness and amplifies the chocolate.
- Pecans Toasted and chopped, they add a wonderful nutty crunch. Walnuts can also be used.
- Caramel Sauce You can use store-bought or homemade. A good quality, thick caramel works best.
- Chocolate Chips or Chunks For an extra layer of chocolatey goodness and melty pockets.
Equipment Needed

You don’t need fancy gadgets to make amazing turtle brownies, just a few kitchen essentials:
- 9×13 inch Baking Pan A light-colored metal pan is ideal for even baking.
- Parchment Paper For easy removal and cleanup.
- Large Mixing Bowls At least two, for wet and dry ingredients.
- Whisk For combining ingredients smoothly.
- Rubber Spatula For folding and scraping the bowl.
- Measuring Cups and Spoons Accuracy is key in baking!
- Small Saucepan If making homemade caramel or melting butter.
Full Recipe Card
Ingredients
- 1 cup (2 sticks) unsalted butter, melted
- 2 cups granulated sugar
- 1/2 cup light brown sugar, packed
- 4 large eggs
- 2 teaspoons vanilla extract
- 1 1/2 cups all-purpose flour
- 3/4 cup unsweetened cocoa powder
- 1 teaspoon salt
- 1 1/2 cups chopped pecans, divided
- 1 cup caramel sauce (store-bought or homemade)
- 1/2 cup chocolate chips or chunks (optional, for topping)
Instructions
- Preheat Oven & Prep Pan Preheat your oven to 350°F (175°C). Line a 9×13 inch baking pan with parchment paper, leaving an overhang on the sides for easy lifting. Lightly grease the parchment paper.
- Combine Wet Ingredients In a large mixing bowl, whisk together the melted butter, granulated sugar, and brown sugar until well combined. Whisk in the eggs one at a time, then stir in the vanilla extract until smooth.
- Combine Dry Ingredients In a separate medium bowl, whisk together the flour, cocoa powder, and salt.
- Combine Wet and Dry Gradually add the dry ingredients to the wet ingredients, mixing with a rubber spatula until just combined. Be careful not to overmix.
- Add Pecans Gently fold in 1 cup of the chopped pecans into the brownie batter.
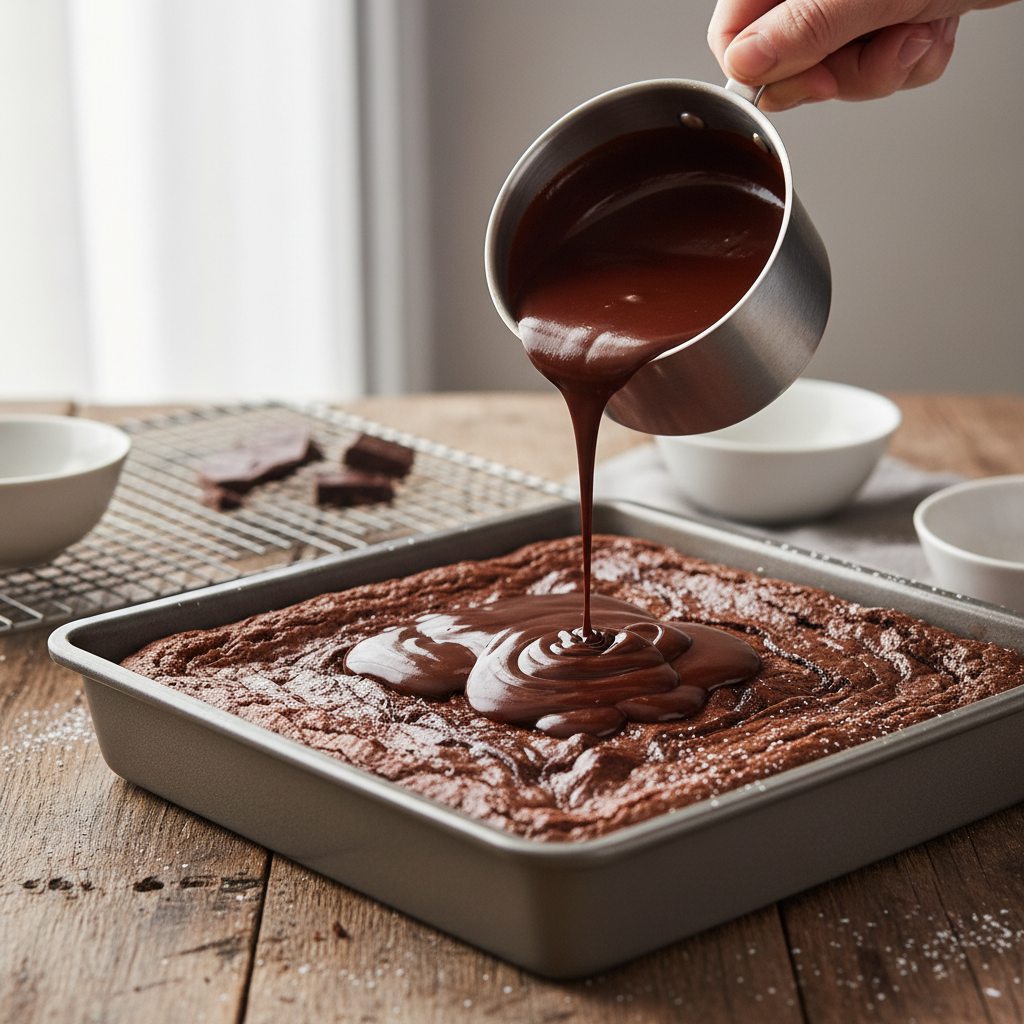
- Assemble Brownies Pour half of the brownie batter into the prepared pan and spread evenly. Drizzle about half of the caramel sauce over the batter in a zigzag pattern. Drop spoonfuls of the remaining brownie batter over the caramel. Drizzle the remaining caramel sauce over the top.
- Swirl & Top Use a knife or skewer to gently swirl the caramel through the batter. Sprinkle the remaining 1/2 cup of chopped pecans and the optional chocolate chips/chunks over the top.
- Bake Bake for 30-35 minutes, or until a toothpick inserted into the center comes out with moist crumbs attached (not wet batter). Do not overbake!
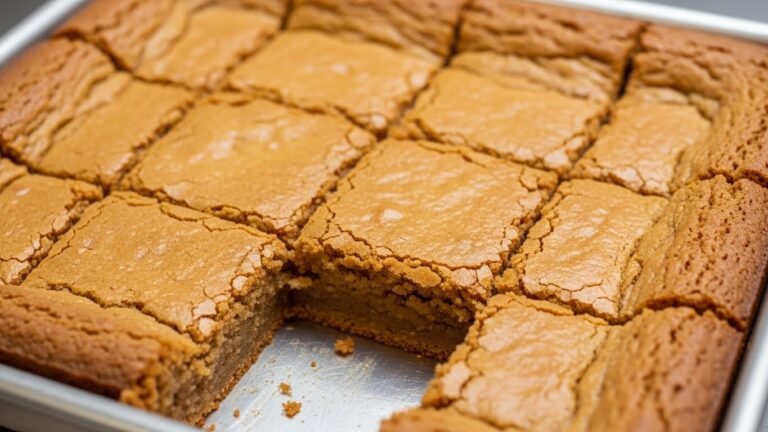
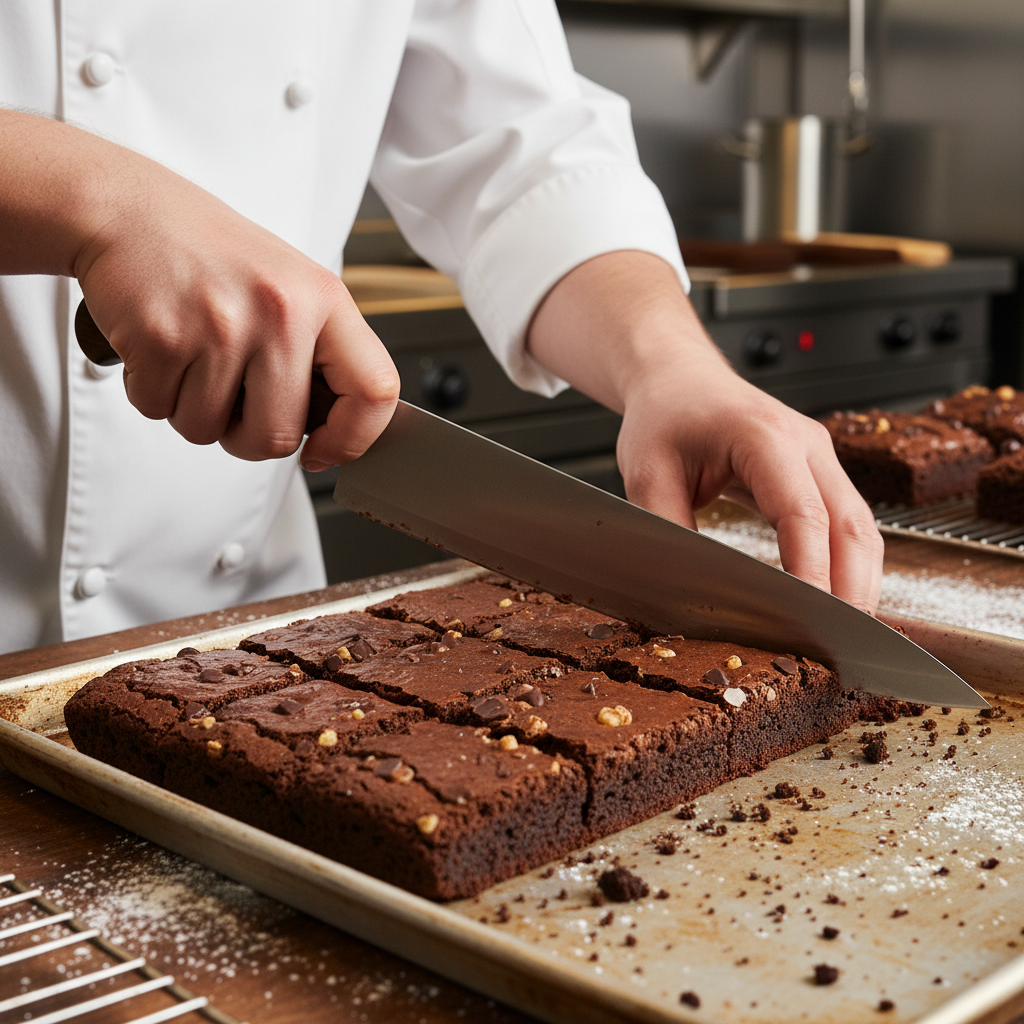
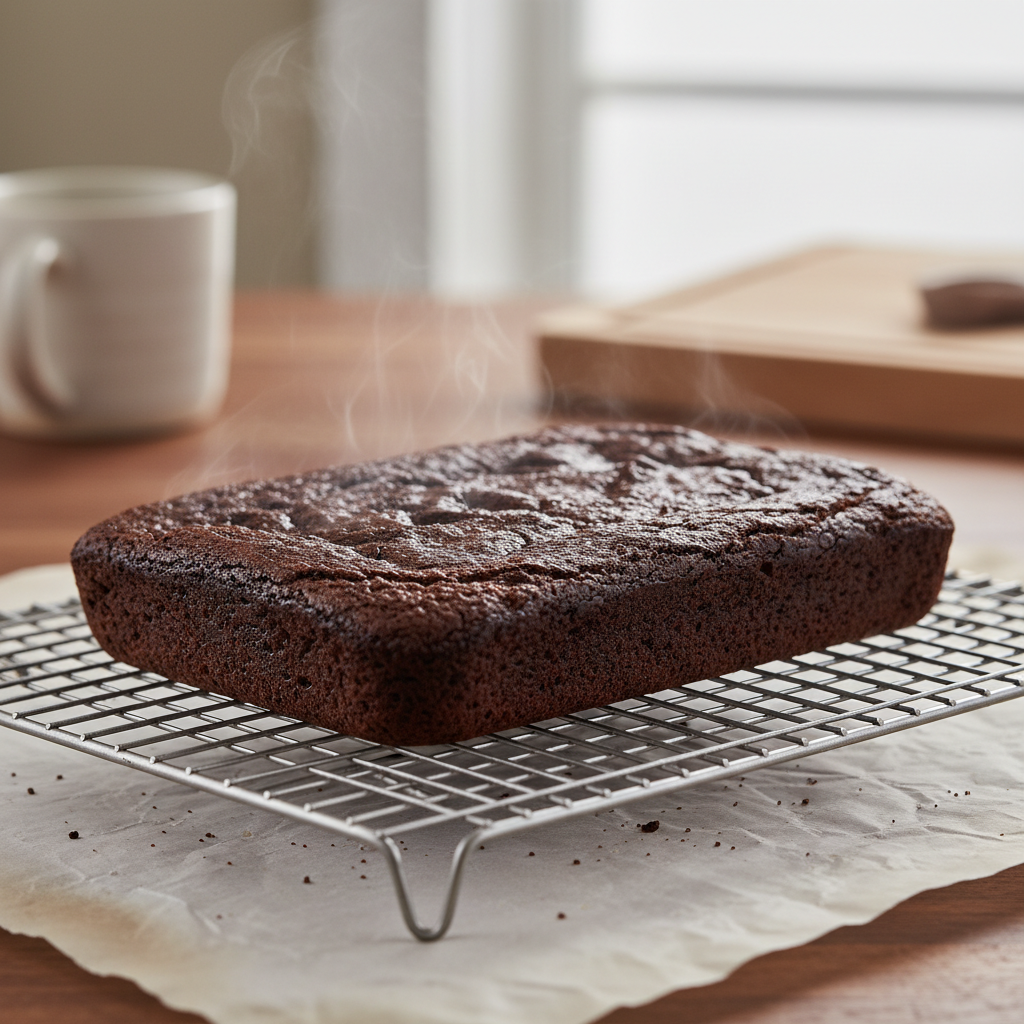
- Cool Let the brownies cool completely in the pan on a wire rack before lifting out and cutting into squares. This is crucial for fudgy brownies.
Notes
- For extra gooey caramel, slightly warm your store-bought caramel sauce before drizzling.
- Toasting the pecans before adding them enhances their flavor significantly.
- A sprinkle of flaky sea salt on top after baking can elevate the flavors even further.
Tips & Variations
- Nutty Swaps Not a fan of pecans? Try walnuts, cashews, or even a mix of nuts.
- Chocolate Boost Add different types of chocolate chips like milk chocolate, dark chocolate, or white chocolate for varied flavor.
- Spice It Up A pinch of cinnamon or a tiny dash of cayenne pepper in the brownie batter can add a surprising depth.
- Boozy Caramel A tablespoon of bourbon or rum in your caramel sauce can add a sophisticated twist.
Pro Chef Tips
Want to bake like a pro? Here are a few secrets:
- Don’t Overmix Overmixing flour develops gluten, leading to cakey rather than fudgy brownies. Mix until just combined.
- Invest in Good Cocoa The quality of your cocoa powder directly impacts the depth of chocolate flavor. Dutch-processed cocoa provides a darker color and milder flavor.
- Cool Completely This is perhaps the most important tip for fudgy brownies. Warm brownies are delicate and will crumble when cut. Patience is a virtue here!
- Line Your Pan Always use parchment paper. It’s a game-changer for easy removal and clean cuts.
Common Mistakes to Avoid
- Overbaking The number one culprit for dry, cakey brownies. Brownies continue to cook slightly after being removed from the oven. Aim for moist crumbs, not liquid batter, on your toothpick.
- Cutting Too Soon As mentioned, cutting warm brownies leads to a messy, crumbly experience. Let them cool.
- Using Cold Ingredients While not as critical as in cakes, room temperature eggs can incorporate more evenly into the batter.
- Skipping the Salt Salt is essential in sweet baking to balance flavors and prevent the brownies from tasting overly sweet or flat.
Storage & Meal Prep
These brownies are so good, they rarely last long! But here’s how to store them:
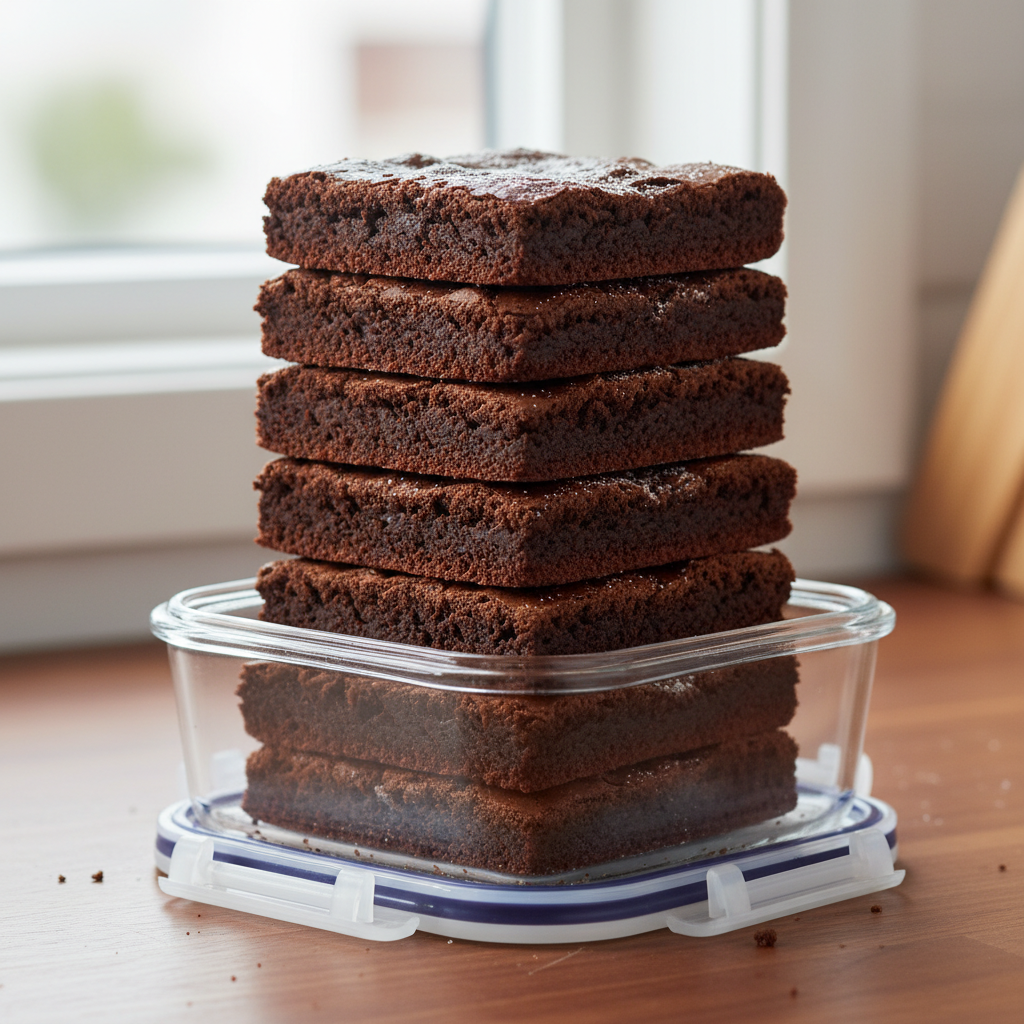
- Room Temperature Store cooled turtle brownies in an airtight container at room temperature for up to 3-4 days.
- Refrigeration If you prefer a firmer texture, or if your kitchen is very warm, you can store them in the refrigerator for up to a week. Bring them to room temperature before serving for the best texture.
Make-Ahead & Freezer Notes
Turtle brownies are fantastic for making ahead!
- Make-Ahead You can bake these a day or two in advance. They often taste even better the next day as the flavors meld.
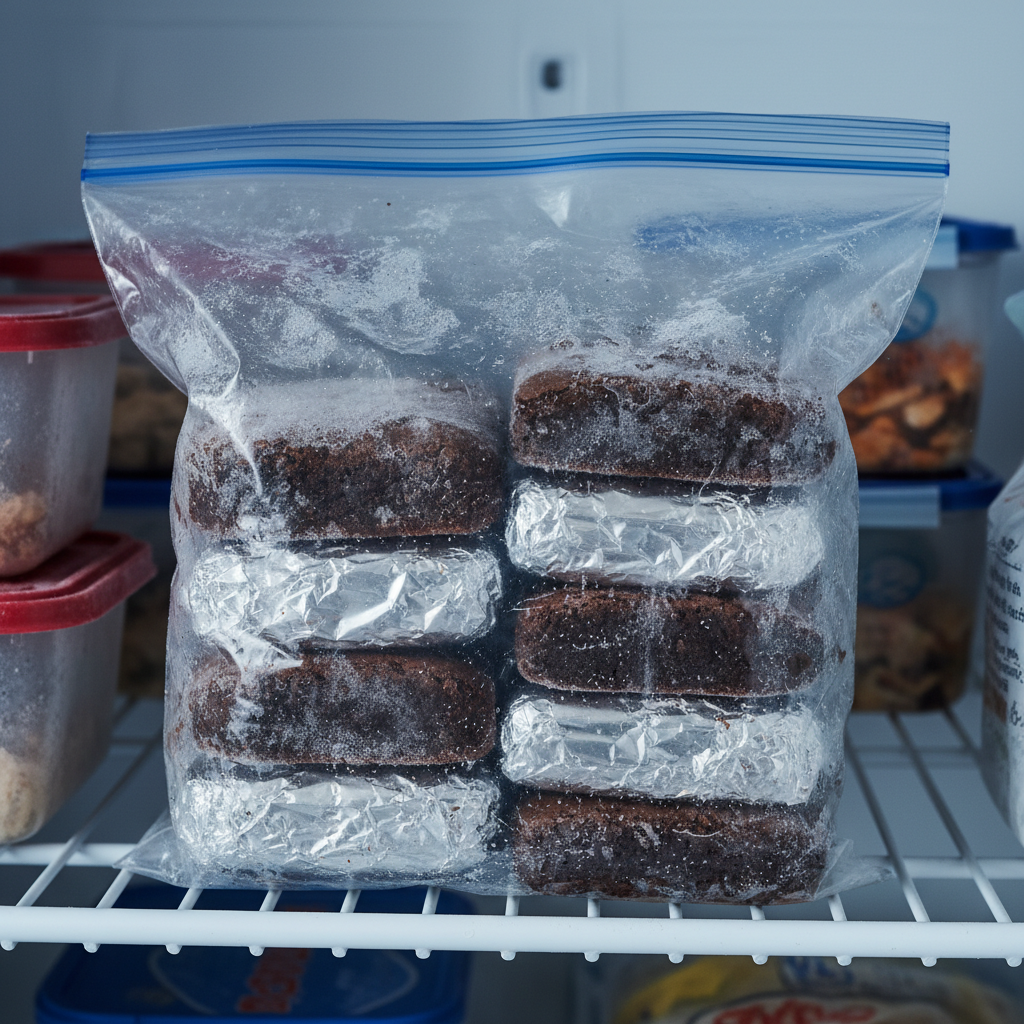
- Freezing Baked Brownies Once completely cooled, cut the brownies into individual squares. Wrap each square tightly in plastic wrap, then place them in a freezer-safe airtight container or freezer bag. They can be frozen for up to 3 months. Thaw at room temperature for a few hours before serving.
- Freezing Brownie Batter You can also freeze the unbaked batter. Press it into a foil-lined pan, freeze until solid, then remove and wrap tightly. Thaw in the fridge overnight before baking.
Serving Suggestions

While perfect on their own, turtle brownies can be elevated with a few simple additions:
- A La Mode A scoop of vanilla bean ice cream or salted caramel ice cream is a classic pairing.
- Whipped Cream A dollop of freshly whipped cream adds a light, airy contrast.
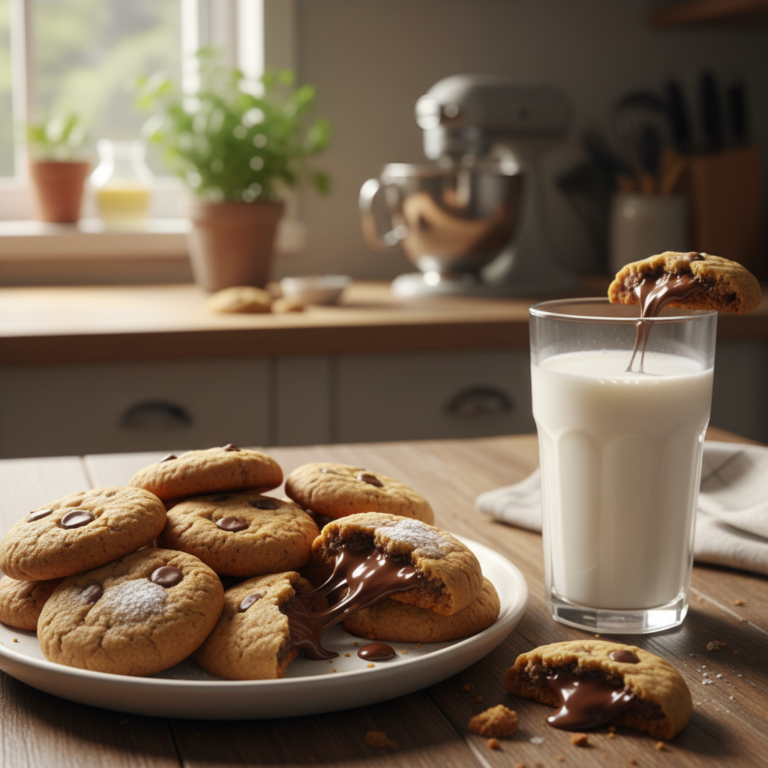
- Coffee or Milk A warm cup of coffee or a cold glass of milk makes for a delightful snack.
- Extra Drizzle A little extra caramel sauce or melted chocolate drizzled over the top never hurts!