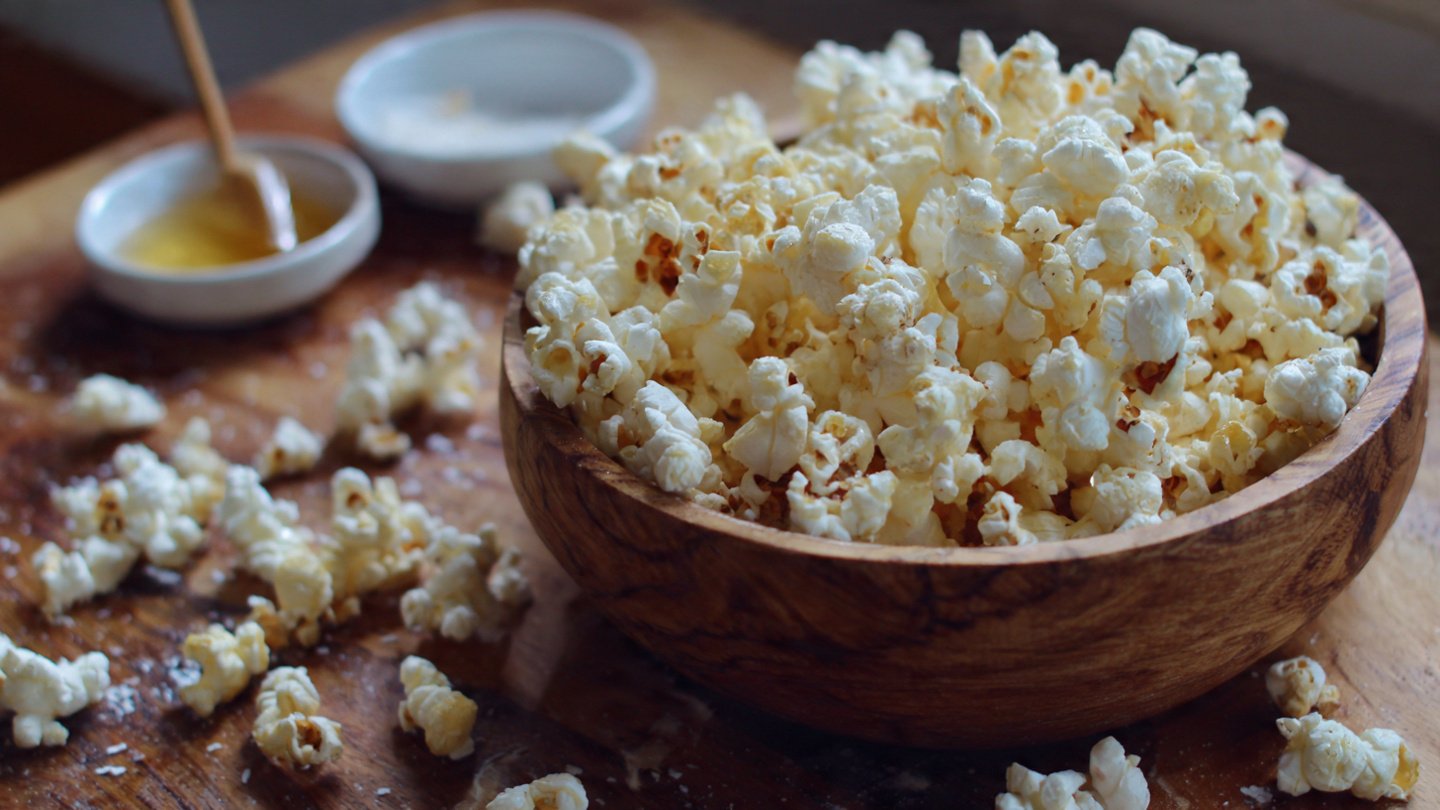
Who doesn’t love the irresistible crunch and flavor of kettle corn? That magical combination of sweet and salty makes it a beloved snack for movie nights, parties, or just a cozy evening in. While it might seem like a treat best enjoyed at fairs and carnivals, I’m here to tell you that making perfect kettle corn at home is incredibly simple, rewarding, and surprisingly quick!
Forget those expensive store-bought bags; with just a few basic ingredients and a good pot, you can whip up a batch of warm, fresh kettle corn that will have everyone reaching for more. This recipe is designed to be super easy for beginners, guiding you through each step to ensure a delightful, crunchy, and perfectly balanced sweet and salty snack every time. Get ready to impress your taste buds and your friends!
History – Background

The story of kettle corn is as delightful as the snack itself! This sweet and salty treat has roots stretching back centuries, long before modern movie theaters and snack aisles. Popcorn itself is an ancient food, with evidence of its consumption dating back thousands of years in the Americas. Native Americans were popping corn using hot sands or directly over fires, and it was a staple in many indigenous diets.
Kettle corn, as we know it today, gained popularity among early American settlers. It was traditionally made in large cast-iron kettles (hence the name!) over an open fire. Farmers and vendors would prepare it by cooking popcorn kernels with sugar, oil, and salt, creating that distinctive sweet and savory profile. It became a popular snack at community gatherings, fairs, and markets, offering an affordable and delicious treat for all. The tradition continued through generations, evolving slightly but always maintaining its core appeal. Today, it remains a nostalgic favorite, reminding us of simpler times and delicious traditions.
Why You’ll Love This Recipe
- Effortlessly Delicious It’s incredibly easy to make with minimal effort.
- Perfectly Balanced Flavor Achieve that ideal sweet and salty harmony every time.
- Budget-Friendly Much cheaper than buying pre-made bags.
- Quick to Prepare From start to snack in under 15 minutes.
- Customizable Easy to adjust sweetness or saltiness to your preference.
- Crowd-Pleaser A guaranteed hit for gatherings, parties, or family movie nights.
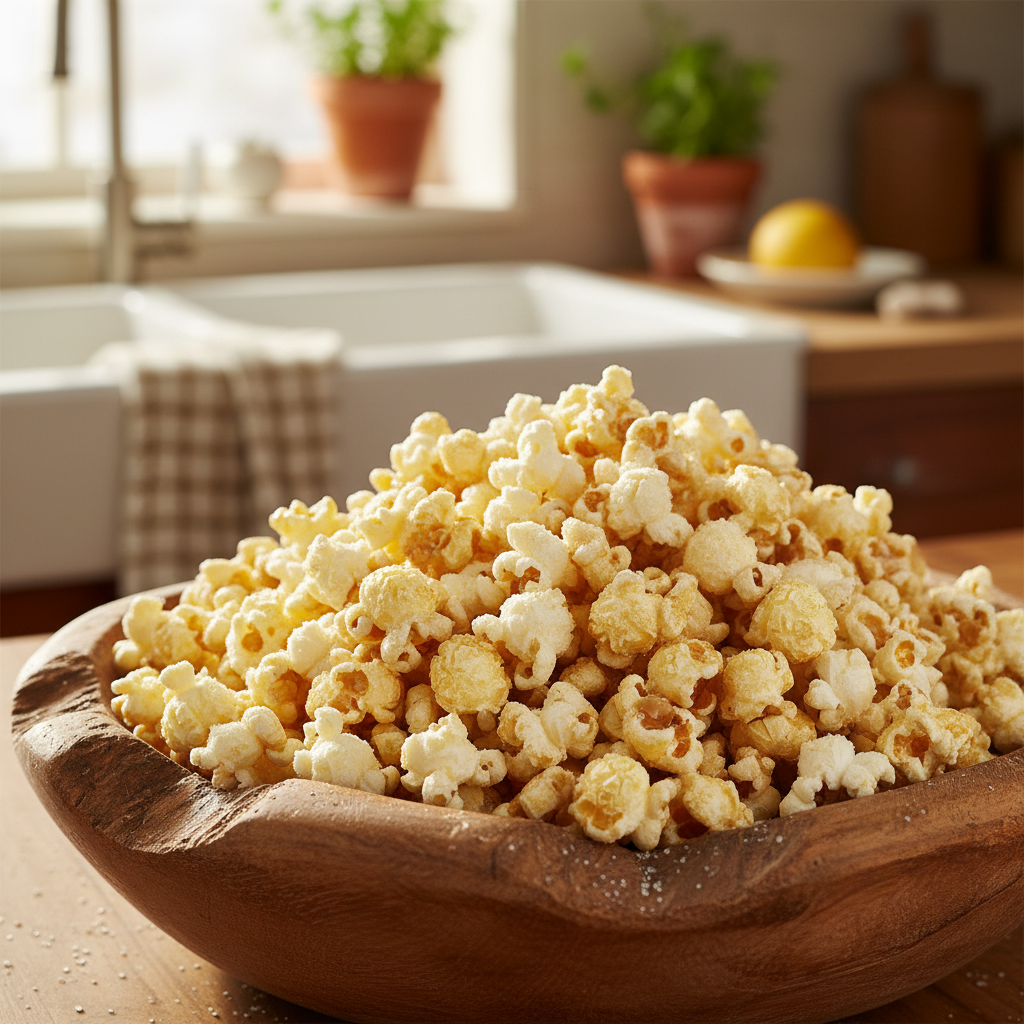
- Fresh and Warm Enjoy it straight from the pot, at its absolute best.
Ingredient Notes
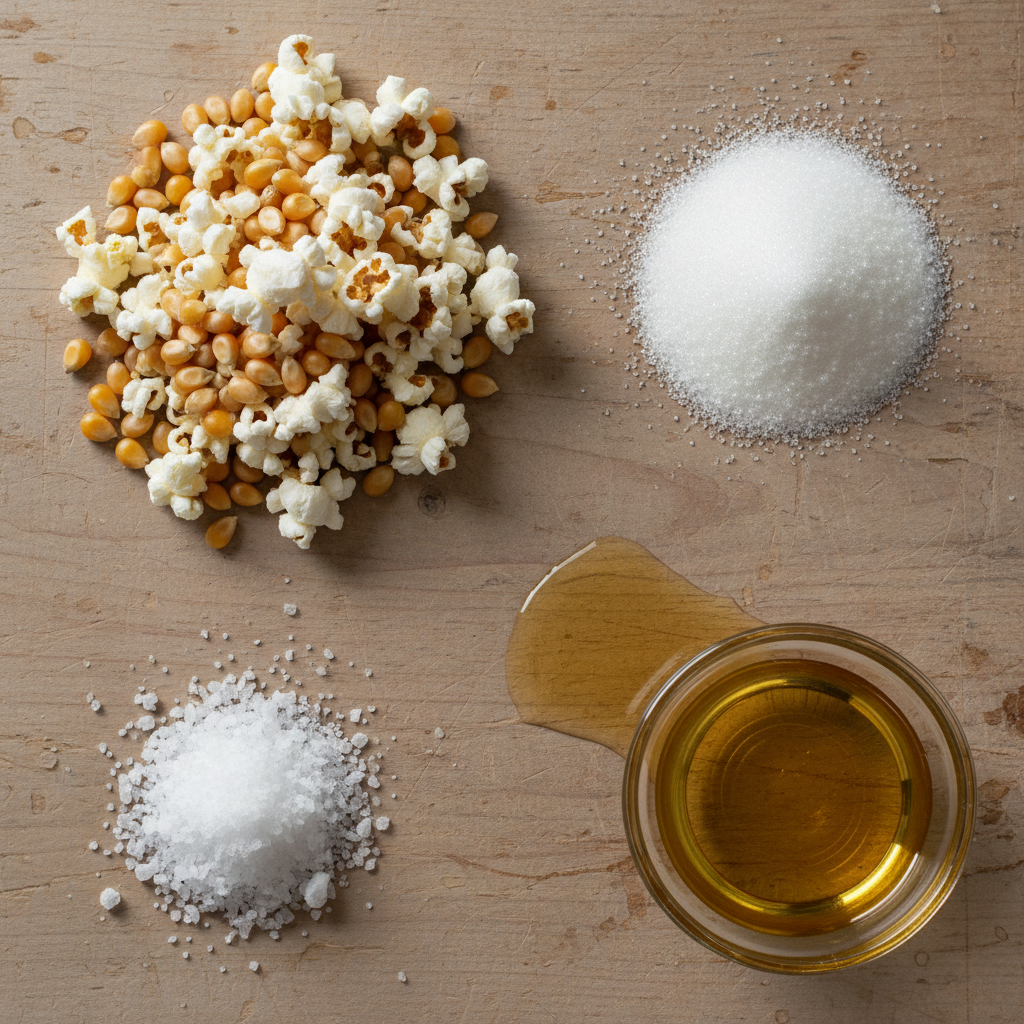
You only need a handful of ingredients for this recipe, and chances are you already have most of them in your pantry!
- Popcorn Kernels Use good quality unpopped kernels. Yellow or white kernels work well; yellow tends to make larger, fluffier popcorn. Avoid microwave popcorn.
- Vegetable Oil A neutral oil with a high smoke point is key. Canola oil, sunflower oil, or coconut oil are excellent choices. Olive oil is not recommended due to its lower smoke point and distinct flavor.
- Granulated Sugar Regular white granulated sugar is perfect. It melts and coats the kernels beautifully.
- Fine Salt A fine-grained salt like table salt or fine sea salt adheres best to the popcorn. Coarse salt might not distribute as evenly.
Equipment Needed
Having the right tools makes all the difference for perfect kettle corn:
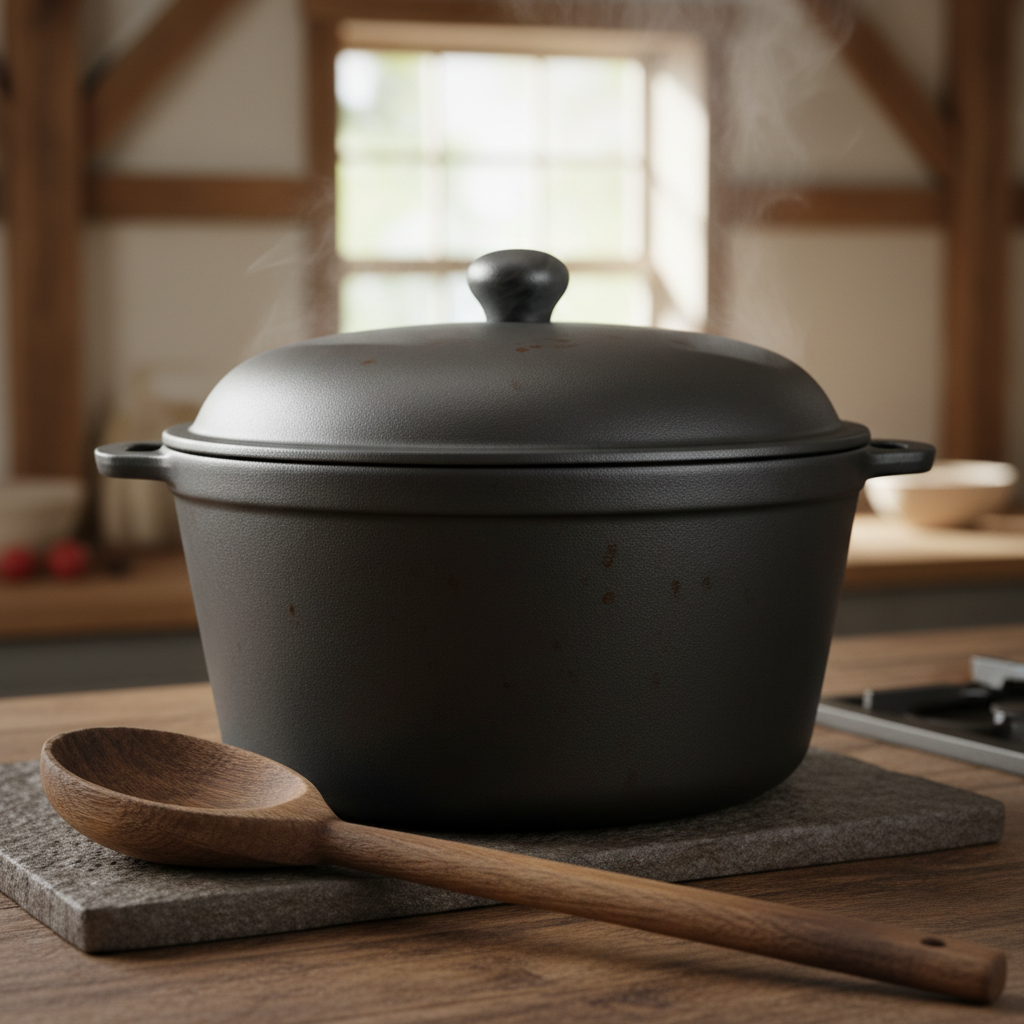
- Large, Heavy-Bottomed Pot with a Lid A 5 to 6-quart pot is ideal. The heavy bottom helps distribute heat evenly, preventing burning. The lid is crucial for keeping those popping kernels contained!
- Wooden Spoon or Heatproof Spatula For stirring the kernels and ensuring even coating.
- Large Bowl For holding the finished kettle corn.
- Measuring Cups and Spoons For accurate ingredient measurements.
- Oven Mitts or Kitchen Towels To safely handle the hot pot.
Full Recipe Card
Ingredients
- 1/4 cup vegetable oil (canola, sunflower, or coconut oil)
- 1/2 cup unpopped popcorn kernels
- 1/4 cup granulated sugar
- 1/2 teaspoon fine salt (or to taste)
Instructions
- Prepare Your Pot Place your large, heavy-bottomed pot with a lid on the stove over medium-high heat. Add the vegetable oil and two or three popcorn kernels. Cover the pot.
- Heat the Oil Wait for the test kernels to pop. This indicates the oil is hot enough. Once they pop, remove the pot from the heat and take out the popped test kernels.
- Add Ingredients Immediately add the remaining unpopped popcorn kernels, the granulated sugar, and the salt to the hot oil. Stir everything together quickly with your wooden spoon to coat the kernels evenly with sugar and salt.
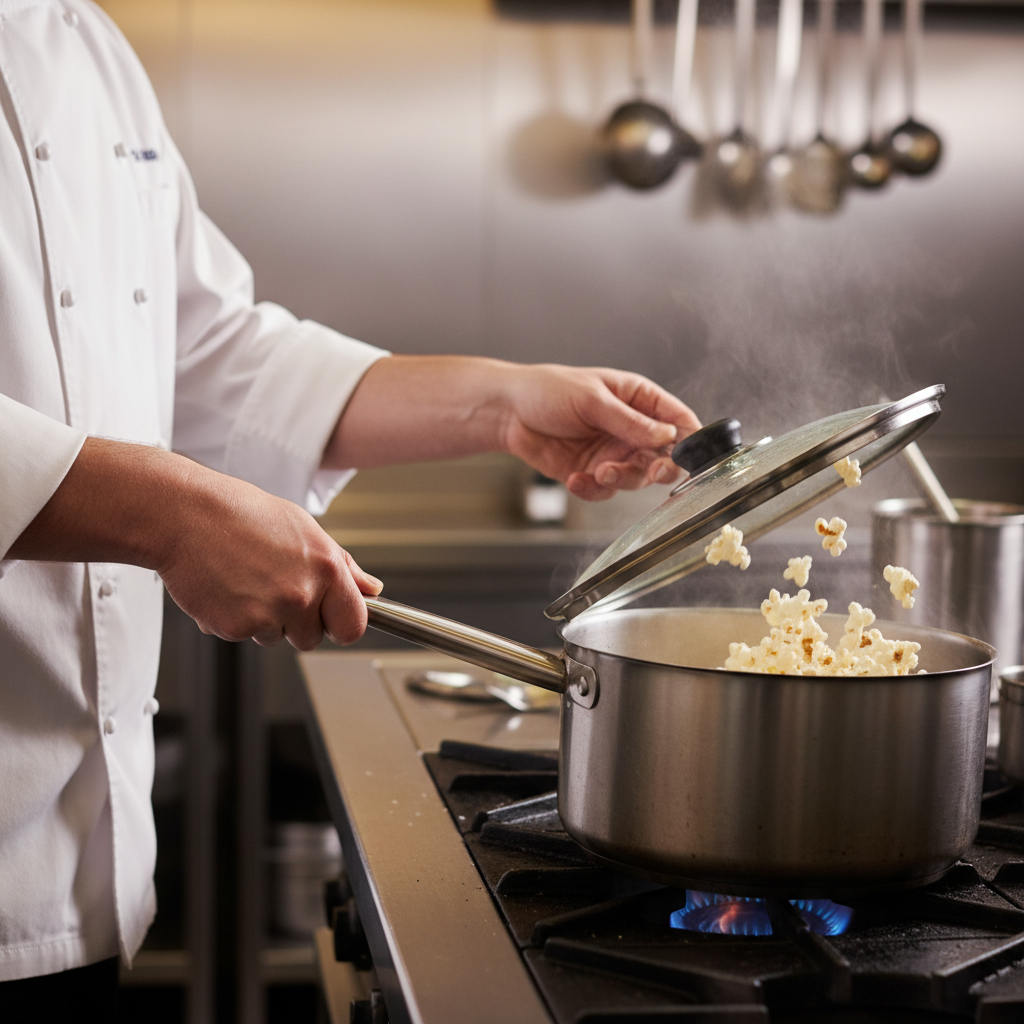
- Begin Popping Return the pot to medium-high heat and cover it. Gently shake the pot back and forth continuously over the burner. This constant motion is crucial to prevent the sugar from burning and to ensure even popping and coating.
- Listen for Popping As the kernels begin to pop, continue shaking the pot. Once the popping slows to about 2-3 seconds between pops, remove the pot from the heat. Don’t wait for all pops to stop, as the residual heat will continue to cook and could burn the sugar.
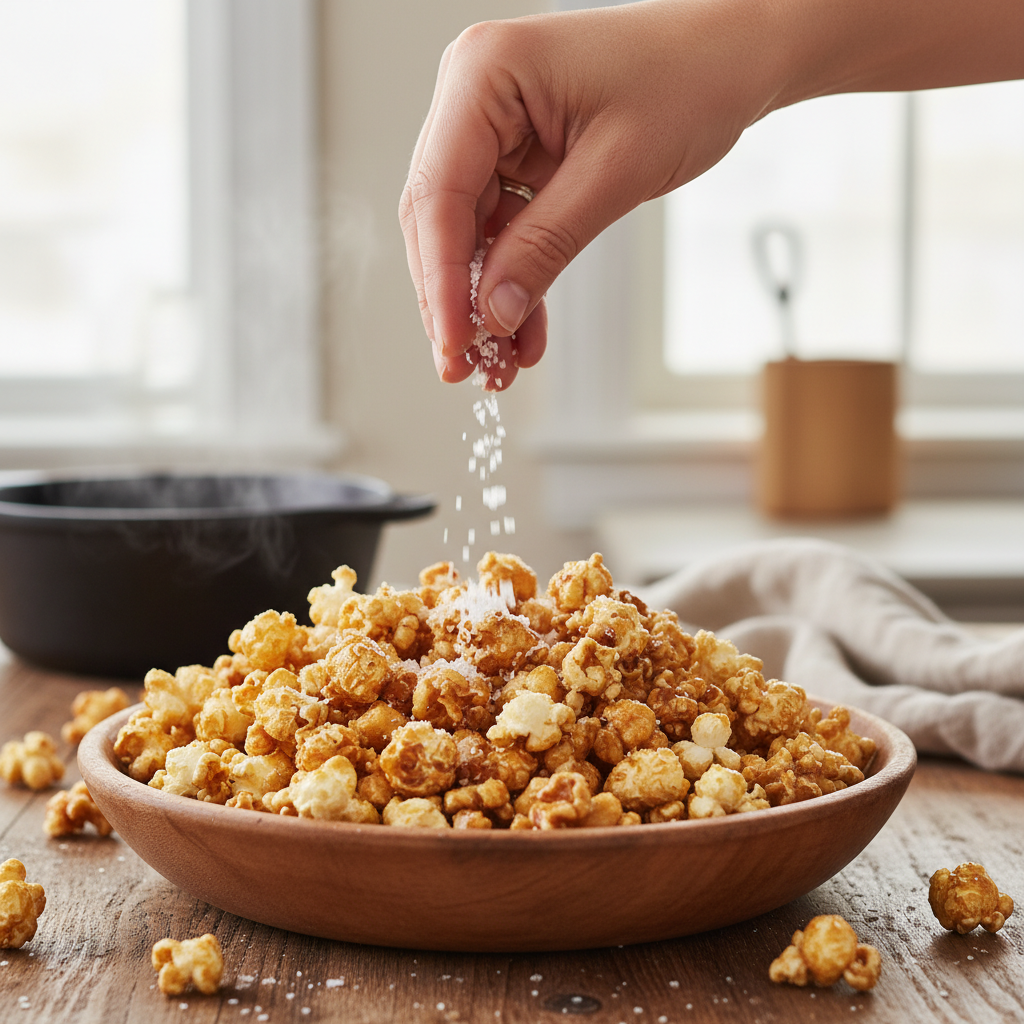
- Cool and Serve Carefully pour the hot kettle corn into a large bowl. Spread it out slightly to help it cool and prevent sticking. If any pieces are clumped together, gently break them apart. Let it cool for a minute or two before serving for the best texture. Enjoy your homemade sweet and salty snack!
Notes
- Don’t Overcrowd Stick to the recommended kernel amount. Too many kernels can lead to unpopped kernels and burnt sugar.
- Adjust Sweetness/Saltiness Feel free to adjust the sugar and salt to your personal preference. Some like it sweeter, some saltier!
- Watch Carefully The process goes quickly once the popping starts. Stay attentive to prevent burning.
Tips & Variations
- Spicy Kick Add a pinch of cayenne pepper or chili powder along with the sugar and salt for a sweet and spicy kettle corn.
- Vanilla Essence A few drops of vanilla extract added to the oil (carefully!) before the kernels can add a lovely aroma and subtle flavor.
- Brown Sugar Twist Experiment with brown sugar for a richer, more caramel-like flavor. Be extra careful as brown sugar burns more easily.
- Cinnamon Sugar After popping, sprinkle with a mix of cinnamon and sugar for a festive twist.
- Coconut Oil Flavor Using coconut oil will impart a subtle tropical flavor that many enjoy.
Pro Chef Tips
- The Test Kernel Trick Don’t skip testing a few kernels first. This ensures your oil is at the perfect temperature, preventing premature popping or burning.
- Constant Movement is Key This is perhaps the most important tip. Continuously shaking the pot keeps the kernels, sugar, and oil moving, distributing heat evenly and preventing the sugar from settling and burning at the bottom.
- Listen Closely Your ears are your best tool! Remove the pot from the heat just as the popping significantly slows down, not when it completely stops. This prevents scorching.
- Use a Heavy-Bottomed Pot This ensures even heat distribution, which is vital for perfect, non-burnt kettle corn. Thin pots can create hot spots.
- Vent the Steam If your lid doesn’t have a vent, slightly crack it open or lift it occasionally (carefully!) to allow steam to escape. This helps keep the popcorn crisp.
Common Mistakes to Avoid
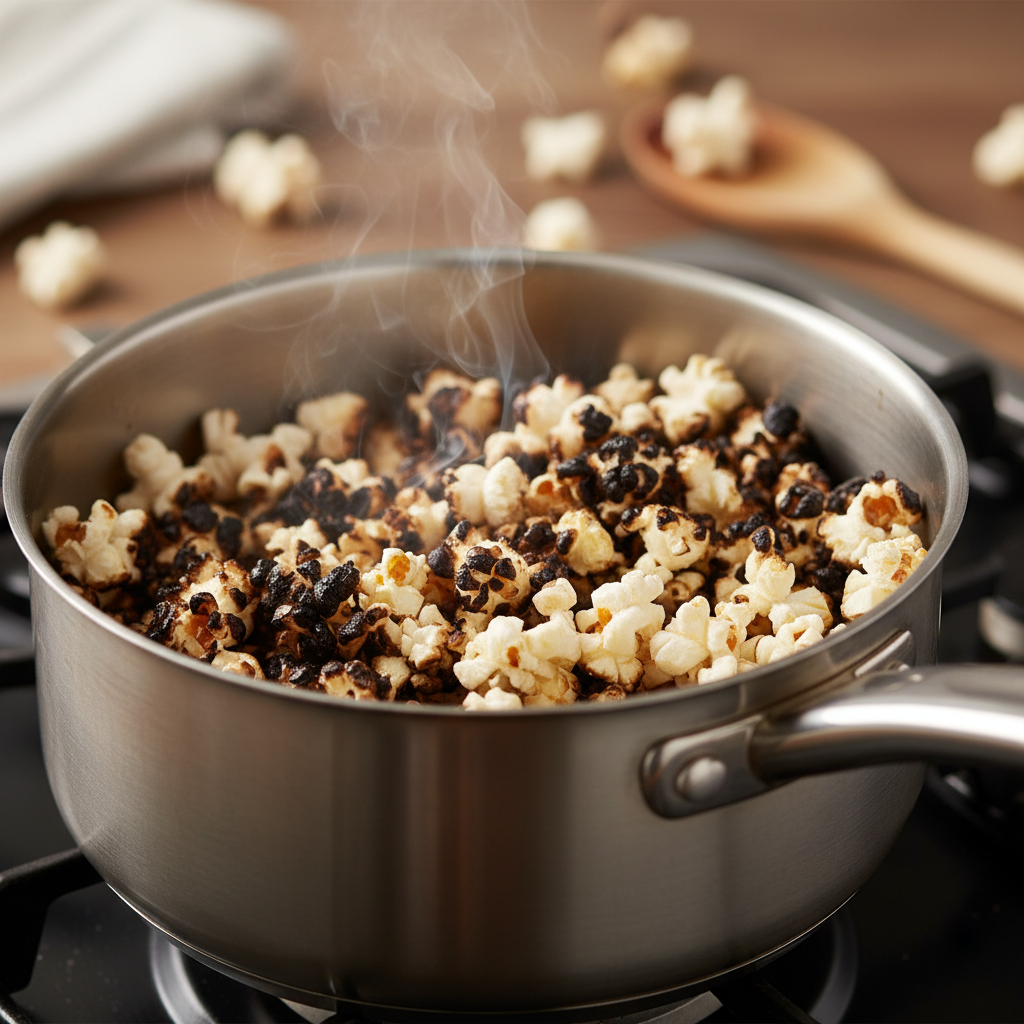
- Not Shaking Enough This is the number one cause of burnt sugar and unpopped kernels. Keep that pot moving!
- Overcrowding the Pot Too many kernels will lead to uneven cooking, more unpopped kernels, and a higher chance of burning.
- Using Low Smoke Point Oil Oils like olive oil will smoke and burn at the high temperatures needed for popcorn, imparting an unpleasant flavor.
- Waiting Too Long to Remove from Heat Popcorn continues to cook from residual heat. Removing it too late results in burnt bits.
- Adding Sugar Too Late Sugar needs to be added with the kernels so it can melt and coat them as they pop. Adding it after will just create sugary dust.
Storage & Meal Prep
Kettle corn is always best enjoyed fresh, but if you have leftovers, they can be stored to maintain some of their crunch.
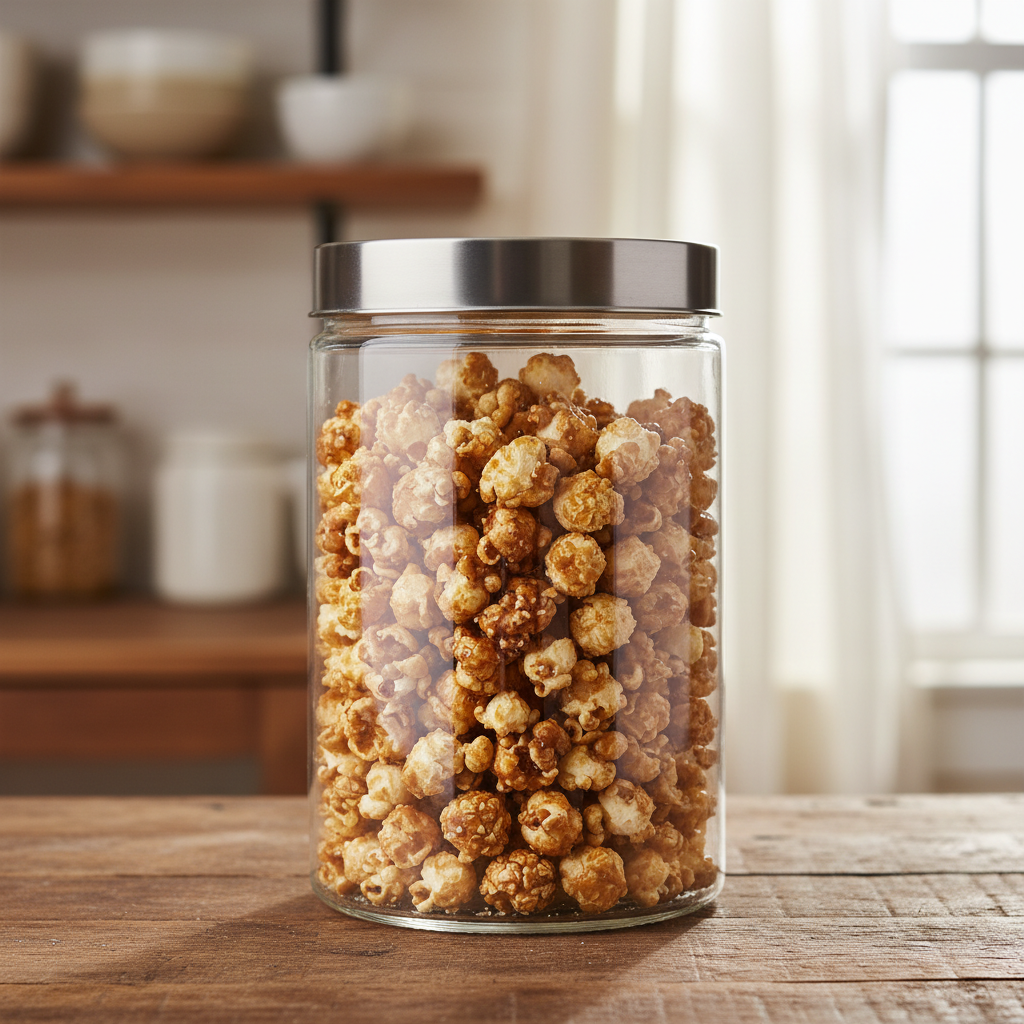
- Airtight Container Store cooled kettle corn in an airtight container at room temperature. This helps prevent it from going stale or soft.
- Avoid Refrigeration Refrigerating kettle corn can make it chewy and lose its crispness.
- Best Within a Day or Two For optimal flavor and texture, try to consume your homemade kettle corn within 1-2 days.
Make-Ahead & Freezer Notes

Kettle corn is not an ideal candidate for freezing or extensive make-ahead preparation, as its signature crispness diminishes over time. However, you can prepare the dry mix of kernels, sugar, and salt in advance if you want to speed up the process on the day of making. Just combine them in a jar and store in a cool, dry place. When ready to cook, simply add oil and follow the recipe steps.
Serving Suggestions

Kettle corn is a versatile snack that fits into many occasions!
- Movie Night Staple The ultimate companion for your favorite films and TV shows.
- Party Snack Serve it in large bowls at gatherings. It’s always a hit!
- Lunchbox Treat Pack a small portion for a fun, satisfying snack.
- Sweet Treat Alternative A lighter alternative to heavy desserts.
- Road Trip Fuel Easy to eat on the go and keeps hunger at bay.