Welcome, fellow dessert lovers! If you’ve ever dreamt of a cheesecake that’s as light as a cloud, as fluffy as cotton, and melts in your mouth with every bite, then you’ve come to the right place. Today, we’re diving into the delightful world of Japanese Cotton Cheesecake, also known as Soufflé Cheesecake or Jiggly Cheesecake. Forget dense, heavy cheesecakes; this one is an experience in pure, airy bliss. Get ready to bake a dessert that will impress everyone with its delicate texture and subtle sweetness.
History and Background

The Japanese Cotton Cheesecake, while popular globally today, has a relatively recent origin compared to its New York counterpart. It was first introduced to Japan in the 1960s by a Japanese chef who adapted a German Käsekuchen recipe (a baked cheesecake). However, it was famous patissier Tomotaro Kuzuno of Osaka’s Uncle Tetsu’s Cheesecake who truly popularized the style in the 1980s, making it a household name in Japan and eventually around the world.
What sets it apart? Its unique texture is a result of a baking method similar to a soufflé, where egg whites are whipped to soft peaks and gently folded into a cream cheese batter. This technique, combined with a water bath (bain-marie) during baking, creates an incredibly moist, airy, and delicate cake that truly lives up to its ‘cotton’ name. It’s a testament to Japanese culinary artistry, taking a Western classic and transforming it into something uniquely exquisite.
Why You’ll Love This Recipe
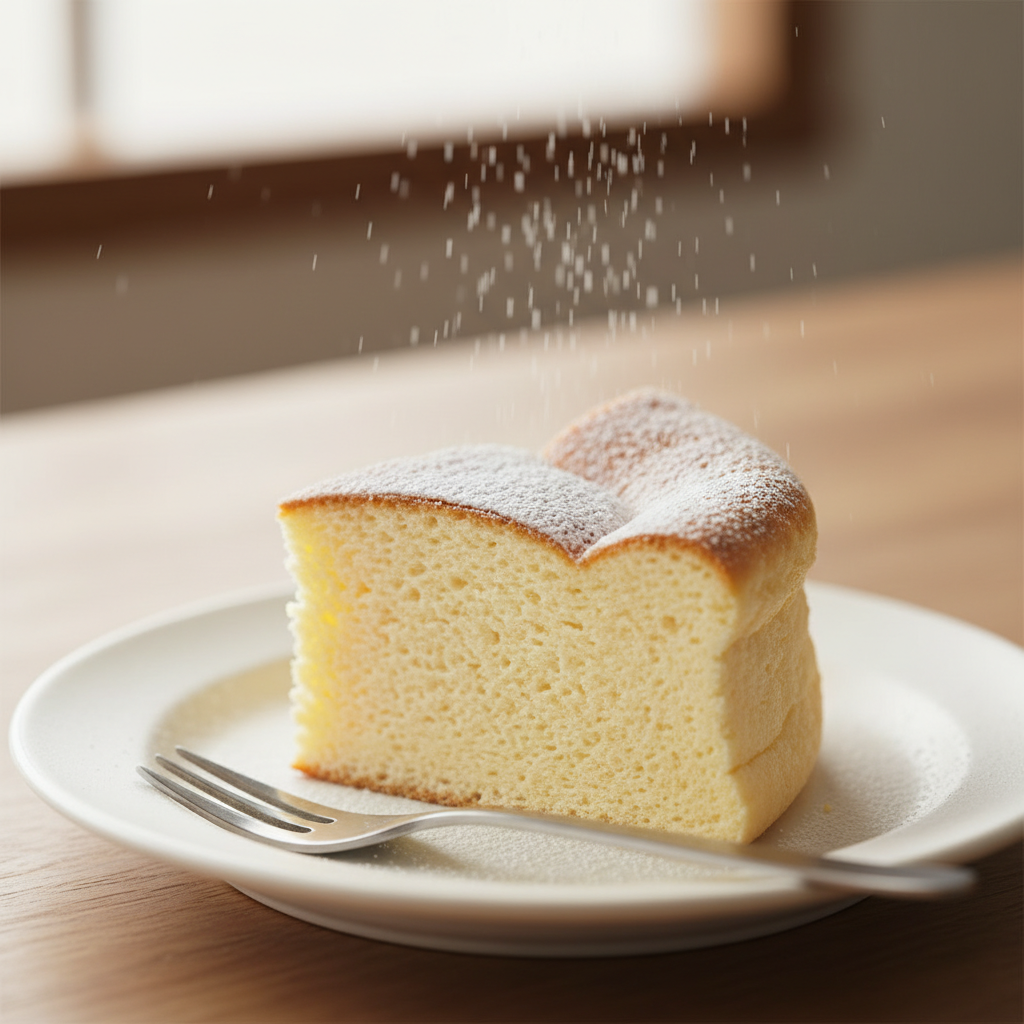
- Unbelievably Light and Fluffy– It truly feels like eating a sweet cloud.
- Melt-in-Your-Mouth Texture– So delicate, it practically dissolves.
- Subtly Sweet– Not overly rich, perfect for any time of day.
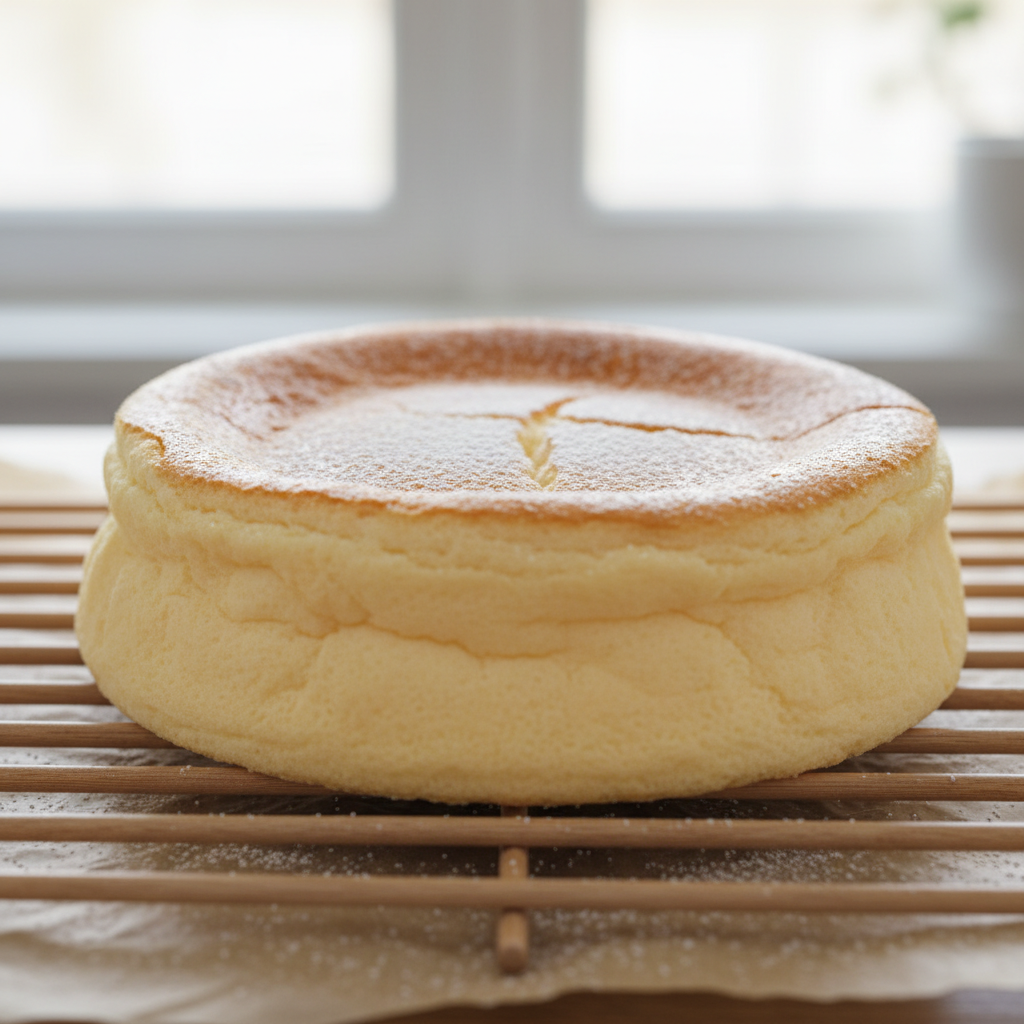
- Impressive Presentation– The signature ‘jiggle’ and golden top are showstoppers.
- Beginner-Friendly– Our detailed steps make it easy to follow.
Ingredient Notes
Each ingredient plays a crucial role in achieving that perfect cottony texture. Here’s what you need to know about the key players:
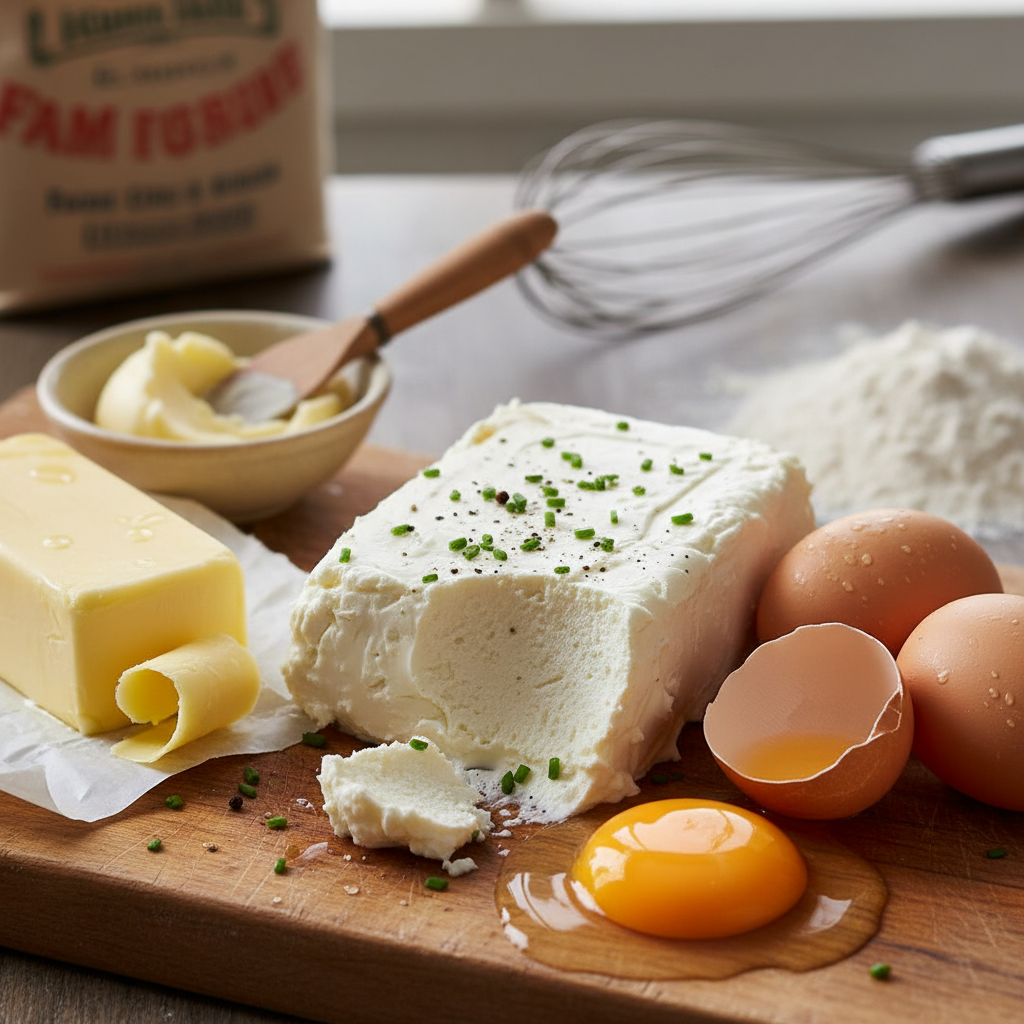
- Cream Cheese– Use full-fat block cream cheese, softened at room temperature. This is the base of your cheesecake, so quality matters.
- Eggs– You’ll need large eggs, separated into yolks and whites. Make sure they are at room temperature for better emulsification and meringue volume.
- Granulated Sugar– Used in both the batter and the meringue. It provides sweetness and stability to the egg whites.
- Unsalted Butter– Adds richness and helps with the texture.
- Milk– Full-fat milk is best for moisture and tenderness.
- All-Purpose Flour and Cornstarch– A combination of these flours provides structure without making the cake dense. Sifting them is crucial!
- Lemon Juice or Cream of Tartar– A small amount helps stabilize the egg whites, ensuring a strong, voluminous meringue.
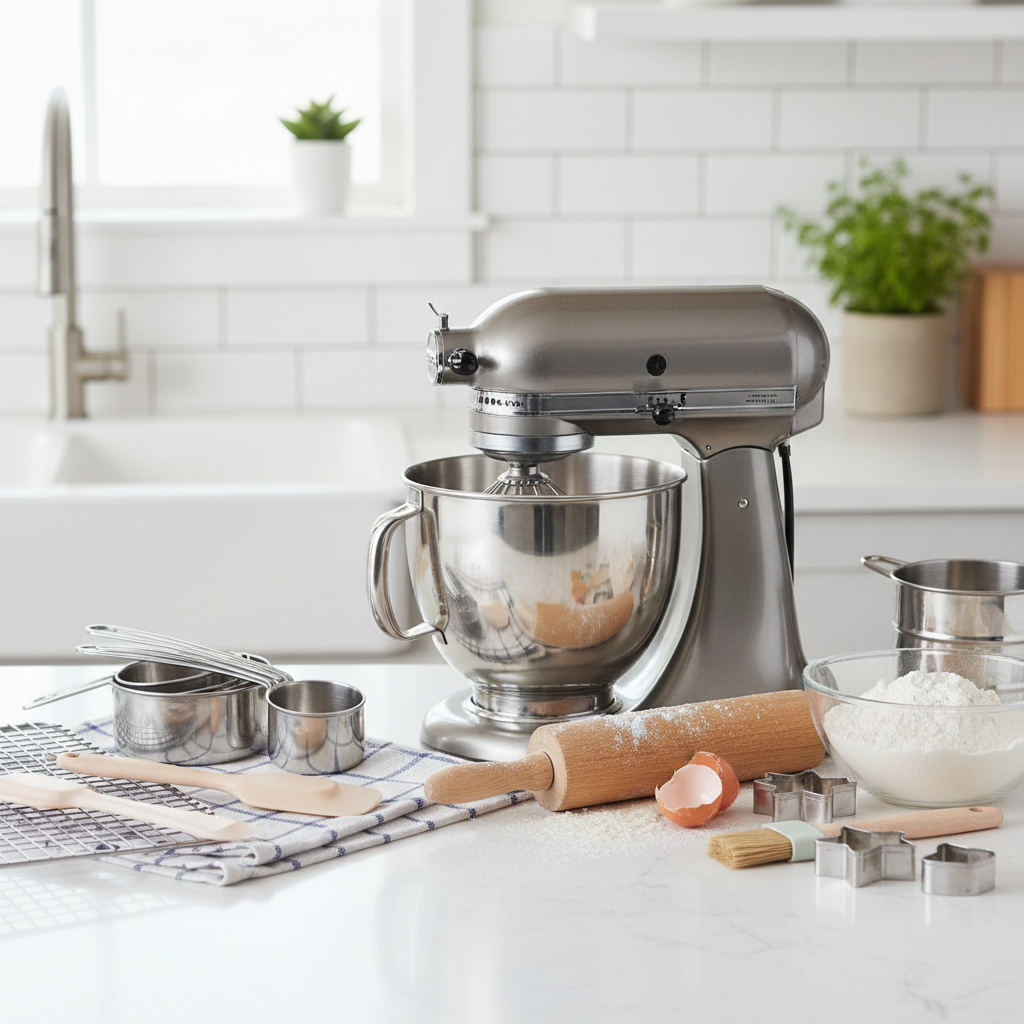
Equipment Needed
- 8-inch Round Cake Pan– A springform pan is ideal, but make sure it’s well-sealed with foil to prevent water bath leakage.
- Large Roasting Pan or Baking Dish– For the water bath.
- Electric Mixer– Stand mixer or hand mixer for whipping egg whites.
- Two Large Mixing Bowls– One for the cream cheese batter, one for the meringue.
- Whisk and Spatula– For mixing and folding.
- Sieve– For sifting flour and cornstarch.
- Parchment Paper– To line the bottom and sides of the cake pan.
The Full Recipe Card
Ingredients
- 250g (8.8 oz) full-fat cream cheese, softened
- 60g (2.1 oz) unsalted butter
- 100ml (3.4 fl oz) full-fat milk
- 6 large eggs, separated (room temperature)
- 90g (3.2 oz) granulated sugar, divided (40g for batter, 50g for meringue)
- 60g (2.1 oz) all-purpose flour, sifted
- 20g (0.7 oz) cornstarch, sifted
- 1 tsp lemon juice or 1/4 tsp cream of tartar (optional, for meringue)
- Pinch of salt
Instructions
- Prepare Your Pan– Preheat your oven to 325°F (160°C). Grease an 8-inch round cake pan and line the bottom with parchment paper. Cut a strip of parchment paper to line the sides, extending about 2 inches above the rim. Wrap the outside of the pan securely with two layers of heavy-duty aluminum foil to prevent water from seeping in during the water bath.
- Melt Cream Cheese Mixture– In a heatproof bowl set over a pot of simmering water (bain-marie), combine softened cream cheese, butter, and milk. Stir continuously until the mixture is smooth and completely melted. Remove from heat.
- Add Yolks and Flour– Whisk in the 40g of sugar until dissolved. Add the egg yolks one by one, whisking well after each addition until fully incorporated. Sift the flour and cornstarch into the mixture, then whisk until smooth and no lumps remain. Set aside to cool slightly.
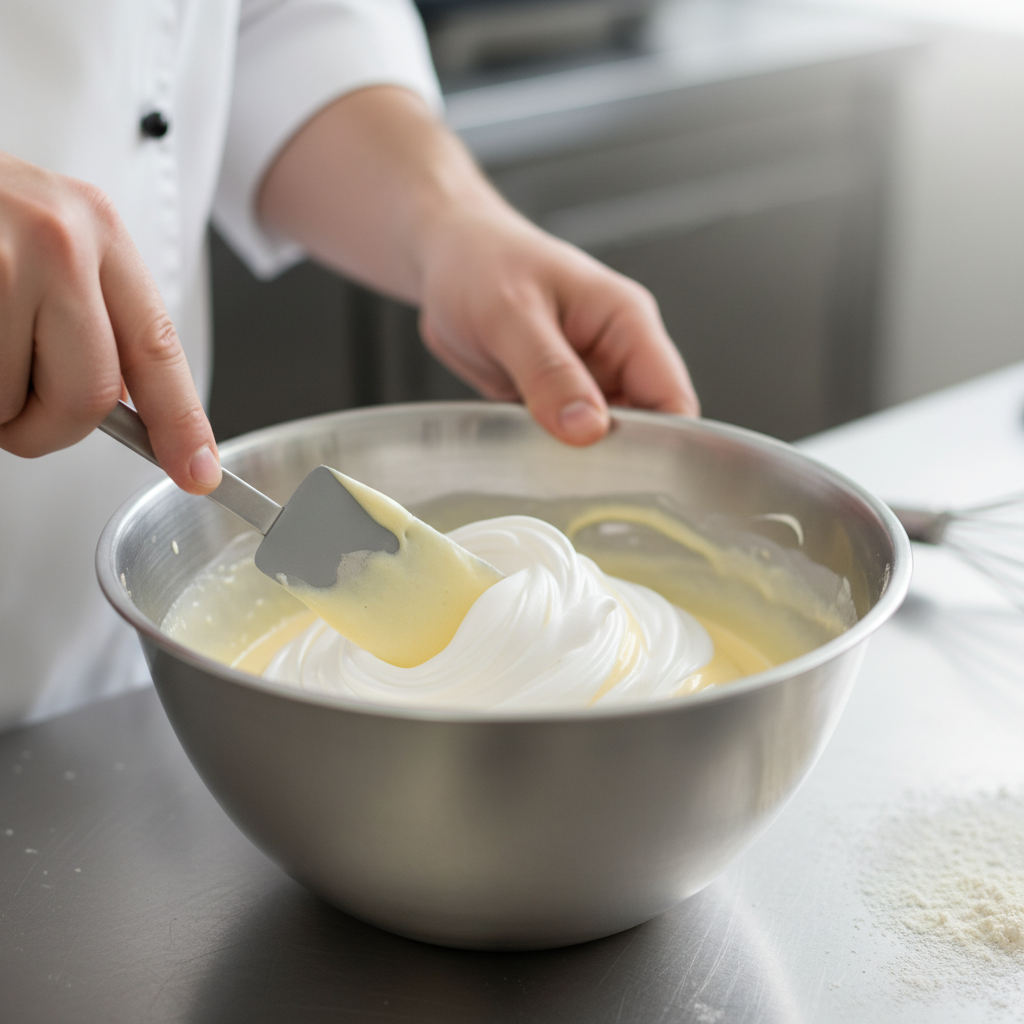
- Make the Meringue– In a separate, very clean large bowl, beat the egg whites with an electric mixer on medium speed. Once foamy, add the lemon juice or cream of tartar. Gradually add the remaining 50g of sugar, a tablespoon at a time, while continuing to beat on medium-high speed. Beat until you achieve soft peaks – the meringue should be glossy and hold its shape but still be soft and pliable.
- Fold the Meringue– Gently fold about one-third of the meringue into the cream cheese batter using a spatula until just combined. Then, add the remaining meringue in two additions, folding gently until no streaks of white remain. Be careful not to deflate the meringue.
- Bake in a Water Bath– Pour the batter into your prepared cake pan. Place the cake pan into the larger roasting pan. Carefully pour hot water into the roasting pan until it reaches about halfway up the sides of the cake pan.
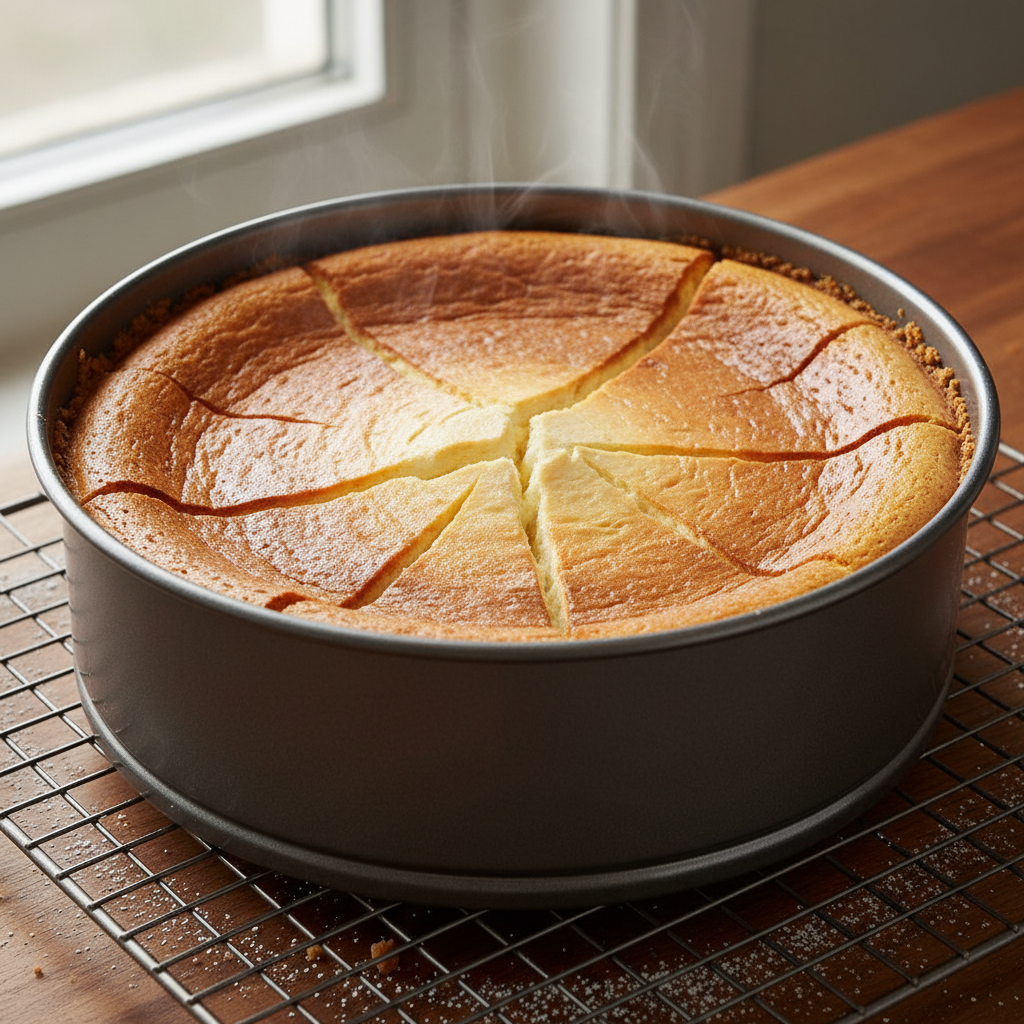
- Bake– Bake for 70-80 minutes, or until the top is golden brown and the cheesecake is set but still slightly jiggly in the center. The internal temperature should be 180-185°F (82-85°C).
- Cool and Chill– Once baked, turn off the oven and leave the cheesecake inside with the oven door ajar for 15-20 minutes to prevent cracking. Remove from the oven and the water bath. Let it cool completely on a wire rack before refrigerating for at least 4 hours, or preferably overnight.
Notes
- Ensure all ingredients are at room temperature for best results.
- Do not overmix the batter once flour is added, and be very gentle when folding the meringue.
- The water bath is crucial for a moist, crack-free cheesecake.
- Chilling is essential for the cheesecake to firm up and for flavors to meld.
Tips and Variations
- Citrus Zest– Add a teaspoon of lemon or orange zest to the batter for a brighter flavor.
- Vanilla Extract– A teaspoon of vanilla extract can enhance the overall taste.
- Chocolate Swirl– Gently swirl a few tablespoons of melted dark chocolate into a portion of the batter before pouring into the pan for a marbled effect.
- Matcha Flavor– Replace 1 tablespoon of all-purpose flour with 1 tablespoon of matcha powder for a delicate green tea flavor.
Pro Chef Tips
- Cleanliness for Meringue– Ensure your mixing bowl and whisk for the egg whites are absolutely free of any grease or yolk, as even a tiny speck can prevent the whites from whipping properly.
- Gentle Folding– Think of folding as cutting through the mixture and lifting from the bottom, rather than stirring. This preserves the air in the meringue.
- Perfect Water Bath– Use hot water, not cold, for the water bath to help maintain a stable oven temperature and even baking.
- Slow Cooling is Key– The gradual cooling process prevents the cheesecake from shrinking too much or cracking. Don’t rush it!
Common Mistakes to Avoid
- Over-whipping Meringue– Stiff, dry peaks will make the cake tough and difficult to fold. Aim for soft peaks.
- Overmixing Batter– Once flour is added, overmixing develops gluten, leading to a dense cake. Mix just until combined.
- Skipping the Water Bath– This will result in a dry, cracked cheesecake.
- Opening Oven Door Too Soon– Resist the urge! Sudden temperature changes cause cracks and shrinking.
- Not Chilling Enough– The cheesecake needs time to set properly. Patience is a virtue here.
Storage and Meal Prep

This cheesecake stores beautifully! Keep it covered tightly with plastic wrap or in an airtight container in the refrigerator for up to 3-4 days. For optimal freshness, cover individual slices.
Make-Ahead and Freezer Notes
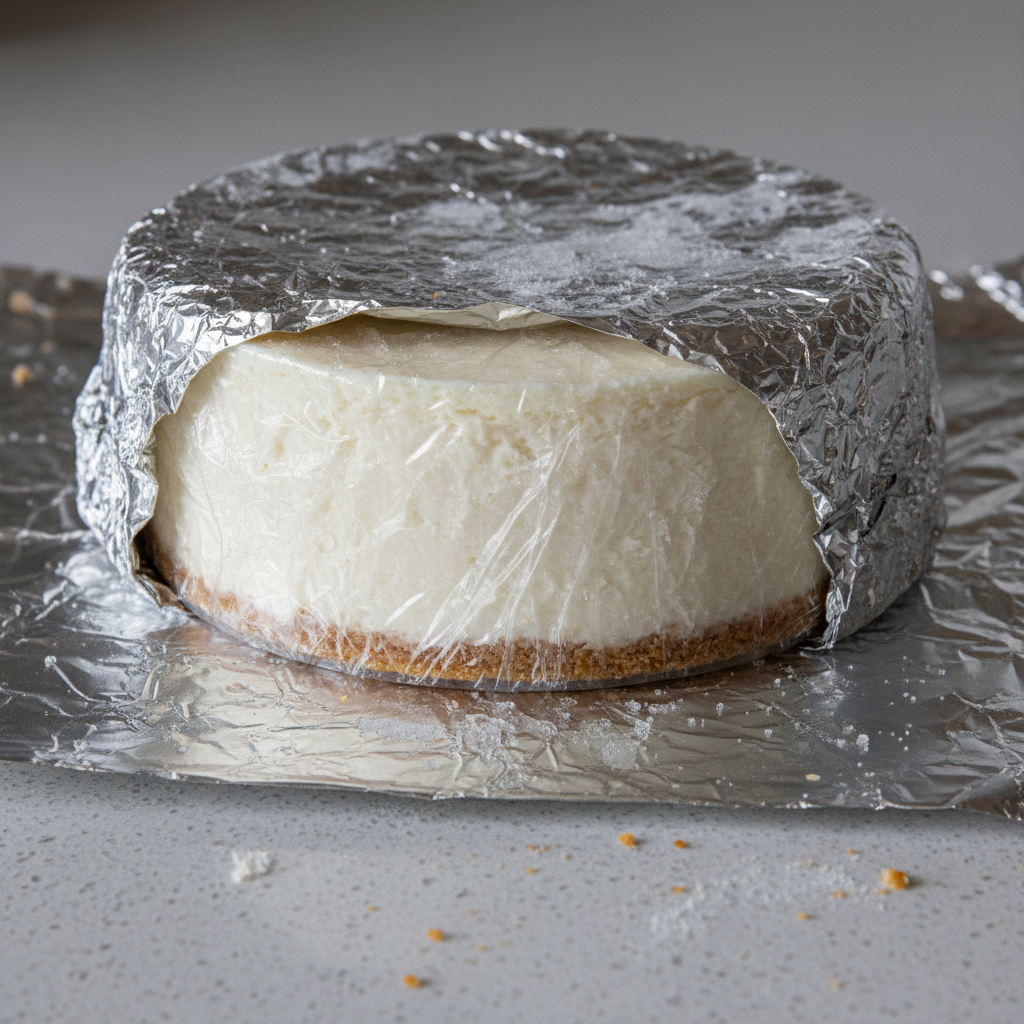
You can definitely make this cheesecake ahead of time. It actually tastes better the next day once the flavors have had a chance to meld. For freezing, wrap the completely cooled cheesecake (or individual slices) tightly in plastic wrap, then in aluminum foil. It can be frozen for up to 1 month. Thaw in the refrigerator overnight before serving.
Serving Suggestions
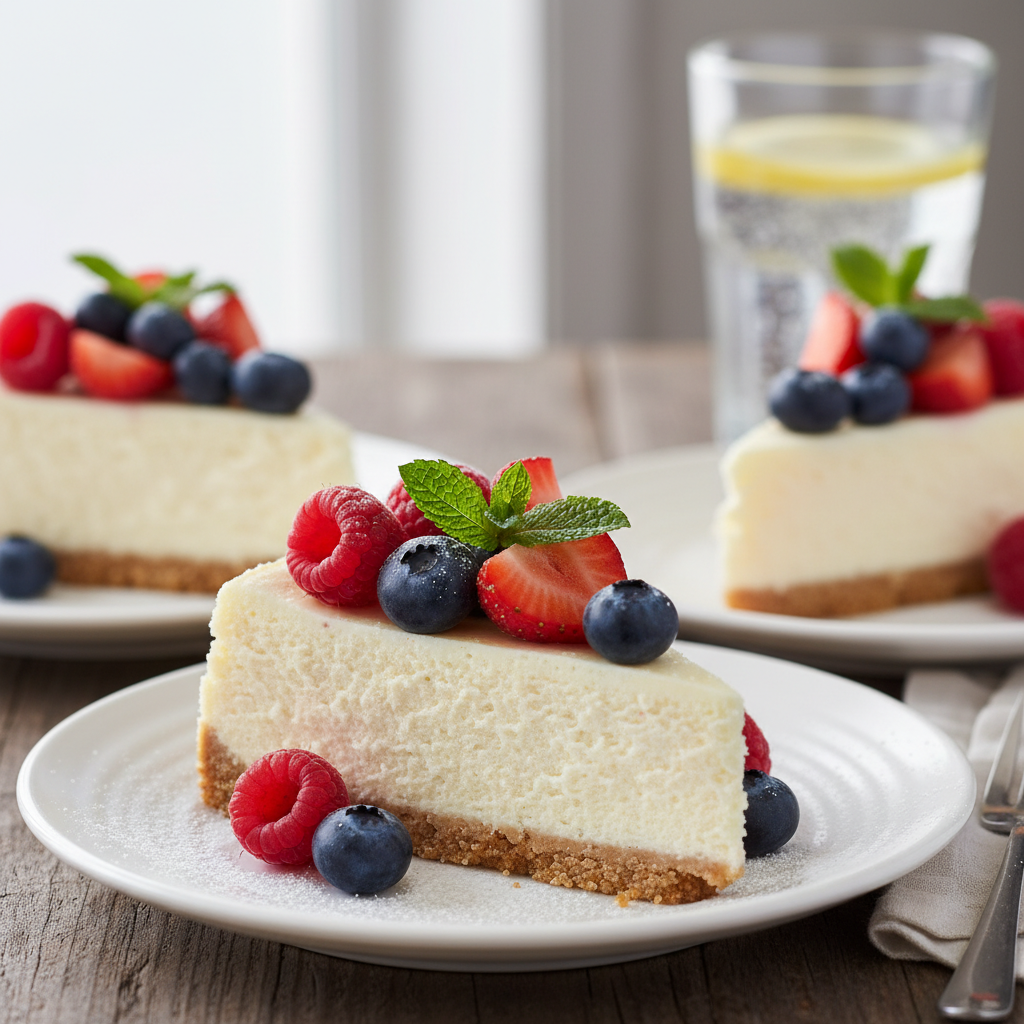
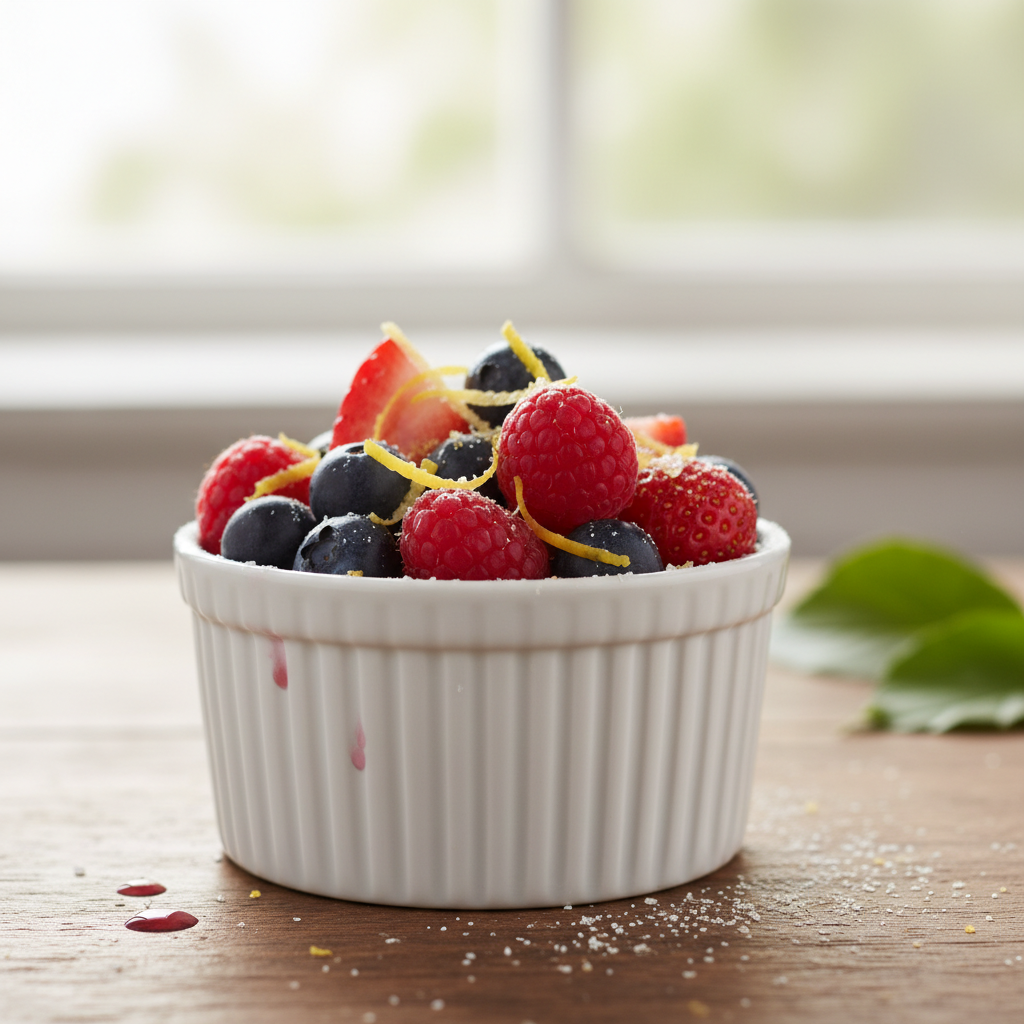
The beauty of Japanese Cotton Cheesecake is its simplicity, but a few garnishes can elevate it further:
- Fresh Berries– Strawberries, raspberries, or blueberries add a lovely tart contrast.
- Dusting of Powdered Sugar– Simple, elegant, and classic.
- Light Whipped Cream– A dollop of unsweetened whipped cream complements its lightness.
- Fruit Coulis– A drizzle of raspberry or passion fruit coulis adds a touch of gourmet flair.