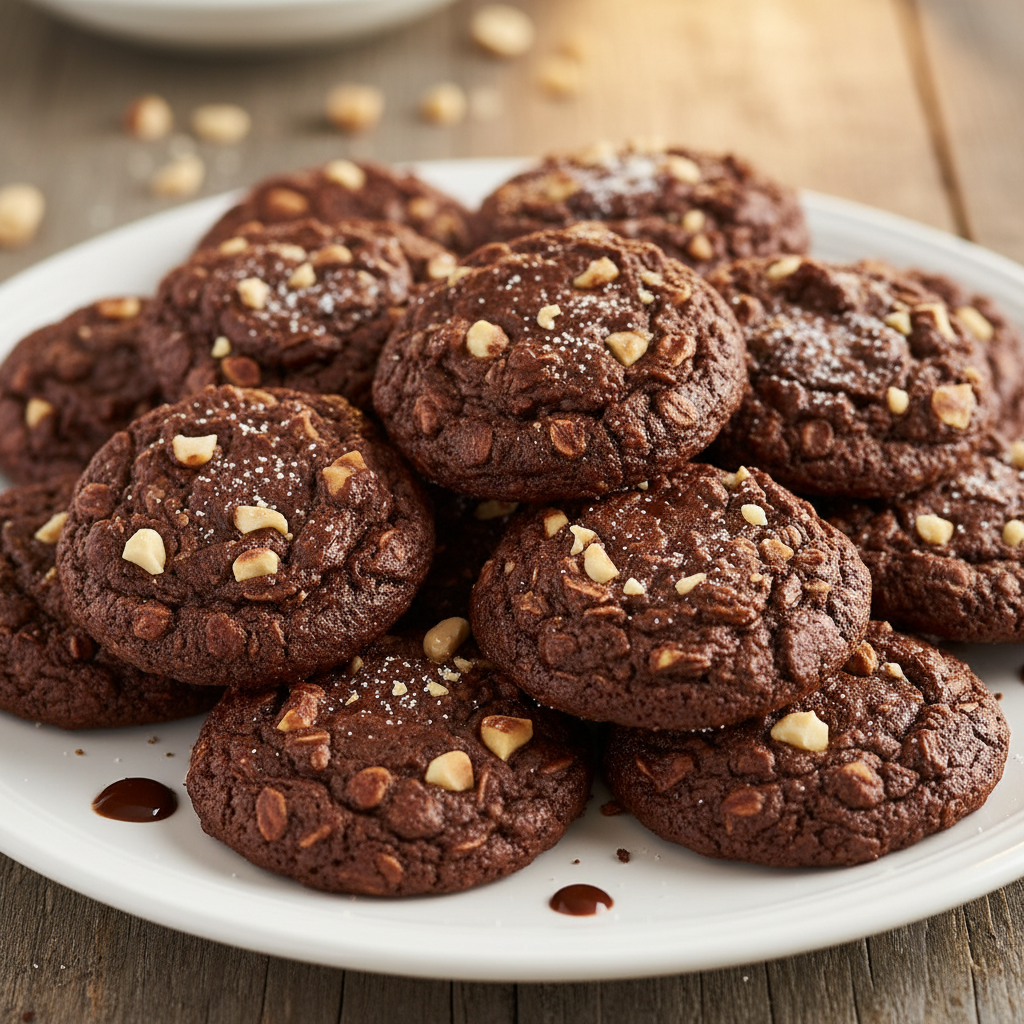
Are you yearning for a sweet treat but don’t want to turn on your oven or spend hours baking? You’re in luck! This no-bake cookies recipe is your ultimate solution for a quick, delicious dessert that comes together in a flash. Imagine rich chocolate, creamy peanut butter, and hearty oats combined into a perfect bite-sized cookie, all without the fuss of baking. Get ready to whip up a batch of these classic favorites that will satisfy your sweet tooth and impress your friends and family!
A Sweet History of No Bake Delights
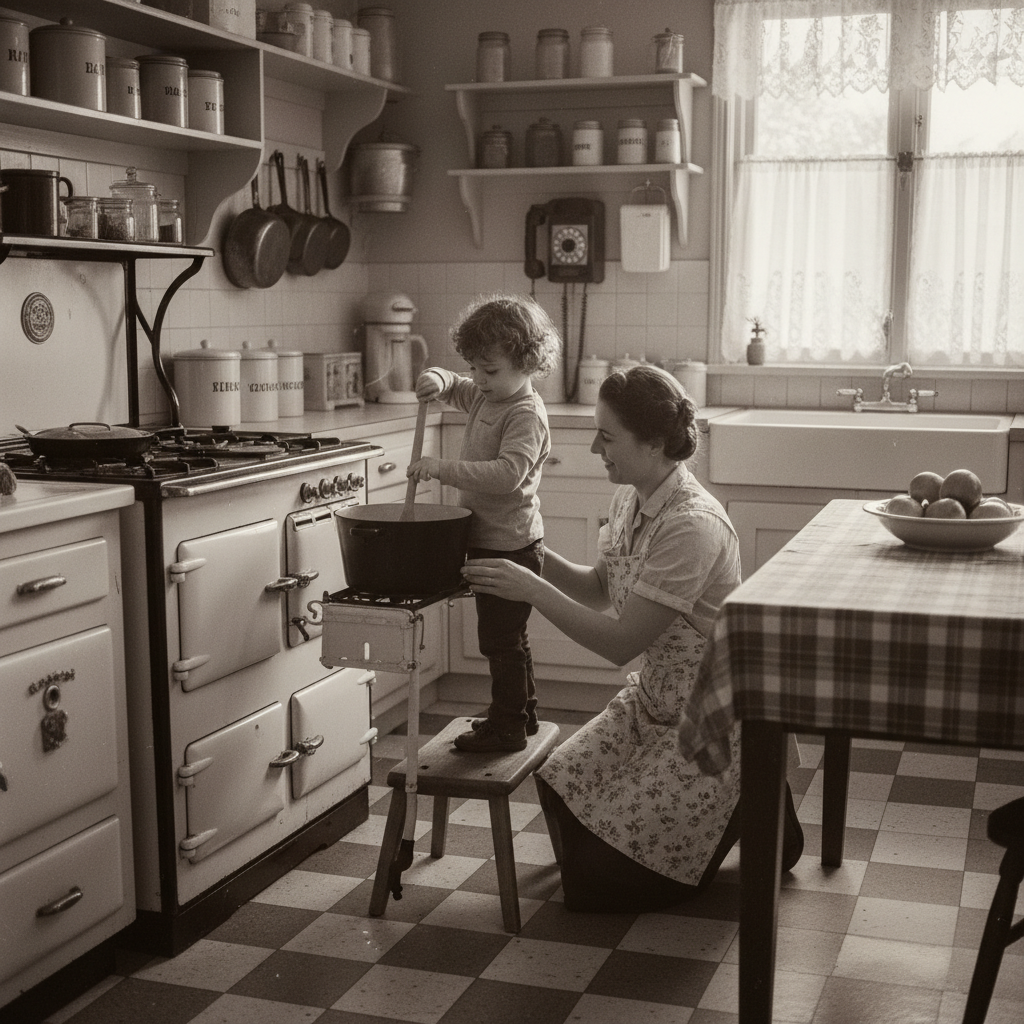
No-bake cookies have a comforting, nostalgic feel, and for good reason! Their origins can be traced back to the early 20th century, becoming especially popular during the Great Depression and World War II when ovens were less common or ingredients were scarce. These simple, resourceful treats offered a way to create something sweet with basic pantry staples. Over the decades, they evolved into the beloved chocolate peanut butter oat cookies we know today, a staple in many American households for their ease and irresistible flavor. They represent a timeless tradition of simple joy in the kitchen.
Why You’ll Adore These Cookies
- Effortlessly Simple You don’t need any special baking skills or fancy equipment.
- Lightning Fast From start to finish, these cookies are ready in mere minutes, then just need to set.
- No Oven Required Perfect for hot days or when you just don’t want to heat up your kitchen.
- Kid-Friendly Fun A great recipe for involving little helpers in the kitchen (with adult supervision for the stovetop part!).
- Irresistibly Delicious The classic combination of chocolate and peanut butter with a chewy oat texture is a winner every time.
- Budget-Friendly Made with common, inexpensive pantry ingredients.
Key Ingredient Notes
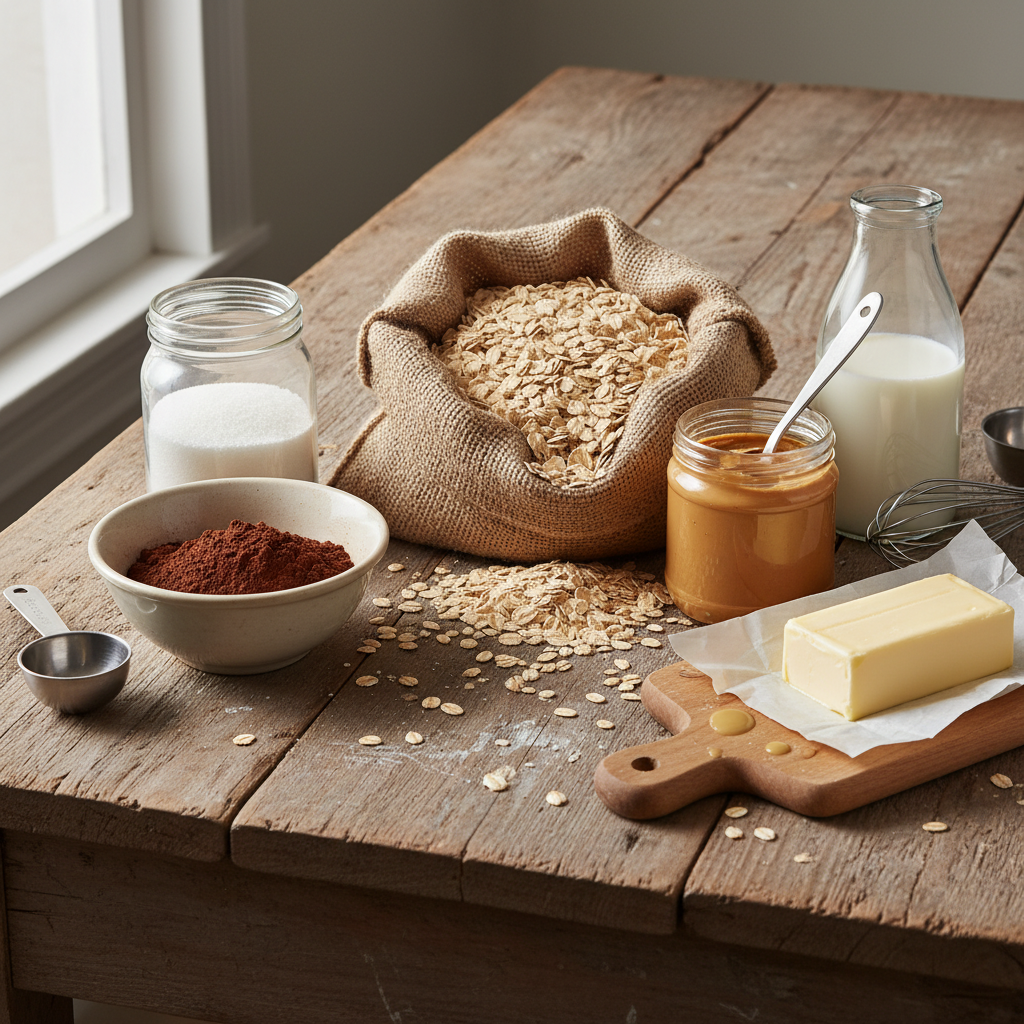
While this recipe uses simple ingredients, understanding each one’s role ensures perfect cookies every time.
- Granulated Sugar This is crucial for sweetness and helps create the necessary syrup base.
- Unsalted Butter Provides richness and helps bind the ingredients. Using unsalted gives you control over the saltiness.
- Milk Any kind of milk works—dairy or non-dairy—to help create the liquid base for the syrup.
- Cocoa Powder Unsweetened cocoa powder gives these cookies their deep chocolatey flavor.
- Peanut Butter Creamy peanut butter is best here for a smooth consistency. Avoid natural or oil-separated peanut butter as it can change the texture.
- Vanilla Extract A splash of vanilla enhances all the other flavors beautifully.
- Quick-Cooking Oats These are essential! They absorb the liquid quickly and give the cookies their signature chewy texture. Do not use old-fashioned or steel-cut oats, as they won’t absorb enough liquid.
Essential Equipment You’ll Need
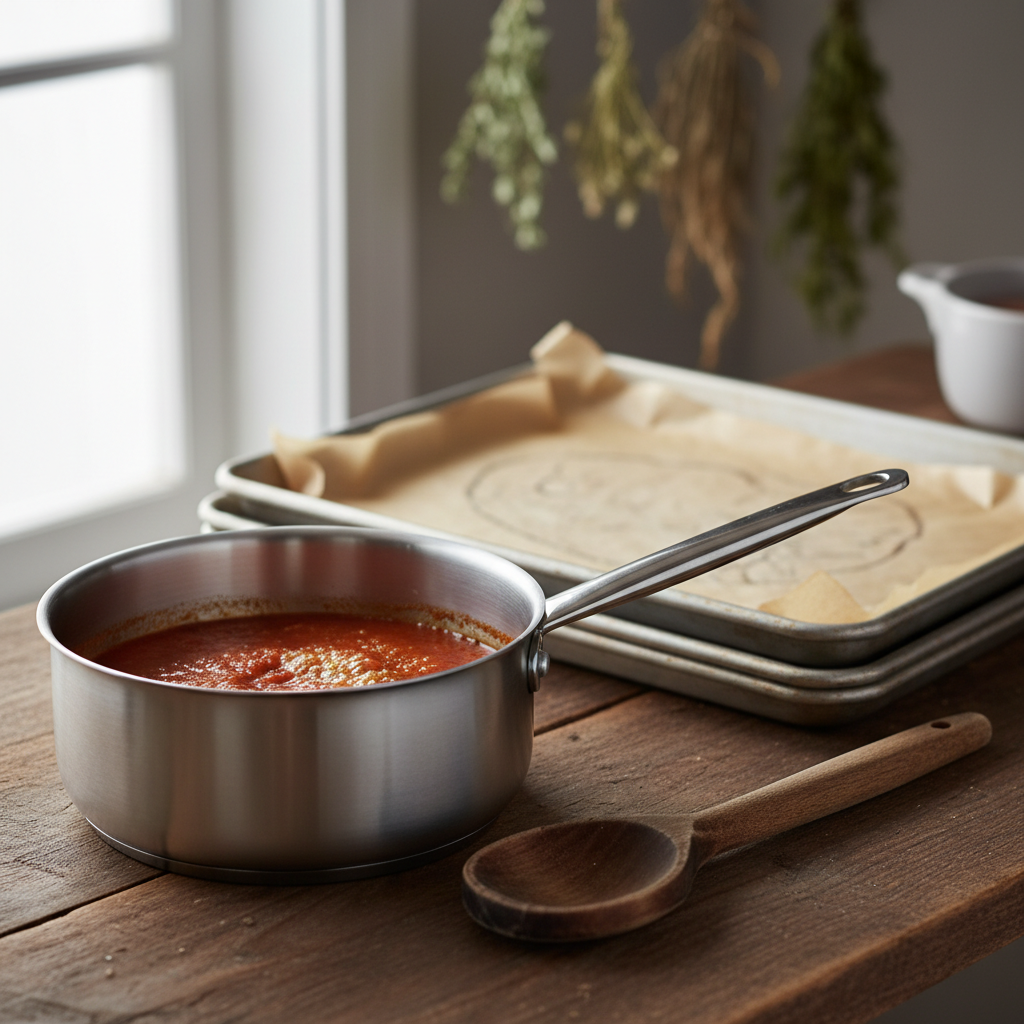
Good news! You likely already have everything you need in your kitchen.
- Medium Saucepan For cooking the sugar mixture.
- Sturdy Wooden Spoon or Spatula For stirring.
- Measuring Cups and Spoons For accurate ingredient amounts.
- Parchment Paper or Wax Paper To line your baking sheets for easy removal.
- Baking Sheets or Trays To place the cookies on while they set.
Your Full Recipe Card
Ingredients
- 2 cups granulated sugar
- 1/2 cup unsalted butter (1 stick)
- 1/2 cup milk (any kind)
- 1/4 cup unsweetened cocoa powder
- 1/2 cup creamy peanut butter
- 1 teaspoon vanilla extract
- 3 cups quick-cooking oats
Instructions
- Line two baking sheets with parchment paper or wax paper.
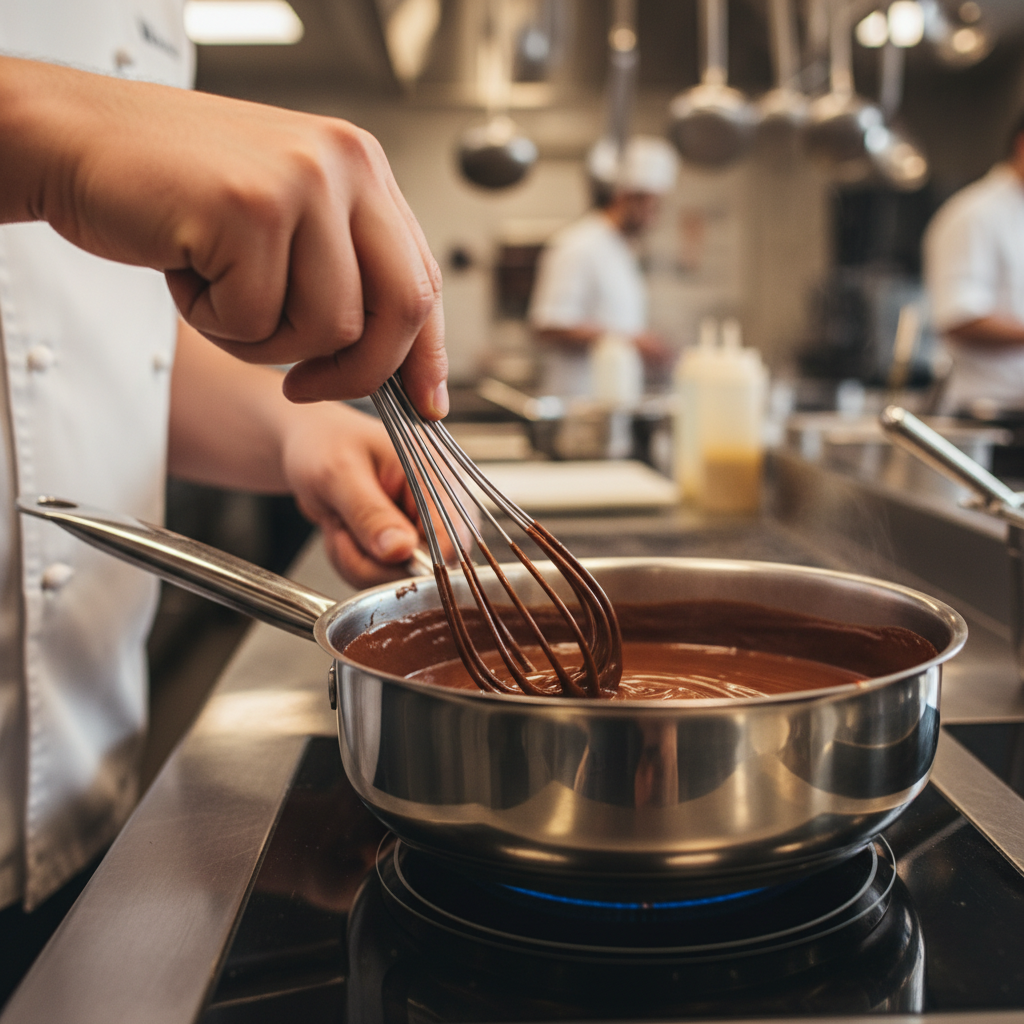
- In a medium saucepan, combine the sugar, butter, milk, and cocoa powder. Place over medium heat.
- Bring the mixture to a rolling boil, stirring occasionally. Once it reaches a full boil, continue to boil for exactly 1 minute, stirring constantly to prevent scorching.
- Remove the saucepan from the heat immediately.
- Stir in the peanut butter and vanilla extract until completely smooth and melted.
- Add the quick-cooking oats and stir well until all the oats are thoroughly coated with the chocolate peanut butter mixture.
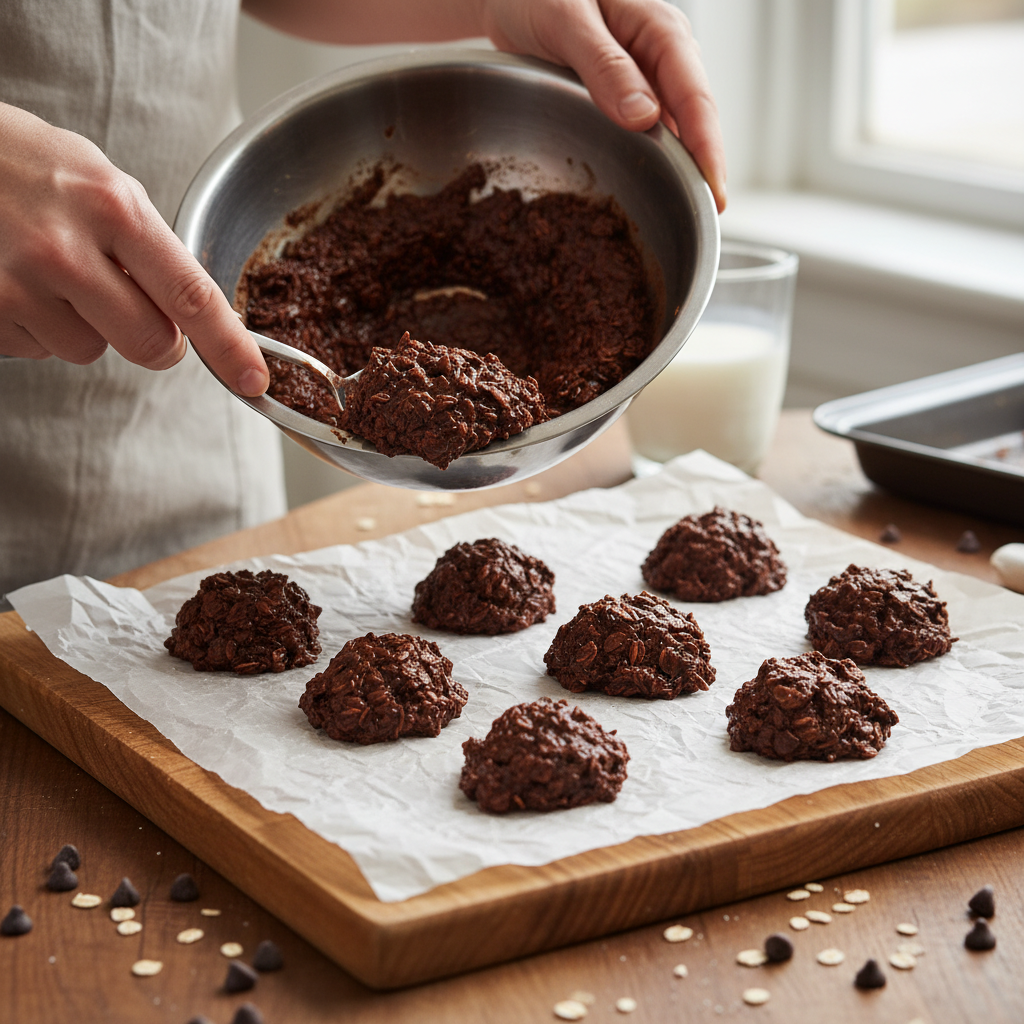
- Working quickly, drop spoonfuls of the mixture onto the prepared baking sheets. You can use a cookie scoop or two spoons.
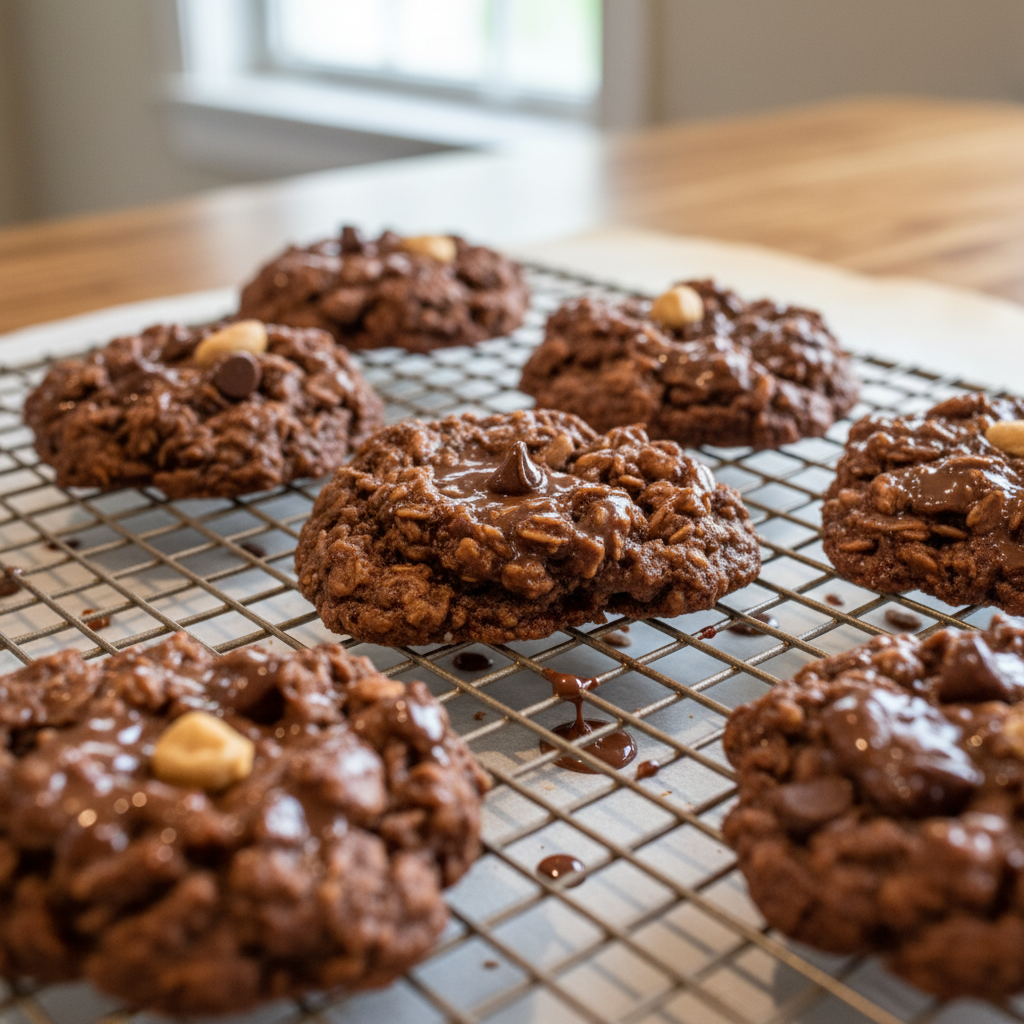
- Allow the cookies to cool and set completely at room temperature for about 30-60 minutes, or in the refrigerator for 15-20 minutes, until firm.
- Once set, enjoy your delicious no-bake cookies!
Recipe Notes
- Timing is Everything Boiling for exactly 1 minute is crucial. Too short, and they won’t set; too long, and they might become crumbly.
- Work Quickly The mixture sets fast once the oats are added, so be ready to scoop immediately.
- Room Temperature Matters If your kitchen is very warm, they might take longer to set. A quick chill in the fridge helps!
Tips and Creative Variations
Once you master the basic recipe, feel free to get creative!
- Nut-Free Option If there are peanut allergies, substitute sunflower seed butter (like SunButter) for the peanut butter.
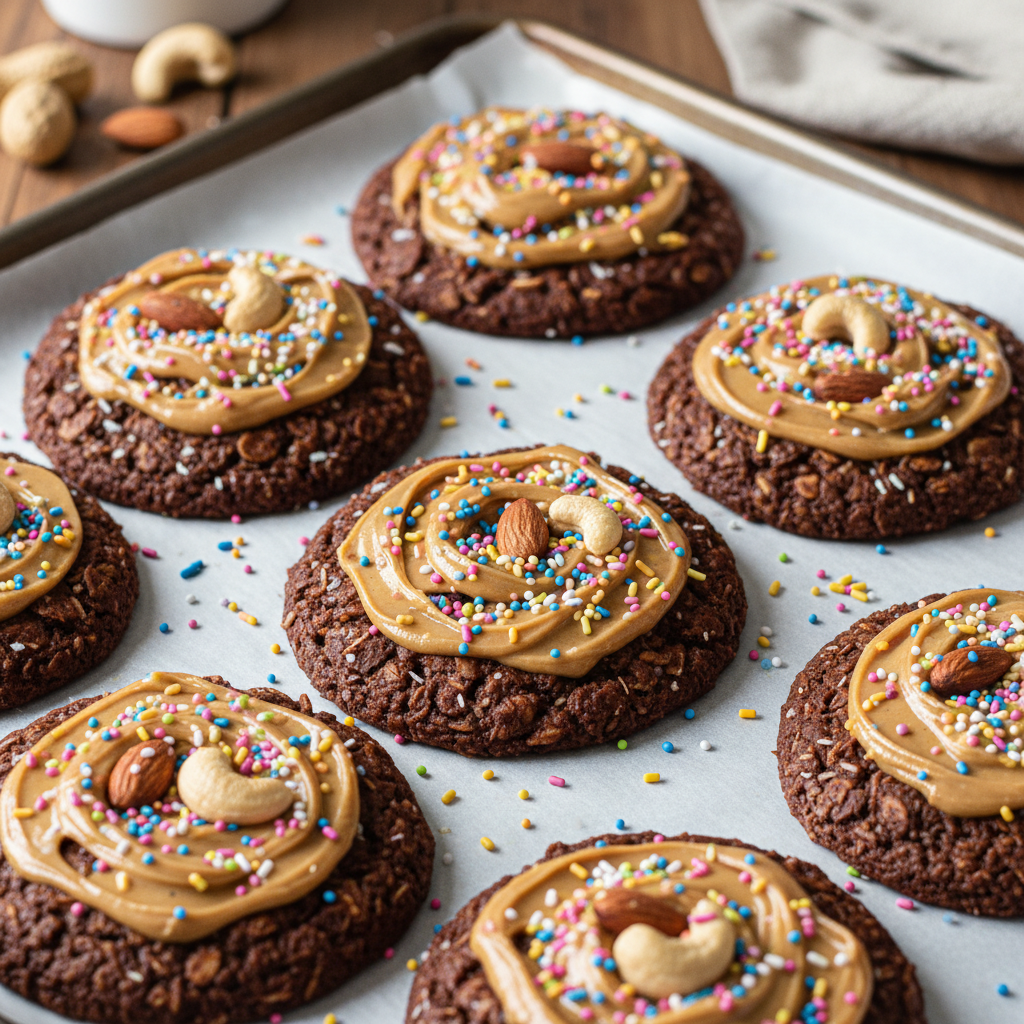
- Add-ins Stir in a handful of shredded coconut, mini chocolate chips, or chopped nuts (like walnuts or pecans) with the oats for extra texture and flavor.
- Spice It Up A pinch of cinnamon or a tiny dash of cayenne pepper can add a lovely warmth and depth to the chocolate.
- Extract Variations Experiment with almond extract or a touch of peppermint extract for a festive twist.
- Different Toppings Drizzle with melted white chocolate or sprinkle with sea salt before they set for a gourmet touch.
Pro Chef Secrets for Success
Even for a simple recipe, a few pro tips can elevate your results.
- Use a Timer for Boiling Seriously, don’t eyeball the 1 minute boil time. A timer ensures consistency.
- Prepare Your Station Have your baking sheets lined and all ingredients measured out before you start cooking. This recipe moves fast!
- Stir Constantly During Boil This prevents the sugar from scorching on the bottom of the pan and ensures even cooking.
- Clean Edges of Pan As the mixture boils, sometimes sugar crystals can form on the sides. Use a wet pastry brush to gently wash these down into the mixture to prevent graininess.
- Don’t Overmix Oats Once the oats are added, mix just until combined. Overmixing can make the cookies tough.
Common Mistakes to Avoid
Even simple recipes have pitfalls! Steer clear of these common errors:
- Not Boiling Long Enough This is the most frequent mistake. If the mixture doesn’t boil for a full minute, your cookies won’t set and will remain gooey.
- Boiling Too Long Conversely, boiling for too long can cause the sugar to crystallize, resulting in dry, crumbly cookies.
- Using the Wrong Oats Old-fashioned or steel-cut oats will not absorb the liquid properly, leading to a runny or gritty texture. Always use quick-cooking oats.
- Not Stirring Enough During the boil, if you don’t stir, the bottom can burn, or the sugar won’t dissolve properly.
- Adding Oats Too Soon Make sure the mixture is off the heat before adding oats, or they might cook too much and become tough.
- Skipping Parchment Paper This makes cleanup much harder and risks cookies sticking.
Storage and Easy Meal Prep
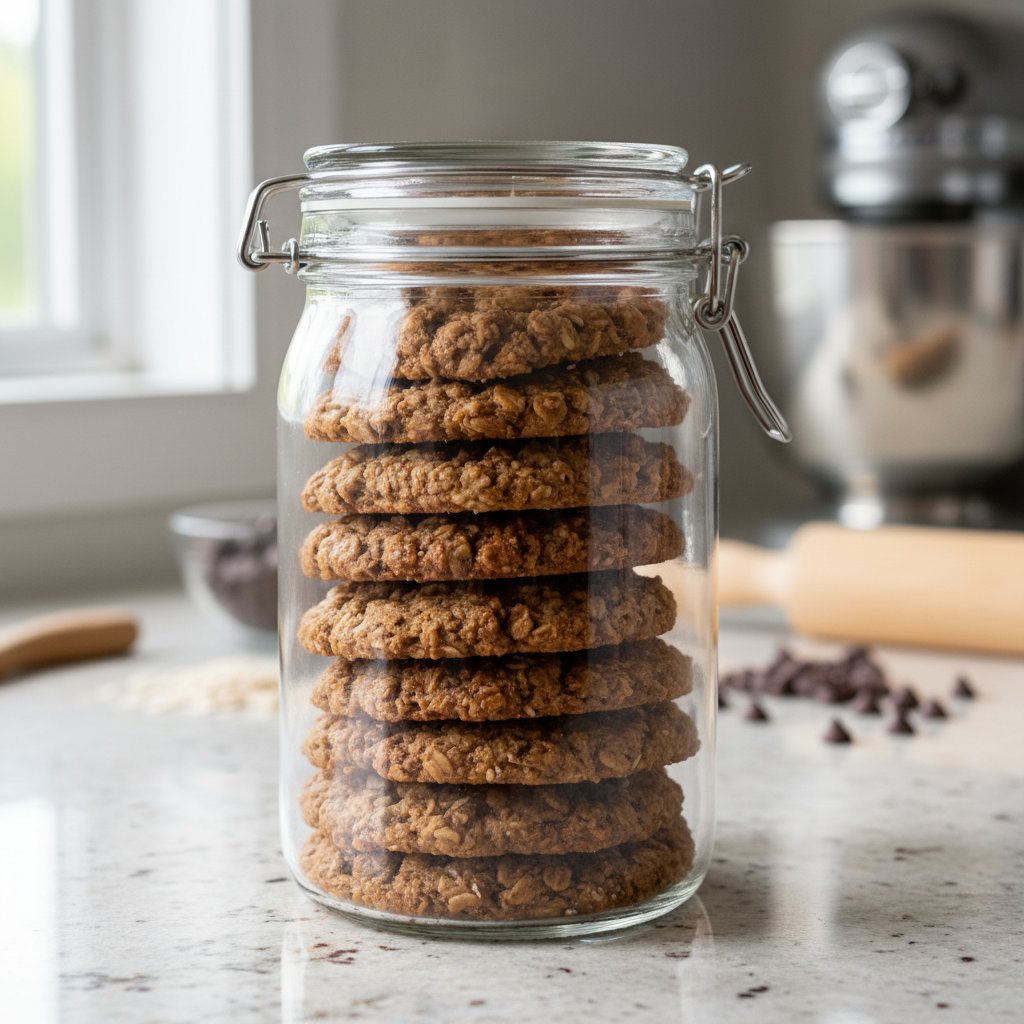
No-bake cookies are fantastic for meal prep because they store so well. Once completely set, transfer them to an airtight container. They will stay fresh at room temperature for up to 5-7 days. If your kitchen is particularly warm, storing them in the refrigerator can help them maintain their shape and firmness, and they can last even longer, up to 2 weeks, in the fridge. Just be sure they are in a single layer or separated by parchment paper to prevent sticking.
Make-Ahead and Freezer Notes
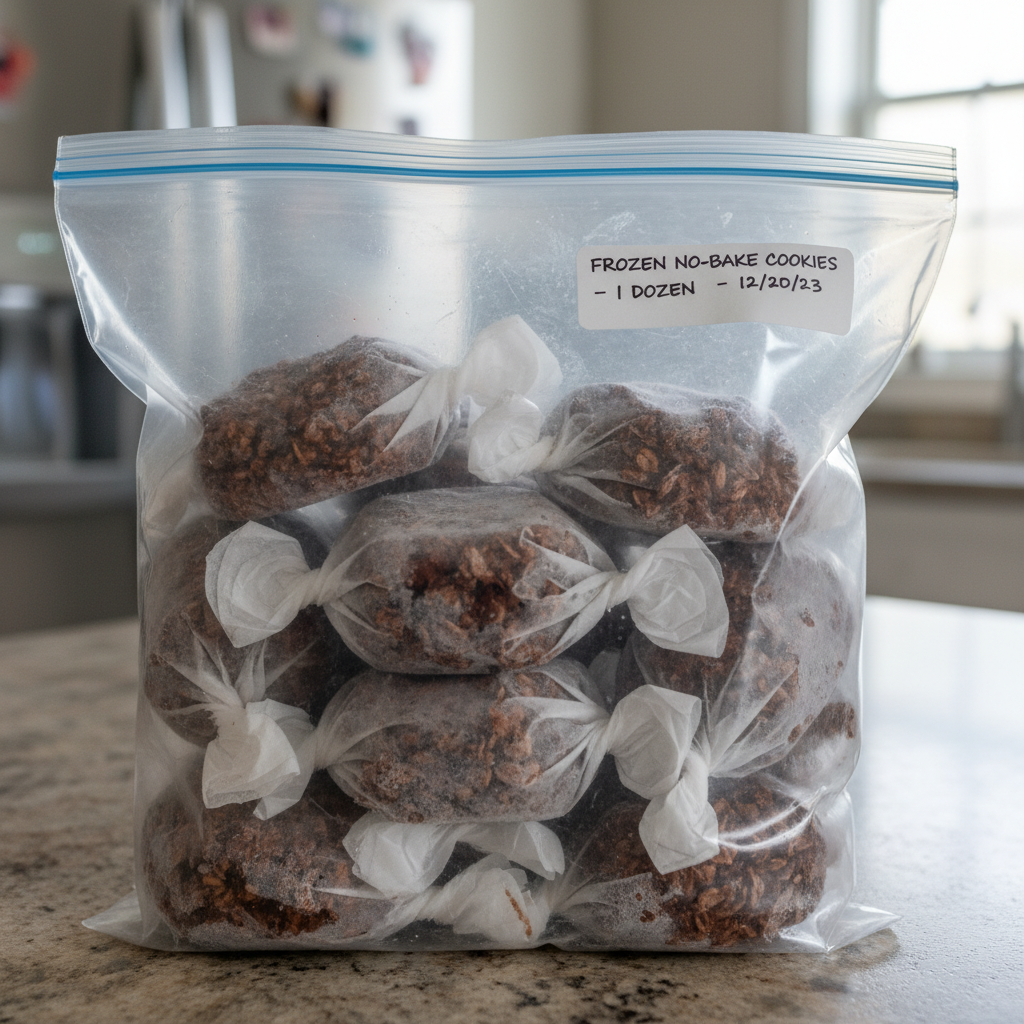
These cookies are an excellent make-ahead treat! You can prepare a batch days in advance for parties or just to have on hand. For longer storage, no-bake cookies freeze beautifully. Once fully set, place them in a single layer on a baking sheet and freeze for about an hour. Then, transfer the frozen cookies to a freezer-safe airtight container or a heavy-duty freezer bag. They can be stored in the freezer for up to 2-3 months. Thaw them at room temperature for about 15-30 minutes before serving, or enjoy them straight from the freezer for a chewy, frosty treat!
Delicious Serving Suggestions
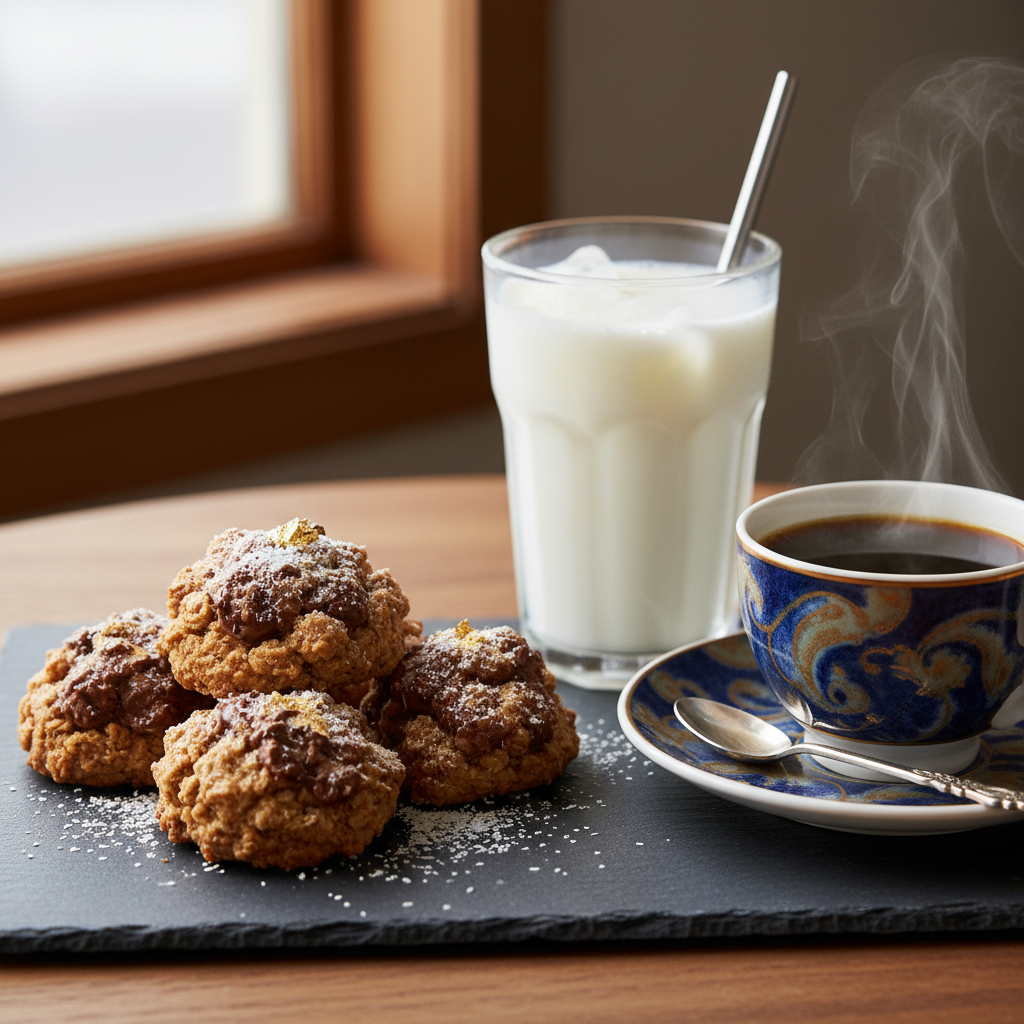
While these cookies are perfect on their own, here are a few ideas to make them even more special:
- Classic Milk Pairing A tall, cold glass of milk is the quintessential companion for these rich, chocolatey cookies.
- Coffee Break Treat Enjoy them with your morning coffee or an afternoon espresso for a delightful pick-me-up.
- Dessert Platter Arrange them on a platter with other small desserts for a party or gathering.
- Ice Cream Topping Crumble a few over a scoop of vanilla ice cream for an instant sundae.
- Gifts from the Kitchen Package them in a pretty box or bag for a homemade gift that everyone will appreciate.