Oh, the lemon tart! Just the name conjures up images of sunny days, delightful gatherings, and that perfect balance of sweet and tangy. If you’ve ever felt intimidated by making one from scratch, let me assure you, you’re not alone. But guess what? Today, that changes! We’re diving into a recipe that’s not just simple and straightforward, but also guarantees a wonderfully smooth, vibrantly flavored lemon tart that will impress everyone, especially yourself. Get ready to bake a little sunshine!
History and Background

The humble lemon tart, or ‘tarte au citron’ as it’s known in its spiritual home, France, has a long and storied past. While the exact origins are a bit murky, tarts themselves have been a culinary staple since medieval times, evolving from savory meat pies to the sweet, fruit-filled delights we cherish today. Lemons, introduced to Europe centuries ago, quickly found their way into desserts, prized for their bright, zesty flavor. The classic French lemon tart typically features a rich, buttery shortcrust pastry and a silky, intensely lemony custard filling. It’s a timeless dessert that has gracefully stood the test of time, beloved for its elegant simplicity and refreshing taste. Our recipe pays homage to this classic, making it accessible for every home baker.
Why You Will Love This Recipe
- Incredibly Flavorful This tart bursts with bright, zesty lemon goodness.
- Smooth and Creamy Texture Achieve that professional, melt-in-your-mouth filling.
- Beginner-Friendly Clear instructions make it easy for new bakers.
- Impressive Presentation Looks absolutely stunning on any dessert table.
- Perfectly Balanced Sweetness Not too tart, not too sweet—just right!
Ingredient Notes for Your Lemon Tart
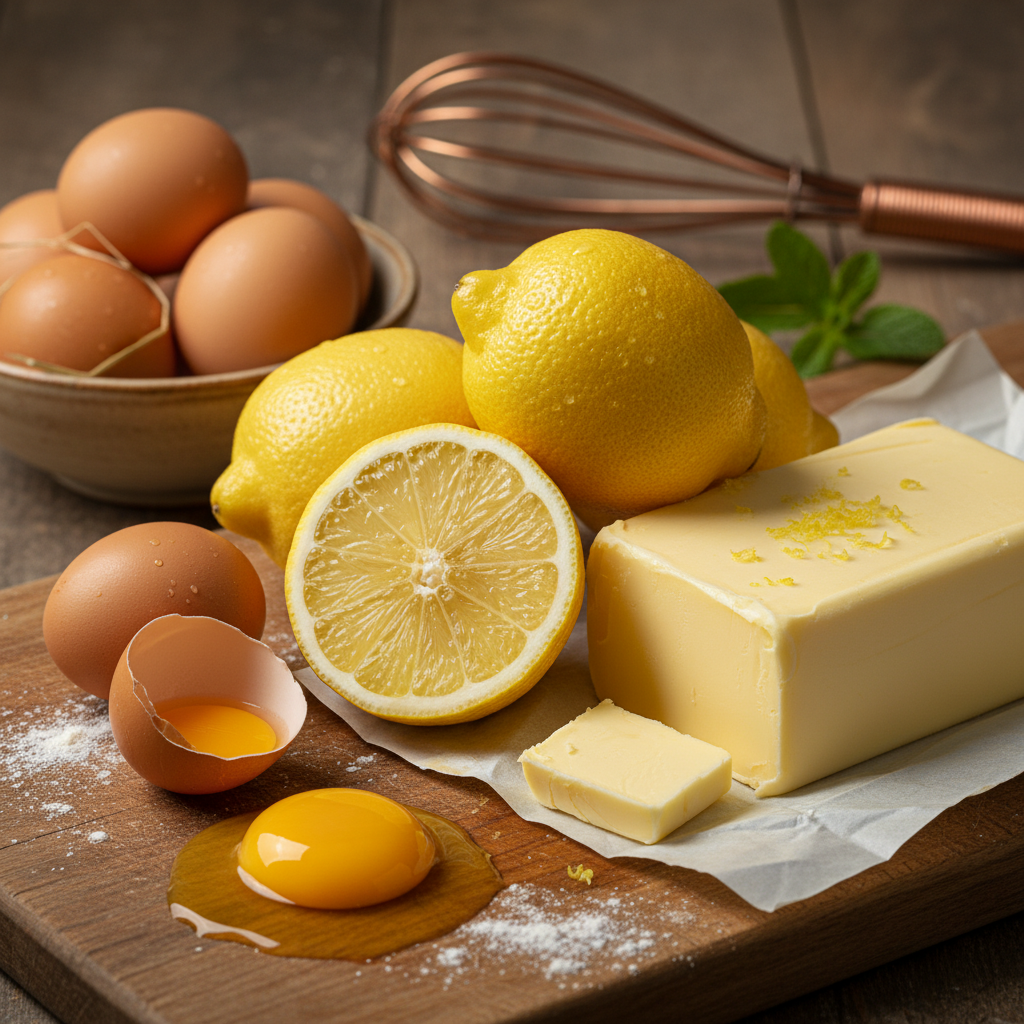
Every great recipe starts with great ingredients. For our lemon tart, a few key players ensure success:
- Lemons Fresh lemons are non-negotiable! You’ll need both the zest and the juice. Organic lemons are often best as you’ll be using the rind.
- Butter Use unsalted butter for the pastry. It gives you control over the saltiness and provides that rich, flaky texture. Make sure it’s cold for the pastry, and softened for the filling.
- Eggs These are crucial for the custard’s structure and richness. Use large eggs, preferably at room temperature for better emulsification.
- Sugar Granulated sugar balances the tartness of the lemons beautifully.
- Heavy Cream This is the secret to an extra-smooth, luxurious filling. Don’t skip it!
- All-Purpose Flour The base for our delicious, sturdy crust.
Essential Equipment for Lemon Tart
You don’t need a professional kitchen, but a few tools will make your tart-making journey much smoother:
- 9-inch Tart Pan with Removable Bottom This is essential for easy removal and presentation.
- Food Processor or Stand Mixer (Optional, but helpful for pastry) For quickly making the crust. A bowl and your hands work too!
- Rolling Pin For rolling out the pastry dough.
- Mixing Bowls Several sizes for ingredients and mixing.
- Whisk For combining the filling ingredients until smooth.
- Fine-Mesh Sieve To strain the lemon filling for ultimate smoothness.
- Measuring Cups and Spoons Accuracy is key in baking.
- Baking Weights or Dried Beans/Rice For blind baking the crust.
Lemon Tart Recipe Card

Yields 8 servings
Prep time 45 minutes
Cook time 35-40 minutes
Chill time 2 hours
Ingredients
For the Shortcrust Pastry
- 1 ½ cups (180g) all-purpose flour
- ½ cup (113g) cold unsalted butter, cubed
- ¼ cup (50g) granulated sugar
- ¼ teaspoon salt
- 2-3 tablespoons ice water
For the Lemon Filling
- 4 large eggs
- 1 cup (200g) granulated sugar
- ½ cup (113g) unsalted butter, melted and cooled slightly
- ½ cup (120ml) fresh lemon juice (from 3-4 lemons)
- 2 tablespoons lemon zest (from 2-3 lemons)
- ¼ cup (60ml) heavy cream
- Pinch of salt
Instructions
- Make the Pastry In a food processor, pulse flour, sugar, and salt until combined. Add cold butter and pulse until pea-sized crumbs form. Gradually add ice water, 1 tablespoon at a time, pulsing until dough just comes together. Do not overmix.
- Chill the Dough Form the dough into a disc, wrap in plastic wrap, and chill in the refrigerator for at least 30 minutes.
- Roll and Blind Bake On a lightly floured surface, roll out the chilled dough into a 12-inch circle. Carefully transfer it to your 9-inch tart pan. Press into the bottom and up the sides. Trim excess dough. Prick the bottom with a fork. Line with parchment paper and fill with baking weights. Blind bake at 375°F (190°C) for 15 minutes. Remove weights and parchment, then bake for another 5-7 minutes until lightly golden. Let cool slightly. Reduce oven temperature to 325°F (160°C).
- Prepare the Filling In a large bowl, whisk together eggs and granulated sugar until well combined. Whisk in the melted butter, lemon juice, lemon zest, heavy cream, and a pinch of salt until smooth.
- Strain the Filling For the smoothest possible texture, pour the lemon filling through a fine-mesh sieve into a clean bowl. This removes any bits of cooked egg or zest.
- Bake the Tart Pour the strained filling into the pre-baked tart shell. Carefully transfer the tart pan to the oven. Bake at 325°F (160°C) for 25-30 minutes, or until the edges are set but the center still has a slight jiggle.
- Cool and Chill Let the tart cool completely on a wire rack. Once at room temperature, transfer to the refrigerator and chill for at least 2 hours, or until firm.
- Serve Carefully remove the tart from the pan. Slice and serve!
Notes
- For an extra crisp crust, consider brushing the blind-baked shell with a thin layer of egg white before the final bake.
- Don’t overmix the pastry dough; this can make it tough.
- Adjust sugar to your preference if you like it sweeter or tarter.
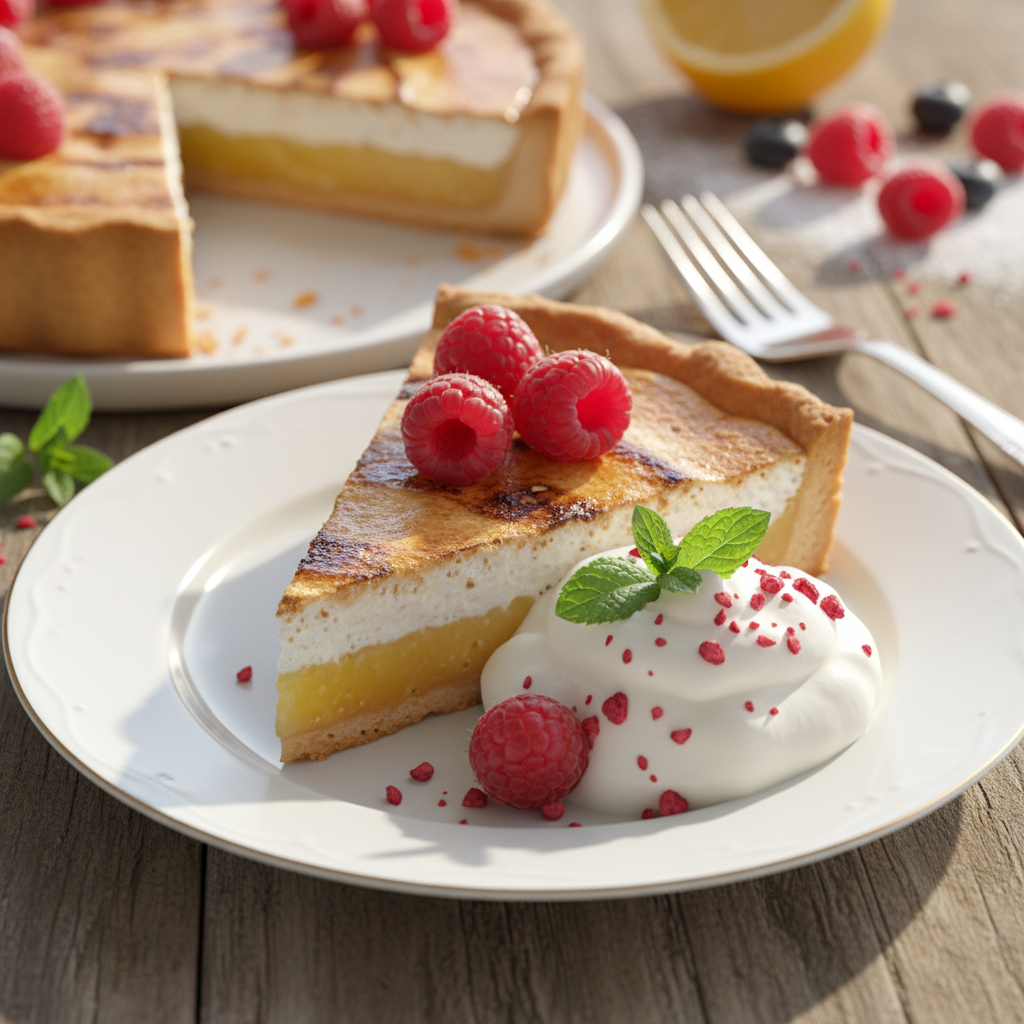
Tips and Delicious Variations
- Berry Burst Garnish your cooled tart with fresh raspberries, blueberries, or sliced strawberries for a pop of color and extra freshness.
- Meringue Topping For a classic lemon meringue tart, top the cooled tart with a layer of toasted meringue.
- Coconut Twist Add a teaspoon of coconut extract to the filling for a tropical touch.
- Lime Tart Substitute lemons with limes for a vibrant key lime pie-inspired dessert.
- Dust with Sugar A light dusting of powdered sugar just before serving adds an elegant finish.
Pro Chef Secrets for Perfect Tart

- Cold Butter is Key for Pastry When making the crust, ensure your butter is very cold. This creates steam during baking, leading to a flaky, tender crust.
- Don’t Overwork the Dough Overworking the pastry develops gluten, resulting in a tough crust. Mix just until it comes together.
- Strain for Silkiness Straining the lemon filling through a fine-mesh sieve is a small step that makes a huge difference in achieving that perfectly smooth, silky texture.
- Don’t Overbake the Filling The filling should still have a slight jiggle in the center when you remove it from the oven. It will continue to set as it cools. Overbaking can lead to a rubbery texture.
- Chill Thoroughly Patience is a virtue here! Chilling the tart completely allows the filling to fully set and makes for clean, beautiful slices.
Common Mistakes to Avoid
- Warm Butter in Pastry Leads to a greasy, tough crust. Always use cold butter.
- Not Blind Baking Can result in a soggy bottom crust, especially with a wet filling like lemon custard.
- Overbaking the Filling As mentioned, this can ruin the texture. Watch for that gentle jiggle.
- Skipping the Strain You’ll miss out on that luxurious, smooth filling.
- Not Chilling Long Enough A warm or not fully set tart will be messy to slice and won’t hold its shape.
Storage and Meal Prep Tips
This lemon tart is fantastic for meal prep or making ahead for an event!
- Storage Store leftover lemon tart in an airtight container in the refrigerator for up to 3-4 days. The tart is best enjoyed chilled.
- Prep Ahead The pastry dough can be made up to 2 days in advance and stored in the refrigerator. You can also blind bake the crust a day ahead and store it at room temperature, covered.
Make-Ahead and Freezer Notes
While the baked tart can be frozen, its texture might change slightly upon thawing, especially the crust. For best results, I recommend making and enjoying it fresh.
- Freezing Baked Tart If you must freeze, wrap the fully cooled tart (without any fresh garnishes) tightly in plastic wrap, then in foil. It can be frozen for up to 1 month. Thaw overnight in the refrigerator before serving.
- Freezing Dough The pastry dough can be frozen for up to 3 months. Wrap it tightly in plastic wrap before freezing. Thaw in the refrigerator overnight before rolling out.
Serving Suggestions for Your Tart
A beautiful lemon tart deserves to be served with a flourish! Here are some ideas:
- Simple Dusting A light dusting of powdered sugar is always elegant.
- Fresh Berries Raspberries, blueberries, or a mix of seasonal berries complement the tartness perfectly.
- Whipped Cream A dollop of lightly sweetened whipped cream or crème fraîche adds a touch of creamy indulgence.
- Mint Sprig A small sprig of fresh mint adds color and a subtle aromatic lift.
- Tea or Coffee Enjoy it with a warm cup of tea or a robust coffee for an afternoon treat.