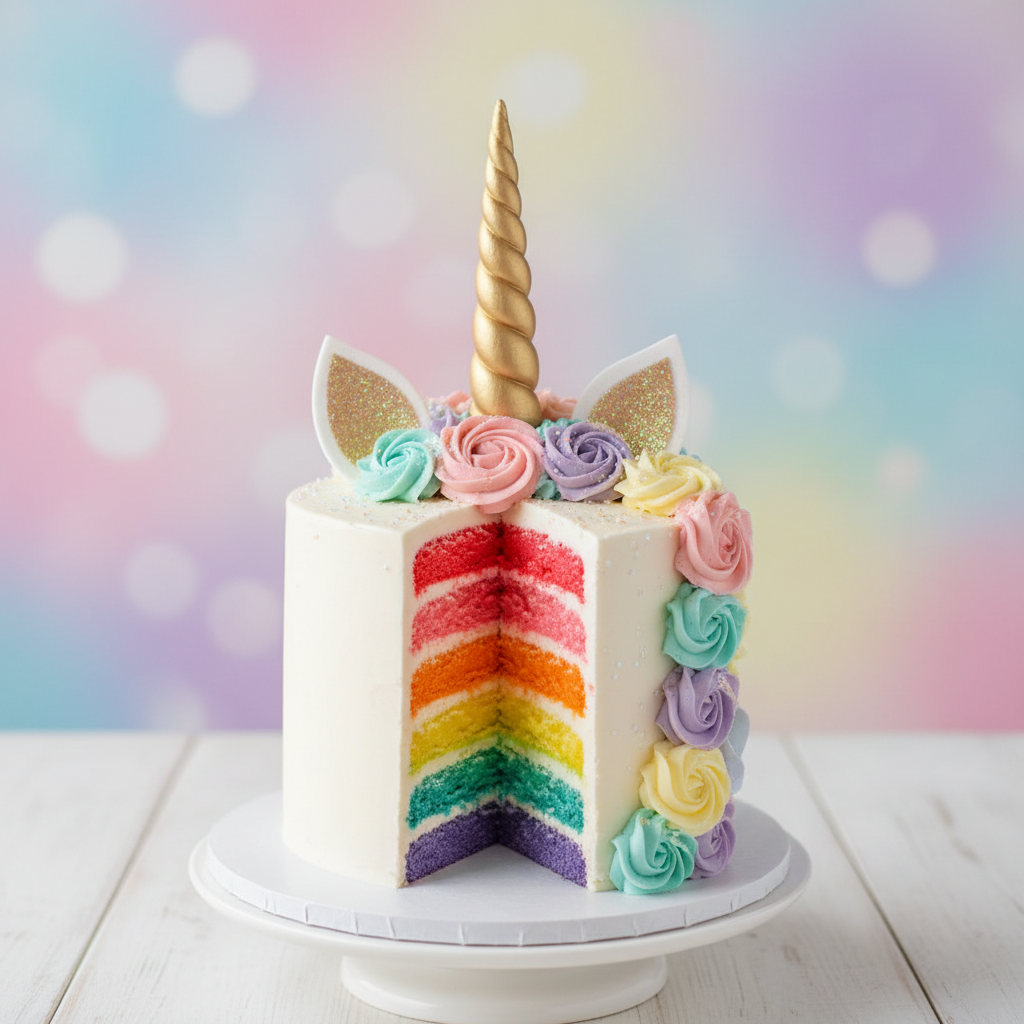
Get ready to sprinkle some magic into your kitchen! If you’ve ever dreamt of creating a show-stopping cake that wows everyone, but felt intimidated by intricate designs, you’re in for a treat. This unicorn cake recipe isn’t just about beautiful colors; it’s about making the process fun, simple, and utterly delicious. Imagine slicing into a cake to reveal a spectrum of vibrant layers – pure joy!
We’ll guide you step-by-step through creating a whimsical masterpiece that looks straight out of a fairy tale. No advanced baking degree required, just a sprinkle of enthusiasm and a love for all things sweet and colorful. Let’s make some magic!
History and Background of Unicorn Cakes
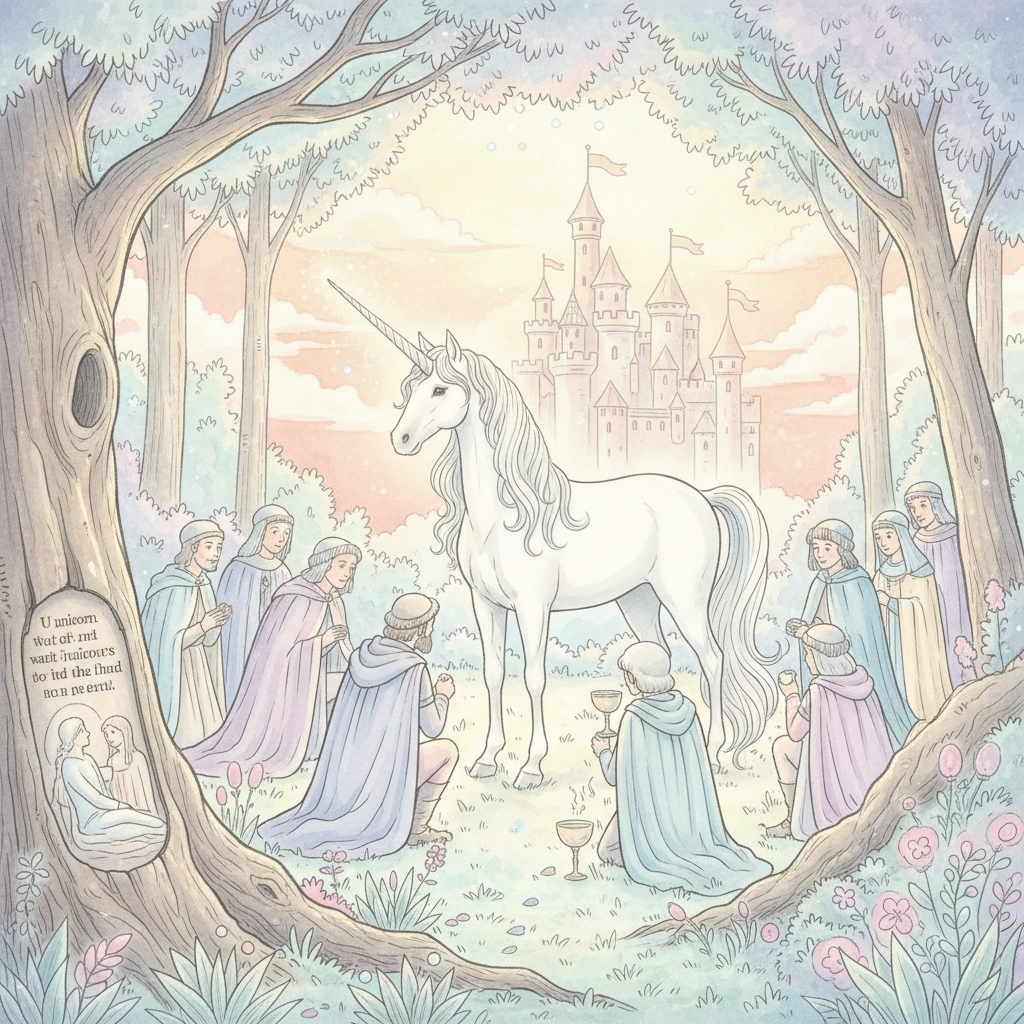
Unicorns, those mythical creatures of purity and grace, have captivated imaginations for centuries. While the legends themselves are ancient, the trend of unicorn-themed food, particularly cakes, is a relatively recent phenomenon that exploded in popularity around the mid-2010s. It started as a social media sensation, with bakers and enthusiasts sharing increasingly elaborate and colorful creations featuring the iconic horn, ears, and flowing mane.
This trend resonated deeply because it combined nostalgia for childhood fantasy with the joy of vibrant, edible art. Unicorn cakes became synonymous with celebration, wonder, and a touch of playful escapism. They represent creativity and the idea that food can be both delicious and a feast for the eyes, transforming a simple dessert into a magical experience.
Why You Will Love This Recipe

- Beginner-Friendly This recipe breaks down complex steps into easy, manageable instructions.
- Vibrantly Colorful Achieve stunning rainbow layers that will impress everyone.
- Deliciously Moist The cake is incredibly soft, fluffy, and full of flavor.
- Customizable Fun Easily adapt colors and decorations to suit any occasion or preference.
- Perfect for Celebrations Ideal for birthdays, baby showers, or any event needing a touch of magic.
Ingredient Notes
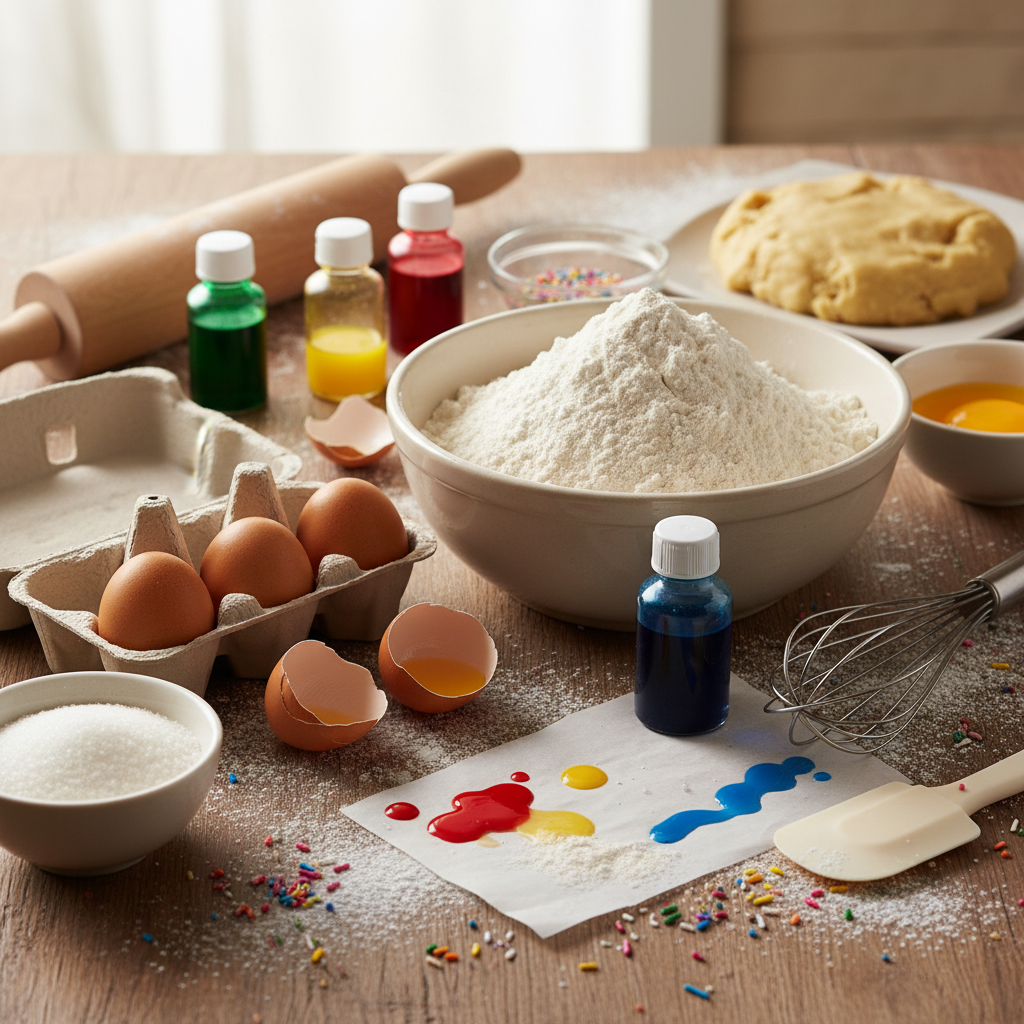
Using the right ingredients is key to a perfect unicorn cake. Here’s a quick guide to what you’ll need and why:
- All-Purpose Flour The foundation of our cake, providing structure. Make sure it’s sifted for a lighter texture.
- Granulated Sugar Sweetens the cake and helps with moisture.
- Baking Powder & Baking Soda These are our leavening agents, making the cake rise and become fluffy.
- Salt Balances the sweetness and enhances other flavors.
- Unsalted Butter Room temperature butter creams beautifully with sugar, adding richness and tenderness.
- Large Eggs Also at room temperature, eggs bind ingredients and add moisture.
- Whole Milk Contributes to a tender crumb and rich flavor. Room temperature is best.
- Vanilla Extract Essential for classic cake flavor. Use good quality extract.
- Gel Food Coloring This is crucial for vibrant rainbow layers! Gel colors are more concentrated than liquid, so you need less and it won’t thin your batter.
- Powdered Sugar (Confectioners’ Sugar) For the buttercream, ensuring a smooth, lump-free frosting.
- Heavy Cream Adds richness and makes the buttercream extra fluffy and pipeable.
Equipment Needed
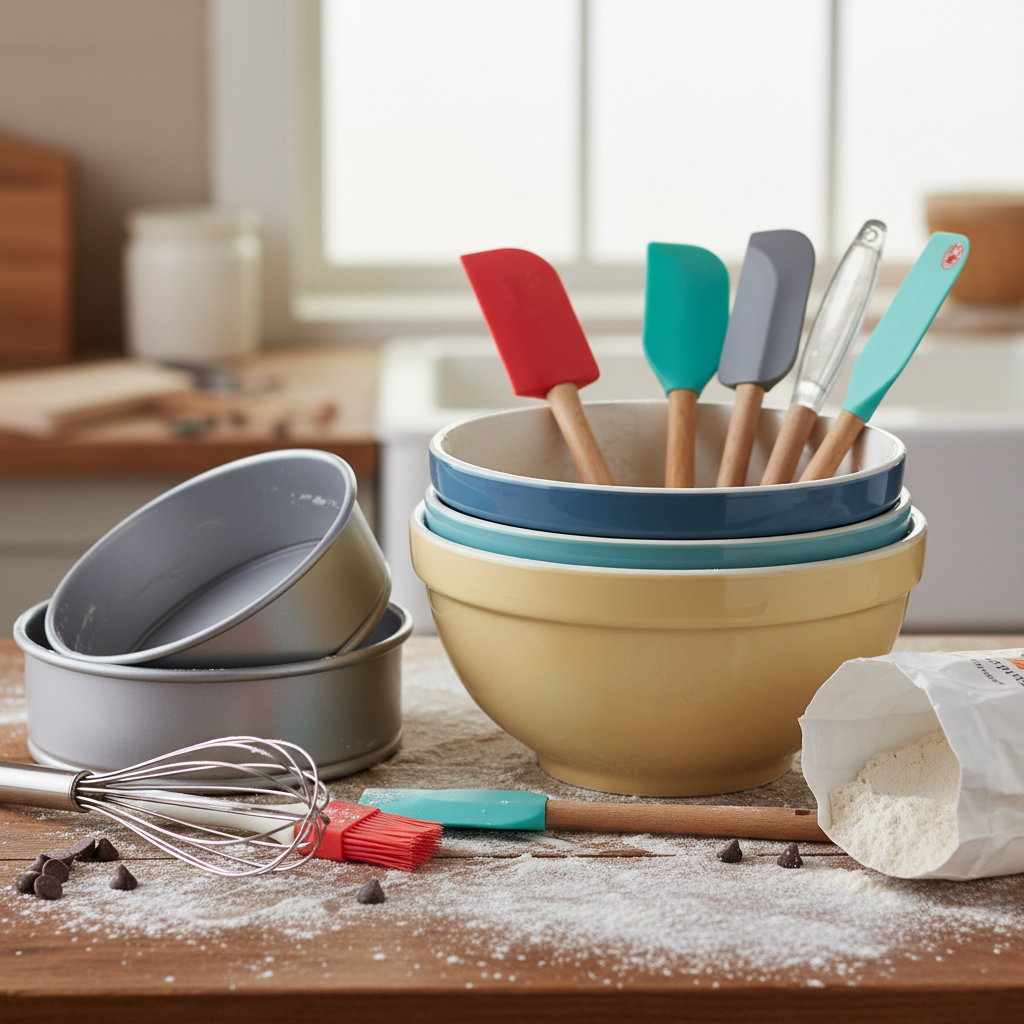
Having the right tools makes baking a breeze:
- 6-inch Round Cake Pans (at least 3, ideally 4-6) Using multiple pans helps bake layers evenly and saves time.
- Mixing Bowls Several for separating batter and mixing colors.
- Electric Mixer (Stand or Handheld) Essential for creaming butter and sugar, and whipping buttercream.
- Rubber Spatulas For scraping bowls and folding ingredients gently.
- Whisk For dry ingredients.
- Measuring Cups and Spoons For accurate ingredient measurement.
- Parchment Paper To line cake pans, preventing sticking.
- Offset Spatula or Bench Scraper For frosting and smoothing the cake.
- Piping Bags and Tips (optional, for decoration) For creating rosettes and details.
- Cake Turntable (optional) Makes frosting much easier.
Full Recipe Card
Here’s how to create your dazzling unicorn cake!
Ingredients for the Cake
- 2 ¾ cups (330g) All-Purpose Flour
- 2 cups (400g) Granulated Sugar
- 1 tablespoon Baking Powder
- ½ teaspoon Baking Soda
- ½ teaspoon Salt
- 1 cup (226g) Unsalted Butter, softened
- 4 Large Eggs, room temperature
- 1 ½ cups (360ml) Whole Milk, room temperature
- 2 teaspoons Vanilla Extract
- Gel Food Coloring (Red, Orange, Yellow, Green, Blue, Purple)
Ingredients for the Vanilla Buttercream
- 3 cups (680g) Unsalted Butter, softened
- 8 cups (960g) Powdered Sugar, sifted
- 2 teaspoons Vanilla Extract
- ¼ teaspoon Salt
- 4-6 tablespoons Heavy Cream, or as needed
Instructions
- Prepare Cake Pans Preheat oven to 350°F (175°C). Grease and flour six 6-inch round cake pans (or use fewer pans and bake in batches). Line the bottoms with parchment paper.
- Combine Dry Ingredients In a large bowl, whisk together flour, sugar, baking powder, baking soda, and salt.
- Cream Wet Ingredients In a separate large bowl, using an electric mixer, cream the softened butter until light and fluffy (about 2-3 minutes). Beat in eggs one at a time, mixing well after each addition. Stir in vanilla extract.
- Alternate Dry and Wet Gradually add the dry ingredient mixture to the wet mixture, alternating with the milk, beginning and ending with dry ingredients. Mix on low speed until just combined. Be careful not to overmix.
- Divide and Color Batter Divide the batter evenly into 6 separate bowls. Add a few drops of gel food coloring to each bowl (red, orange, yellow, green, blue, purple) and mix gently until the color is uniform.
- Bake Layers Pour each colored batter into a prepared cake pan. Bake for 15-20 minutes, or until a toothpick inserted into the center comes out clean.
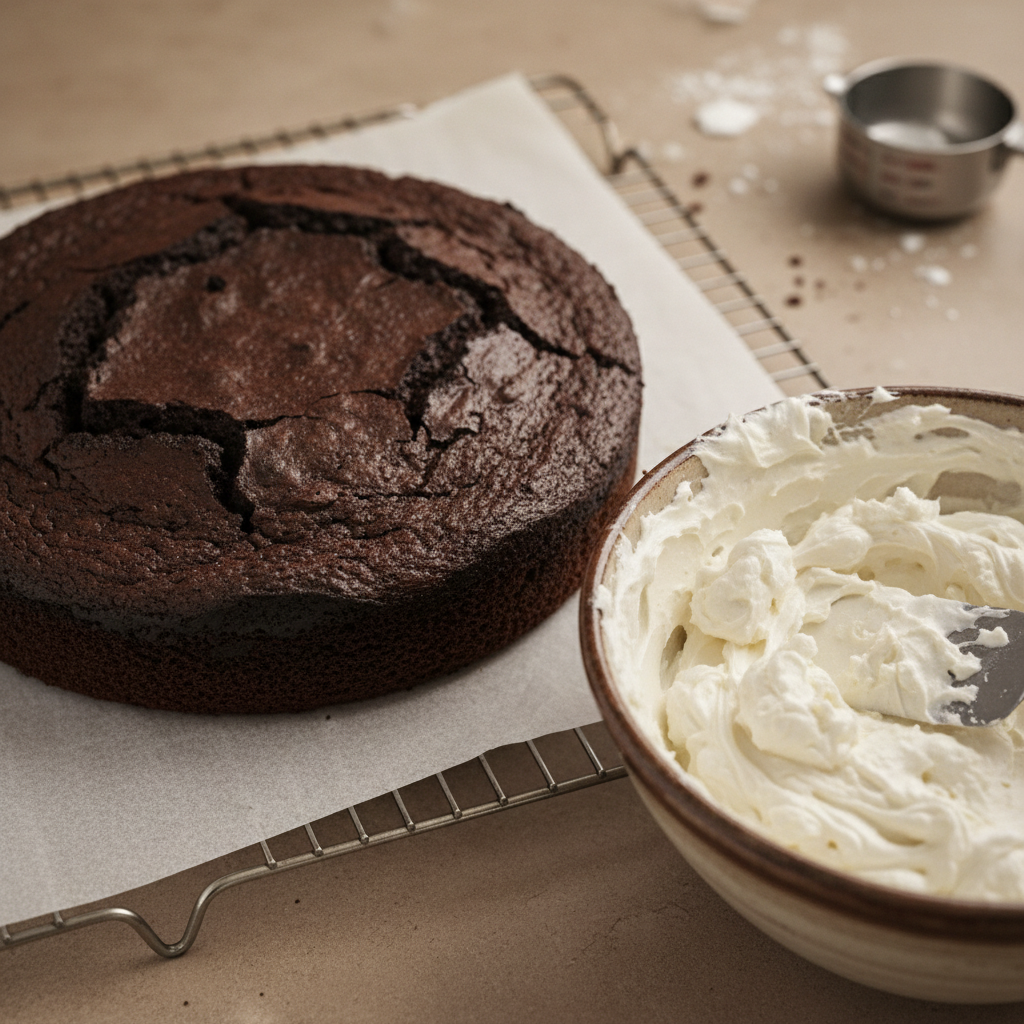
- Cool Cakes Let cakes cool in pans for 10 minutes before inverting onto a wire rack to cool completely.
- Make Buttercream In a large bowl, beat softened butter with an electric mixer until creamy. Gradually add sifted powdered sugar, vanilla extract, and salt. Beat until smooth. Add heavy cream, 1 tablespoon at a time, until the buttercream is light, fluffy, and spreadable.
- Assemble Cake Once cakes are completely cool, level the tops if necessary using a serrated knife. Place a dollop of buttercream on your cake stand or serving plate. Stack the cake layers in rainbow order (purple, blue, green, yellow, orange, red), spreading a thin layer of buttercream between each layer.
- Crumb Coat Apply a thin layer of buttercream all over the cake to trap any crumbs. Chill in the refrigerator for 20-30 minutes.
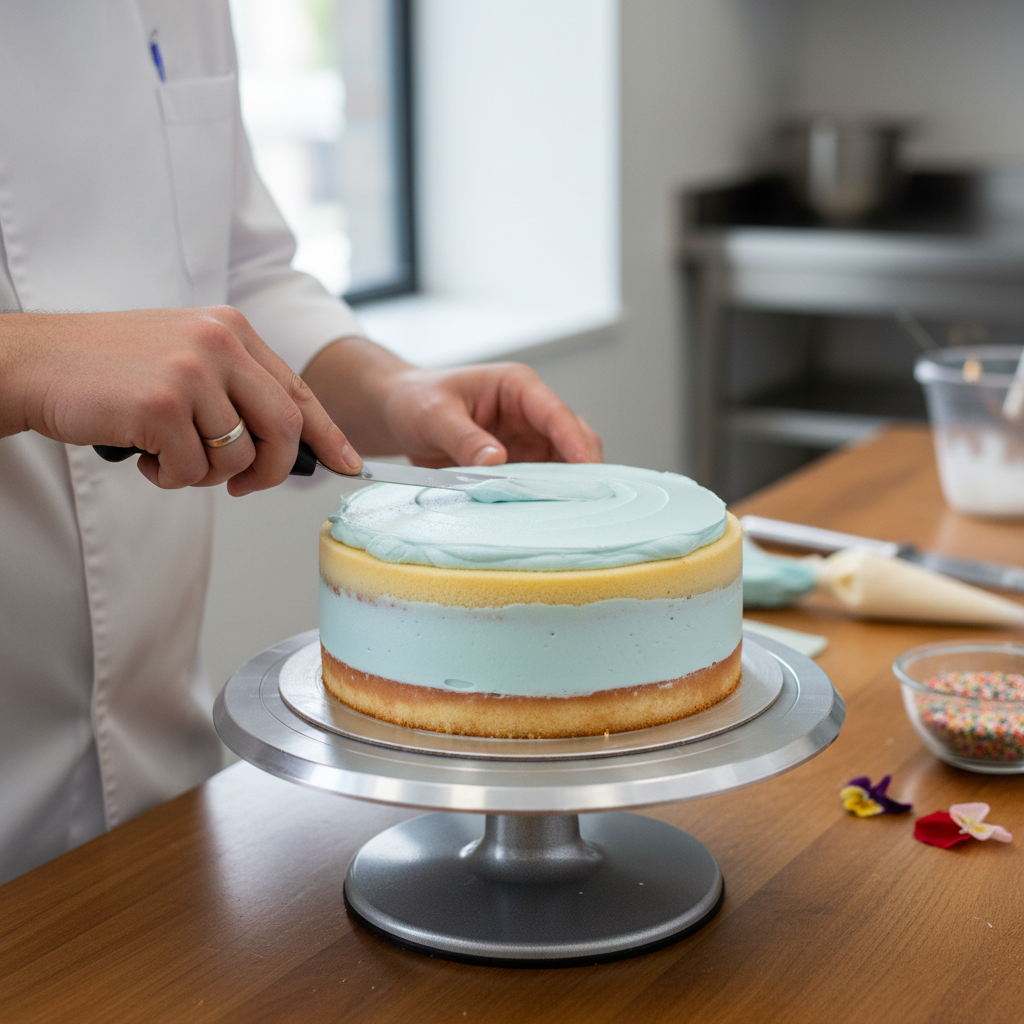
- Final Frosting and Decorate Apply a thicker, even layer of buttercream to the entire cake. Smooth with an offset spatula or bench scraper. Decorate with a golden horn, fondant ears, and piped buttercream rosettes or sprinkles to create your unicorn design.
Recipe Notes
- Ensure all ingredients, especially butter, eggs, and milk, are at room temperature for best results.
- Do not overmix the batter; it can lead to a tough cake.
- For extra vibrant colors, use high-quality gel food coloring.
Tips and Variations

- Flavor Variations Add lemon zest to the batter for a citrusy twist, or almond extract for a different aroma.
- Ombre Layers Instead of distinct rainbow layers, use varying shades of one or two colors for a beautiful ombre effect.
- Decoration Fun Experiment with edible glitter, different sprinkle mixes, or even edible pearls for extra sparkle.
- Fondant Accents Use pre-made fondant to create more intricate horns, ears, or flower decorations.
- Smaller Cakes Use 4-inch cake pans for mini unicorn cakes or cupcakes. Adjust baking time accordingly.
Pro Chef Tips
- Leveling Cakes For perfectly flat layers, use a cake leveler or a long serrated knife. Chill the cakes slightly before leveling for cleaner cuts.
- Crumb Coat is Crucial Don’t skip the crumb coat! It seals in loose crumbs, ensuring your final frosting layer is smooth and pristine.
- Buttercream Consistency If your buttercream is too stiff, add a tiny bit more heavy cream. If too thin, add a tablespoon of powdered sugar. Adjust until it’s perfectly spreadable.
- Piping Techniques Practice piping rosettes or borders on a piece of parchment paper before applying to the actual cake.
- Chill Between Steps Chilling the cake after crumb coating and after stacking layers helps solidify the frosting, making it easier to handle and decorate.
Common Mistakes to Avoid
- Overmixing Batter This develops too much gluten, resulting in a dense, tough cake. Mix until just combined.
- Warm Ingredients Using cold butter, eggs, or milk can lead to a lumpy batter and a less tender cake.
- Not Leveling Layers Uneven layers will make your cake lean and difficult to frost smoothly.
- Skipping the Crumb Coat This leads to crumbs getting into your final frosting layer, making it look messy.
- Impatient Frosting Trying to frost a warm cake will cause the buttercream to melt and slide off. Ensure cakes are completely cool.
- Using Liquid Food Coloring This can thin your batter and result in dull colors. Stick to gel food coloring for vibrant hues.
Storage and Meal Prep
Proper storage ensures your beautiful cake stays fresh and delicious:
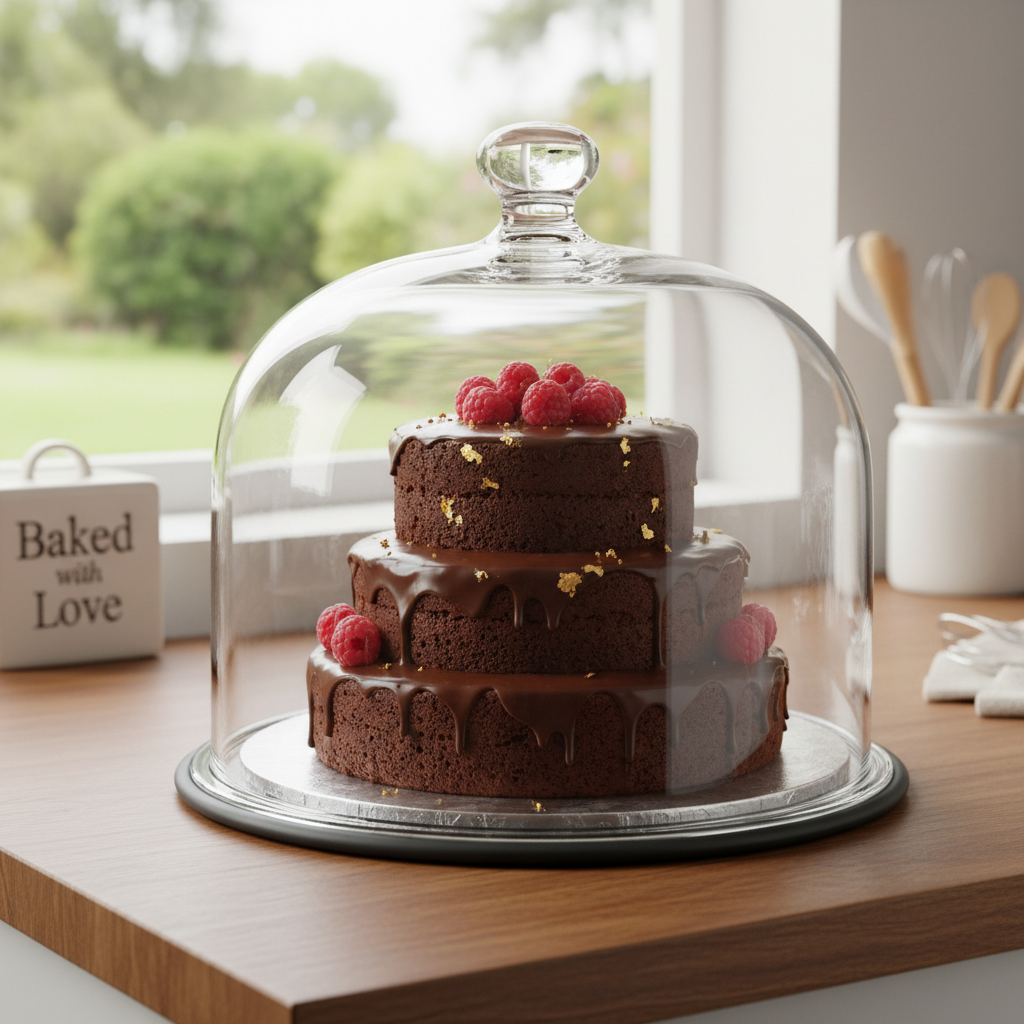
- Room Temperature A frosted cake can be stored at room temperature (if not too warm) for up to 2 days under a cake dome or in an airtight container.
- Refrigeration For longer storage, refrigerate the cake in an airtight container for up to 5-7 days. Bring to room temperature for about 30-60 minutes before serving for the best texture and flavor.
- Unfrosted Layers Unfrosted cake layers can be wrapped tightly in plastic wrap and stored at room temperature for 1-2 days, or refrigerated for up to a week.
Make-Ahead and Freezer Notes
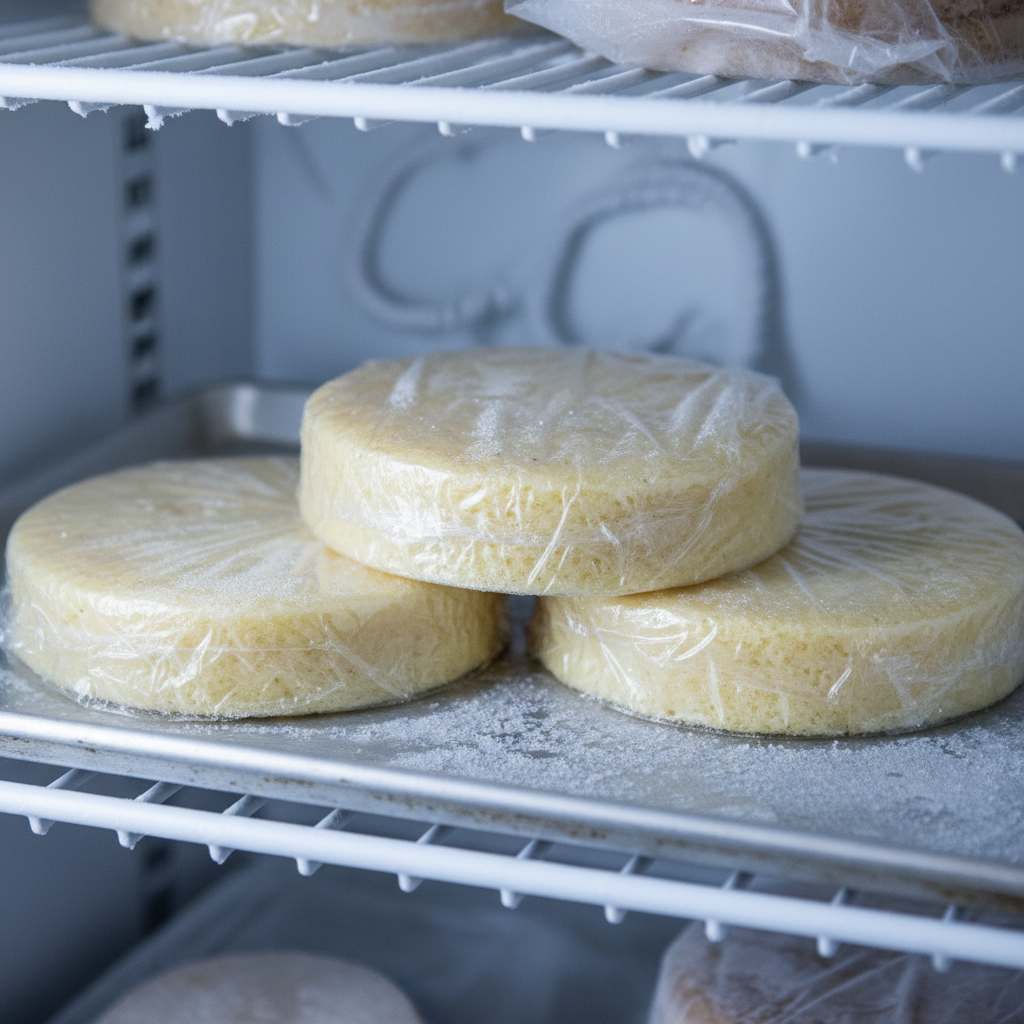
This recipe is excellent for making ahead, especially the cake layers:
- Cake Layers Once completely cooled, wrap individual cake layers tightly in plastic wrap, then an additional layer of aluminum foil. They can be frozen for up to 2-3 months. Thaw overnight in the refrigerator before assembling.
- Buttercream The buttercream can be made up to a week in advance and stored in an airtight container in the refrigerator. Before using, bring to room temperature and re-whip with an electric mixer until fluffy again. You might need to add a tablespoon of heavy cream if it’s too stiff.
- Fully Assembled Cake A frosted cake can be frozen. Place the cake (uncovered) in the freezer until the frosting is firm, then wrap tightly in plastic wrap and then foil. Freeze for up to 1 month. Thaw overnight in the refrigerator, then bring to room temperature before serving.
Serving Suggestions

Your unicorn cake is a star on its own, but here are a few ideas to make serving even more special:
- Simple Plating Serve slices on pretty dessert plates, perhaps with a dusting of edible glitter.
- Fruit Accompaniment A side of fresh berries (strawberries, raspberries) can add a lovely tart contrast.
- Ice Cream or Whipped Cream A small scoop of vanilla bean ice cream or a dollop of freshly whipped cream can elevate the experience.
- Coffee or Tea Pair with a warm beverage for a delightful afternoon treat.
- Party Centerpiece Let the cake be the centerpiece of your dessert table, surrounded by other whimsical treats.