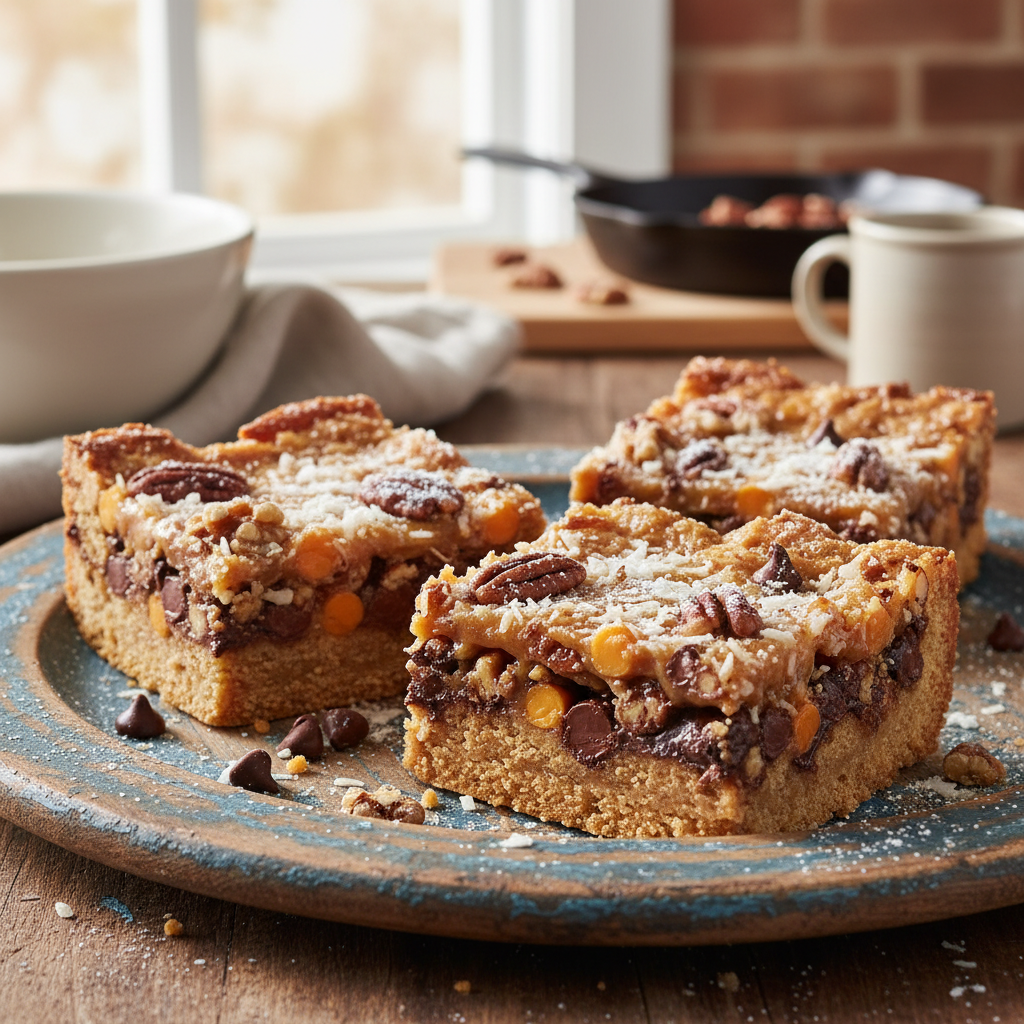
Welcome, fellow dessert lovers! Get ready to dive into the wonderful world of Magic Bars, also known as Seven-Layer Bars or Hello Dolly Bars. These delightful treats are incredibly easy to make and guaranteed to disappear in a flash. Imagine a chewy, gooey, crunchy square of pure bliss, packed with chocolate, coconut, nuts, and a buttery crust. It’s truly magic! Whether you’re a seasoned baker or just starting, this recipe will quickly become a cherished favorite in your kitchen.
History – A Sweet Journey
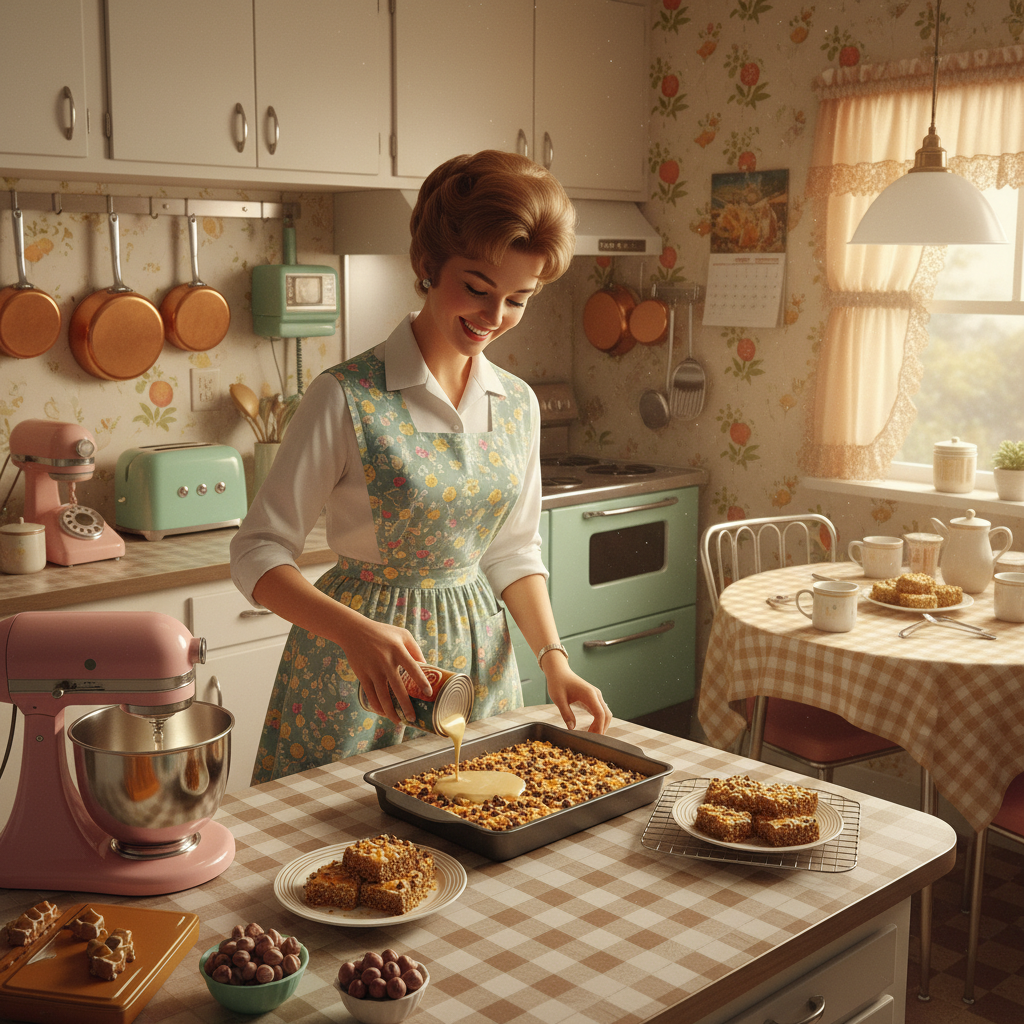
The story of Magic Bars is as sweet as the bars themselves! These iconic treats first gained popularity in the 1960s, a time when convenience and deliciousness were king in American kitchens. The recipe often appeared on cans of sweetened condensed milk, making it a brilliant marketing tool that also introduced countless home bakers to this simple yet spectacular dessert. Their original name, “Hello Dolly Bars,” is said to be inspired by the popular Broadway musical “Hello, Dolly!,” which premiered in 1964. The name perfectly captured the joyful, old-fashioned charm of these bars. They quickly spread across the country, becoming a staple at potlucks, bake sales, and family gatherings, cherished for their irresistible combination of textures and flavors, all built upon a foundation of ease.
Why You’ll Love This Recipe

- Effortlessly Easy This recipe is incredibly simple, perfect for beginners and busy bakers alike.
- Minimal Cleanup Everything comes together in one pan, reducing washing up.
- Crowd-Pleasing Favorite Everyone adores these bars; they’re always a hit!
- Customizable Fun Easily swap ingredients to suit your taste or dietary needs.
- No Special Skills Needed Just layer and bake – no fancy techniques required.
- Perfect for Any Occasion From casual snacks to holiday parties, they fit right in.
Ingredient Notes
Gathering your ingredients is the first step to magic! Here’s a quick rundown of what you’ll need and why each component is essential:
- Graham Cracker Crumbs These form the sturdy, sweet, and slightly spiced base. You can buy them pre-crushed or crush your own graham crackers.
- Unsalted Butter Melted butter binds the graham cracker crumbs together, creating a rich, firm crust.
- Sweetened Condensed Milk This is the “magic” ingredient! It creates the gooey, caramel-like binder that holds all the layers together and sweetens the entire bar.
- Semi-Sweet Chocolate Chips A classic choice for that beloved chocolatey goodness.
- Butterscotch Chips These add a wonderful, unique, and slightly salty-sweet flavor that complements the chocolate perfectly.
- Shredded Coconut Brings a chewy texture and a tropical, nutty flavor. Make sure it’s unsweetened or sweetened, depending on your preference.
- Chopped Pecans or Walnuts Provides a delightful crunch and earthy flavor.
Equipment Needed
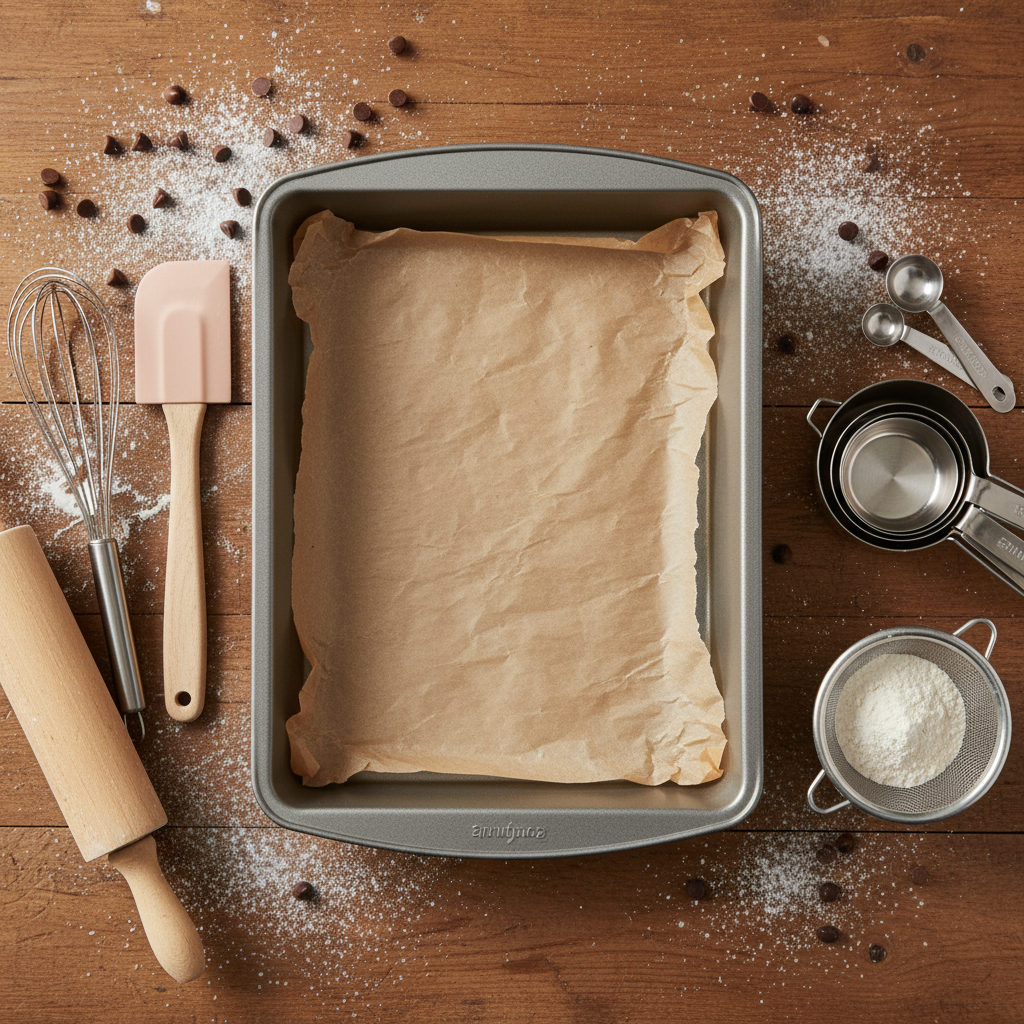
Good news! You don’t need any fancy gadgets for this recipe. Just a few kitchen essentials:
- 9×13 Inch Baking Pan A standard pan size that’s perfect for a batch of these bars.
- Parchment Paper Essential for easy removal and cleanup. Don’t skip this!
- Mixing Bowls For combining the crust ingredients.
- Measuring Cups and Spoons For accurate ingredient proportions.
- Spatula or Spoon For pressing the crust and spreading ingredients.
Full Recipe Card
Let’s get baking! Follow these simple steps to create your own batch of irresistible Magic Bars.
Ingredients
- 1 ½ cups graham cracker crumbs (about 10-12 full sheets)
- ½ cup (1 stick) unsalted butter, melted
- 1 (14 ounce) can sweetened condensed milk
- 1 cup semi-sweet chocolate chips
- 1 cup butterscotch chips
- 1 cup shredded coconut (sweetened or unsweetened)
- 1 cup chopped pecans or walnuts
Instructions
- Preheat Oven Preheat your oven to 350°F (175°C). Line a 9×13 inch baking pan with parchment paper, leaving an overhang on the sides for easy lifting later.
- Prepare the Crust In a medium bowl, combine the graham cracker crumbs and melted butter. Mix until well combined. Press the mixture firmly and evenly into the bottom of the prepared baking pan.
- Layer the Goodness Pour the sweetened condensed milk evenly over the graham cracker crust. Then, sprinkle the chocolate chips, butterscotch chips, shredded coconut, and chopped nuts evenly over the condensed milk layer. There’s no need to stir or mix; just layer them!
- Bake Place the pan in the preheated oven and bake for 25-30 minutes, or until the edges are golden brown and the center is set. The coconut should be lightly toasted.
- Cool Completely This is crucial! Remove the pan from the oven and let the bars cool completely on a wire rack before cutting. Cooling for at least 2 hours, or even chilling in the refrigerator, will make them much easier to cut cleanly.
- Cut and Serve Once completely cooled and firm, use the parchment paper overhang to lift the entire slab of bars out of the pan. Cut into squares or rectangles and enjoy your magical creation!
Notes
- For an extra nutty flavor, you can lightly toast the pecans or walnuts before adding them.
- If you don’t have butterscotch chips, you can use more chocolate chips or white chocolate chips.
- Ensure the sweetened condensed milk is *not* evaporated milk; they are very different!
Tips & Variations

Magic Bars are wonderfully versatile. Here are some ideas to make them your own:
- Chocolate Lover’s Dream Use all chocolate chips – milk, dark, or a mix!
- Tropical Twist Add dried cranberries, dried pineapple, or macadamia nuts.
- Holiday Spirit Incorporate peppermint chips during winter or red and green sprinkles.
- Nut-Free Option Simply omit the nuts, or replace them with pretzels for a salty crunch.
- Salty-Sweet A sprinkle of sea salt flakes over the top before baking enhances all the flavors.
- Different Crusts Try using crushed shortbread cookies or crushed pretzels instead of graham crackers.
Pro Chef Tips

Even though Magic Bars are simple, a few pro tips can elevate them:
- Press the Crust Firmly A well-packed crust prevents crumbling when you cut the bars. Use the bottom of a glass or a flat measuring cup to get it really compact.
- Even Layers are Key Distribute your toppings as evenly as possible. This ensures every bite has a perfect mix of all seven layers.
- Don’t Overbake Overbaking can make the bars dry and hard. Look for golden edges and a set, but still slightly jiggly, center.
- Cooling is Non-Negotiable Patience is a virtue here! Cutting warm bars will result in a sticky, messy crumble. Let them cool completely, preferably in the fridge, for clean cuts.
Common Mistakes to Avoid
Even the simplest recipes have potential pitfalls. Here’s what to watch out for:
- Using Evaporated Milk Instead of Sweetened Condensed Milk These are *not* interchangeable. Evaporated milk will not provide the same gooey, sweet binding.
- Not Lining the Pan Without parchment paper, your bars will stick, making removal and cutting a nightmare.
- Cutting Too Soon Impatience leads to messy, crumbly bars. Wait until they are fully cooled and firm.
- Unevenly Spreading Ingredients This can lead to some bars having too much of one ingredient and others too little.
- Overbaking Keep an eye on the clock and the color. You want gooey, not crunchy, in the middle.
Storage & Meal Prep
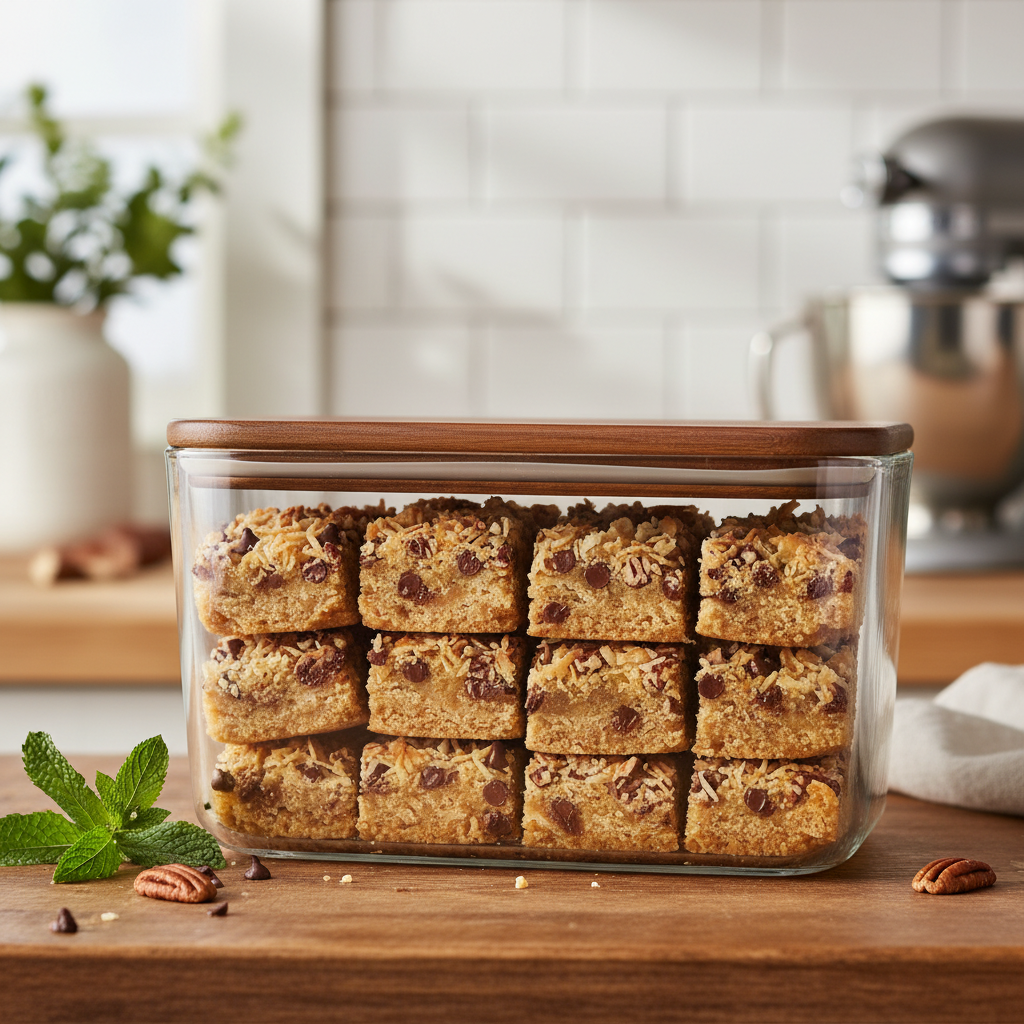
Magic Bars are fantastic for meal prep and storing:
- Countertop Store cooled bars in an airtight container at room temperature for up to 3-4 days.
- Refrigerator For longer freshness, or if your kitchen is warm, store them in an airtight container in the refrigerator for up to a week.
- Freezing Yes, they freeze beautifully!
Make-Ahead & Freezer Notes
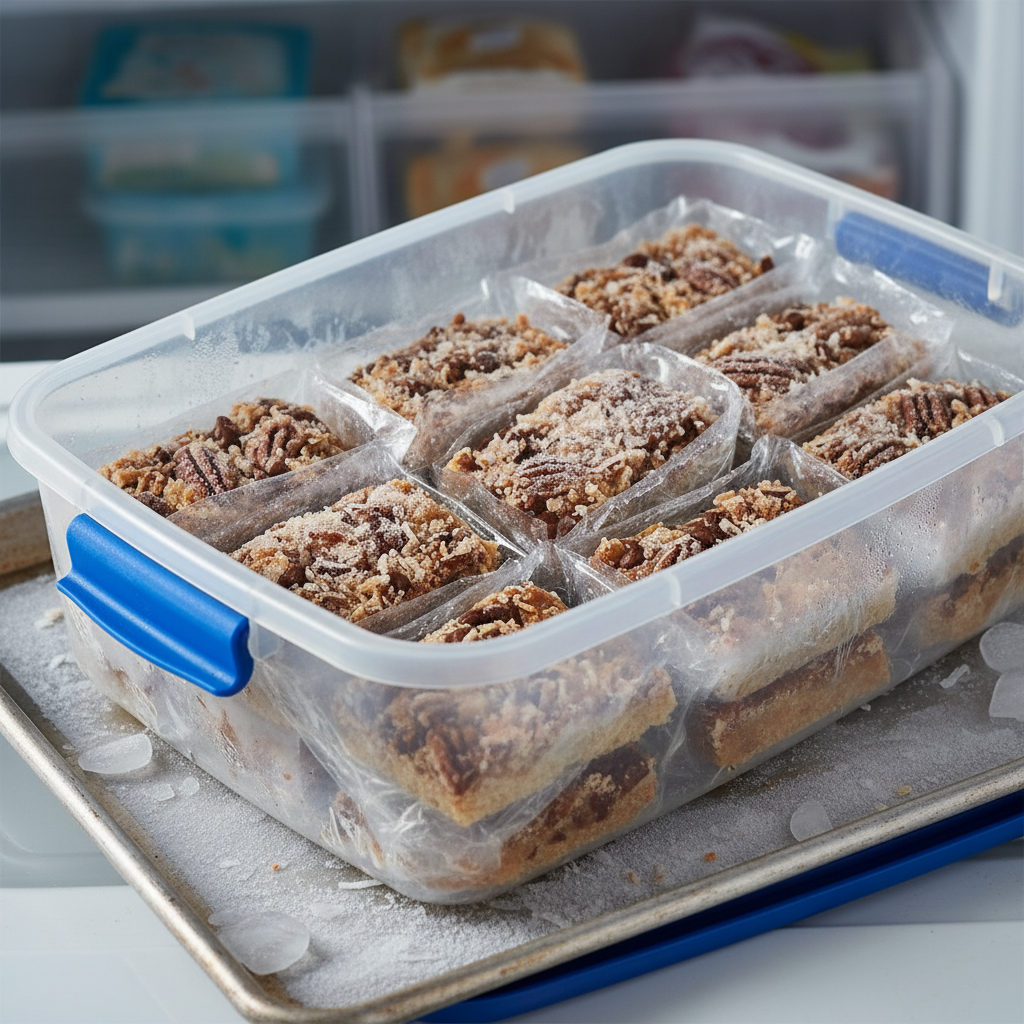
Magic Bars are perfect for making ahead, especially for parties or gifts. To freeze:
- Once completely cooled, cut the bars into individual squares.
- Wrap each bar tightly in plastic wrap, then place them in a freezer-safe bag or container.
- They can be frozen for up to 3 months.
- To thaw, simply unwrap and let them come to room temperature for about 30 minutes, or enjoy them chilled!