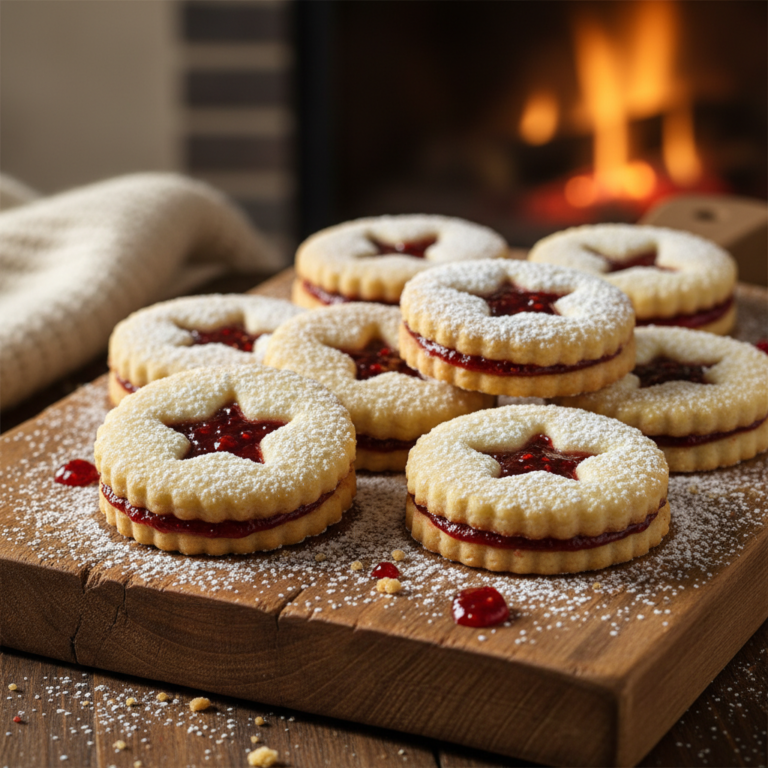
Welcome, fellow baking enthusiasts! There’s something truly magical about a homemade cookie, isn’t there? And when it comes to classic comfort, few treats can rival the humble yet utterly delightful jam thumbprint cookie. Imagine a tender, buttery shortbread-like cookie, cradling a glistening jewel of sweet fruit jam in its center. Pure bliss!
Perhaps you’ve admired these charming cookies from afar, thinking they look too intricate to tackle. Or maybe you’re searching for that perfect, reliable recipe to add to your holiday baking repertoire. Well, you’ve come to the right place! This guide is designed to make baking these exquisite cookies not just easy, but incredibly fun and rewarding. We’ll walk through every step, ensuring your kitchen smells heavenly and your cookie jar is filled with these irresistible bites.
A Sweet History and Background

The origin of thumbprint cookies, or “Hallongrottor” (raspberry caves) as they are known in Sweden, traces back to Scandinavian baking traditions. These charming cookies have been a beloved part of fika, the Swedish coffee break culture, for generations. The idea is simple yet brilliant- a tender cookie dough pressed with a thumb (or spoon) to create an indentation, which is then filled with a sweet fruit preserve before baking.
Over time, thumbprint cookies traveled across continents, adapting to local ingredients and preferences. While raspberry jam remains a classic, bakers now experiment with a myriad of fillings, from apricot to chocolate spread, making them a versatile treat for any occasion. Their timeless appeal lies in their perfect balance of buttery richness and fruity sweetness, a testament to their enduring popularity.
Why You’ll Love This Recipe
- Beginner-Friendly This recipe uses simple ingredients and straightforward steps, perfect for new bakers.
- Irresistibly Delicious A perfect balance of buttery, tender cookie and sweet, fruity jam.
- Customizable Easily swap out jam flavors to suit your taste or what you have on hand.
- Perfect for Any Occasion Ideal for holiday platters, afternoon tea, or just a sweet treat.
- Great for Gifting These beautiful cookies make wonderful homemade gifts.
Ingredient Notes

Let’s talk about the stars of our show! Using quality ingredients makes all the difference in achieving that perfect thumbprint cookie.
- Unsalted Butter Make sure it’s softened to room temperature. This is crucial for a smooth, creamy dough. Unsalted butter allows you to control the salt content.
- Granulated Sugar Provides sweetness and helps with the tender texture.
- Egg Yolk Adds richness and helps bind the dough, contributing to that melt-in-your-mouth texture without making the cookie too cakey.
- Vanilla Extract Use good quality pure vanilla extract for the best flavor.
- All-Purpose Flour The base of our cookie. Measure it correctly by spooning it into your measuring cup and leveling it off.
- Salt A pinch of salt balances the sweetness and enhances all the other flavors.
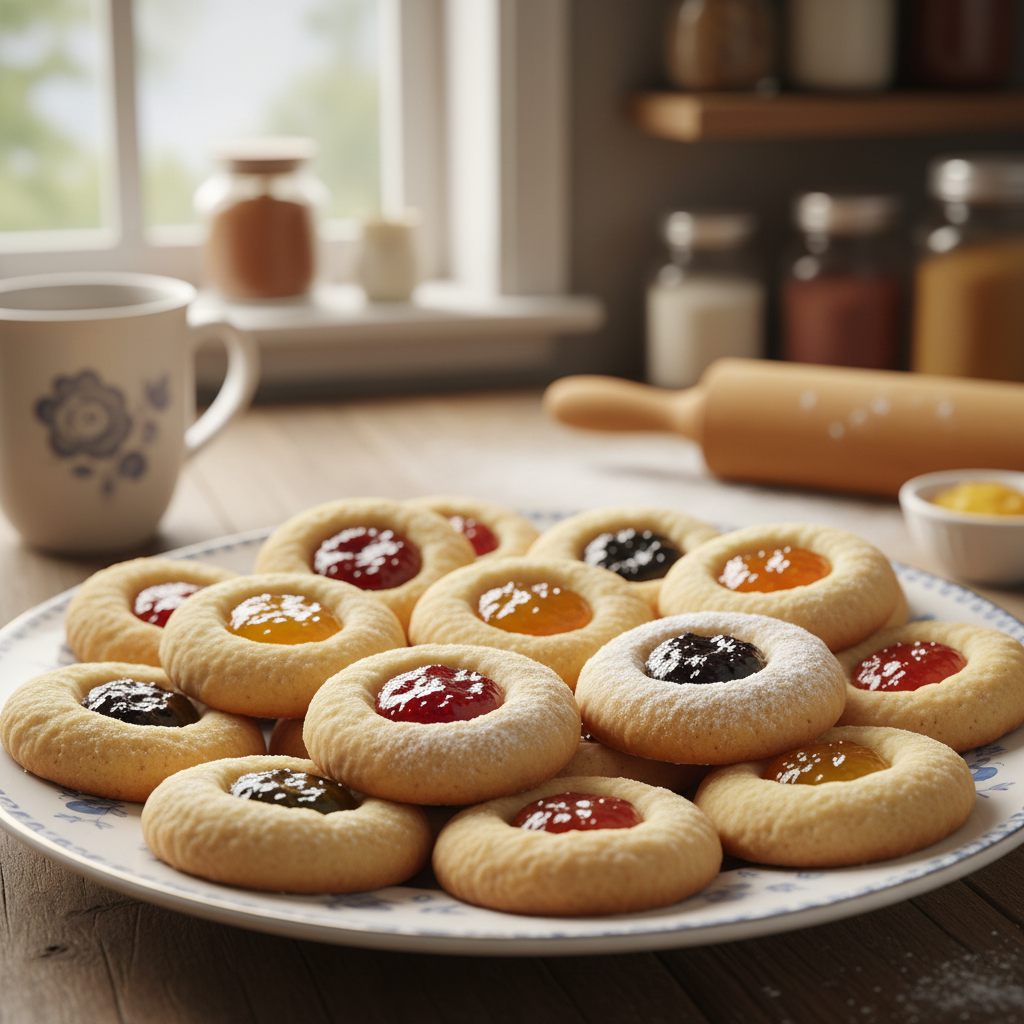
- Jam or Preserves Your favorite fruit jam! Raspberry and apricot are classic choices, but strawberry, blueberry, or even fig jam work wonderfully. Opt for a good quality jam that isn’t too runny.
Equipment Needed
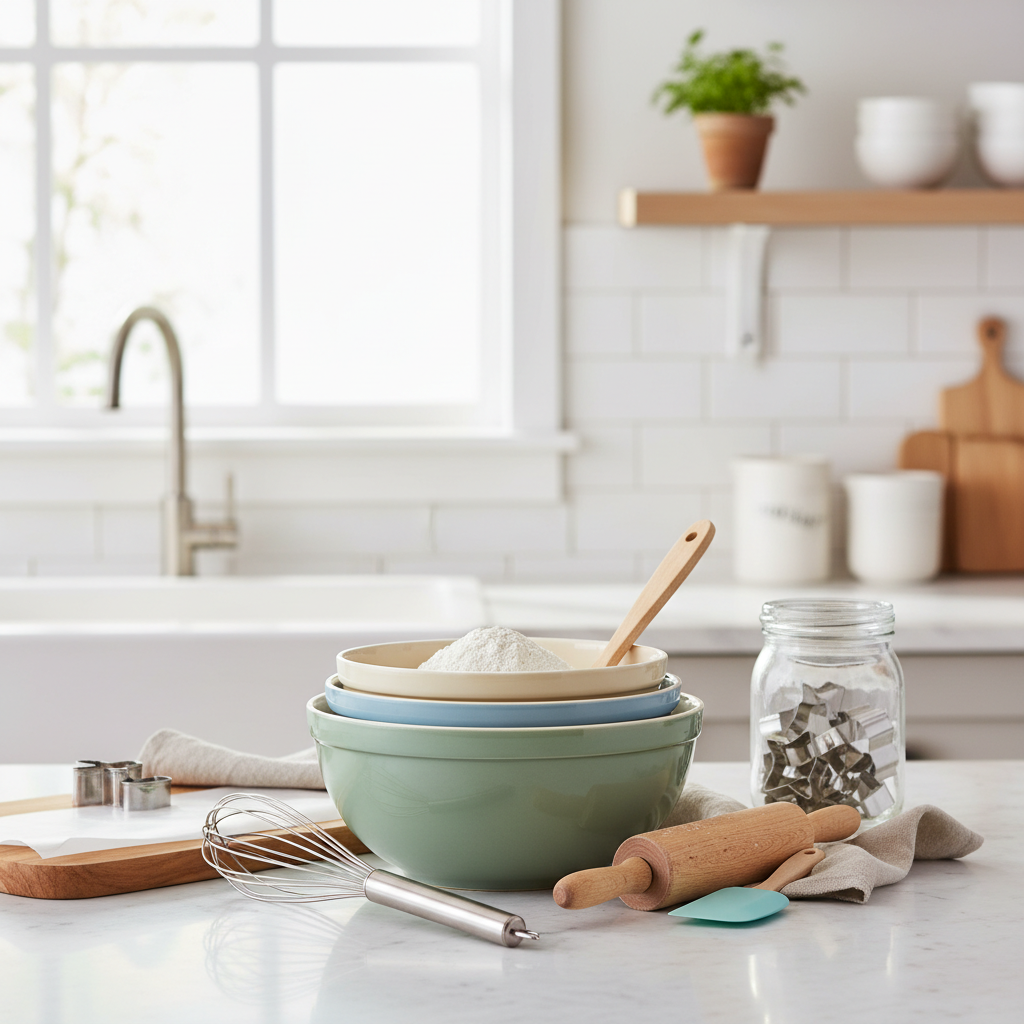
You don’t need a fancy kitchen to make these cookies! Here’s what you’ll need:
- Large mixing bowl
- Electric mixer (handheld or stand mixer) or a sturdy whisk
- Rubber spatula
- Measuring cups and spoons
- Baking sheets
- Parchment paper or silicone baking mats
- Small spoon or a piping bag for filling jam
- Wire cooling rack
Full Recipe Card
Ingredients
- 1 cup (2 sticks) unsalted butter, softened
- ½ cup granulated sugar
- 1 large egg yolk
- 1 teaspoon pure vanilla extract
- 2 cups all-purpose flour
- ¼ teaspoon salt
- ½ cup jam or preserves (your favorite flavor)
Instructions
- Prepare Your Workspace Preheat your oven to 350°F (175°C). Line two baking sheets with parchment paper or silicone baking mats.
- Cream Butter and Sugar In a large mixing bowl, using an electric mixer, beat the softened butter and granulated sugar together until light and fluffy, about 2-3 minutes.
- Add Wet Ingredients Beat in the egg yolk and vanilla extract until well combined. Scrape down the sides of the bowl as needed.
- Combine Dry Ingredients In a separate small bowl, whisk together the flour and salt.
- Gradually Add Dry to Wet Slowly add the dry ingredients to the wet ingredients, mixing on low speed until just combined and a soft dough forms. Be careful not to overmix.
- Form the Cookies Roll the dough into 1-inch balls. Place them about 2 inches apart on the prepared baking sheets.
- Create the Thumbprint Using your thumb or the back of a small round measuring spoon, gently press an indentation into the center of each cookie ball. Be careful not to press all the way through.
- Fill with Jam Spoon about ½ teaspoon of your chosen jam into each indentation.
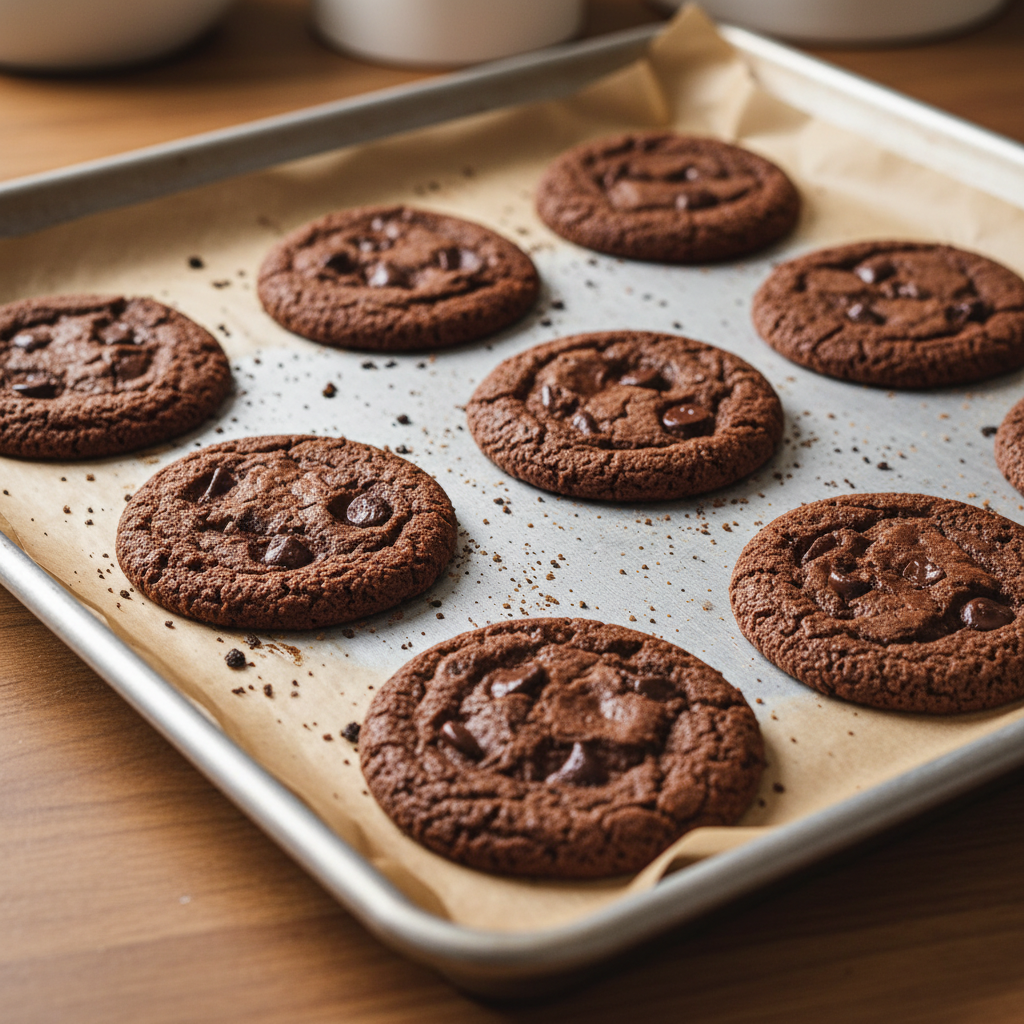
- Bake Bake for 12-15 minutes, or until the edges are lightly golden. The cookies should still be soft in the center.
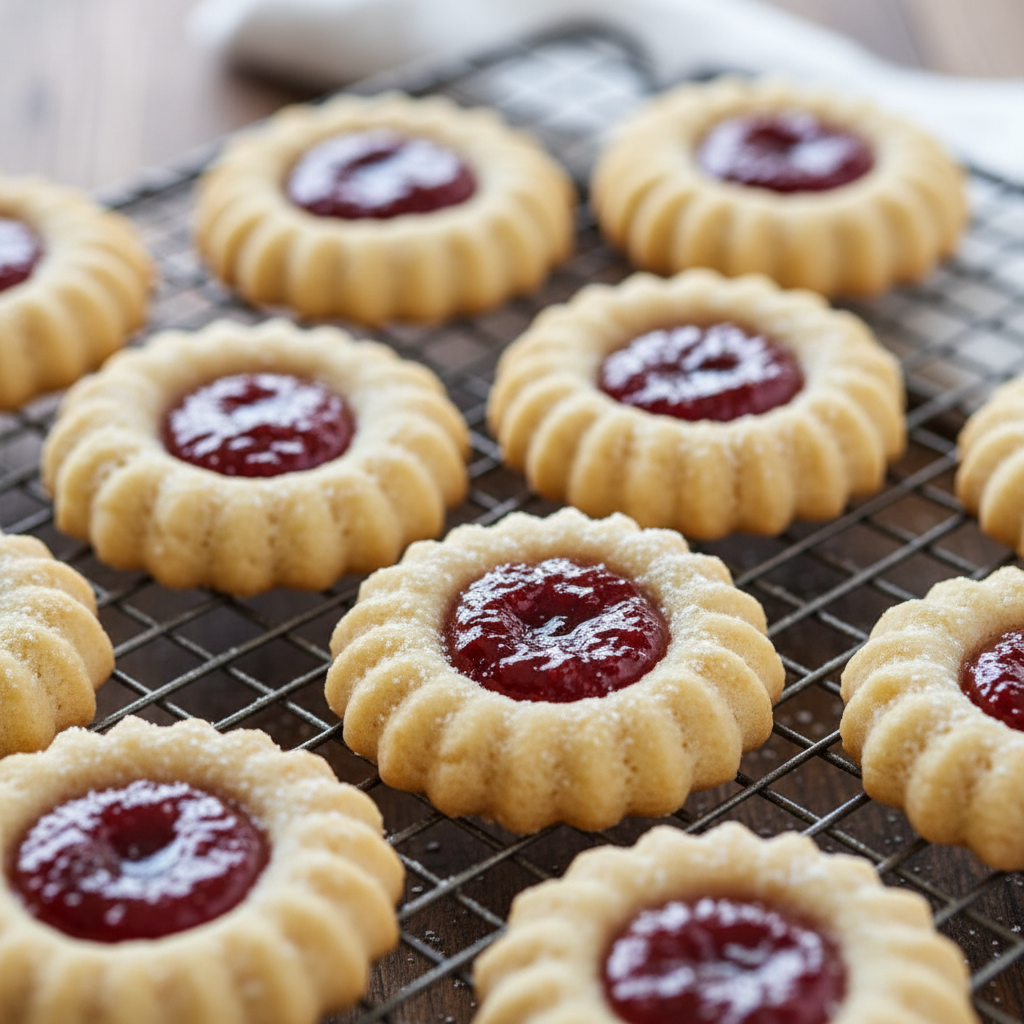
- Cool Let the cookies cool on the baking sheets for 5 minutes before transferring them to a wire rack to cool completely.
- Enjoy! Once cooled, these delightful cookies are ready to be devoured.
Notes
- For extra sparkle, dust cooled cookies with powdered sugar.
- If your jam is very thick, you can warm it slightly to make it easier to spoon.
- Dough can be chilled for 30 minutes if it’s too soft to handle, but it’s usually not necessary.
Tips and Variations

- Jam Swap Don’t limit yourself to one jam! Try raspberry, apricot, strawberry, blueberry, or even lemon curd for a zesty twist.
- Nutty Edge Roll the cookie dough balls in finely chopped nuts (like pecans or walnuts) before making the thumbprint for added texture and flavor.
- Chocolate Drizzle Once cooled, melt some chocolate and drizzle it over the cookies for an extra layer of indulgence.
- Citrus Zest Add a teaspoon of lemon or orange zest to the dough for a bright, aromatic flavor.
- Spice It Up A pinch of cinnamon or cardamom in the dough can add a lovely warmth, especially for holiday baking.
Pro Chef Tips

- Room Temperature Butter is Key This ensures a smooth, emulsified dough that bakes evenly. If your butter is too cold, your dough will be lumpy; too warm, and it will be greasy.
- Don’t Overmix Overmixing flour develops gluten, which can lead to tough cookies. Mix just until the ingredients are combined.
- Consistent Ball Size Use a small cookie scoop or weigh your dough balls to ensure they are uniform in size. This guarantees even baking.
- Prevent Jam Overflow Don’t overfill the thumbprints. A half teaspoon is usually perfect; it allows the jam to set without bubbling over too much.
- Watch Your Oven Ovens can vary. Keep an eye on your cookies, especially towards the end of the baking time, to prevent over-browning.
Common Mistakes to Avoid
- Overbaking These cookies are meant to be soft and tender. Remove them from the oven when the edges are just barely golden.
- Skipping Parchment Paper This prevents sticking and makes cleanup a breeze.
- Pressing Too Hard If you press your thumbprint too deep, the jam might leak, or the cookie might become too thin and prone to breaking.
- Using Cold Eggs/Yolks Like butter, an egg yolk at room temperature incorporates better into the dough.
- Not Cooling Properly Let them cool on the baking sheet for a few minutes before moving. This allows them to firm up slightly and prevents breakage.
Storage and Meal Prep
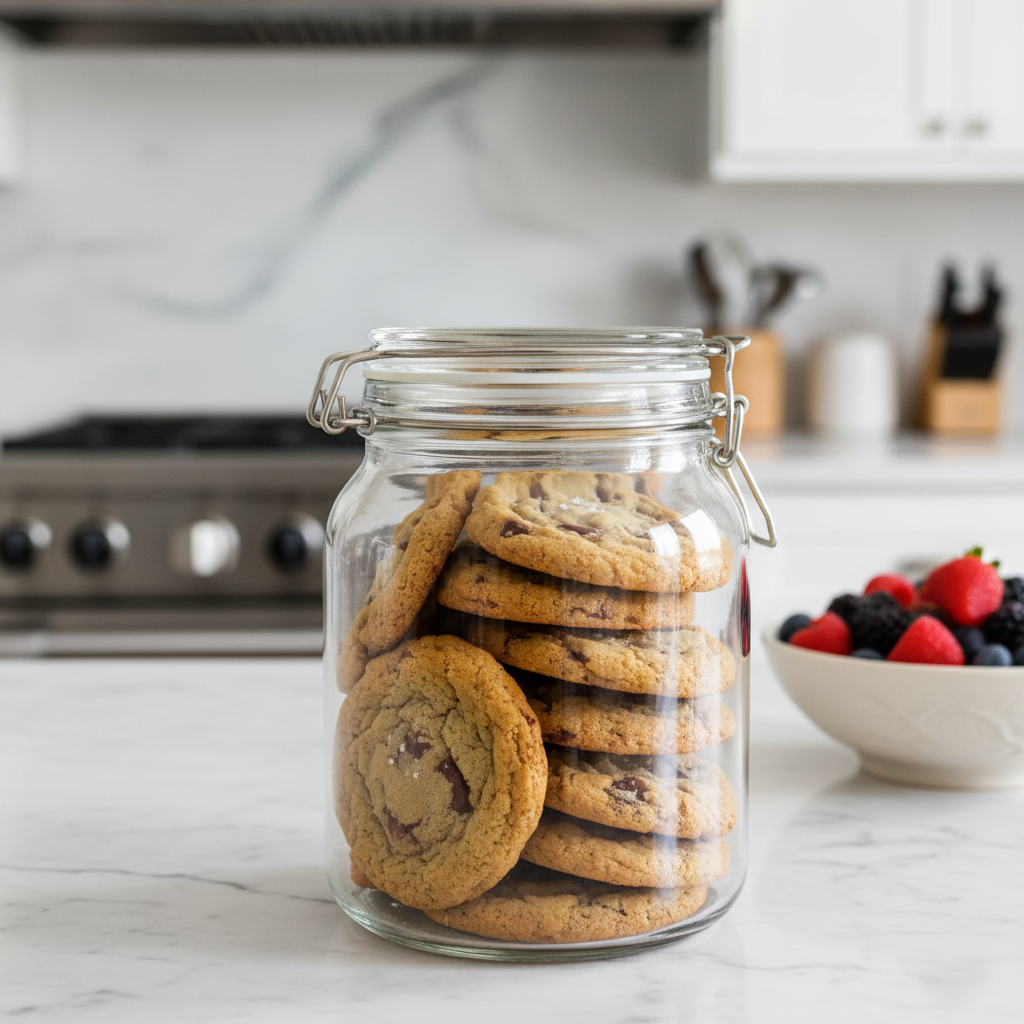
These cookies store beautifully, making them perfect for meal prep or enjoying over several days.
- Airtight Container Store cooled thumbprint cookies in an airtight container at room temperature for up to 5-7 days.
- Layering If stacking, place a sheet of parchment paper between layers to prevent them from sticking together and to protect the jam filling.
- Refrigeration While not strictly necessary, you can refrigerate them for extended freshness, up to 2 weeks. Bring to room temperature before serving for best flavor.
Make-Ahead and Freezer Notes
Want to get a head start? Here’s how to make these cookies ahead of time:
- Dough You can prepare the cookie dough, wrap it tightly in plastic wrap, and refrigerate it for up to 3 days. Let it come to room temperature slightly before rolling.
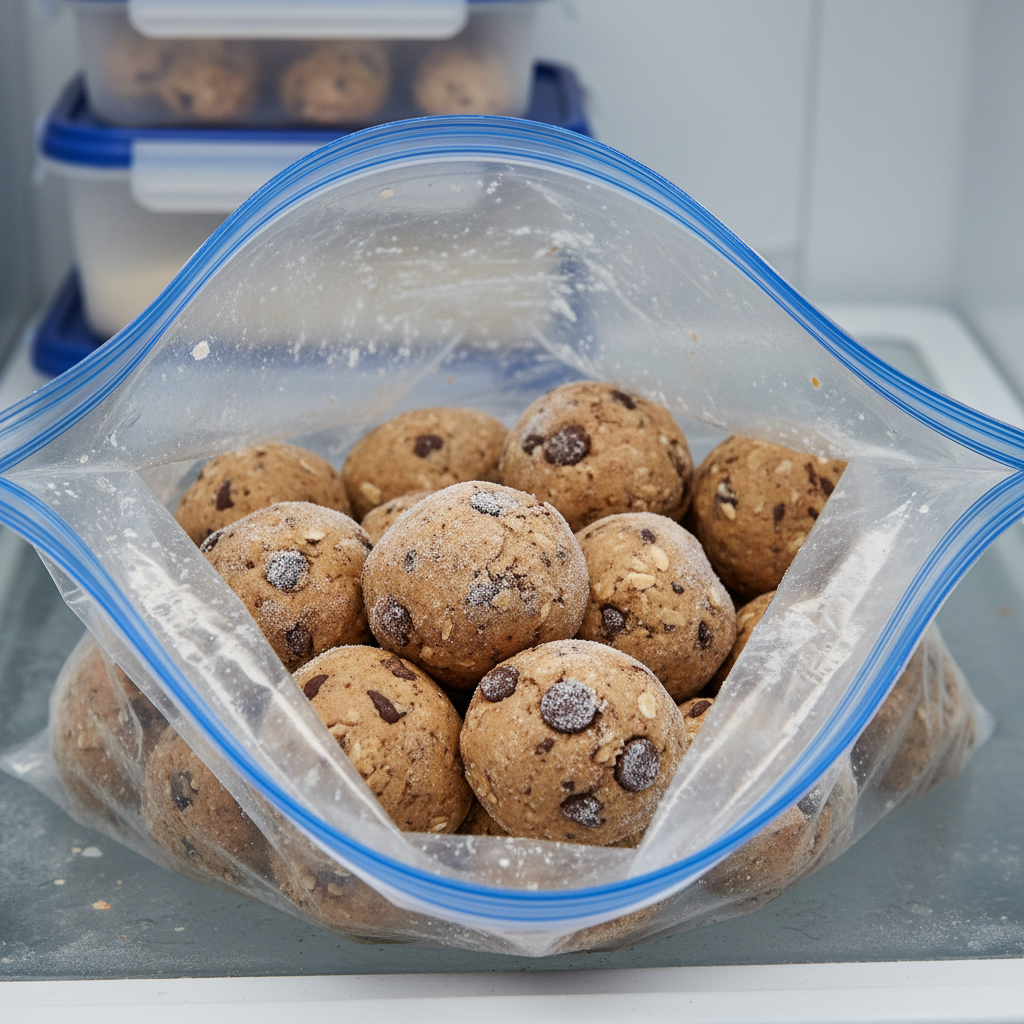
- Freezing Dough Balls Roll the dough into balls, create the thumbprints, but do not fill with jam. Place them on a baking sheet and freeze until solid. Transfer the frozen dough balls to a freezer-safe bag or container for up to 2-3 months. When ready to bake, place them on a baking sheet, fill with jam (you might need to press the indentation again), and bake from frozen, adding a few extra minutes to the baking time.
- Freezing Baked Cookies Once completely cooled, you can freeze the baked cookies (without powdered sugar dusting) in a single layer on a baking sheet until solid. Then, transfer them to a freezer-safe container or bag, separating layers with parchment paper. They will keep for up to 1 month. Thaw at room temperature before serving.
Serving Suggestions

Jam thumbprint cookies are wonderful on their own, but they also pair beautifully with a variety of beverages and occasions:
- Coffee or Tea A classic pairing for a delightful afternoon treat.
- Milk The perfect accompaniment for a comforting snack.
- Dessert Platter Add them to a festive holiday cookie assortment.
- Brunch A sweet addition to any brunch spread.
- Gift Giving Package them in a pretty box or tin for a thoughtful homemade gift.