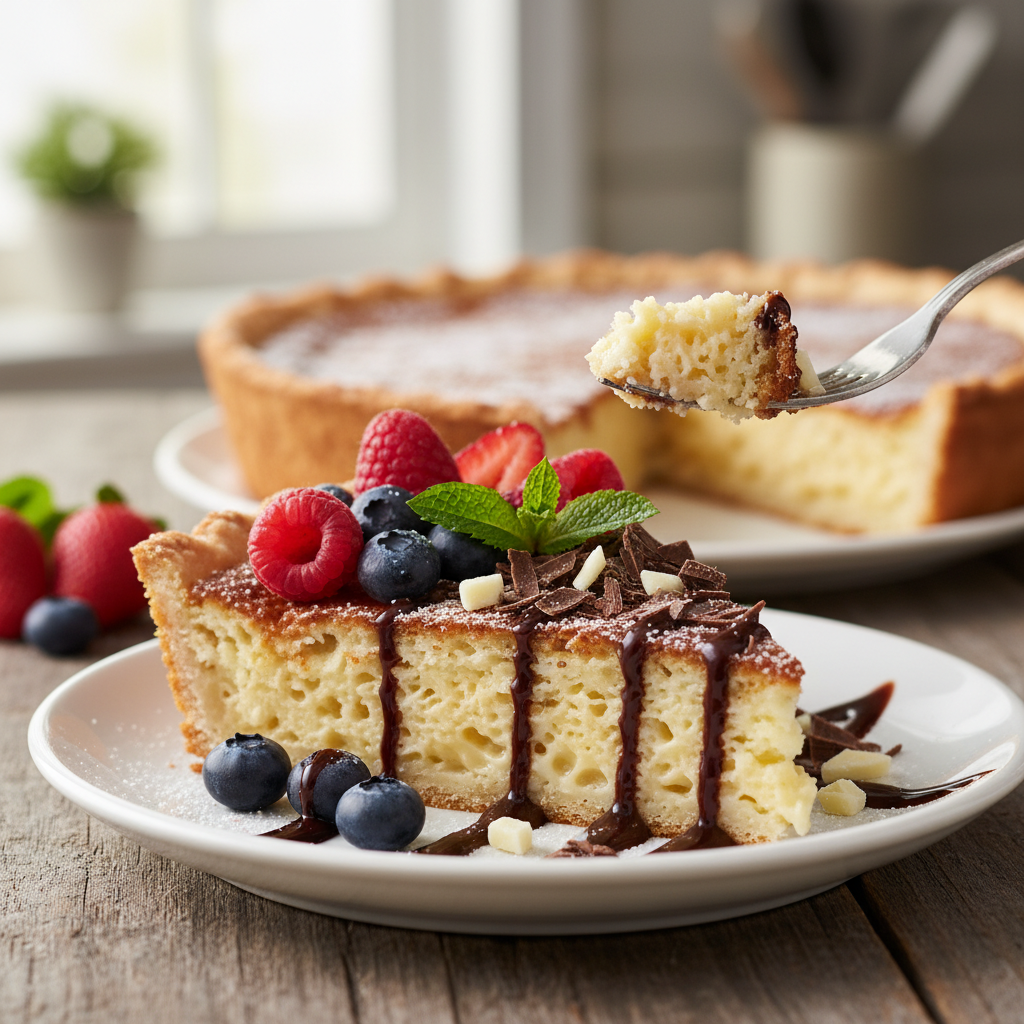
Welcome, fellow dessert lovers! Have you ever dreamed of a pie that practically bakes itself, magically forming its own crust and layers right in your oven? Well, today, that dream comes true with our incredible Impossible Pie recipe! This isn’t just any pie; it’s a culinary marvel that transforms simple ingredients into a delightful, self-layering masterpiece with a creamy custard filling, a tender coconut layer, and its very own crust.
If you’re looking for a fuss-free dessert that impresses every time, whether for a cozy family dinner or a potluck with friends, you’ve found your new go-to. Forget complicated pastry techniques; this recipe is designed for beginners and seasoned bakers alike who appreciate deliciousness without the drama. Get ready to bake some magic!
A Little History and Background
The Impossible Pie, also affectionately known as ‘Magic Pie’ or ‘Miracle Pie’, gained popularity in the mid-20th century, particularly through recipe contests and advertisements by major food brands. Its charm lies in its ingenious simplicity. The batter, a mixture of milk, eggs, sugar, butter, and flour, along with delicious additions like coconut, separates during baking. The heavier flour sinks to form a crust, the lighter ingredients rise to create a creamy custard, and the coconut often forms a delightful middle layer. It’s truly a testament to the wonders of basic chemistry in the kitchen, making baking accessible and exciting for everyone.
Why You’ll Adore This Recipe
- Effortlessly Simple: No separate crust to prepare, no complex steps. Just mix and bake!
- Magical Self-Layering: Watch in awe as it creates its own crust, filling, and topping.
- Deliciously Versatile: Easily adaptable with different flavor additions.
- Budget-Friendly Ingredients: Uses common pantry staples you likely already have.
- Crowd-Pleasing Flavor: A sweet, creamy, coconutty delight that everyone loves.
- Beginner-Friendly: Perfect for new bakers or those short on time.
Gathering Your Ingredient Notes
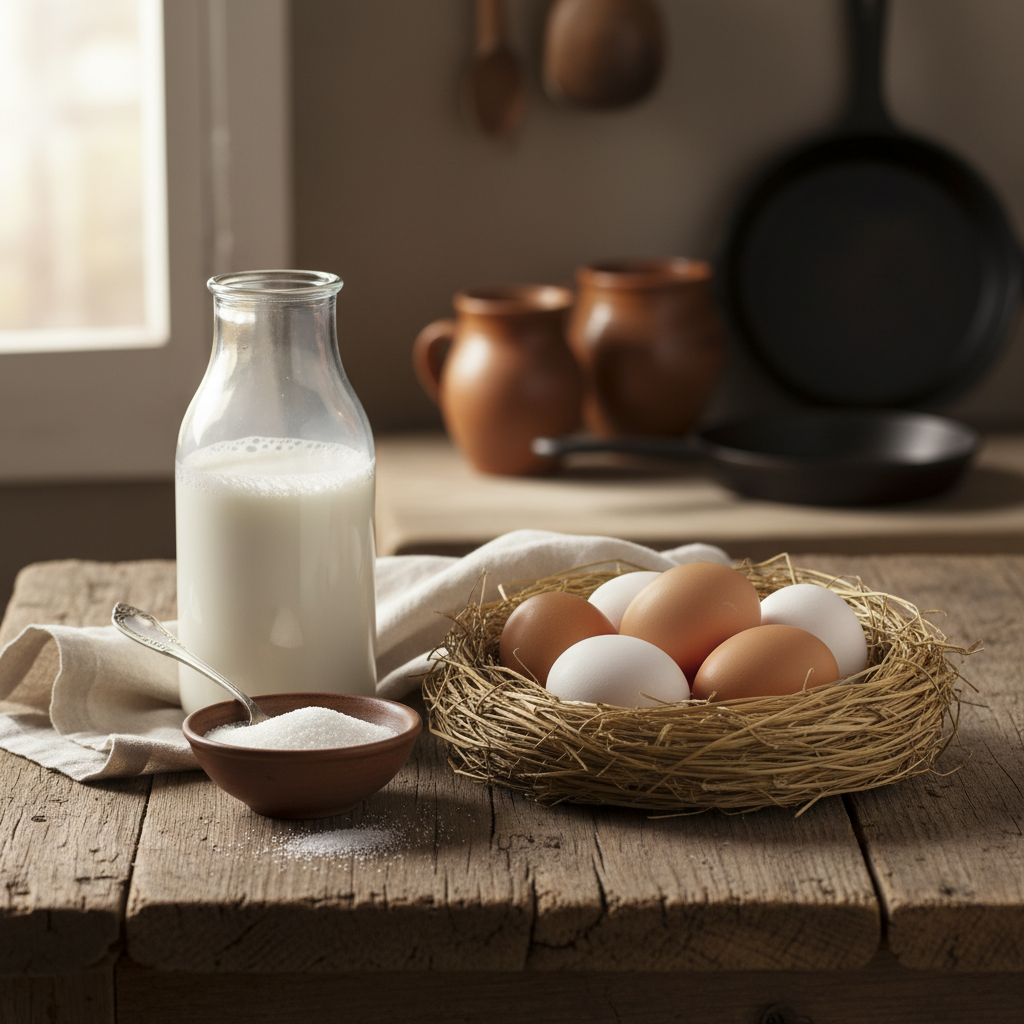
While the Impossible Pie uses simple ingredients, understanding each one helps ensure the best results:
- Eggs: These are crucial for the pie’s structure and creamy custard texture. Use large eggs.
- Milk: Whole milk is recommended for the richest flavor and best texture, but 2% can work too.
- Sugar: Granulated sugar provides the perfect sweetness.
- Butter: Melted butter adds richness and helps with the crust formation.
- All-Purpose Flour: Just a little bit of flour is what magically forms the crust at the bottom.
- Vanilla Extract: Enhances all the sweet flavors.
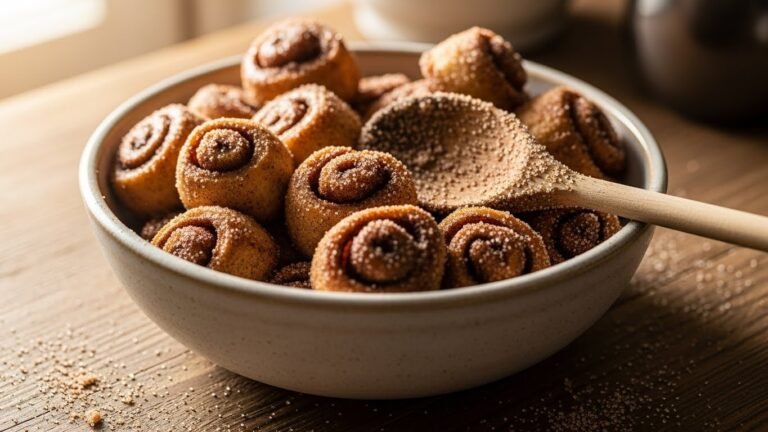
- Shredded Coconut: Sweetened shredded coconut is traditional and adds wonderful texture and flavor.
- Nutmeg: A sprinkle of nutmeg on top adds a warm, classic pie aroma and taste.
Essential Equipment You’ll Need
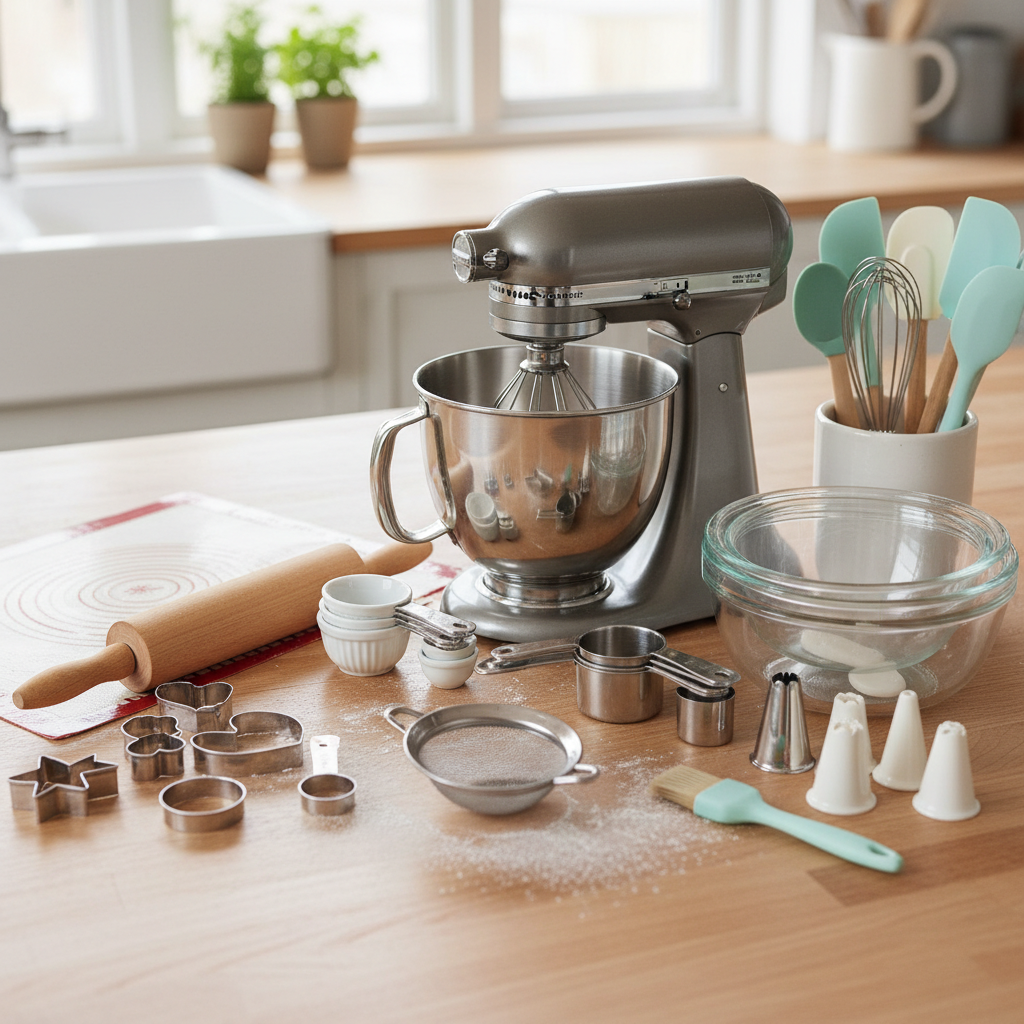
Good news! You don’t need any fancy gadgets for this pie. Here’s what you’ll want to have on hand:
- 9-inch Pie Plate: A standard glass or ceramic pie plate works perfectly.
- Large Mixing Bowl: For combining all your ingredients.
- Whisk: To ensure everything is well blended.
- Measuring Cups and Spoons: For accurate ingredient measurements.
- Oven Mitts: Safety first when handling hot dishes!
Your Full Impossible Pie Recipe Card
Ingredients
- 4 large eggs
- 1/2 cup (1 stick) unsalted butter, melted
- 1 1/2 cups granulated sugar
- 1/2 cup all-purpose flour
- 2 cups whole milk
- 1 teaspoon vanilla extract
- 1 1/2 cups sweetened shredded coconut
- Pinch of ground nutmeg, for dusting (optional)
Instructions
- Preheat Oven and Prepare Pan: Preheat your oven to 350°F (175°C). Grease a 9-inch pie plate with butter or cooking spray.
- Combine Wet Ingredients: In a large mixing bowl, whisk together the eggs, melted butter, sugar, flour, milk, and vanilla extract until smooth and well combined. Don’t worry if it looks a little thin; that’s normal for this magical pie!
- Add Coconut: Stir in the shredded coconut.
- Pour and Bake: Pour the entire mixture into your prepared pie plate. Sprinkle a pinch of nutmeg over the top, if desired.
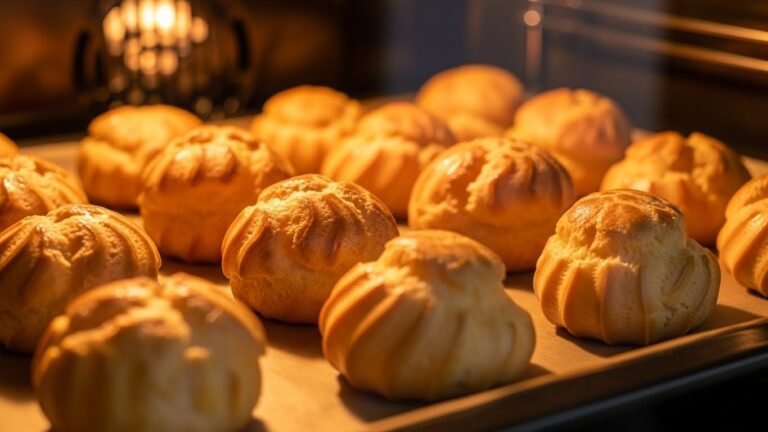
- Bake Until Set: Bake for 50-60 minutes, or until the top is golden brown and a knife inserted into the center comes out clean. The pie will be puffed up around the edges and slightly jiggly in the center when it’s done.
- Cool and Serve: Let the pie cool completely on a wire rack before slicing and serving. This is crucial for the layers to fully set.
Recipe Notes
For best results, allow the pie to cool for at least 2-3 hours, or even chill it in the refrigerator before slicing. This helps the layers firm up beautifully and makes for cleaner slices. The top will naturally brown, but if you prefer a darker golden crust, you can turn on the broiler for 1-2 minutes at the very end, watching it closely to prevent burning.
Tips and Delicious Variations
- Chocolate Lover’s Delight: Add 1/2 cup of chocolate chips to the batter along with the coconut.
- Lemon Zest Boost: For a brighter flavor, add 1 tablespoon of lemon zest to the batter.
- Nutty Addition: Fold in 1/2 cup of chopped pecans or walnuts for added crunch.
- Spice It Up: A pinch of cinnamon or cardamom can complement the nutmeg beautifully.
- Almond Extract Swap: Try substituting almond extract for vanilla for a different aromatic twist.
Pro Chef Secrets for Perfection
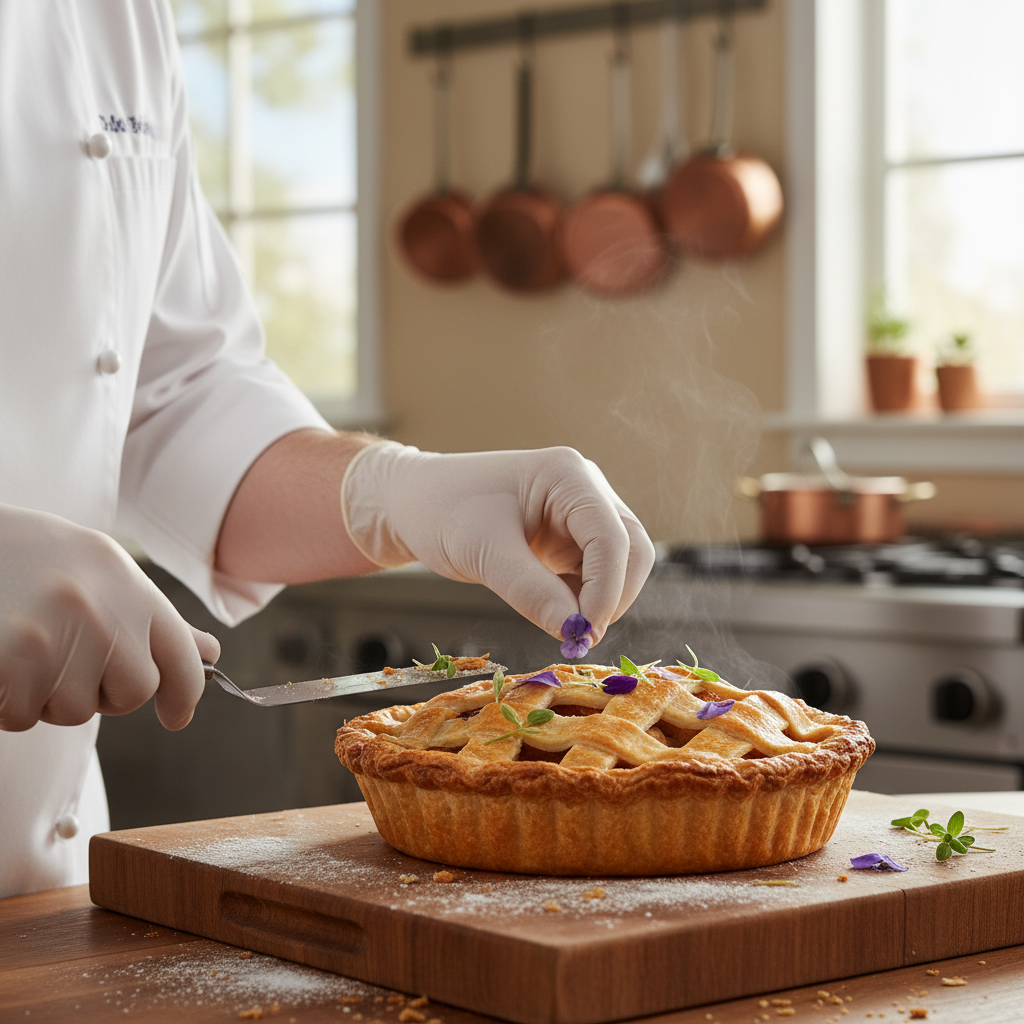
Even simple recipes benefit from a chef’s touch! Here are a few tips to elevate your Impossible Pie:
- Room Temperature Eggs and Milk: While not strictly necessary, using room temperature eggs and milk can help them incorporate more smoothly into the batter, leading to a more uniform texture.
- Don’t Overmix: Whisk until just combined. Overmixing can develop the gluten in the flour too much, potentially making the crust tougher.
- Patience is Key for Cooling: Resist the urge to cut into the pie too soon! The magic of the layers setting happens during the cooling process. A fully cooled pie will have the best texture and clean slices.
- Gentle Tap Test: Instead of just visual cues, gently tap the side of the pie plate. If the center still wobbles like liquid, it needs more time. A slight jiggle is okay, but it should feel mostly set.
Common Mistakes to Steer Clear Of
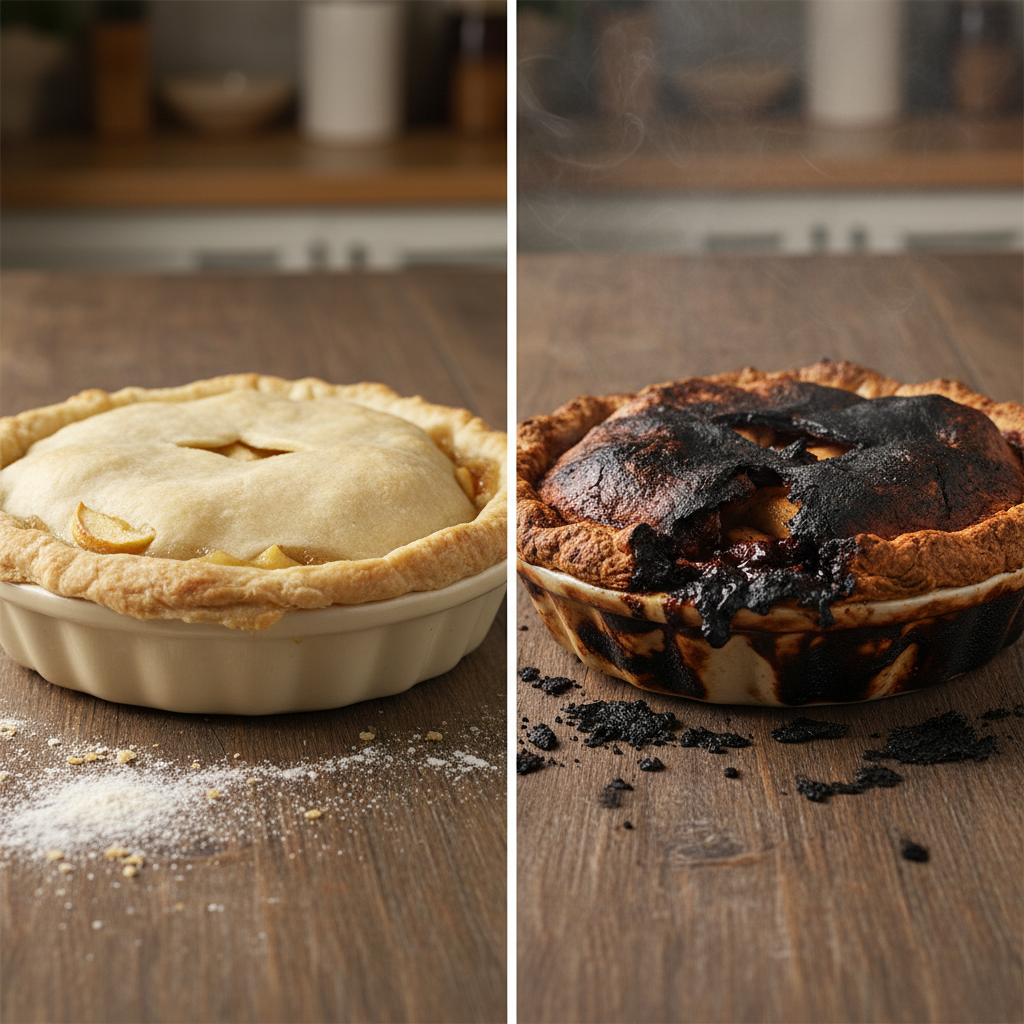
Avoid these common pitfalls to ensure your Impossible Pie is perfect every time:
- Cutting Too Soon: As mentioned, this is the biggest mistake! The layers need time to set, especially the crust.
- Not Greasing the Pan: Even with its self-crusting nature, the pie can stick without a properly greased pie plate.
- Incorrect Oven Temperature: An oven that’s too hot or too cold can affect the layering process and overall texture. Use an oven thermometer if you suspect your oven runs hot or cold.
- Too Many Add-ins: While variations are fun, adding too many heavy ingredients can prevent the layers from forming properly. Stick to reasonable amounts.
Storage and Smart Meal Prep
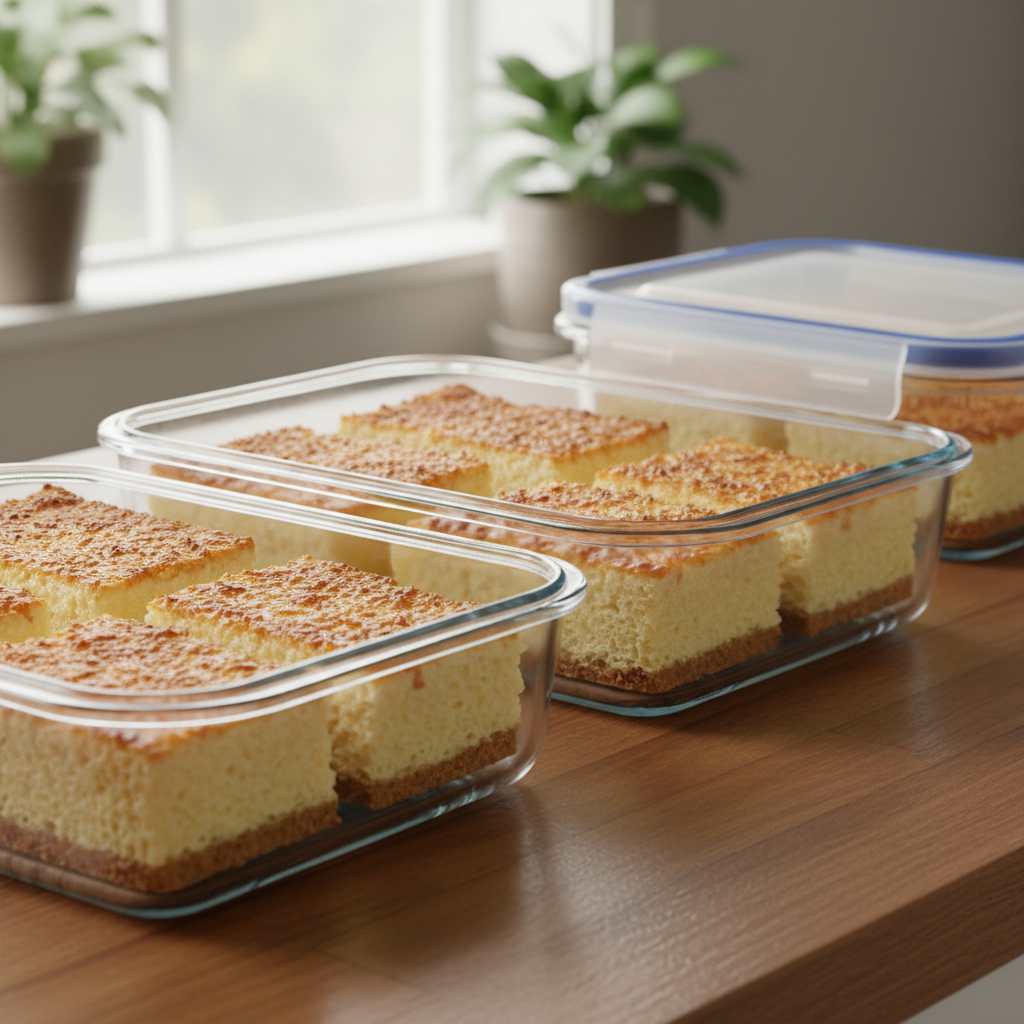
This pie is fantastic for making ahead and enjoying throughout the week. Once completely cooled, cover the pie plate tightly with plastic wrap or aluminum foil. You can also transfer individual slices to airtight containers. Store the Impossible Pie in the refrigerator for up to 3-4 days. It tastes wonderful chilled!
Make-Ahead and Freezer Notes
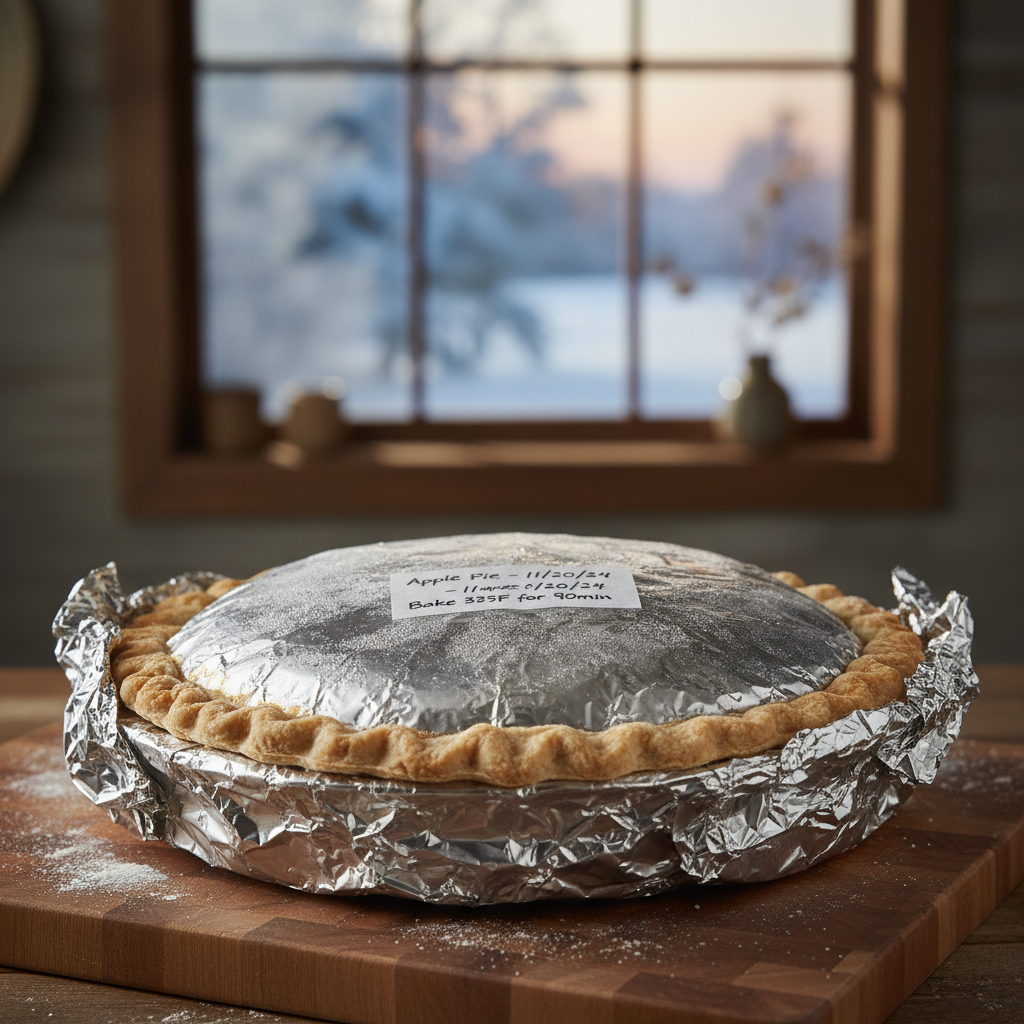
The Impossible Pie is a great make-ahead dessert. You can bake it a day or two in advance and store it in the refrigerator. For longer storage, this pie freezes surprisingly well! Once completely cooled, wrap the entire pie (or individual slices) tightly in plastic wrap, then a layer of aluminum foil. Freeze for up to 2-3 months. To serve, thaw overnight in the refrigerator. You can gently warm slices in the oven if desired, but it’s also delicious cold.
Delightful Serving Suggestions
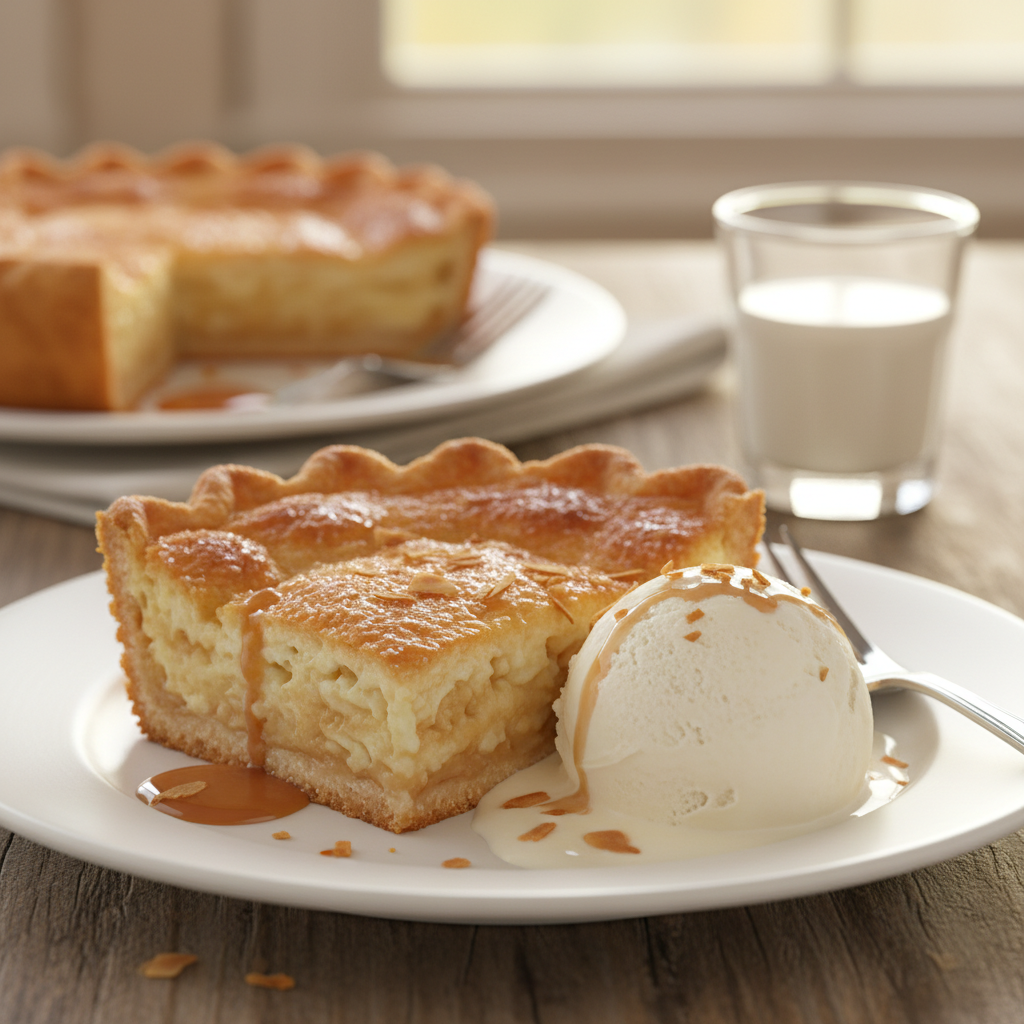
While delicious on its own, here are some ideas to make your Impossible Pie even more special:
- A Scoop of Ice Cream: Classic vanilla bean or coconut ice cream would be heavenly.
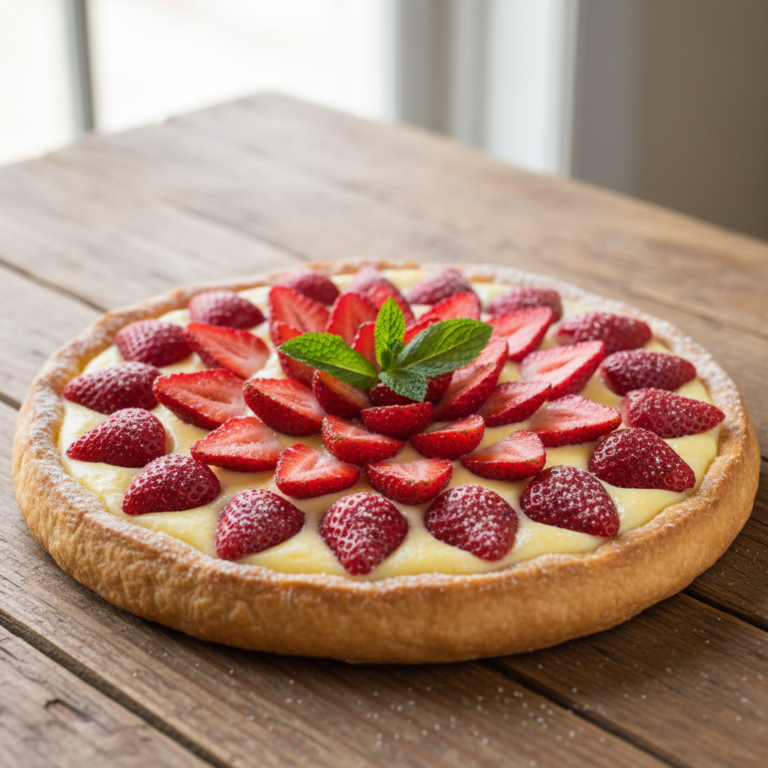
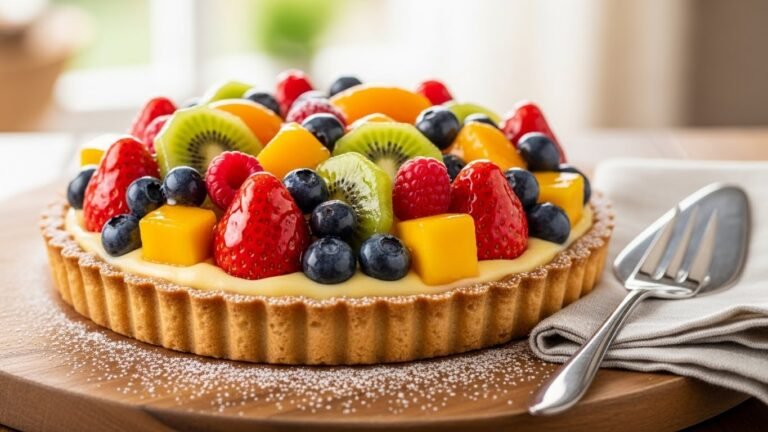
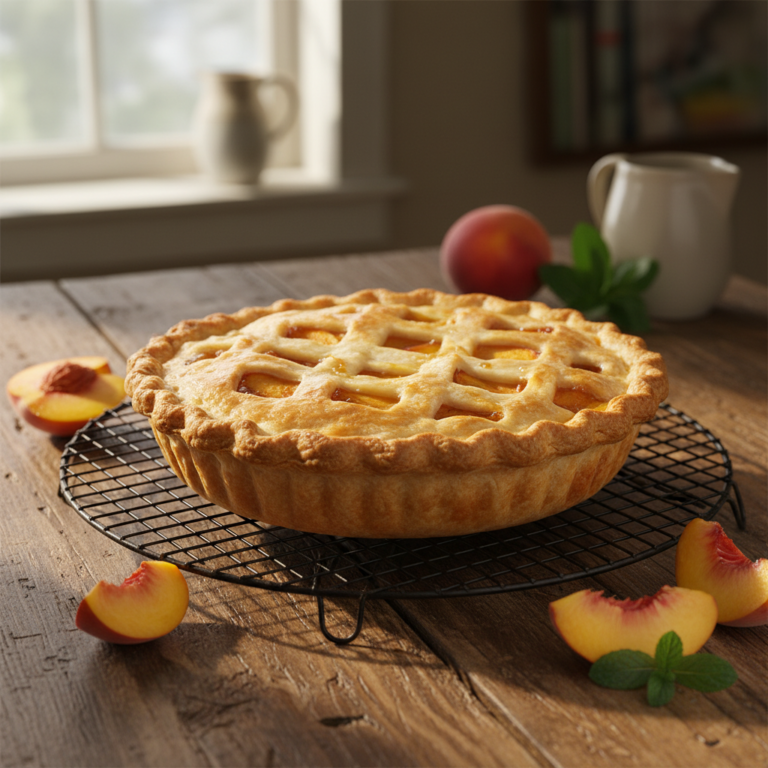
- Fresh Berries: A handful of fresh raspberries, blueberries, or sliced strawberries adds a pop of color and freshness.
- Whipped Cream: A dollop of homemade whipped cream is always a welcome addition.
- Chocolate Shavings: A sprinkle of dark chocolate shavings on top for extra indulgence.
- Dusting of Powdered Sugar: A simple, elegant finish.
Frequently Asked Questions
Here are some common questions about this magical dessert:
Conclusion – Happy Baking
And there you have it, friends! The Impossible Pie with its incredible self-layering texture is truly a dessert marvel. It’s a recipe that promises minimal fuss and maximum flavor, proving that you don’t need complicated techniques to create something truly delicious and impressive. We hope you enjoy the magic of this pie as much as we do. Happy baking, and don’t forget to share your impossible pie creations with us!