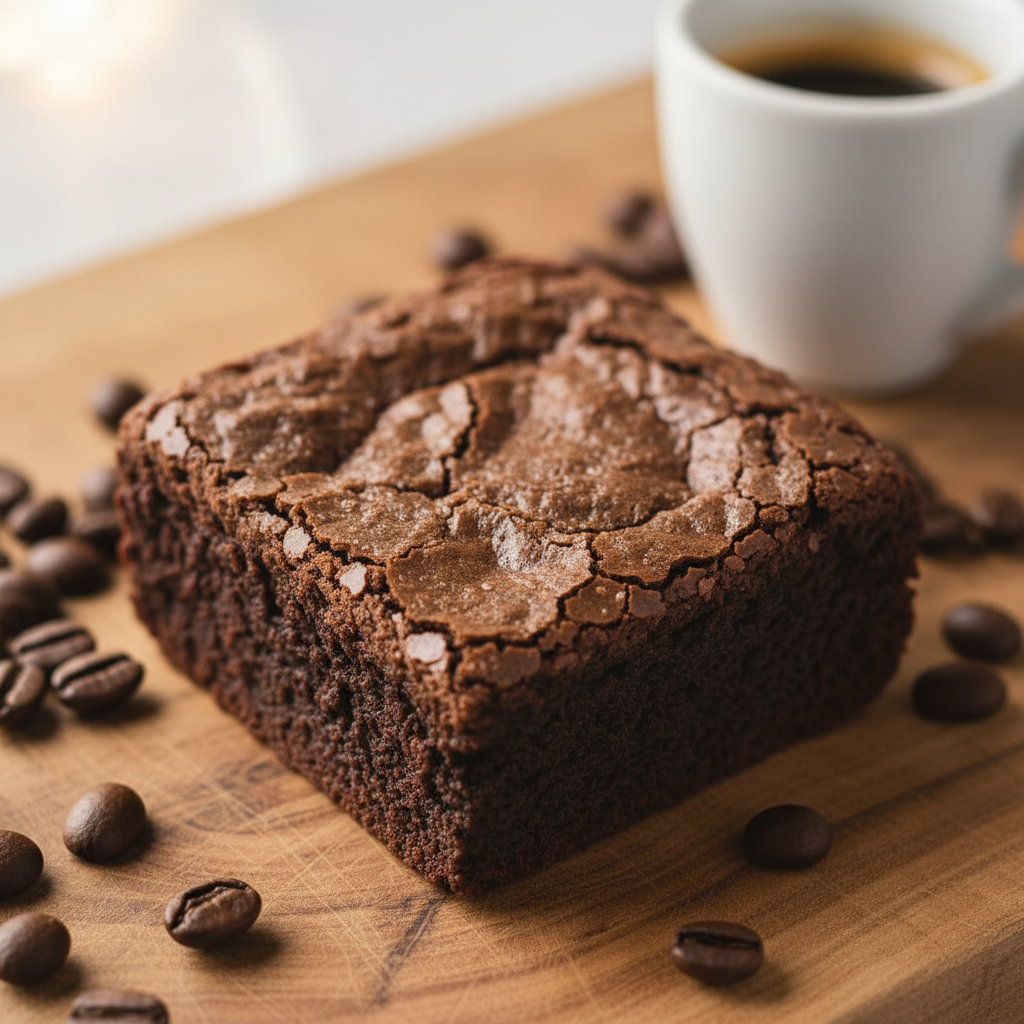
Who doesn’t adore a classic brownie? That deep, dark chocolatey square of pure joy holds a special place in our hearts. But what if we told you there’s a way to elevate that beloved treat to new heights? Enter the Espresso Brownie! Imagine a brownie that’s intensely fudgy, boasts a delicate, irresistible crackly top, and carries a subtle yet sophisticated whisper of rich coffee. This isn’t just a dessert; it’s an experience. Our recipe is designed to be simple, straightforward, and utterly delicious, even for the most beginner baker. Get ready to impress yourself and everyone around you with these show-stopping espresso brownies.
A Rich History of Chocolate and Coffee

The brownie, a beloved American dessert, has a delightfully hazy origin story, with tales ranging from a forgotten ingredient to a happy accident in a chef’s kitchen around the turn of the 20th century. What’s not hazy, however, is the magic that happens when chocolate and coffee come together. Coffee, particularly espresso, has long been known to enhance and deepen the flavor of chocolate without overpowering it. It’s not about making the brownies taste like coffee; it’s about making them taste like the best chocolate brownies you’ve ever had, with an added layer of complexity and richness. This culinary partnership is a match made in dessert heaven, creating a sophisticated twist on a comforting classic.
Why These Espresso Brownies Will Be Your New Favorite
There are countless brownie recipes out there, but this one stands out for several compelling reasons:
- Intense Chocolate Flavor: The combination of cocoa powder and espresso powder creates an incredibly deep, complex chocolate taste that will satisfy any craving.
- Perfect Crackly Top: Achieved through a specific sugar-to-fat ratio and whisking technique, this recipe guarantees that coveted thin, shiny, crackly crust.
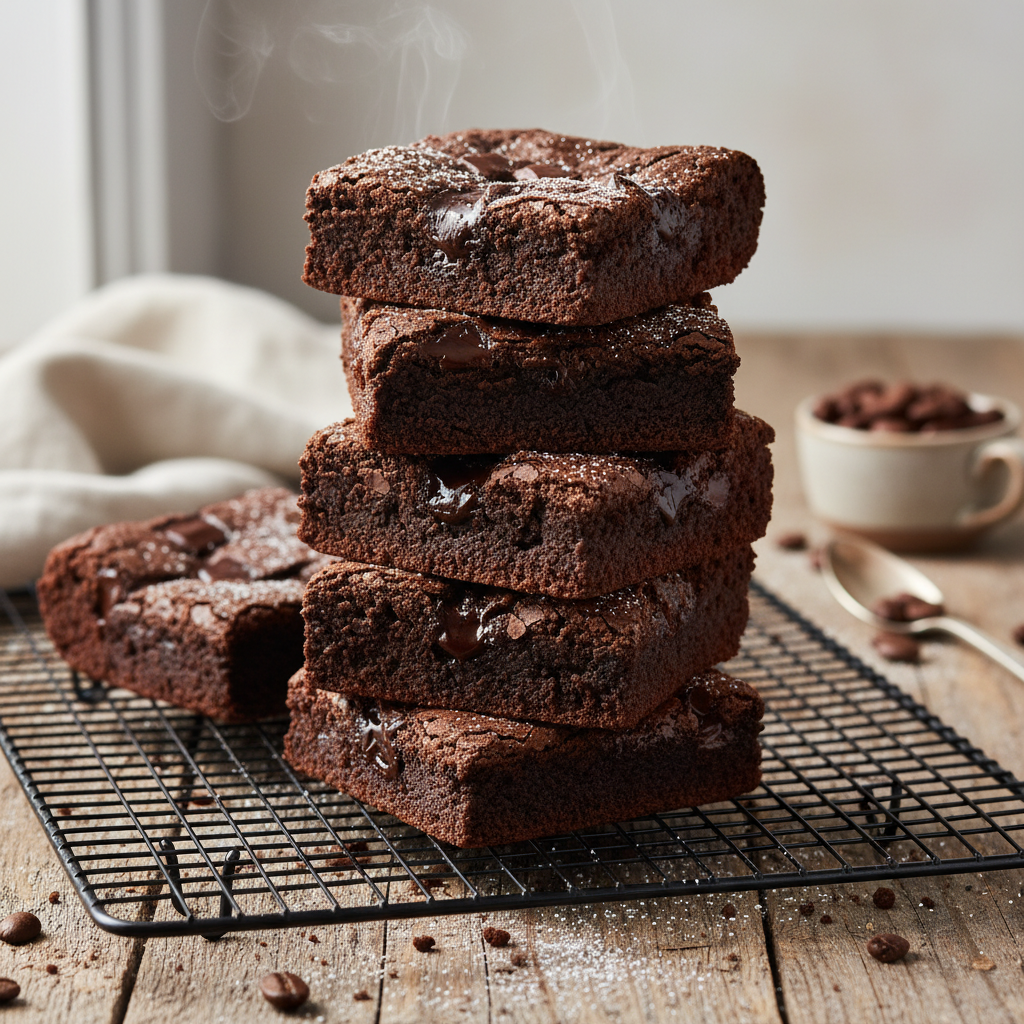
- Fudgy Texture Every Time: Say goodbye to dry, cakey brownies! Our method ensures a dense, moist, and wonderfully fudgy interior.
- Beginner-Friendly: Despite the gourmet results, the steps are clear, simple, and easy to follow, making it perfect for home bakers of all skill levels.
- Rich Coffee Notes: The espresso powder doesn’t make these taste like coffee brownies; it amplifies the chocolate, adding a subtle depth that makes them truly irresistible.
- Crowd-Pleaser: These brownies are universally loved and perfect for parties, potlucks, or a cozy night in.
Essential Ingredients for Perfect Brownies
The beauty of brownies lies in their relatively simple ingredient list, but the quality of each ingredient truly makes a difference in the final product.
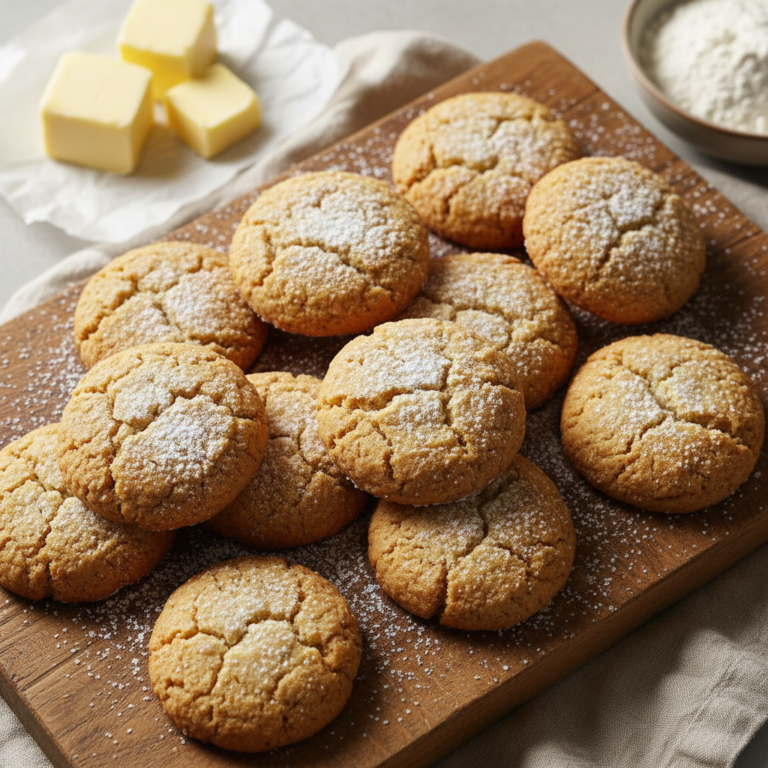
Unsalted Butter: We use unsalted butter to control the overall salt content. It provides richness and moisture.
Granulated Sugar: This is key for sweetness and, crucially, for that signature crackly top. Don’t skimp!
Large Eggs: Eggs bind the ingredients, add structure, and contribute to the fudgy texture. Ensure they are at room temperature for better emulsion.
Vanilla Extract: A touch of vanilla enhances all the other flavors. Use good quality pure vanilla extract.
All-Purpose Flour: Just enough to hold everything together without making them cakey. Avoid overmixing once flour is added.
Unsweetened Cocoa Powder: For the deepest chocolate flavor, opt for a high-quality unsweetened cocoa powder. Dutch-processed cocoa works beautifully here for a darker brownie.
Espresso Powder: This is the secret weapon! It intensifies the chocolate flavor without making the brownies taste overtly like coffee. Use a fine-ground espresso powder, not instant coffee granules.
Salt: A pinch of salt balances the sweetness and brings out the chocolate flavor even more.
Tools You’ll Need
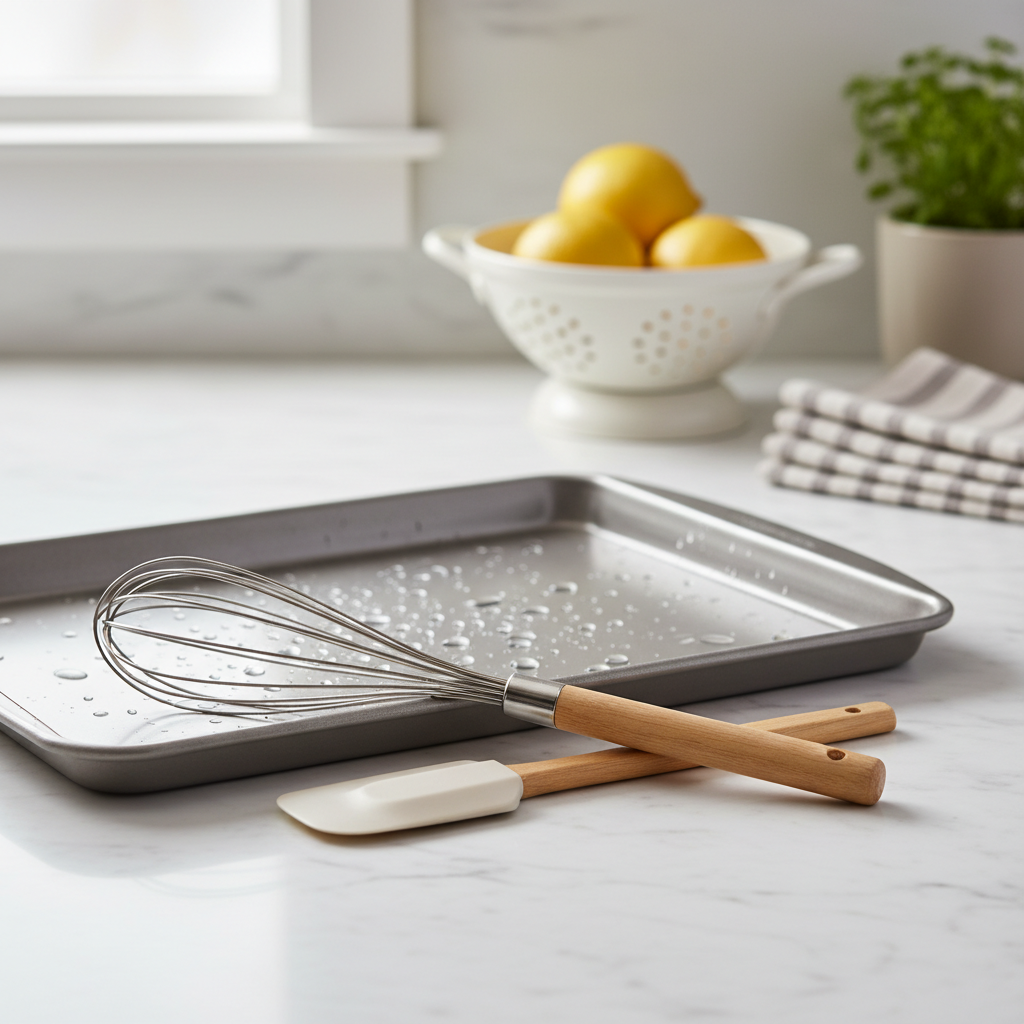
Having the right equipment makes baking a breeze. Here’s what you’ll need for these espresso brownies:
- 8×8 Inch Baking Pan: A light-colored metal pan is ideal for even baking.
- Parchment Paper: Lines the pan, making it easy to lift out and cut the brownies.
- Large Mixing Bowl: For combining your wet ingredients.
- Medium Mixing Bowl: For whisking dry ingredients.
- Whisk: Essential for incorporating air and combining ingredients smoothly.
- Rubber Spatula: For folding and scraping down the sides of the bowl.
- Measuring Cups and Spoons: Accuracy is key in baking!
- Wire Cooling Rack: For cooling the brownies completely.
The Ultimate Espresso Brownies Recipe Card

Ingredients
- 1/2 cup (113g) unsalted butter, melted
- 1 cup (200g) granulated sugar
- 2 large eggs, room temperature
- 1 teaspoon pure vanilla extract
- 1/2 cup (60g) all-purpose flour
- 1/4 cup (25g) unsweetened cocoa powder (Dutch-processed recommended)
- 1 tablespoon espresso powder
- 1/4 teaspoon salt
Instructions
- Prepare Your Pan: Preheat your oven to 350°F (175°C). Line an 8×8-inch metal baking pan with parchment paper, leaving an overhang on two sides to easily lift the brownies out later. Lightly grease any exposed parts of the pan.
- Melt Butter: In a large mixing bowl, melt the butter. You can do this in the microwave or on the stovetop.
- Combine Wet Ingredients: Add the granulated sugar to the melted butter. Whisk vigorously for 1-2 minutes until the mixture is glossy and slightly thickened. This step is crucial for the crackly top!
- Add Eggs and Vanilla: Whisk in the eggs one at a time, ensuring each is fully incorporated before adding the next. Stir in the vanilla extract. The mixture should be lightened in color and airy.
- Combine Dry Ingredients: In a separate medium bowl, whisk together the flour, cocoa powder, espresso powder, and salt.
- Combine Wet and Dry: Gradually add the dry ingredients to the wet ingredients. Fold gently with a rubber spatula until just combined. Be careful not to overmix; a few streaks of flour are fine. Overmixing develops gluten, leading to tougher brownies.
- Bake: Pour the batter into the prepared pan and spread evenly. Bake for 20-25 minutes, or until a toothpick inserted 1 inch from the edge comes out with moist crumbs, but the center still looks slightly gooey. The top should be shiny and crackled.
- Cool Completely: Remove from the oven and let the brownies cool completely in the pan on a wire rack. This is very important for fudgy texture and clean cuts.
- Cut and Serve: Once completely cool, use the parchment paper overhang to lift the brownies from the pan. Cut into 9 or 16 squares and enjoy!
Recipe Notes
- Don’t Overbake: Overbaking is the number one cause of dry brownies. Keep an eye on them!
- Room Temperature Eggs: They emulsify better with the butter and sugar, leading to a smoother batter and better texture.
- Quality Ingredients: Using good quality cocoa powder and espresso powder truly makes a difference in flavor.
- Chill Before Cutting: For super clean cuts, chill the cooled brownies in the refrigerator for at least 30 minutes before slicing.
Creative Tips and Delicious Variations
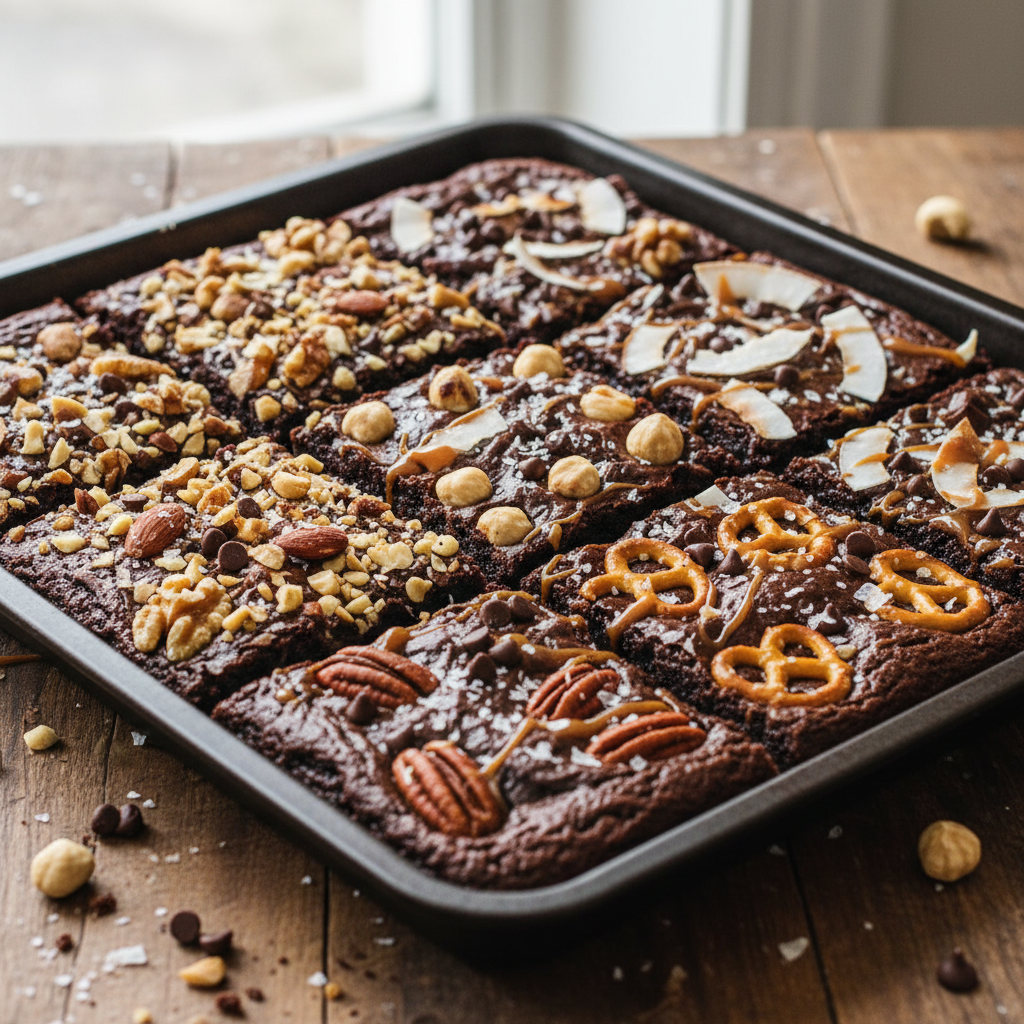
While these espresso brownies are perfect as is, there’s always room for a little creativity! Here are some ideas to make them uniquely yours:
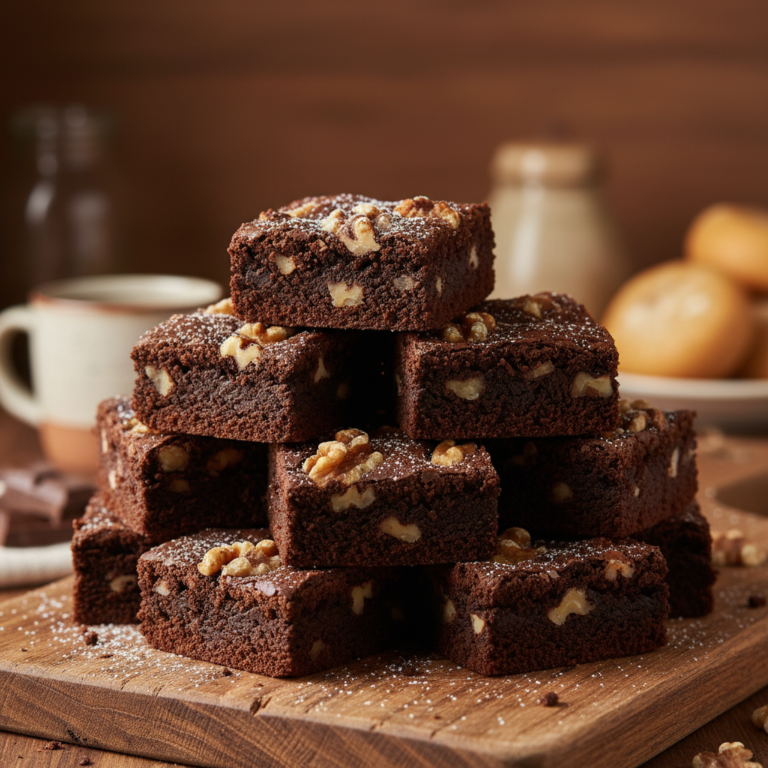
- Nutty Crunch: Fold in 1/2 cup of chopped walnuts, pecans, or almonds with the dry ingredients for added texture.
- Chocolate Chip Boost: Stir in 1/2 cup of chocolate chips (milk, dark, or white) for an extra burst of chocolatey goodness.
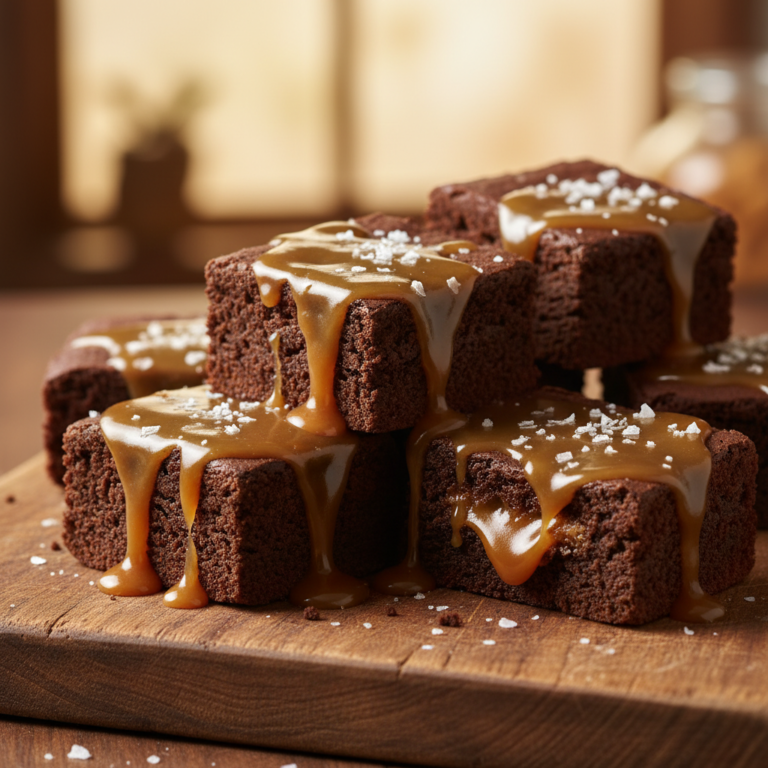
- Sea Salt Sprinkle: A light sprinkle of flaky sea salt on top before baking enhances the chocolate flavor and adds a beautiful contrast.
- Espresso Glaze: Whisk together powdered sugar with a little brewed espresso or milk until smooth, then drizzle over cooled brownies.
- Cream Cheese Swirl: Prepare a simple cream cheese mixture (softened cream cheese, sugar, egg yolk, vanilla) and swirl it into the brownie batter before baking.
- Mint Chocolate: Add 1/2 teaspoon of peppermint extract to the batter for a refreshing minty twist.
Pro Chef Secrets for Brownie Perfection
Even though this recipe is beginner-friendly, a few pro tips can take your brownies from great to absolutely phenomenal:
- Whisk Sugar and Butter Thoroughly: The initial whisking of melted butter and sugar is crucial for creating that signature crackly top. Don’t rush this step; whisk until it’s noticeably lighter and thicker.
- Use Good Quality Chocolate/Cocoa: The better your chocolate, the better your brownies will taste. Invest in a good unsweetened cocoa powder and a quality espresso powder.
- Do Not Overmix the Batter: Once you add the flour, mix only until just combined. Overmixing develops gluten, which can lead to tough, chewy brownies instead of fudgy ones.
- Bake Just Until Set: Brownies continue to cook slightly after they come out of the oven. Aim for a toothpick inserted near the edge to come out with moist crumbs, and the center to still look a little soft.
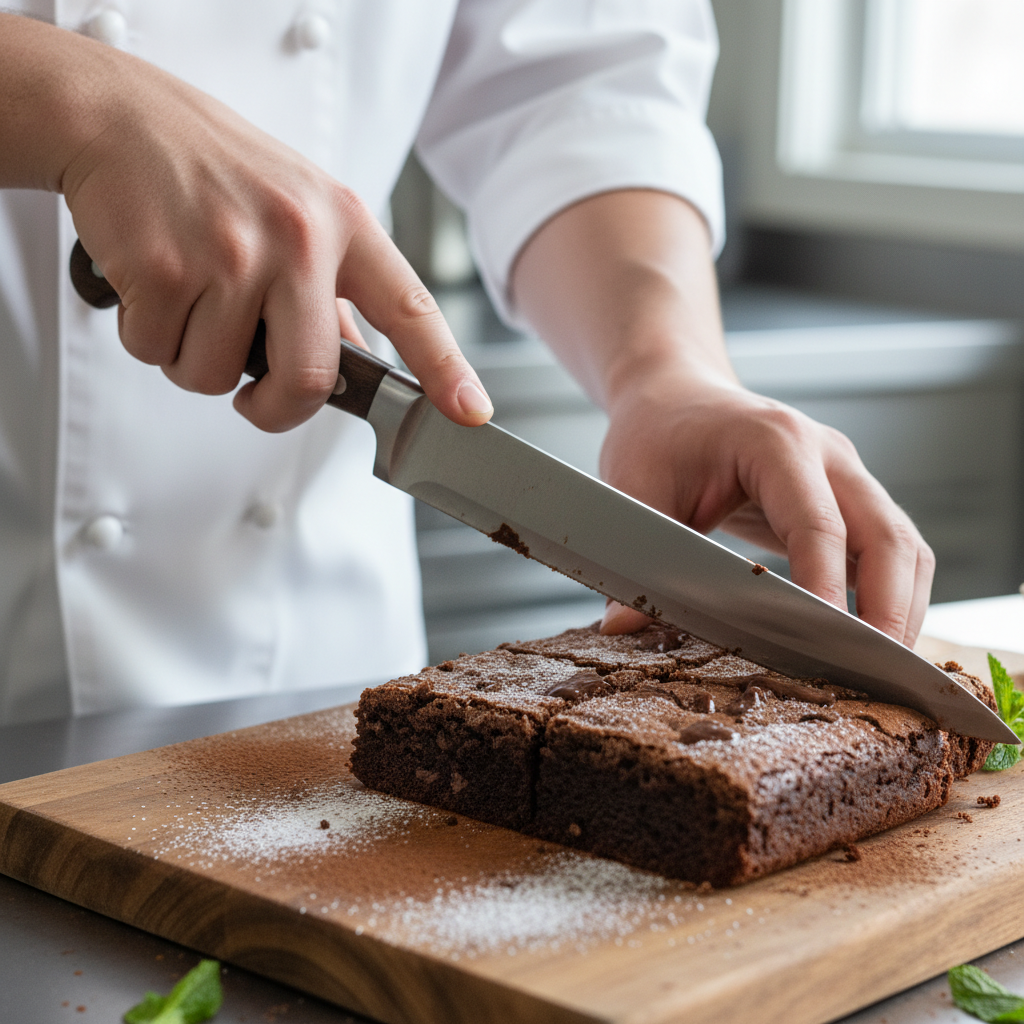
- Chill Before Cutting: For perfectly clean, sharp squares, let your brownies cool completely at room temperature, then chill them in the refrigerator for at least 30-60 minutes before slicing. A warm brownie will crumble and be difficult to cut cleanly.
Common Mistakes to Avoid for Best Results

Even seasoned bakers can make mistakes. Here are some common pitfalls to sidestep when making your espresso brownies:
- Overbaking: This is the most common mistake and the quickest way to turn fudgy brownies into dry, cakey ones. Always err on the side of underbaking slightly.
- Overmixing the Batter: As mentioned, too much mixing after adding flour develops gluten, resulting in a tougher texture. Mix until just combined.
- Cutting While Warm: Resist the urge! Warm brownies are delicate and will crumble. Patience is key for neat slices.
- Using Instant Coffee Instead of Espresso Powder: While instant coffee can be used in a pinch, espresso powder has a much more concentrated flavor that enhances chocolate without adding a strong coffee taste. Instant coffee tends to be weaker and can leave a different flavor profile.
- Skipping the Parchment Paper: This makes removing the brownies from the pan incredibly difficult and messy. Always line your pan.
Storage and Smart Meal Prep
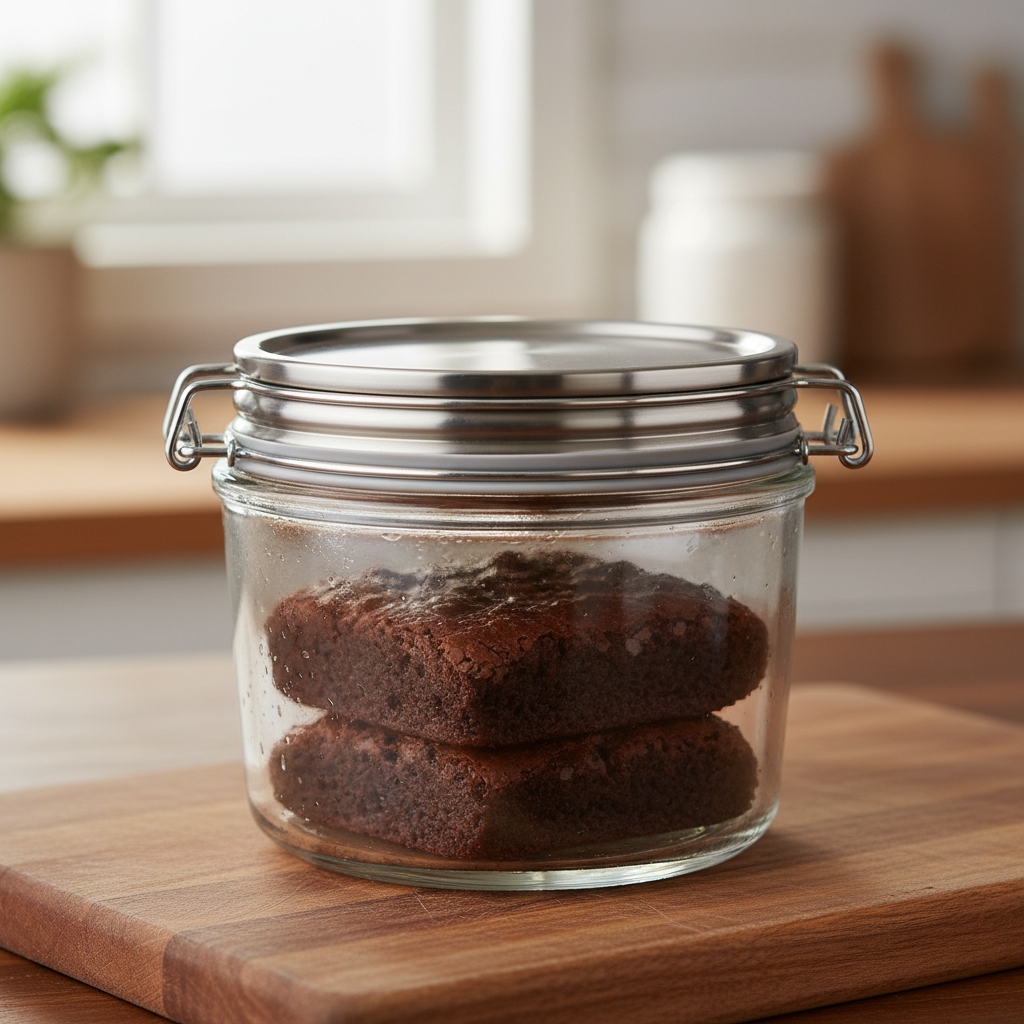
These espresso brownies are so good, they might not last long! But if you happen to have leftovers, here’s how to keep them fresh:
- Room Temperature: Store cooled brownies in an airtight container at room temperature for up to 3-4 days.
- Refrigeration: If you prefer a firmer, chewier brownie, or if your kitchen is particularly warm, you can store them in an airtight container in the refrigerator for up to a week. Bring them to room temperature before serving for the best texture.
Make-Ahead and Freezer Friendly Notes
Brownies are fantastic for making ahead, and they freeze beautifully, making them perfect for meal prep or unexpected cravings!
- Make-Ahead: You can bake these brownies a day or two in advance. Store them as directed above, and they’ll be ready to enjoy when you are.
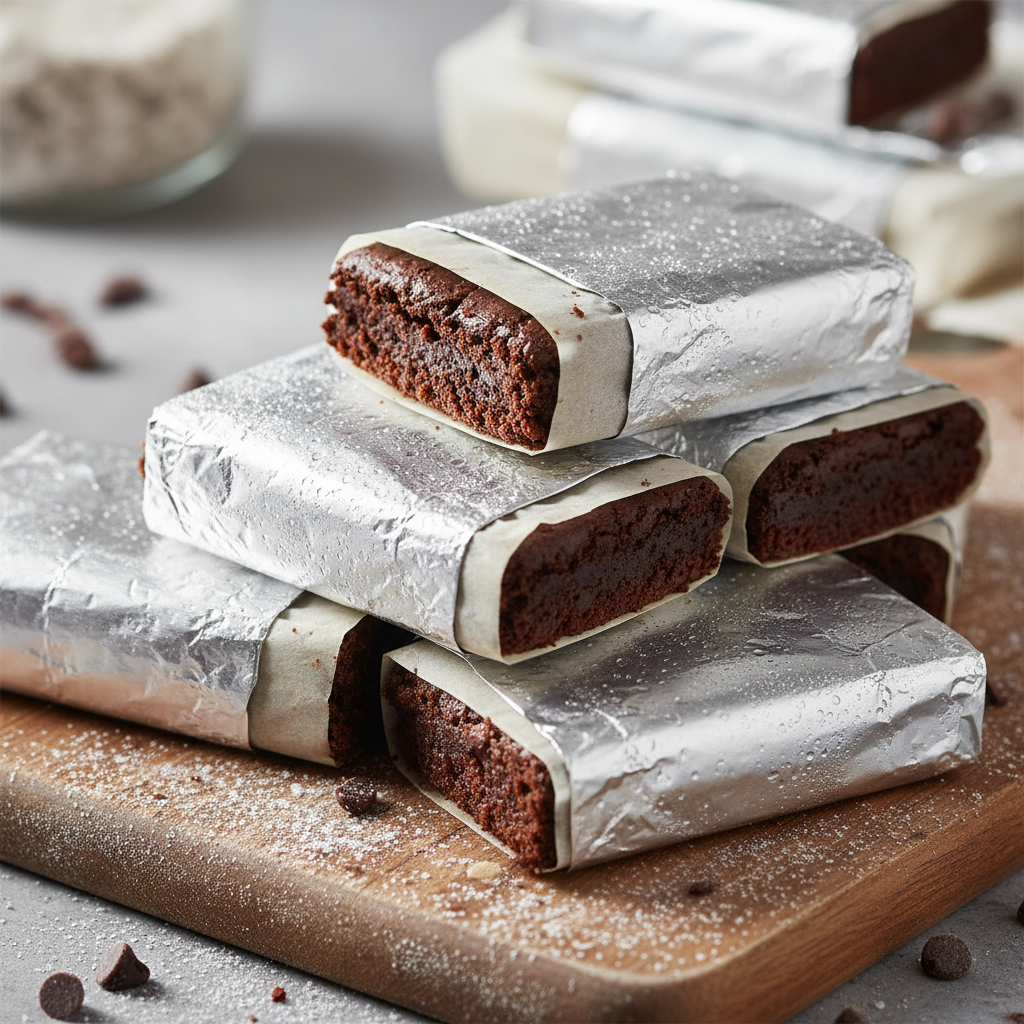
- Freezing Baked Brownies: Once completely cooled, cut the brownies into individual squares. Wrap each square tightly in plastic wrap, then place them in a freezer-safe airtight container or freezer bag. They will keep in the freezer for up to 3 months.
- Thawing: To thaw, simply take out the desired number of brownies and let them come to room temperature on the counter for about an hour. You can also gently warm them in the microwave for a few seconds for a freshly baked feel.
Delightful Serving Suggestions
These espresso brownies are a star on their own, but a few simple additions can turn them into an even more decadent dessert:
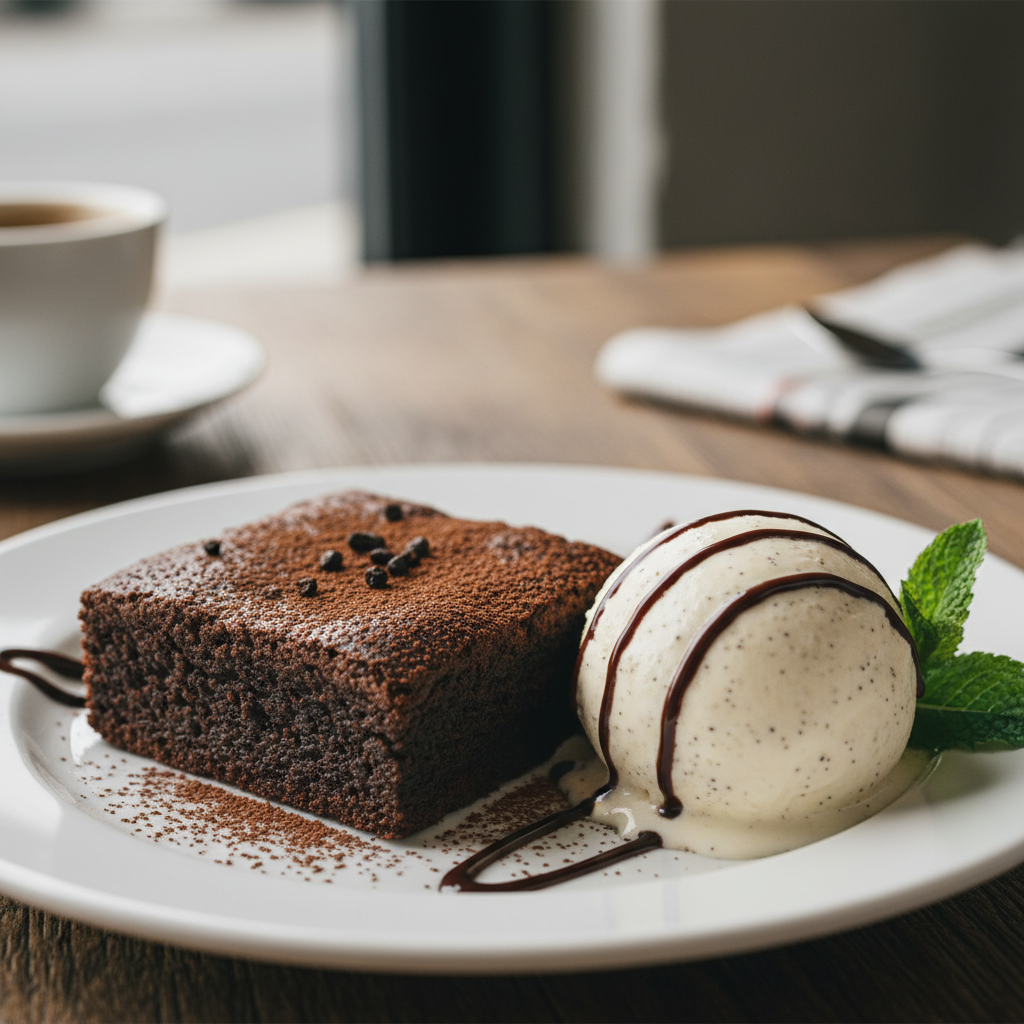
- A La Mode: Serve warm brownies with a scoop of vanilla bean ice cream or coffee ice cream. The contrast of warm and cold is heavenly.
- Whipped Cream: A dollop of freshly whipped cream provides a light, airy counterpoint to the rich brownie.
- Fresh Berries: A handful of fresh raspberries or strawberries adds a lovely tartness and freshness that cuts through the richness.
- With Coffee or Milk: Pair your brownie with a hot cup of coffee, a shot of espresso, or a tall glass of cold milk for the ultimate comfort experience.
- Drizzled with Sauce: A drizzle of caramel sauce, chocolate ganache, or even a simple espresso glaze can elevate the presentation and flavor.