Welcome, fellow bakers! There’s something truly magical about a beautifully rolled cake, isn’t there? The delicate spiral of soft sponge and sweet filling is not just a treat for the taste buds but a feast for the eyes too. If you’ve ever felt intimidated by the idea of making a jelly roll cake, fear not! Today, we’re going to demystify this classic dessert and guide you through creating a perfectly soft, flexible sponge that rolls without a single crack. Get ready to impress your friends and family with this delightful, surprisingly simple recipe.
A Sweet Look Back – History and Background
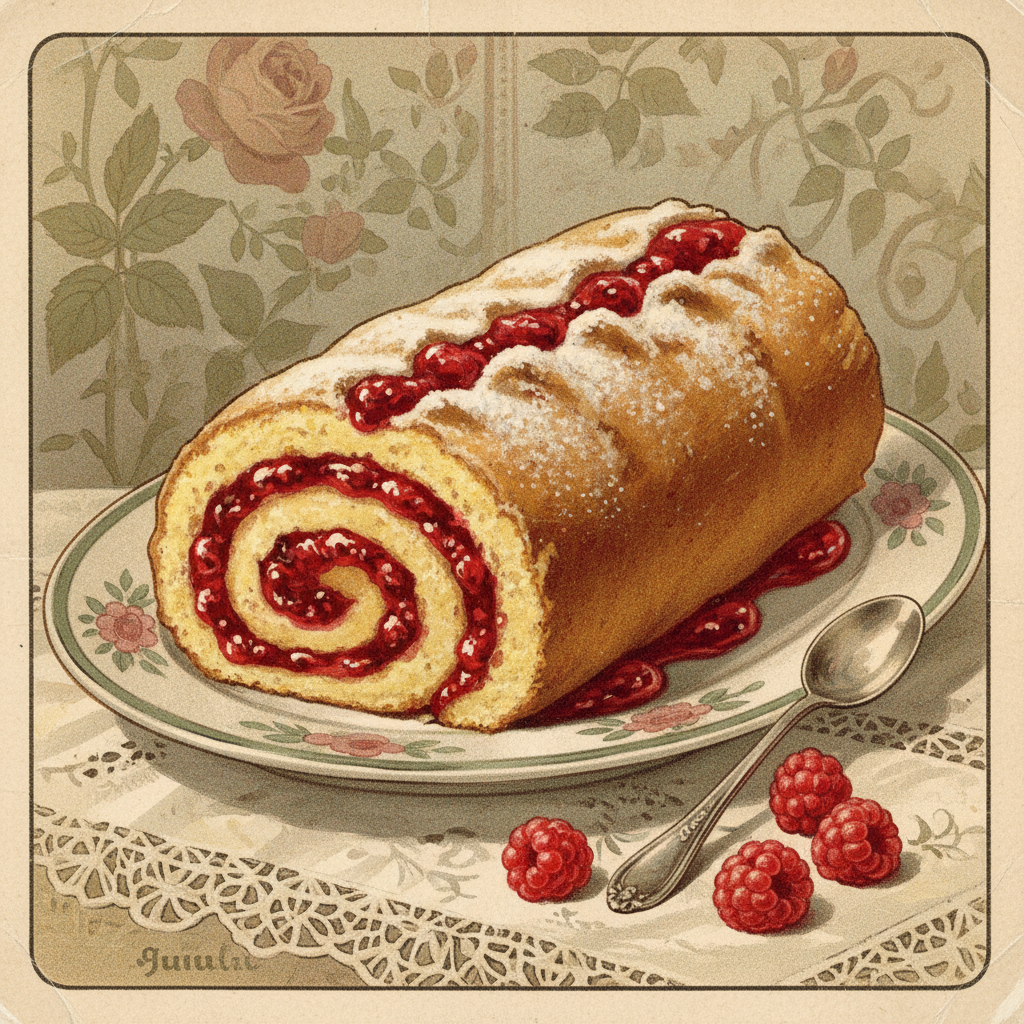
The jelly roll cake, often known as a Swiss roll, boasts a history as rich and sweet as its flavor. While its name suggests a Swiss origin, the true roots of this rolled confection are a bit more global, with similar cakes appearing in European cookbooks as early as the 19th century. It quickly became a beloved dessert, cherished for its elegant appearance and versatility. Originally filled with jams or jellies, bakers soon experimented with creams, chocolate ganache, and fruit curds, making it a timeless treat enjoyed across cultures and generations. It’s a testament to simple ingredients coming together to create something truly special.
Why You’ll Love This Recipe
- Incredibly Soft Sponge– Our recipe focuses on achieving a light, airy, and pliable cake.
- Beginner-Friendly Approach– Detailed steps make it easy for new bakers to succeed.
- Versatile Filling Options– While we use jelly, the possibilities for fillings are endless.
- Impressive Presentation– A stunning dessert that looks far more complicated than it is.
- Perfect for Any Occasion– Ideal for celebrations, afternoon tea, or a sweet everyday treat.
Ingredient Notes
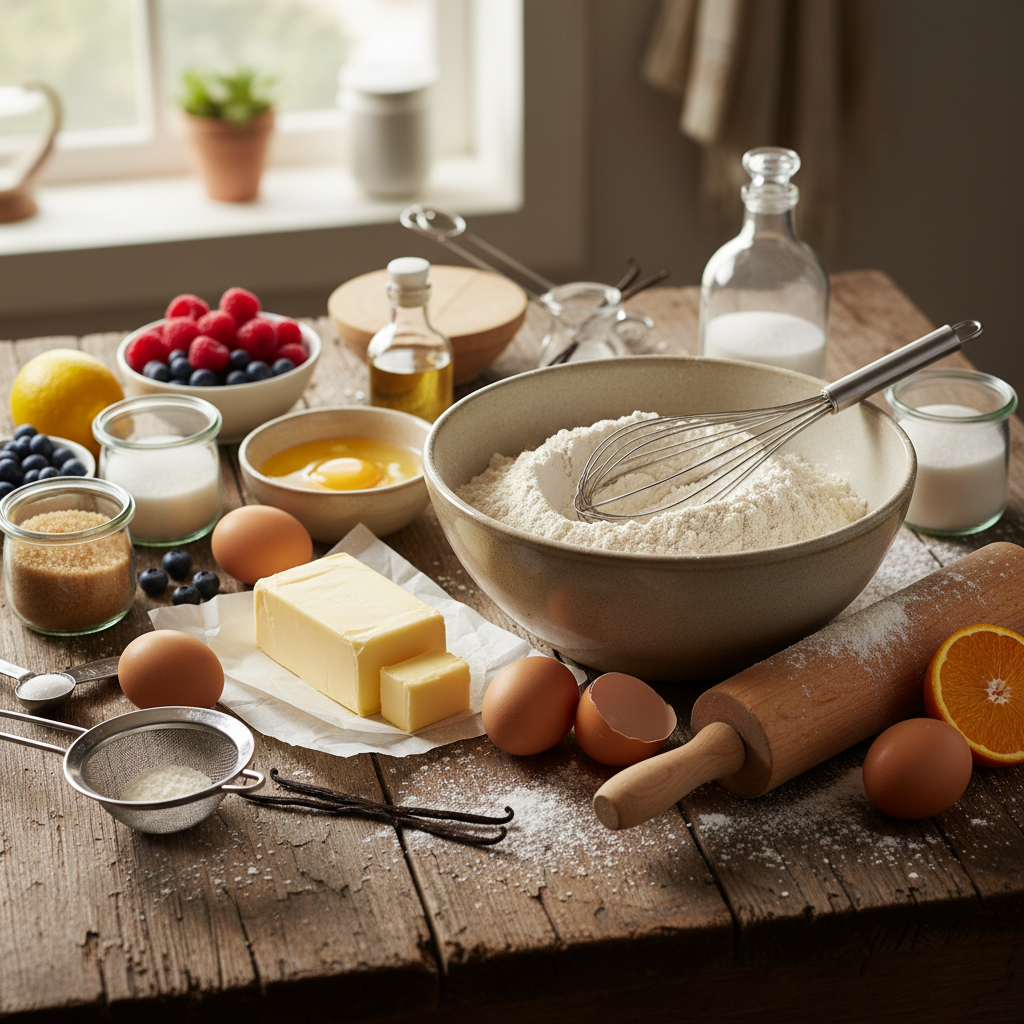
Creating a truly magnificent jelly roll starts with understanding your ingredients. Here’s a quick rundown of what you’ll need and why each component is important:
- Eggs– These are the star of our sponge! Whipped eggs create the structure and airiness without much reliance on chemical leaveners. Use large eggs at room temperature for best volume.
- Granulated Sugar– Sweetens the cake and helps stabilize the whipped eggs, contributing to a tender crumb.
- All-Purpose Flour– Provides structure. Sift it to ensure a lump-free batter and a finer texture.
- Baking Powder– A small amount gives an extra lift to the sponge, ensuring it’s light.
- Vanilla Extract– Adds a warm, comforting flavor to the cake. Use good quality vanilla!
- Salt– Balances the sweetness and enhances all the other flavors.
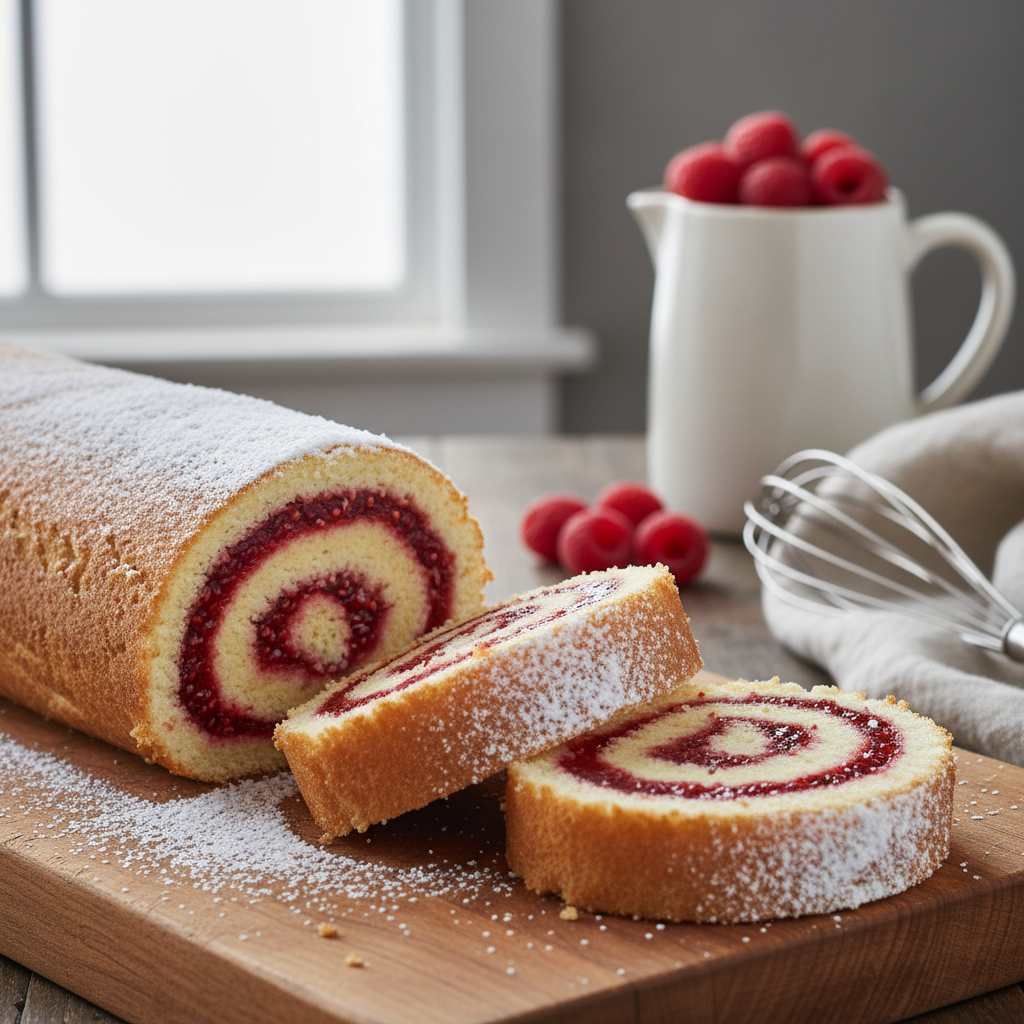
- Fruit Jelly or Jam– The classic filling! Choose your favorite, but a slightly tart one (like raspberry or strawberry) beautifully complements the sweet sponge.
- Powdered Sugar– For dusting, it adds a lovely finish and a touch more sweetness.
Equipment Needed
Having the right tools makes all the difference when baking a jelly roll. Here’s what you’ll want to have on hand:
- 10×15-inch Jelly Roll Pan– Essential for baking a thin, even sponge.
- Parchment Paper– Crucial for easy removal and rolling without sticking.
- Electric Mixer– Stand mixer or hand mixer for whipping eggs to peak volume.
- Fine-Mesh Sieve– For sifting flour and powdered sugar.
- Rubber Spatula– For gently folding ingredients.
- Clean Kitchen Towel– Used for the initial rolling of the warm cake.
- Wire Rack– For cooling the cake.
Full Recipe Card
Ingredients
- 4 large eggs, room temperature
- 1/2 cup (100g) granulated sugar, divided
- 1 teaspoon vanilla extract
- 3/4 cup (90g) all-purpose flour, sifted
- 1 teaspoon baking powder
- 1/4 teaspoon salt
- 1/2 cup (120ml) fruit jelly or jam (raspberry or strawberry recommended)
- 2 tablespoons powdered sugar, for dusting
Instructions
- Preheat Oven and Prepare Pan: Preheat your oven to 375°F (190°C). Line a 10×15-inch jelly roll pan with parchment paper, leaving an overhang on the short sides. Lightly grease the parchment.
- Whip Eggs and Sugar: In a large bowl, using an electric mixer, beat eggs on medium-high speed for 2-3 minutes until light and foamy. Gradually add 1/4 cup of the granulated sugar, beating until the mixture is thick, pale yellow, and triples in volume (about 5-7 minutes). It should form a thick ribbon when the beaters are lifted. Beat in the vanilla extract.
- Fold in Dry Ingredients: In a separate bowl, whisk together the sifted flour, remaining 1/4 cup granulated sugar, baking powder, and salt. Gently fold the dry ingredients into the egg mixture in two additions using a rubber spatula, being careful not to deflate the eggs. Mix just until no streaks of flour remain.
- Bake the Sponge: Pour the batter evenly into the prepared jelly roll pan. Spread it gently to the edges. Bake for 10-12 minutes, or until the cake springs back when lightly touched and the edges are lightly golden.
- Prepare for Rolling: While the cake bakes, lay a clean kitchen towel on your counter and generously dust it with powdered sugar.
- Roll the Warm Cake: Immediately upon removing the cake from the oven, invert it onto the prepared towel. Carefully peel off the parchment paper. Trim any crisp edges from the cake if desired. Starting from one short end, carefully roll the warm cake and towel together into a tight spiral.
- Cool Completely: Place the rolled cake (still in the towel) seam-side down on a wire rack and let it cool completely for at least 1 hour. This step is crucial for the cake to ‘memorize’ its rolled shape and prevent cracking later.
- Fill and Finish: Once completely cool, carefully unroll the cake. Spread the fruit jelly or jam evenly over the entire surface, leaving a small border at one end. Reroll the cake tightly without the towel.
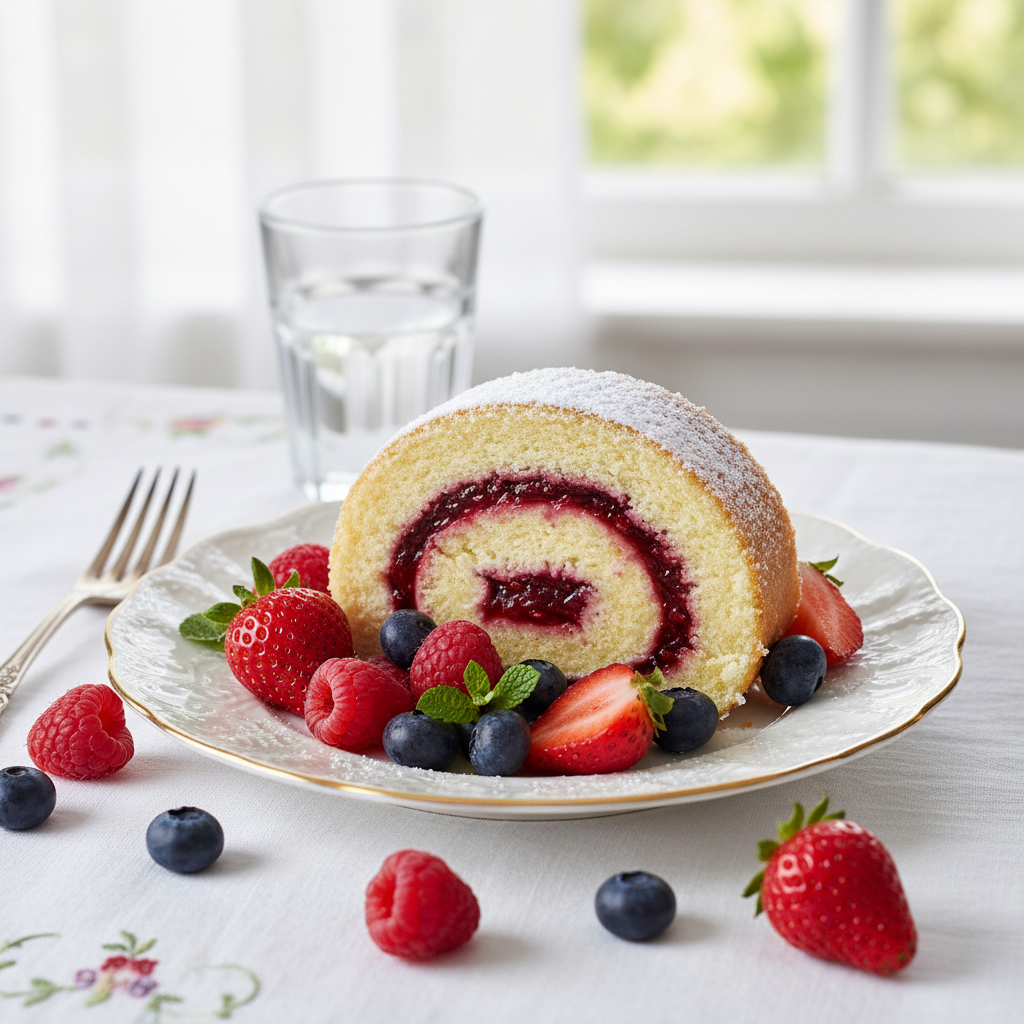
- Serve: Dust the finished jelly roll cake generously with more powdered sugar. Slice and serve immediately, or chill for later enjoyment.
Notes
Ensure your eggs are at room temperature for maximum volume when whipping. Do not overbake the cake, as this will make it dry and prone to cracking when rolled. Practice makes perfect when it comes to rolling! Don’t be discouraged if your first attempt isn’t flawless.
Tips and Variations
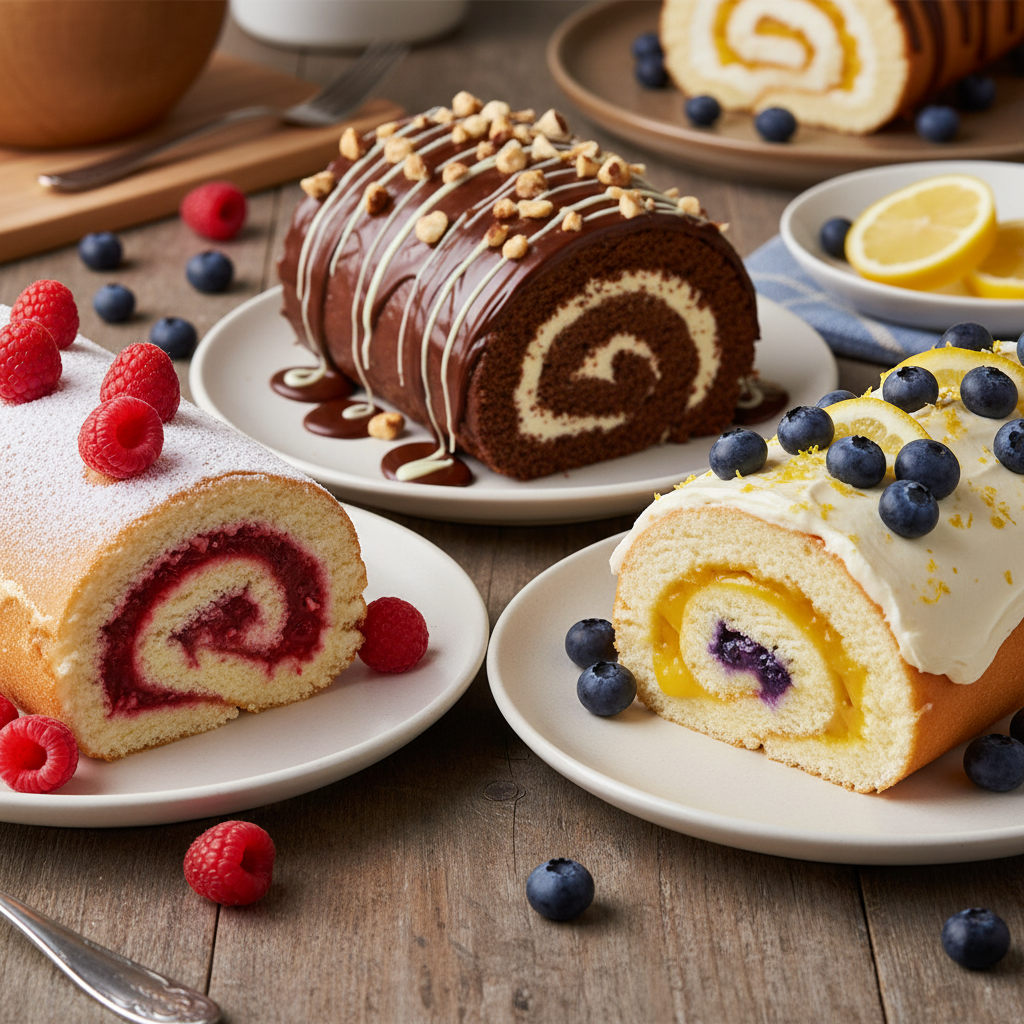
The beauty of a jelly roll cake lies in its adaptability! Here are some ideas to spark your creativity:
- Cream Cheese Filling– Beat softened cream cheese with powdered sugar and a touch of vanilla for a tangy, creamy contrast.
- Chocolate Lover’s Roll– Add a few tablespoons of cocoa powder to the flour mixture for a chocolate sponge. Fill with chocolate ganache or whipped chocolate cream.
- Lemon Curd Delight– Swap the fruit jam for a bright, zesty lemon curd for a refreshing flavor.
- Nutty Twist– Fold finely chopped nuts (like pecans or walnuts) into the batter or sprinkle them over the jam before rolling.
- Tropical Escape– Use a mango or passion fruit jam, and perhaps a coconut-flavored sponge.
Pro Chef Tips
- Room Temperature Eggs are Key– This allows them to whip up to maximum volume, creating a lighter, more stable sponge.
- Don’t Overmix the Flour– Once you add the dry ingredients, fold gently. Overmixing develops gluten, leading to a tough cake.
- Roll While Warm– The cake is most pliable when still warm from the oven. Rolling it immediately helps it set its shape without cracking.
- Dust the Towel Generously– This prevents the cake from sticking to the towel, making unrolling much easier.
- Even Spreading– Ensure your batter is spread evenly in the pan for uniform baking and an easy roll.
Common Mistakes to Avoid
- Overbaking the Sponge– An overbaked cake will be dry and brittle, making it impossible to roll without cracking. Keep an eye on the clock and the cake’s springiness.
- Not Whipping Eggs Enough– The volume of the eggs is crucial for a light, airy sponge. Don’t cut this step short.
- Rolling a Cold Cake– If you wait too long to roll the cake, it will cool and stiffen, almost guaranteeing cracks. Roll it immediately after baking.
- Forgetting to Dust the Towel– A sticky towel means a torn cake. Powdered sugar acts as a non-stick barrier.
- Impatience– Let the cake cool completely in its rolled state before unrolling and filling. This ‘memory’ is vital for a perfect spiral.
Storage and Meal Prep
A freshly made jelly roll cake is best, but it can be stored to enjoy later!
- Room Temperature– If filled with jam (no dairy), it can be kept at room temperature, covered tightly, for up to 2 days.
- Refrigeration– If your filling contains dairy (like cream cheese or whipped cream), the cake must be refrigerated. Store it in an airtight container for up to 3-4 days. Allow it to come to room temperature briefly before serving for the best texture.
Make-Ahead and Freezer Notes
- Make-Ahead– You can bake the sponge and roll it in the towel, letting it cool completely. Store the un-filled, rolled cake (still in the towel) at room temperature for up to a day, then unroll and fill just before serving.
- Freezing– An unfrosted, un-filled sponge can be frozen. Wrap the cooled, unrolled sponge tightly in plastic wrap, then foil, and freeze for up to 1 month. Thaw at room temperature before filling and rolling. A fully assembled cake with jam filling can also be frozen, wrapped well, for up to 2 weeks. Thaw in the refrigerator overnight.
Serving Suggestions
This beautiful cake is a delight on its own, but here are a few ways to elevate your serving experience:
- With Fresh Berries– A handful of fresh raspberries or sliced strawberries adds a burst of freshness and color.
- A Dollop of Cream– A spoonful of lightly sweetened whipped cream or crème fraîche complements the cake wonderfully.
- Alongside Hot Beverages– Perfect with a cup of coffee, tea, or hot chocolate for an afternoon treat.
- As a Dessert Platter Centerpiece– Arrange slices alongside other small pastries for an impressive spread.
- A Scoop of Vanilla Ice Cream– For a more indulgent dessert, a scoop of vanilla bean ice cream is a fantastic pairing.