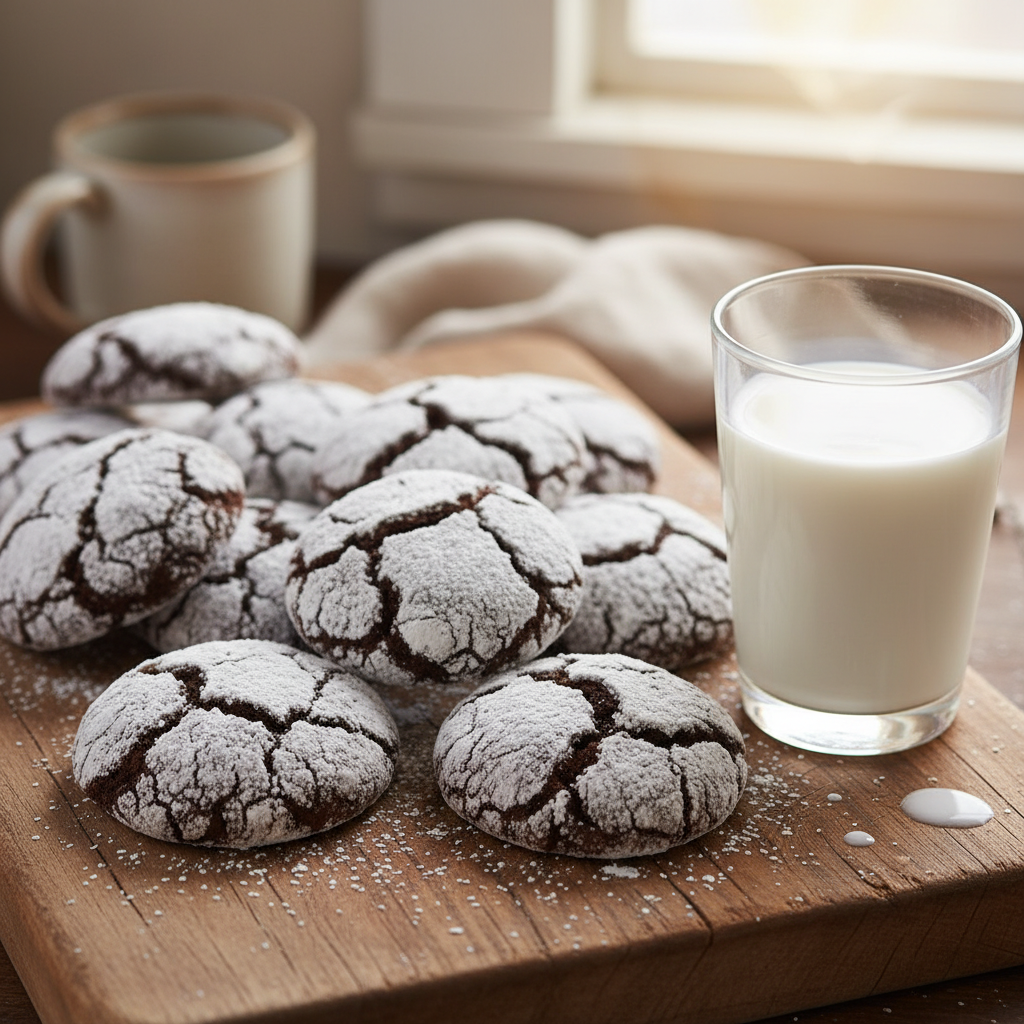
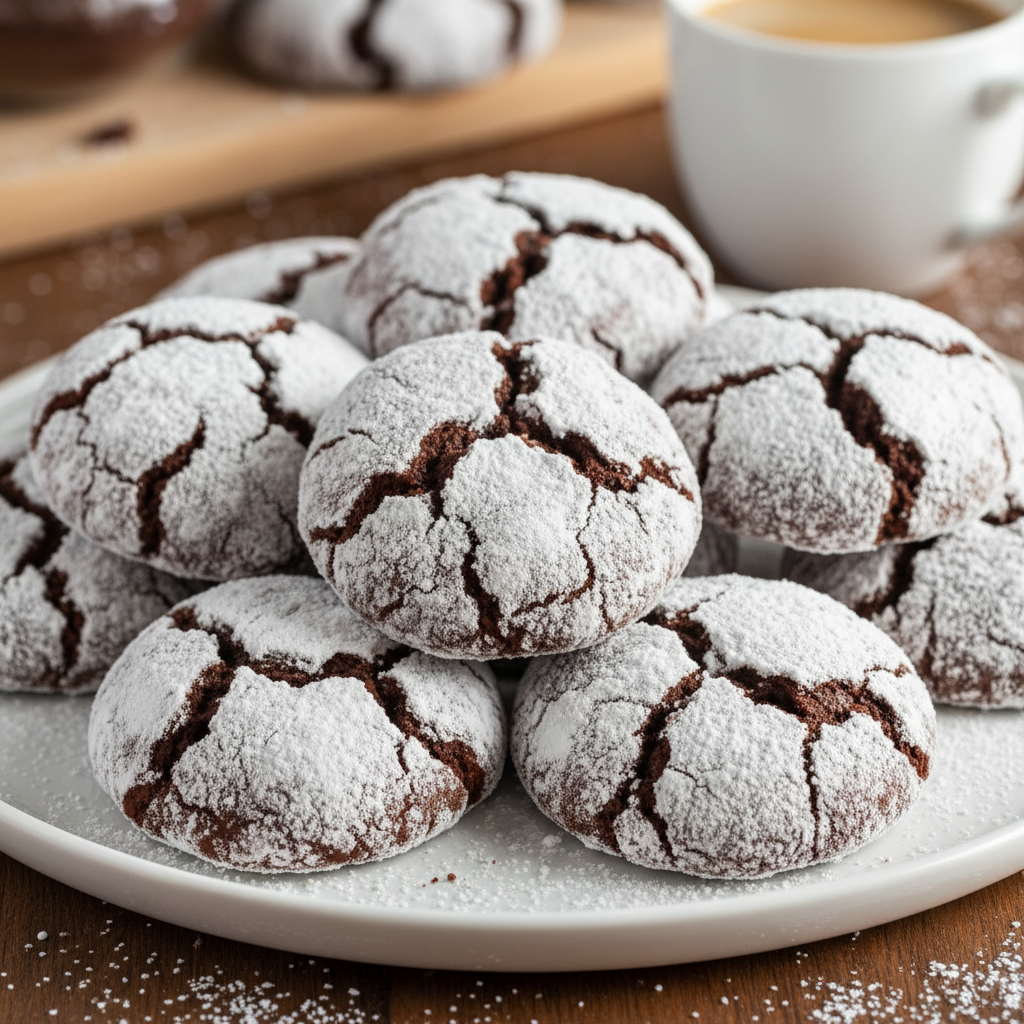
Welcome, fellow baking enthusiasts! There’s something truly magical about a cookie that looks as beautiful as it tastes, and chocolate crinkle cookies are the epitome of this. With their deep, fudgy chocolate interior and a stunning snow-dusted, crackled exterior, they’re a holiday favorite that’s perfect any time of year. If you’ve ever wanted to master these delightful treats, you’ve come to the right place. This guide will walk you through every step, ensuring your kitchen fills with the irresistible aroma of chocolate and your cookie jar with perfect crinkles.
A Sweet History and Background

While the exact origins of the chocolate crinkle cookie are a bit fuzzy, they truly rose to popularity in American kitchens, especially during the mid-20th century. These cookies are often associated with holiday baking, their powdered sugar coating reminiscent of fresh snow. Many believe they originated in the Midwestern United States, possibly evolving from German cookies. Regardless of their precise birthplace, one thing is certain: they quickly became a cherished recipe, passed down through generations. Their unique texture and visual appeal make them a standout on any dessert platter, proving that sometimes, the simplest pleasures are the best.
Why You’ll Love This Recipe
- Beginner-Friendly This recipe is straightforward, perfect for new bakers.
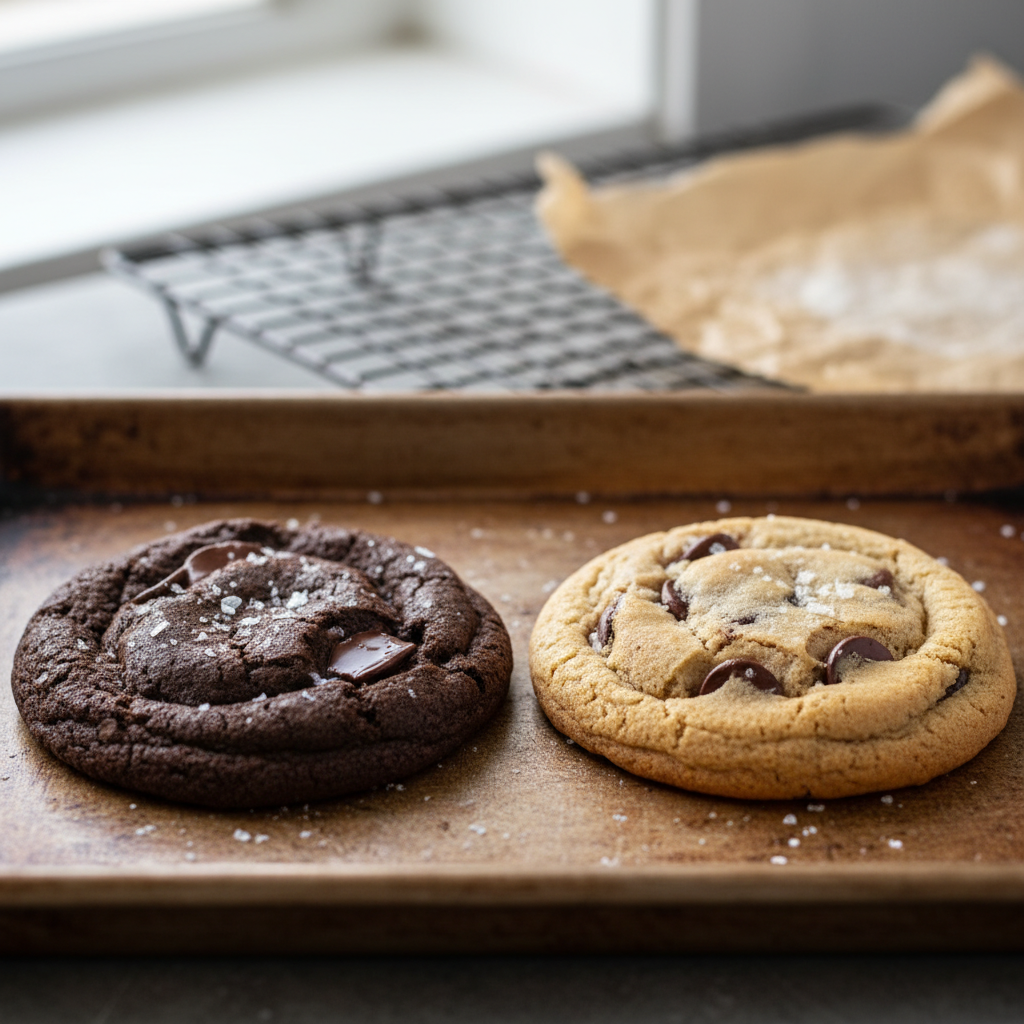
- Irresistibly Fudgy Each bite offers a rich, moist, brownie-like texture.
- Beautiful Presentation The crackled, powdered sugar coating is stunning.
- Classic Comfort A beloved cookie that brings back warm memories.
- Perfect for Sharing Great for parties, gifts, or a cozy night in.
Ingredient Notes for Success

The beauty of chocolate crinkle cookies lies in their simple, wholesome ingredients. Here’s a quick rundown of what you’ll need and why each component is important:
- All-Purpose Flour The structure of our cookie. Don’t overmix!
- Unsweetened Cocoa Powder This is where the deep chocolate flavor comes from. Use a good quality brand for the best taste.
- Granulated Sugar Sweetens the cookie and helps with texture.
- Brown Sugar (Lightly Packed) Adds moisture and a slight caramel note, contributing to the fudginess.
- Eggs Bind everything together and add richness.
- Vegetable Oil Contributes to the soft, chewy texture. Melted butter can also be used for a richer flavor.
- Vanilla Extract Enhances all the other flavors. Don’t skip it!
- Baking Powder The leavening agent that helps the cookies rise.
- Salt Balances the sweetness and amplifies the chocolate.
- Powdered Sugar The signature coating that creates the beautiful crinkles.
Equipment Needed

You don’t need a professional kitchen for these cookies! Here’s what will make your baking experience smooth:
- Large Mixing Bowls For wet and dry ingredients.
- Electric Mixer (Handheld or Stand) Makes mixing much easier, but a whisk works too!
- Whisk and Spatula For combining ingredients.
- Measuring Cups and Spoons Accuracy is key in baking.
- Baking Sheets Sturdy ones prevent burning.
- Parchment Paper or Silicone Baking Mats For non-stick baking and easy cleanup.
- Wire Cooling Rack Essential for cooling cookies evenly.
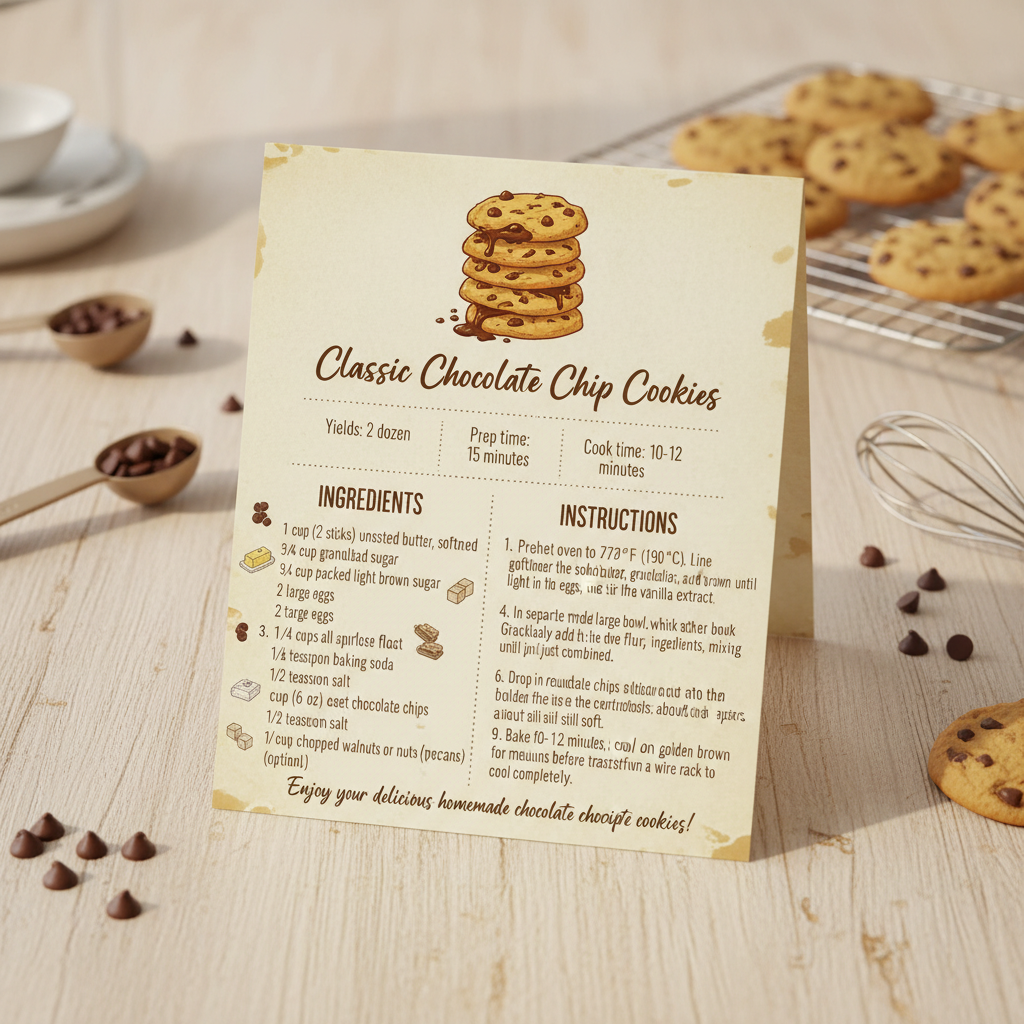
Full Recipe Card – Chocolate Crinkle Cookies
Yield 2-3 dozen cookies
Prep Time 20 minutes plus 2 hours chilling
Cook Time 8-10 minutes
Ingredients
- 1 cup (2 sticks) unsalted butter, softened OR 1 cup vegetable oil
- 2 cups granulated sugar
- 4 large eggs
- 1 teaspoon vanilla extract
- 2 cups all-purpose flour
- 3/4 cup unsweetened cocoa powder
- 2 teaspoons baking powder
- 1/2 teaspoon salt
- 1 cup powdered sugar, for rolling
Instructions
- Cream Wet Ingredients In a large bowl, cream together the softened butter (or oil) and granulated sugar until light and fluffy. Beat in the eggs one at a time, then stir in the vanilla extract.
- Combine Dry Ingredients In a separate medium bowl, whisk together the flour, cocoa powder, baking powder, and salt.
- Combine Wet and Dry Gradually add the dry ingredients to the wet ingredients, mixing on low speed until just combined. Do not overmix. The dough will be soft.
- Chill the Dough Cover the bowl with plastic wrap and refrigerate for at least 2 hours, or up to overnight. Chilling is crucial for easy handling and preventing excessive spreading.
- Preheat and Prepare Preheat your oven to 350°F (175°C). Line baking sheets with parchment paper or silicone baking mats.
- Roll in Powdered Sugar Place the powdered sugar in a shallow bowl. Scoop rounded tablespoons of chilled dough and roll them into balls. Roll each ball generously in the powdered sugar, ensuring it’s completely coated. This heavy coating is what creates those beautiful crinkles.
- Bake Place the coated dough balls about 2 inches apart on the prepared baking sheets. Bake for 8-10 minutes. The cookies will be puffed and set at the edges but still soft in the center.
- Cool Let the cookies cool on the baking sheet for 5 minutes before transferring them to a wire rack to cool completely.
Notes
For an extra rich flavor, try using half butter and half oil. Ensure your powdered sugar is fresh and not clumpy for the best coating. Do not skip the chilling step!
Tips and Variations
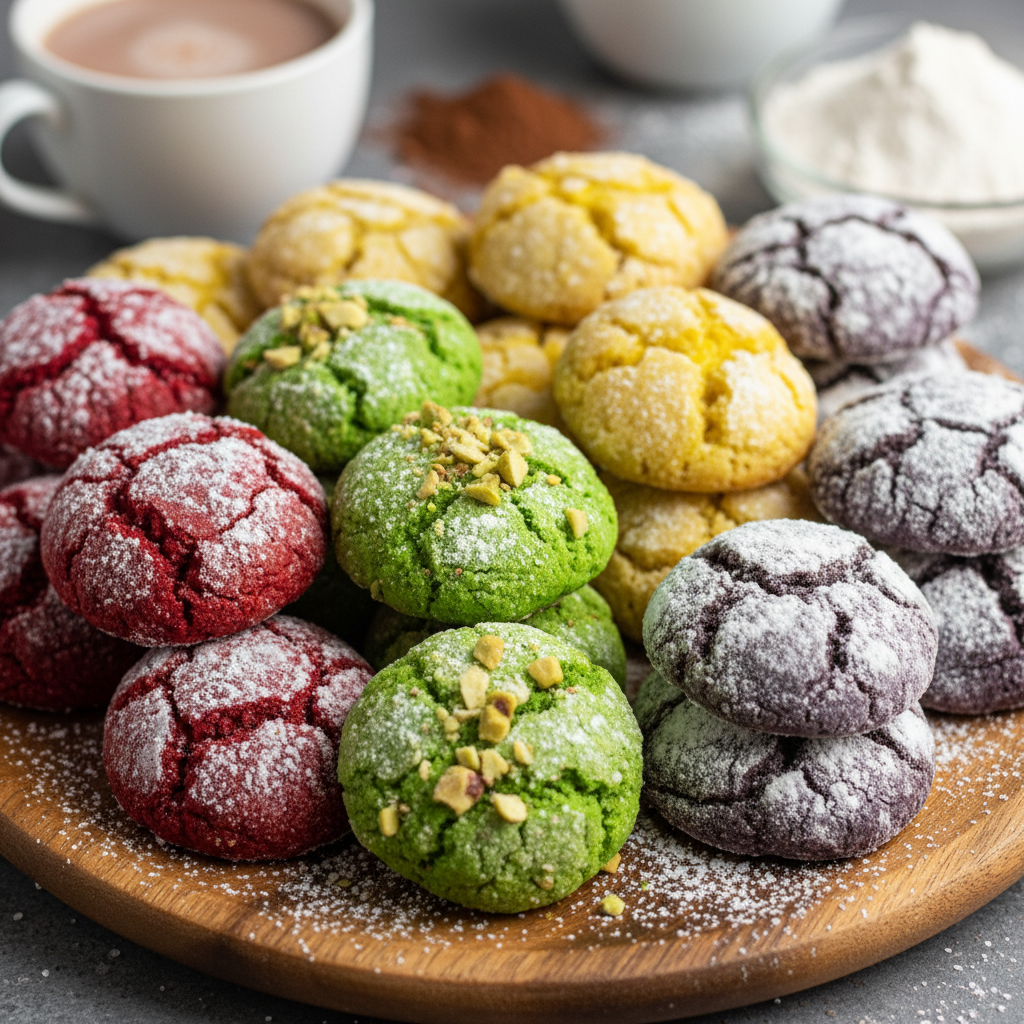
- Mint Chocolate Crinkles Add 1/2 teaspoon of peppermint extract to the dough for a festive twist.
- Orange Zest Crinkles Incorporate 1-2 teaspoons of orange zest for a bright, citrusy note.
- Espresso Boost Add 1 teaspoon of instant espresso powder to the dry ingredients to deepen the chocolate flavor.
- Nutty Crinkles Fold in 1/2 cup of finely chopped pecans or walnuts for added texture.
Pro Chef Tips for Perfect Crinkles
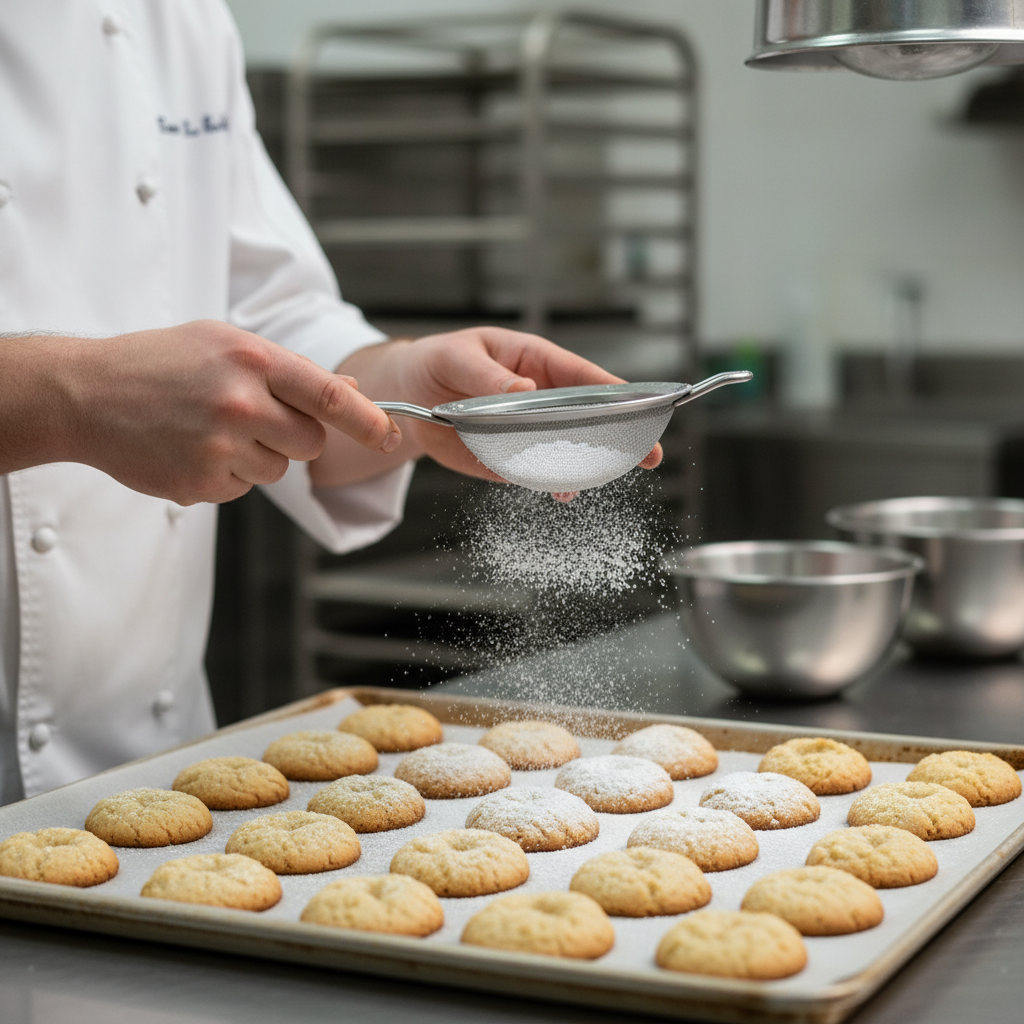
- Don’t Skimp on Powdered Sugar This is the most crucial step for achieving those gorgeous cracks. Roll the dough balls thoroughly, coating them heavily.
- Chill Your Dough Adequately A well-chilled dough is easier to handle, holds its shape better, and promotes that beautiful crackle.
- Don’t Overbake Crinkle cookies are best when they’re slightly fudgy in the center. They will continue to set as they cool. Overbaking will result in dry, crumbly cookies.
- Use Room Temperature Eggs This helps them incorporate better into the batter, leading to a smoother, more emulsified dough.
Common Mistakes to Avoid
- Not Chilling the Dough Enough This leads to flat, spread-out cookies that don’t crinkle properly.
- Not Enough Powdered Sugar A light dusting won’t give you the dramatic crackled effect. Be generous!
- Overmixing the Dough Overmixing develops gluten, resulting in tough cookies. Mix until just combined.
- Baking at Too High a Temperature This can cause the cookies to set too quickly on the outside before the inside is properly baked, affecting the crinkle.
Storage and Meal Prep
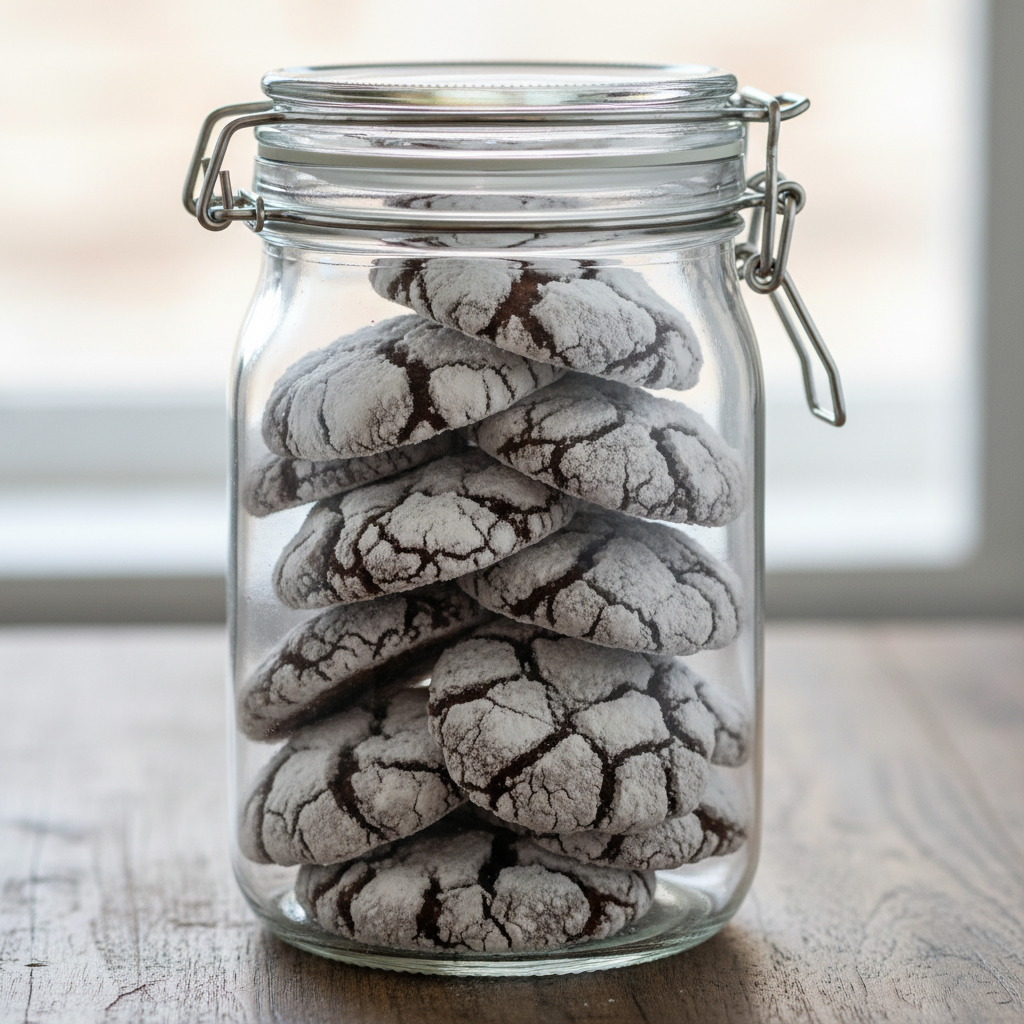
Store your freshly baked chocolate crinkle cookies in an airtight container at room temperature for up to 5-7 days. To maintain their freshness and fudgy texture, you can also place a slice of bread in the container; the cookies will absorb moisture from the bread, keeping them soft.
Make-Ahead and Freezer Notes

These cookies are excellent for making ahead! You have a few options:
- Dough Prepare the dough as instructed, then wrap it tightly in plastic wrap and refrigerate for up to 3 days.
- Frozen Dough Balls Roll the dough into balls, but do not coat in powdered sugar. Place them on a baking sheet and freeze until solid. Transfer the frozen dough balls to a freezer-safe bag or container and freeze for up to 3 months. When ready to bake, thaw slightly at room temperature for 15-20 minutes, then roll generously in powdered sugar and bake as directed, adding a minute or two to the baking time if needed.
- Baked Cookies Once completely cooled, baked crinkle cookies can be frozen in an airtight container for up to 2 months. Thaw at room temperature before serving.
Serving Suggestions
Chocolate crinkle cookies are delightful on their own, but here are some ways to elevate your serving experience:
- Classic Milk Pairing A tall, cold glass of milk is the ultimate companion.
- Coffee or Tea Enjoy them with your morning coffee or an afternoon cup of tea.
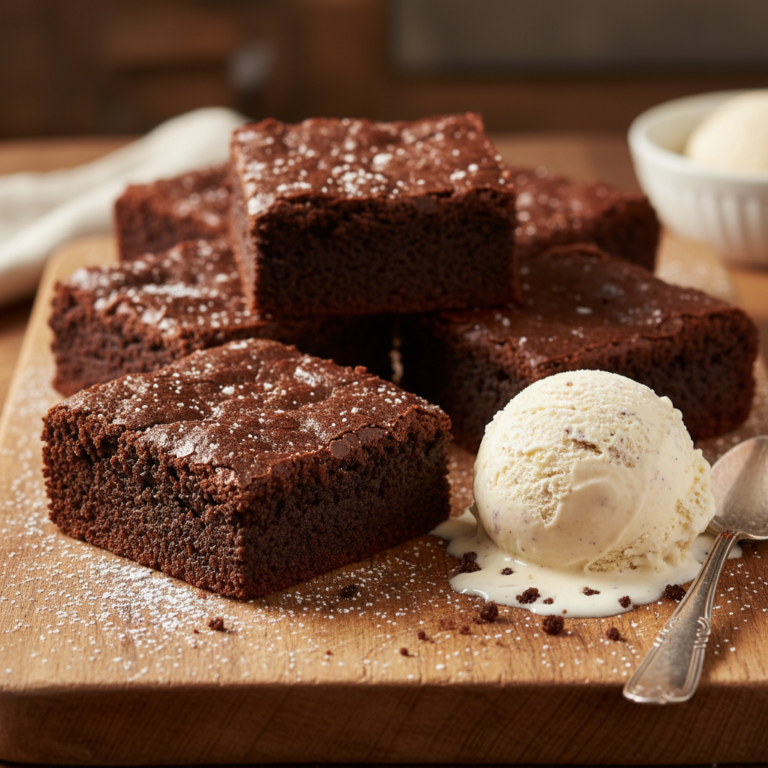
- Ice Cream Sundae Topping Crumble a cookie over vanilla bean ice cream for an instant sundae.
- Dessert Platter Add them to a holiday cookie assortment or a dessert buffet.
- Gifts Package them in pretty boxes or bags for a homemade gift that everyone will appreciate.