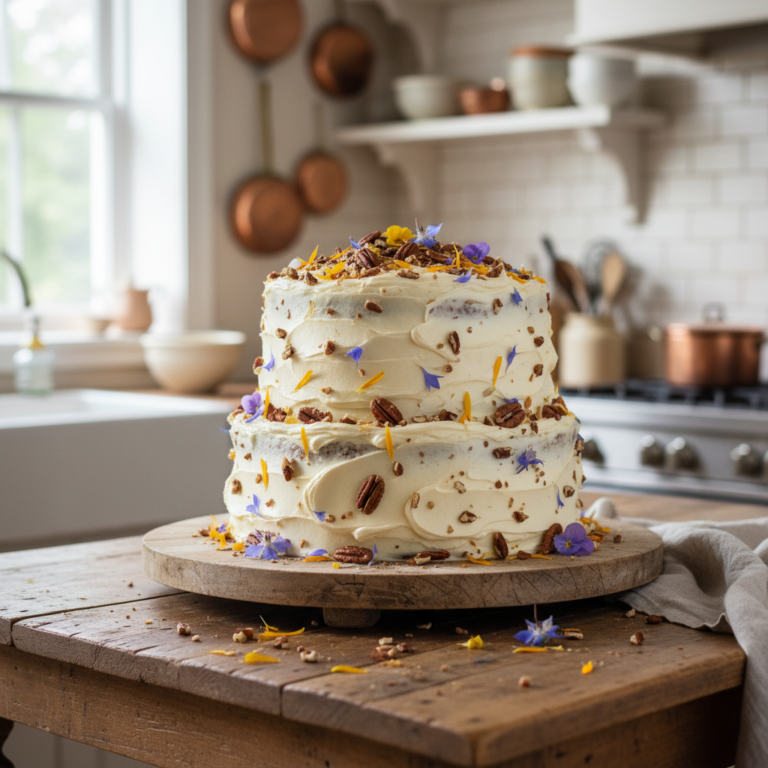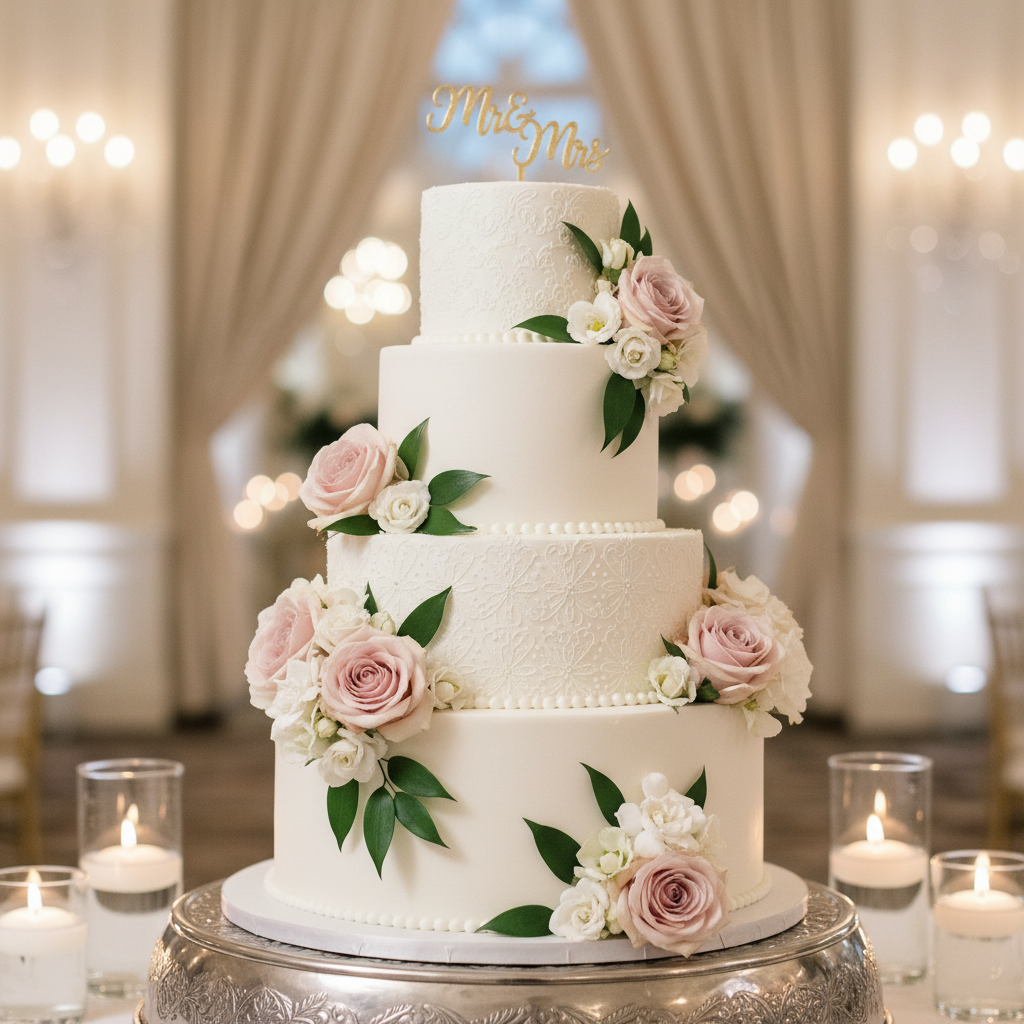
Dreaming of a show-stopping cake for a special occasion, but intimidated by the idea of baking something truly spectacular? You’re in the right place! We all love the elegance and grandeur of a beautiful wedding-style cake, but often the price tag or the perceived complexity can feel out of reach. What if I told you that you could create a stunning, delicious, and professional-looking cake right in your own kitchen? This recipe is designed to demystify the process, breaking down each step into simple, manageable tasks. Get ready to bake a masterpiece that will impress everyone, especially yourself!
History – Background of Celebration Cakes
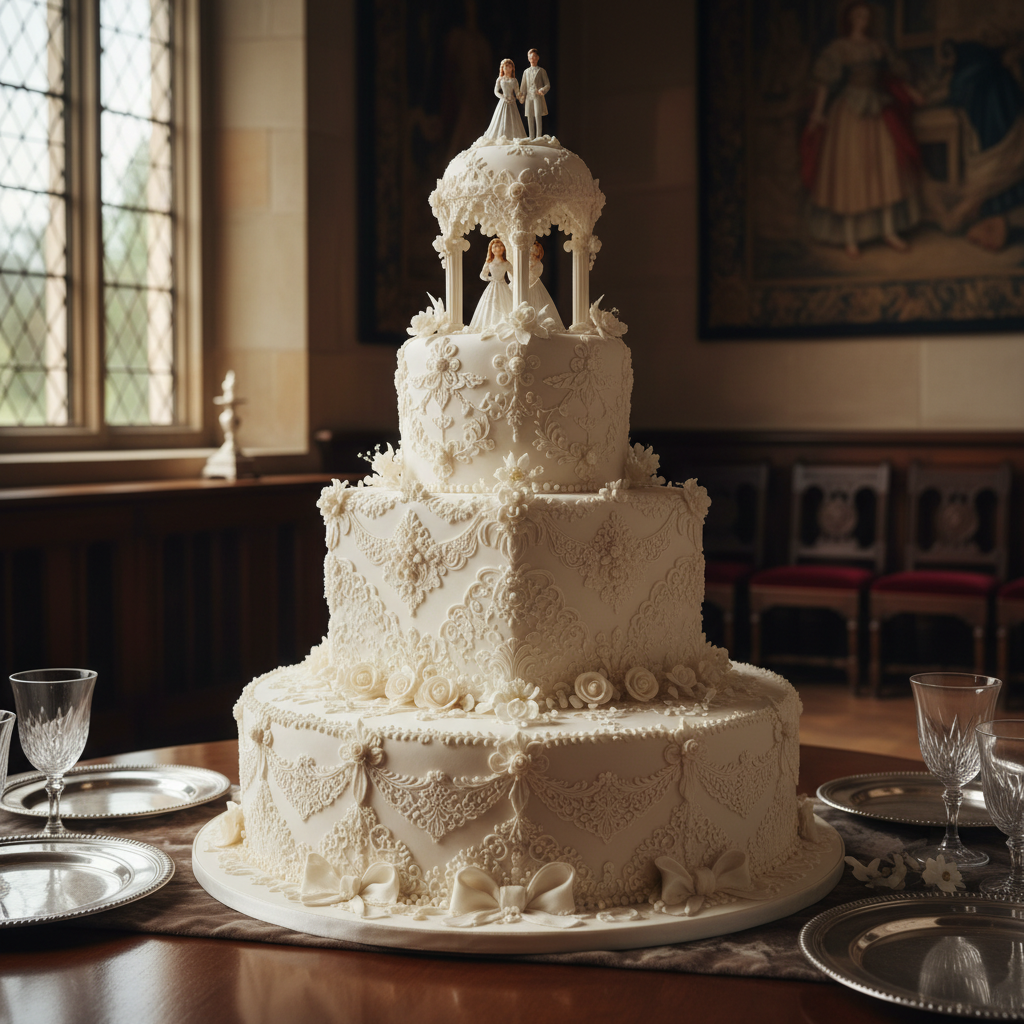
The tradition of wedding cakes dates back to ancient Roman times, where wheat or barley cakes were broken over the bride’s head to symbolize fertility and good fortune. Fast forward to medieval England, and cakes were piled high, with the bride and groom attempting to kiss over them for good luck. The modern tiered wedding cake, however, truly blossomed in the Victorian era, thanks to Queen Victoria’s own lavish wedding cake. White icing became a symbol of purity and status, as refined sugar was a luxury. Today, these cakes remain a centerpiece of celebrations, evolving with trends but always signifying joy and new beginnings. Now, let’s bring that rich history into your home with a cake you’ll be proud to share!
Why You’ll Love This Recipe
- Impressive Results This recipe delivers a stunning, elegant cake that looks professionally made.
- Beginner-Friendly Approach We break down complex steps into easy-to-follow instructions, perfect for home bakers.
- Customizable Flavors Easily adapt the cake and frosting flavors to suit your personal taste or occasion.
- Delicious Taste Beyond its beauty, this cake is incredibly moist, tender, and utterly delicious.
- Budget-Friendly Save significantly compared to buying a custom-made wedding cake.
Ingredient Notes for Success

Quality ingredients are the foundation of a fantastic cake. Here’s what you’ll need and why:
- Cake Flour Using cake flour instead of all-purpose flour makes a huge difference in texture. It has a lower protein content, resulting in a lighter, more tender crumb. If you can’t find it, you can make a substitute by removing 2 tablespoons of all-purpose flour per cup and replacing it with 2 tablespoons of cornstarch, then sifting well.
- Unsalted Butter Always use unsalted butter for baking so you can control the salt content. Make sure it’s at room temperature for proper creaming.
- Large Eggs Also at room temperature! Room temperature eggs emulsify better with the butter and sugar, creating a smoother batter.
- Whole Milk Room temperature whole milk adds richness and moisture.
- Pure Vanilla Extract Don’t skimp on good vanilla! It’s a key flavor in a classic white cake.
- Baking Powder This is your leavening agent, giving the cake its lift. Make sure yours isn’t expired.
- Powdered Sugar For the buttercream, powdered sugar (also known as confectioners’ sugar) dissolves smoothly, creating a silky frosting. Sift it to avoid lumps!
Equipment Needed for Baking Your Cake

Having the right tools makes the process much smoother. You don’t need a professional kitchen, but these items are incredibly helpful:
- Stand Mixer with Paddle Attachment While you can use a hand mixer, a stand mixer makes creaming butter and sugar, and mixing batter, effortless.
- Three 8-inch Round Cake Pans Essential for creating multiple layers.
- Parchment Paper For lining the bottom of your pans to prevent sticking.
- Rubber Spatula For scraping down bowls and gently folding ingredients.
- Offset Spatula or Icing Spatula Crucial for spreading frosting smoothly.
- Wire Rack For cooling cake layers completely.
- Piping Bags and Tips (Optional) For decorative frosting work.
- Leveler or Serrated Knife For evening out cake layers.
Full Recipe Card
Yield 12-16 servings
Prep time 45 minutes
Cook time 30-35 minutes
Ingredients for the Cake
- 2 ½ cups (300g) cake flour, sifted
- 1 ½ cups (300g) granulated sugar
- 1 tablespoon baking powder
- ½ teaspoon salt
- 1 cup (226g) unsalted butter, softened
- 4 large eggs, room temperature
- 1 cup (240ml) whole milk, room temperature
- 2 teaspoons pure vanilla extract
Ingredients for the Vanilla Buttercream
- 1 ½ cups (340g) unsalted butter, softened
- 6-8 cups (720-960g) powdered sugar, sifted
- ½ cup (120ml) heavy cream or whole milk
- 2 teaspoons pure vanilla extract
- Pinch of salt (optional, to balance sweetness)
Instructions for the Cake Layers
- Preheat your oven to 350°F (175°C). Grease and flour three 8-inch round cake pans, then line the bottoms with parchment paper.
- In a large bowl, whisk together the sifted cake flour, granulated sugar, baking powder, and salt.
- In a separate bowl, cream the softened butter with an electric mixer until light and fluffy (about 2-3 minutes).
- Add the eggs one at a time, beating well after each addition. Stir in the vanilla extract.
- Gradually add the dry ingredients to the wet ingredients, alternating with the milk, beginning and ending with the dry ingredients. Mix until just combined. Be careful not to overmix.
- Divide the batter evenly among the three prepared cake pans.
- Bake for 30-35 minutes, or until a wooden skewer inserted into the center comes out clean.
- Let the cakes cool in the pans for 10 minutes, then invert them onto a wire rack to cool completely. This is crucial before frosting.
Instructions for the Vanilla Buttercream
- In a large bowl with an electric mixer, beat the softened butter until creamy (about 3-4 minutes).
- Gradually add the sifted powdered sugar, one cup at a time, beating until smooth after each addition.
- Pour in the heavy cream (or milk) and vanilla extract. Beat on high speed for 3-5 minutes until the buttercream is light, fluffy, and smooth. Add a pinch of salt if desired.
- If the frosting is too thick, add a bit more cream; if too thin, add more sifted powdered sugar.
Assembling and Decorating Your Cake
- Once the cake layers are completely cool, use a serrated knife or cake leveler to gently level the tops of each layer, creating flat surfaces.
- Place one cake layer on your serving plate or cake stand. Spread about ¾ cup of buttercream evenly over the top.
- Place the second cake layer on top and repeat with another ¾ cup of buttercream.
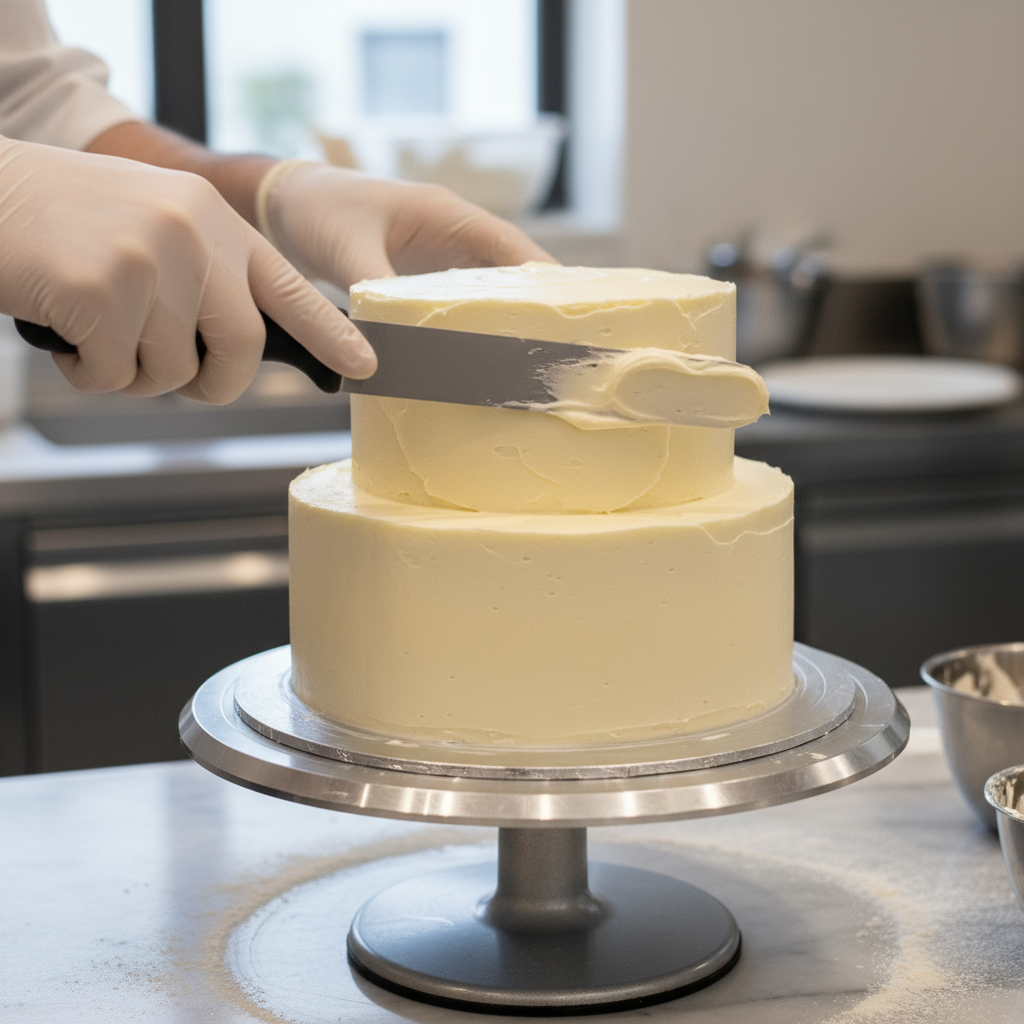
- Add the third cake layer. Apply a thin layer of buttercream all over the entire cake—sides and top. This is called a “crumb coat” and it traps any loose crumbs.
- Refrigerate the cake for 15-20 minutes to set the crumb coat.
- Once the crumb coat is firm, apply the remaining buttercream in a thicker, even layer all around the cake. Use an offset spatula or a bench scraper to smooth the sides and top for a polished look.
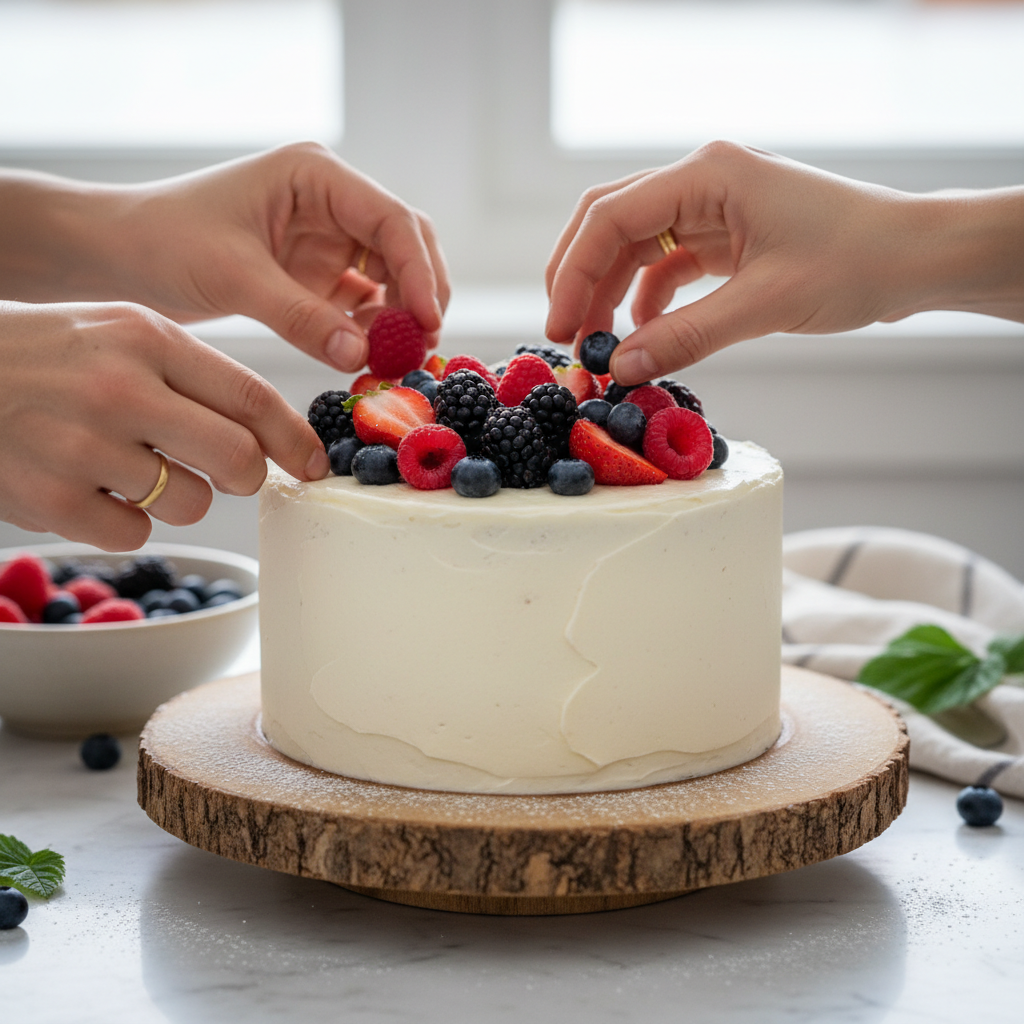
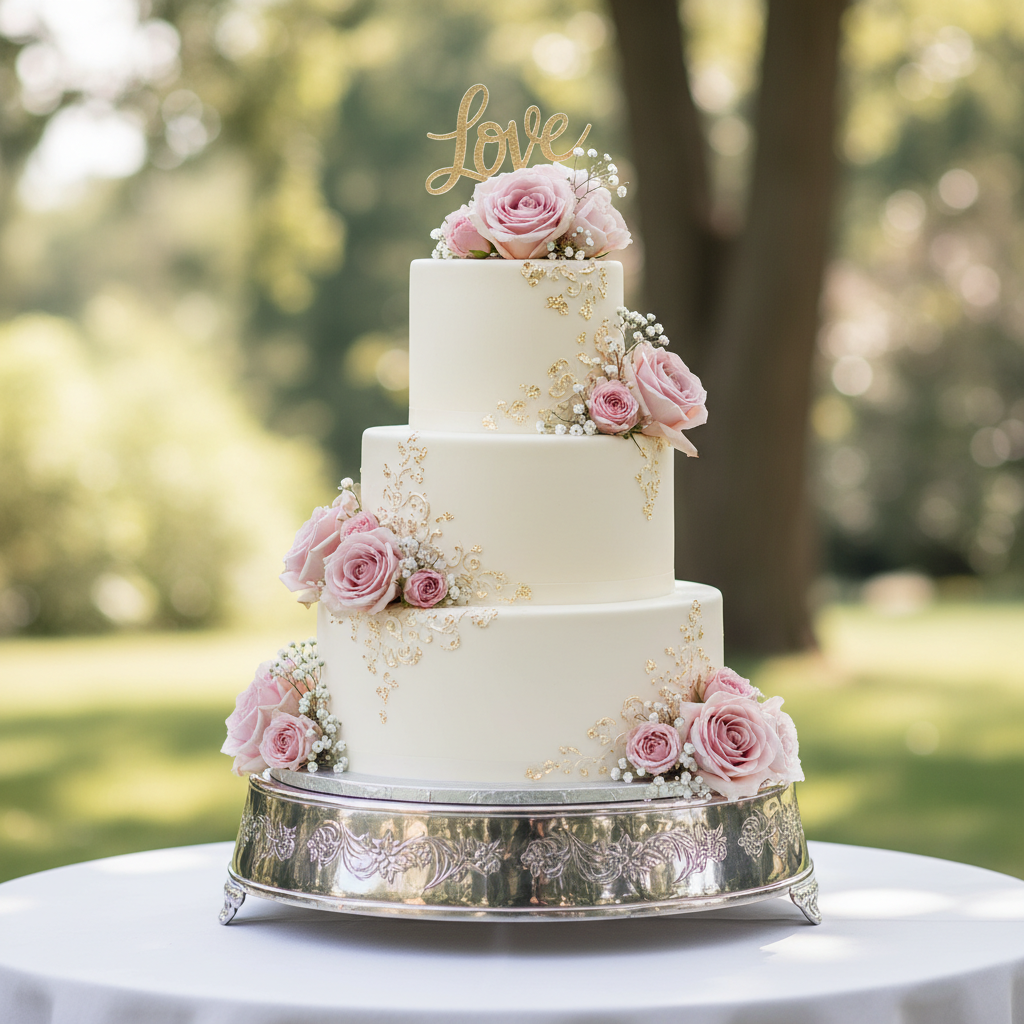
- Decorate as desired! Fresh flowers, berries, or simple piped designs work beautifully.
Recipe Notes
- Room Temperature is Key Make sure all cold ingredients (butter, eggs, milk) are at room temperature. This ensures proper emulsification and a smooth batter/frosting.
- Do Not Overmix Overmixing the cake batter can develop the gluten too much, resulting in a tough cake. Mix until just combined.
- Sift Your Powdered Sugar This prevents lumps in your buttercream and ensures a silky-smooth texture.
Tips – Variations for Your Cake
This recipe is a fantastic base for endless creativity! Here are some ways to customize your wedding-style cake:
- Lemon Zest Cake Add 2 tablespoons of lemon zest to the cake batter for a bright, citrusy flavor. Use lemon juice instead of milk in the buttercream for a tart frosting.
- Almond Extract Substitute half of the vanilla extract with almond extract in both the cake and buttercream for a classic wedding cake flavor.
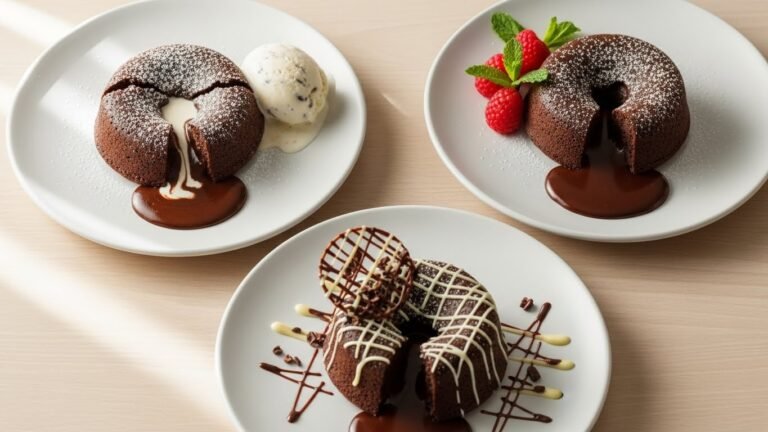
- Chocolate Drip After frosting, create a simple chocolate ganache and drizzle it over the top edges of the cake for an elegant drip effect.
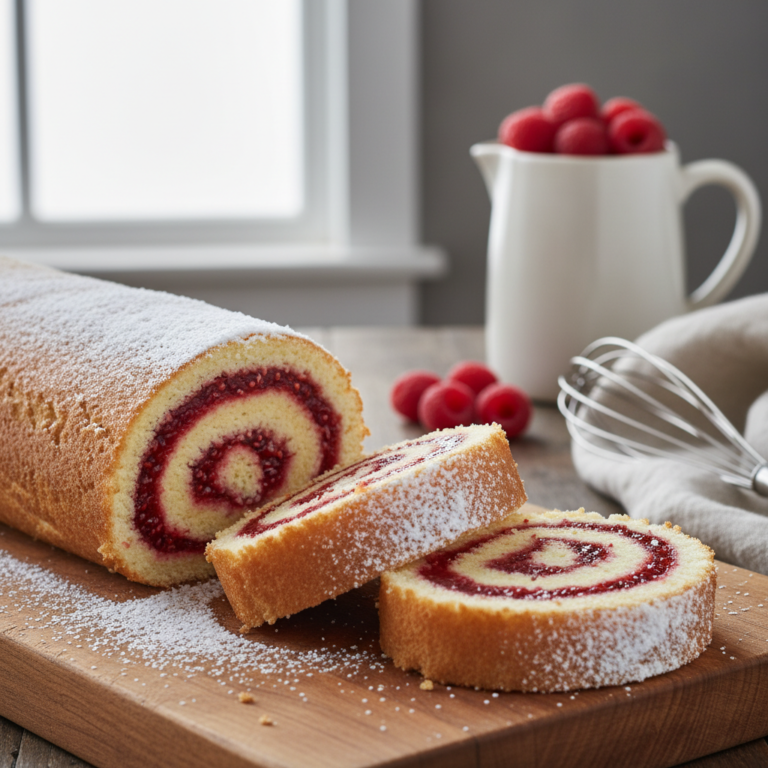
- Fresh Berries Arrange fresh raspberries, strawberries, or blueberries on top of each layer before adding the next, or simply decorate the finished cake with them.
- Ombre Frosting Divide your buttercream and tint portions with varying shades of food coloring for a beautiful gradient effect on the outside.
Pro Chef Tips for a Flawless Finish
Want to elevate your homemade cake to professional standards? These tips from the pros will help:
- Weigh Your Ingredients For ultimate precision, especially with flour, use a kitchen scale. Volume measurements can be inconsistent.
- Level Your Cakes Use a serrated knife or a cake leveler to ensure each layer is perfectly flat. This prevents a lopsided cake.
- The Crumb Coat is Your Best Friend Don’t skip it! This thin layer of frosting traps all loose crumbs, ensuring your final layer of frosting is perfectly smooth and crumb-free.
- Chill Between Steps Chilling your cake after leveling, after the crumb coat, and even after the final frosting helps everything set and makes handling easier.
- Use a Turntable A rotating cake stand makes frosting the sides of your cake much easier and helps achieve a smoother finish.
Common Mistakes to Avoid When Baking
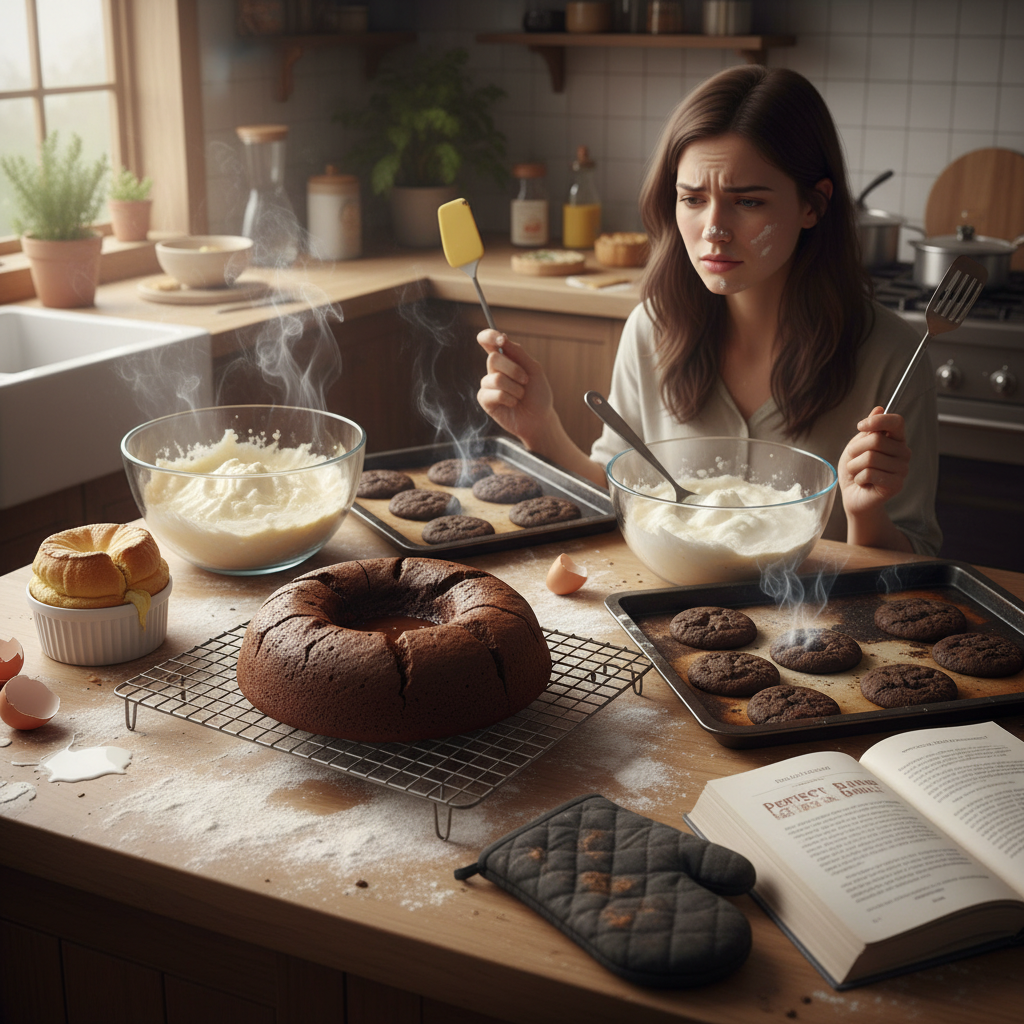
Even experienced bakers make mistakes. Here are some common pitfalls to steer clear of:
- Overbaking A dry cake is a sad cake. Start checking for doneness at the minimum baking time.
- Opening the Oven Door Too Early This can cause your cake to sink in the middle, especially in the first 20 minutes of baking.
- Not Cooling Cakes Completely Frosting a warm cake is a recipe for disaster—it will melt the buttercream and create a messy situation.
- Not Sifting Powdered Sugar This leads to lumpy buttercream, which is hard to spread smoothly.
- Ignoring Room Temperature Ingredients As mentioned, this significantly impacts the texture of both your cake and frosting.
Storage – Meal Prep for Your Beautiful Cake
Once your masterpiece is complete, you’ll want to keep it fresh! Proper storage ensures your cake remains delicious for days.
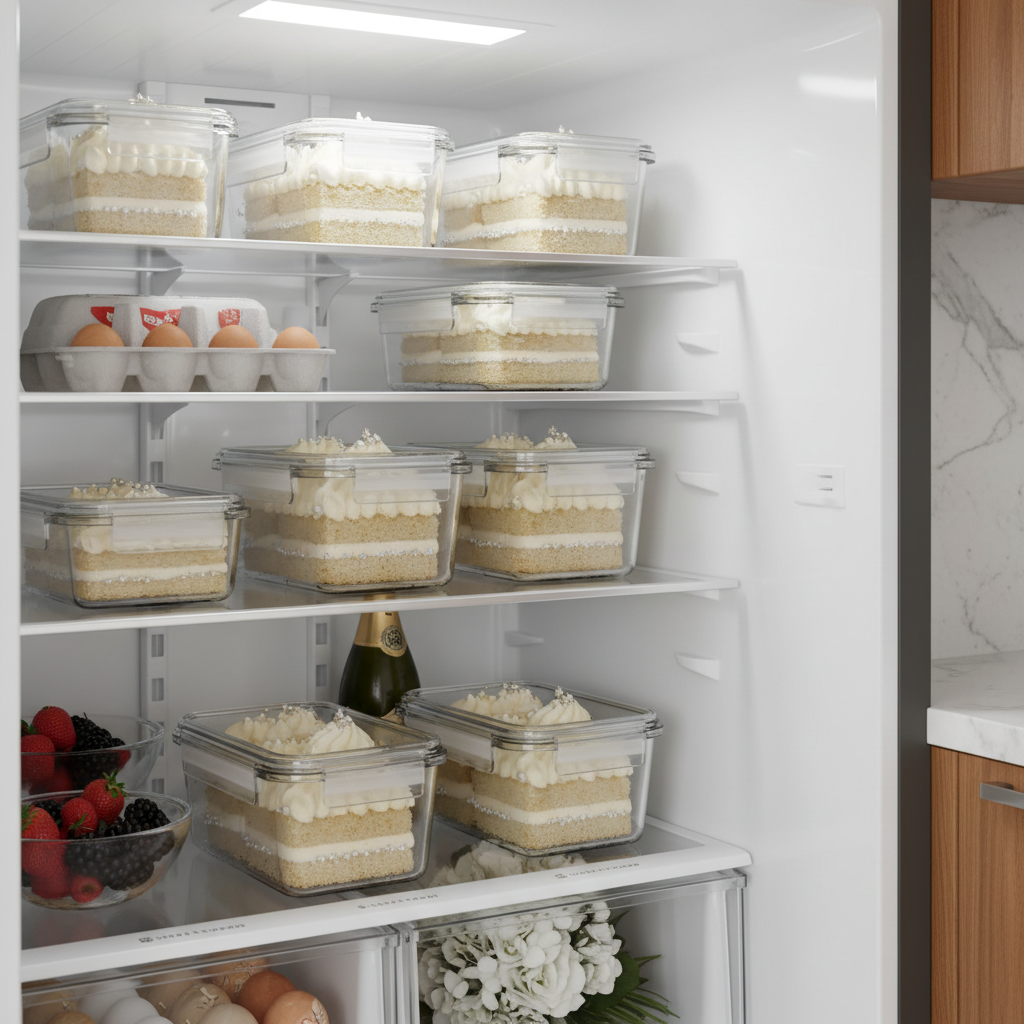
- Room Temperature A frosted cake can generally be stored at cool room temperature (below 70°F/21°C) for up to 2 days, covered loosely to prevent drying.
- Refrigeration For longer storage, or if your kitchen is warm, refrigerate the frosted cake in an airtight container or under a cake dome for up to 5 days. Bring slices to room temperature before serving for the best flavor and texture.
- Unfrosted Layers Cooled, unfrosted cake layers can be wrapped tightly in plastic wrap and stored at room temperature for 1-2 days, or refrigerated for up to 5 days.
Make-Ahead – Freezer Notes
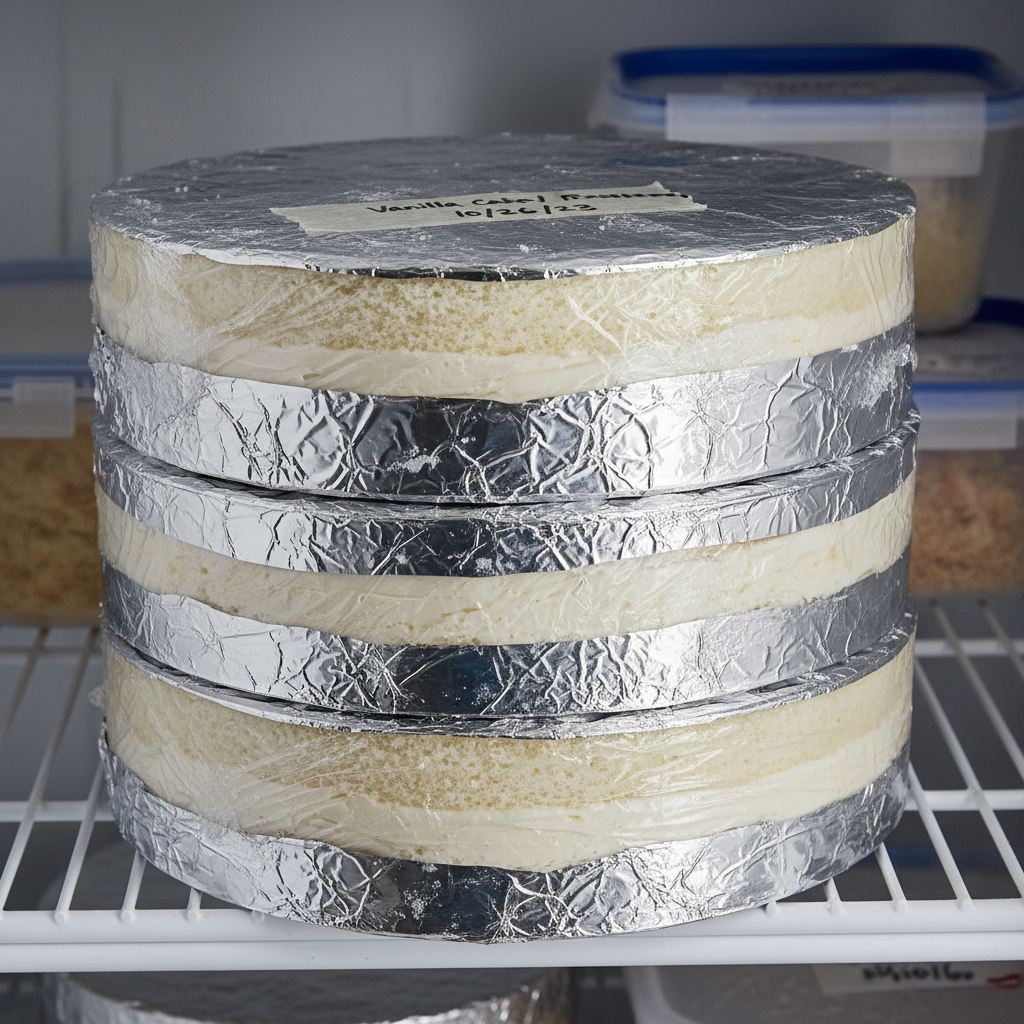
Planning ahead can save you a lot of stress on the day of your event. This cake is very freezer-friendly!
- Freezing Cake Layers Once completely cooled, wrap individual cake layers tightly in plastic wrap, then again in aluminum foil. Freeze for up to 2-3 months. Thaw overnight in the refrigerator before frosting.
- Freezing Buttercream Buttercream can be made ahead and stored in an airtight container in the refrigerator for up to 2 weeks, or frozen for up to 1 month. Thaw in the refrigerator, then re-whip in a stand mixer until light and fluffy again before using.
- Freezing a Frosted Cake For best results, freeze the entire cake (after the crumb coat is set) unwrapped for a few hours until firm. Then, wrap tightly in several layers of plastic wrap and foil. Freeze for up to 2-3 months. Thaw overnight in the refrigerator, then bring to room temperature before serving.
Serving Suggestions for Your Celebration
This wedding-style cake is perfect for so many occasions beyond just weddings! Think anniversaries, birthdays, engagements, bridal showers, or any moment that calls for a touch of elegance. Serve it simply on its own, or enhance the experience with:
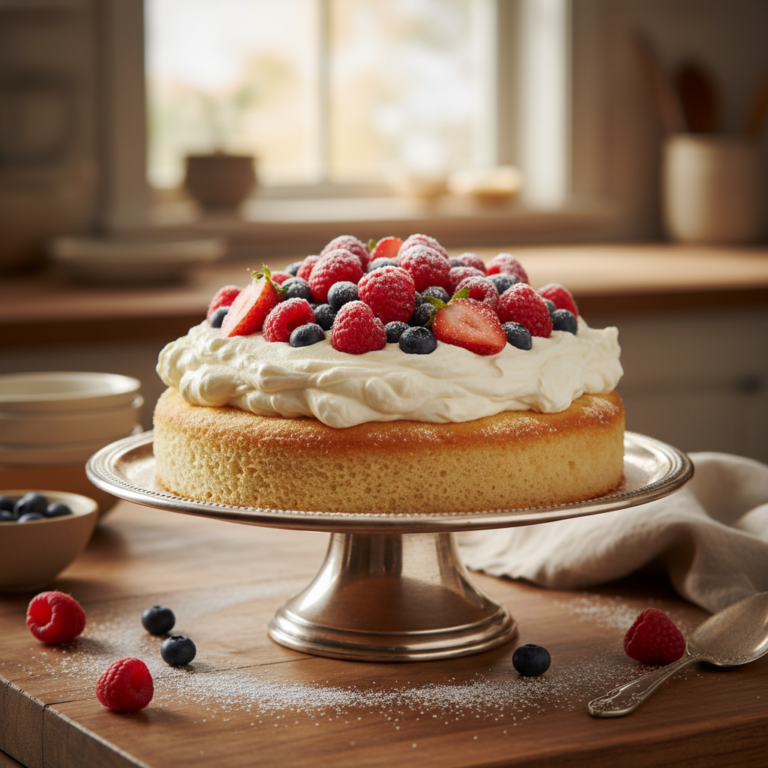
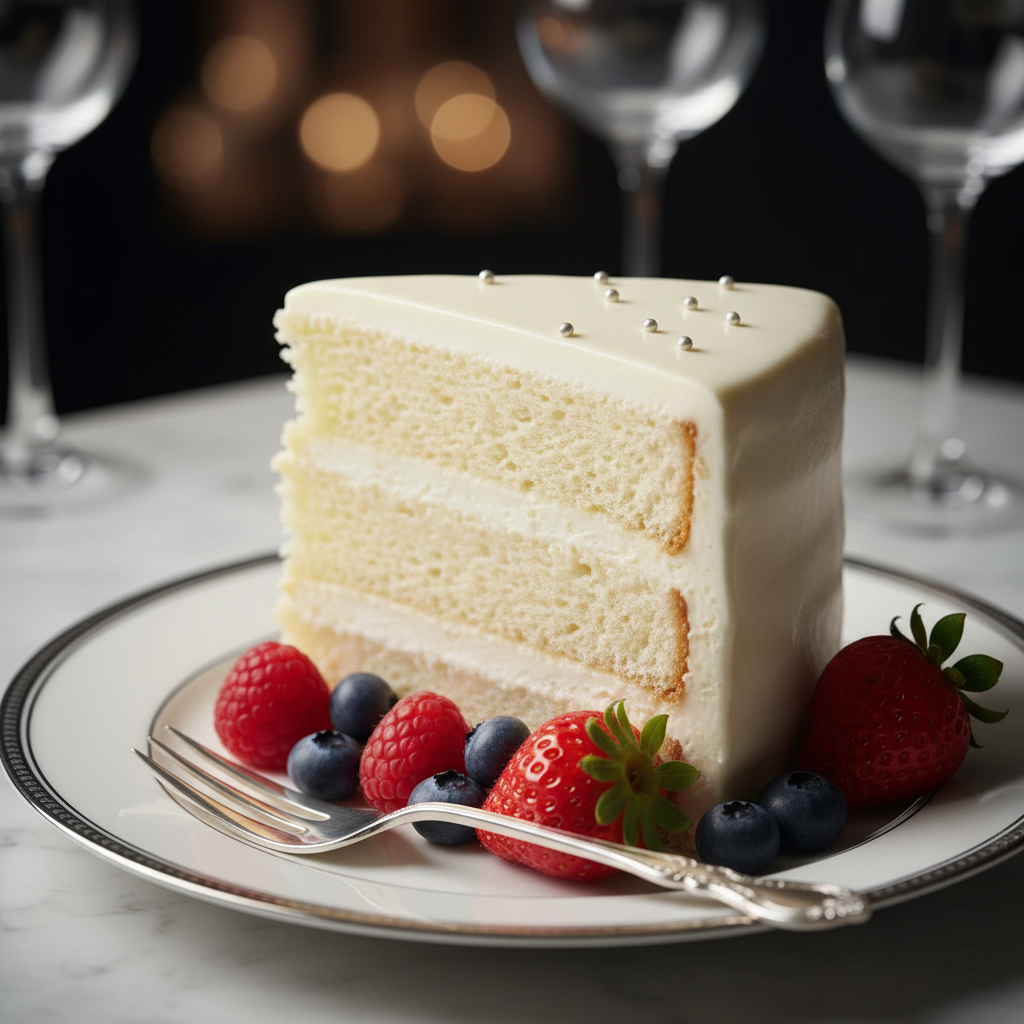
- Fresh Berries A medley of fresh raspberries, blueberries, and sliced strawberries adds a pop of color and freshness.
- Fruit Coulis A raspberry or strawberry coulis drizzled around the plate offers a lovely tart contrast to the sweet cake.
- A Scoop of Ice Cream Vanilla bean or a complementary fruit sorbet can be a delightful addition.
- Coffee or Tea A classic pairing that makes any slice feel even more special.
- Sparkling Wine For a true celebratory feel, a glass of champagne or sparkling rosé is a wonderful accompaniment.