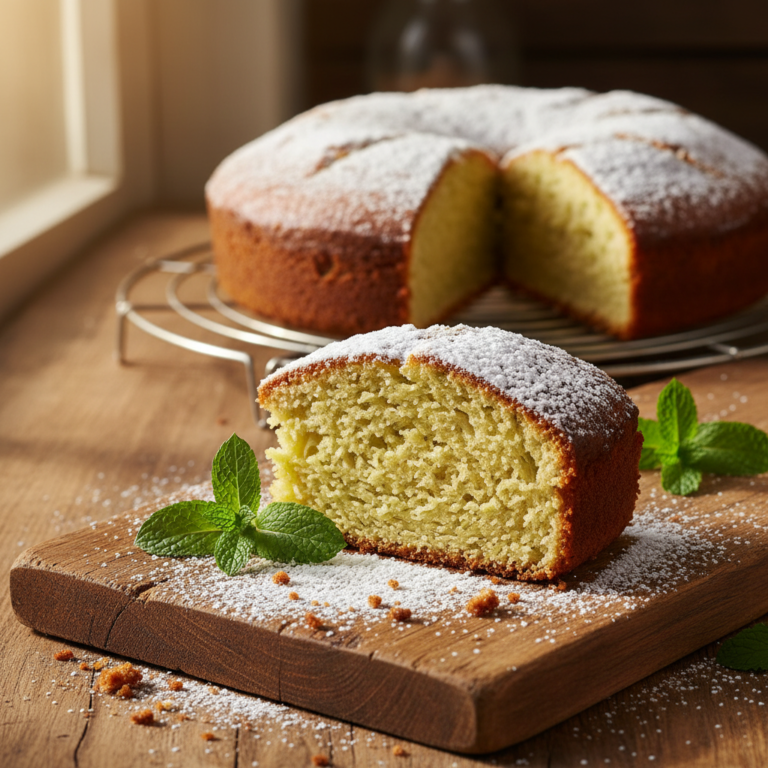
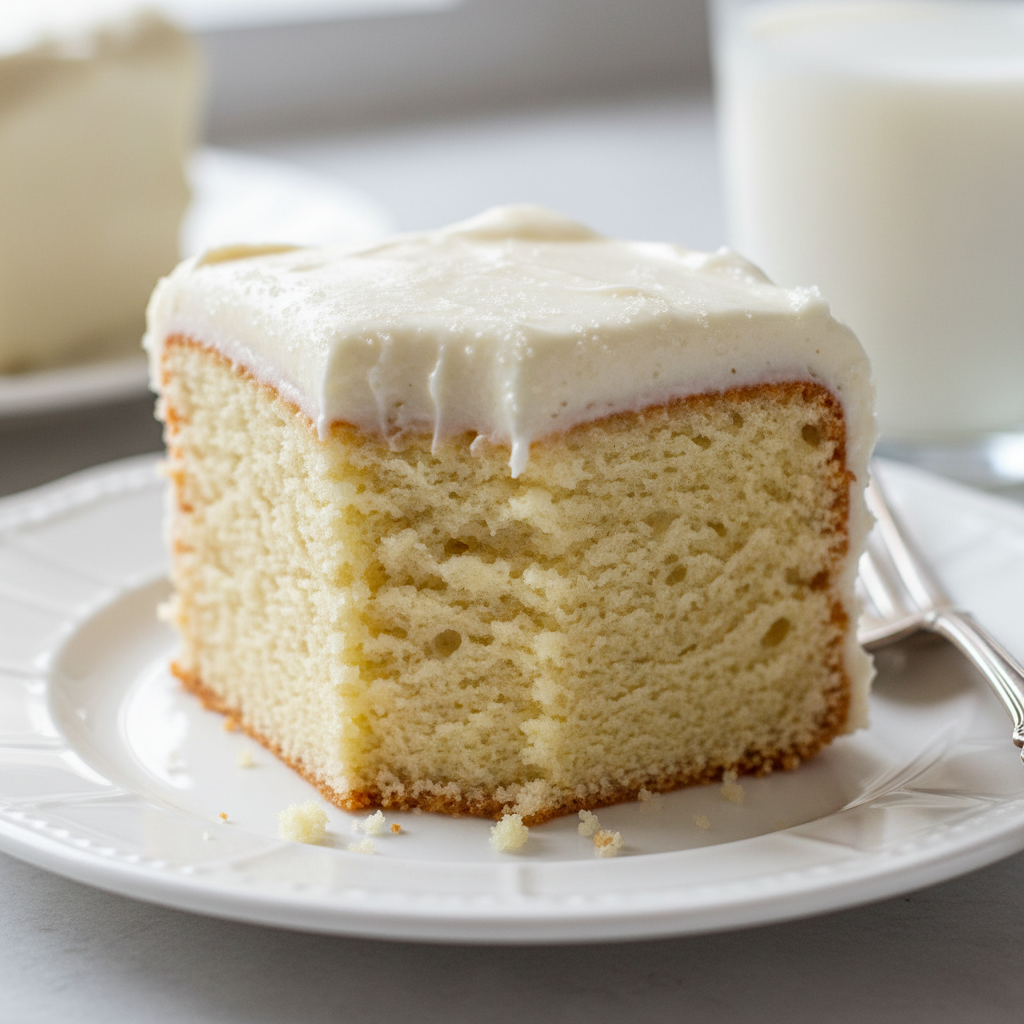
Welcome, fellow baking enthusiasts! There’s something truly magical about a classic vanilla cake. It’s the quintessential dessert for birthdays, celebrations, or simply a cozy afternoon treat. Forget those dry, store-bought mixes—today, we’re diving into how to bake a homemade vanilla cake that’s so incredibly soft, moist, and fluffy, it will become your new go-to recipe. This guide is designed for everyone, from absolute beginners to seasoned bakers looking for that perfect, reliable vanilla cake. Get ready to fill your kitchen with the irresistible aroma of pure vanilla goodness!
History – A Sweet Legacy
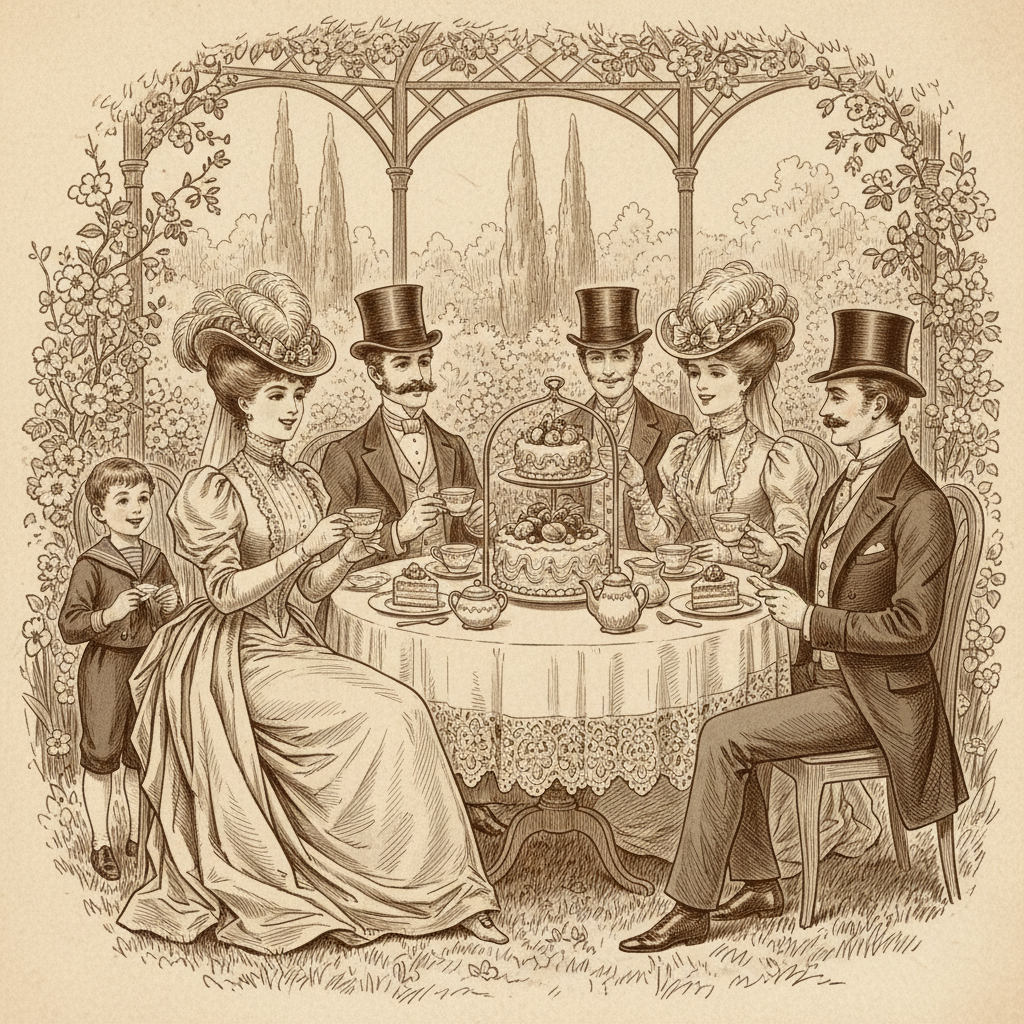
Vanilla cake, in its essence, is a timeless classic with roots stretching back centuries. While the exact origins of ‘cake’ are debated, early forms of sweetened bread-like treats existed in ancient civilizations. The cakes we recognize today began to take shape in Europe, particularly with the advent of ovens and more refined flours and sugars. Vanilla, originally from Mexico, was introduced to Europe in the 16th century, but it wasn’t until the 19th century that it became widely accessible and a beloved flavor in baking. The simple elegance of vanilla perfectly complemented the light, airy texture that modern baking techniques, like the use of baking powder and soda, allowed. This evolution transformed vanilla cake into the beloved staple it is today, cherished for its comforting flavor and versatility.
Why You’ll Love This Recipe
- Beginner-Friendly This recipe uses straightforward steps, perfect for new bakers.
- Incredibly Soft and Fluffy Achieve that melt-in-your-mouth texture every time.
- Rich Vanilla Flavor Made with real vanilla, for an authentic, comforting taste.
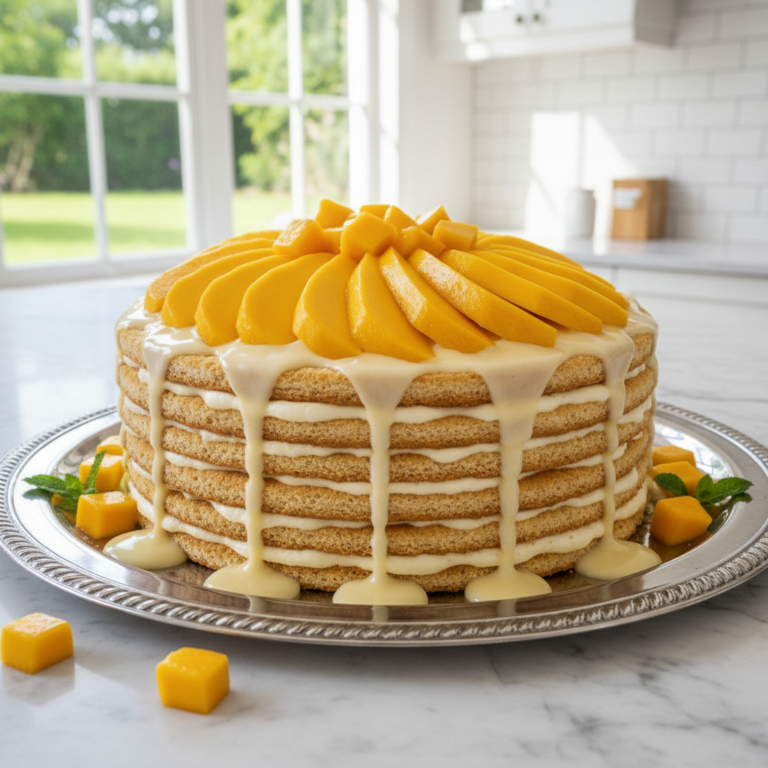
- Versatile A perfect base for any frosting or decoration.
- Crowd-Pleaser A universally loved dessert that everyone will enjoy.
Ingredient Notes
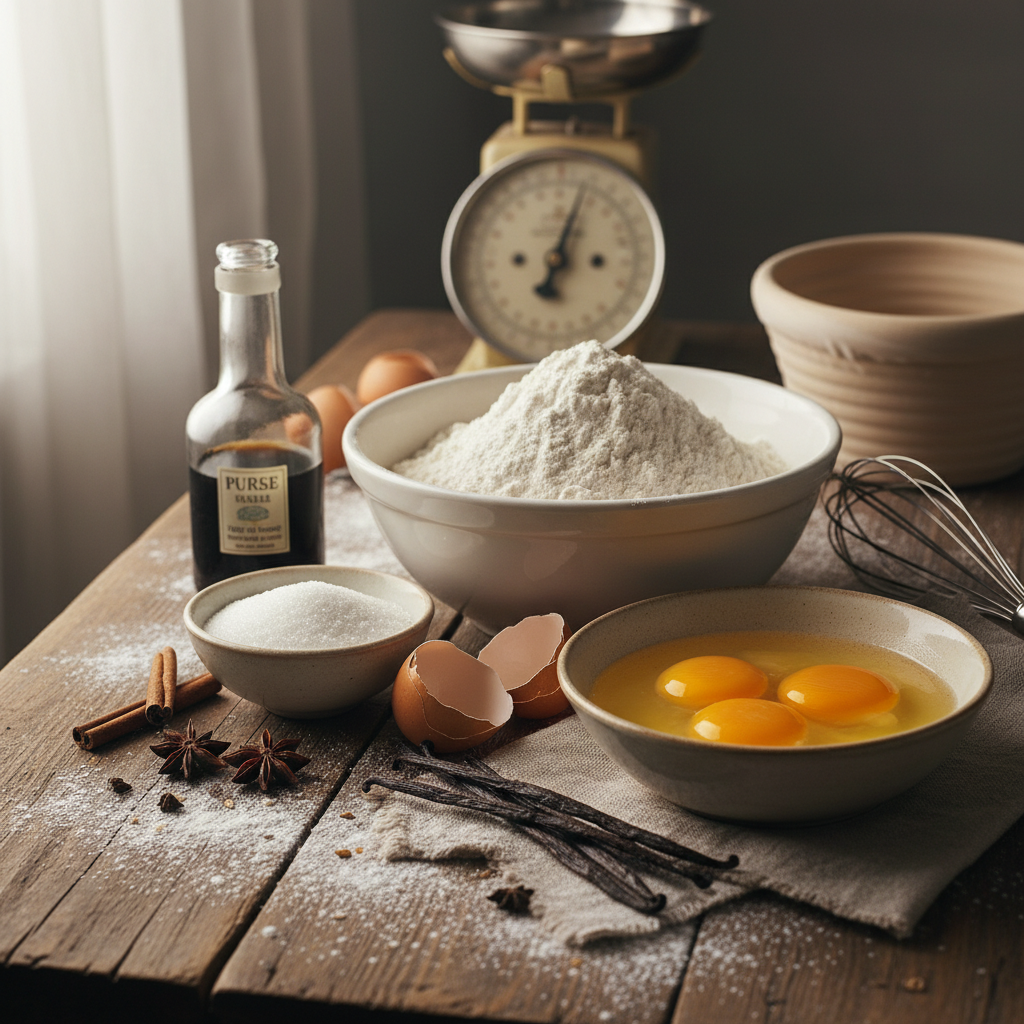
The beauty of a great vanilla cake lies in the quality and temperature of its simple ingredients. Here’s a quick rundown to ensure your cake turns out perfectly:
- All-Purpose Flour Ensure it’s spooned and leveled, not scooped directly from the bag, to avoid a dense cake.
- Granulated Sugar Provides sweetness and helps with moisture.
- Baking Powder and Baking Soda These are your leavening agents, crucial for that fluffy texture. Make sure they are fresh!
- Salt Balances the sweetness and enhances flavor.
- Unsalted Butter Needs to be at room temperature for proper creaming. This is key for a tender crumb.
- Large Eggs Also at room temperature. They emulsify better and create a smoother batter.
- Whole Milk Room temperature milk helps create a smooth, lump-free batter.
- Vanilla Extract Use good quality pure vanilla extract for the best flavor.
Equipment Needed
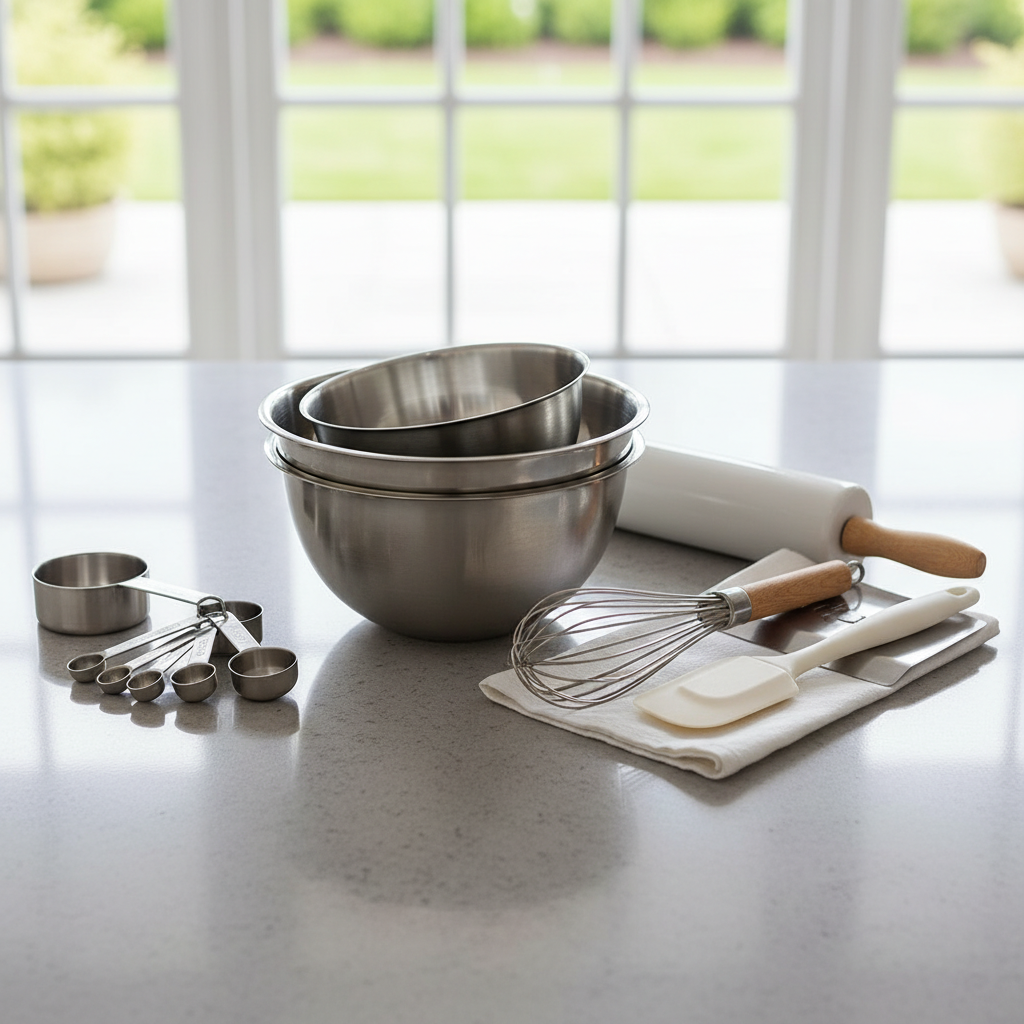
- Two 8-inch round cake pans
- Parchment paper
- Mixing bowls (large and medium)
- Electric mixer (stand or hand-held)
- Whisk
- Rubber spatula
- Measuring cups and spoons
- Wire cooling rack
Full Recipe Card

Ingredients
- 2½ cups (300g) all-purpose flour, spooned and leveled
- 1½ cups (300g) granulated sugar
- 1 tablespoon baking powder
- ½ teaspoon baking soda
- ½ teaspoon salt
- ½ cup (113g) unsalted butter, softened to room temperature
- 2 large eggs, room temperature
- 1 cup (240ml) whole milk, room temperature
- 2 teaspoons pure vanilla extract
- For the frosting: Your favorite buttercream or cream cheese frosting
Instructions
- Prepare Your Pans Preheat your oven to 350°F (175°C). Grease and flour two 8-inch round cake pans. Line the bottoms with parchment paper.
- Combine Dry Ingredients In a large bowl, whisk together the flour, sugar, baking powder, baking soda, and salt. Set aside.
- Cream Butter and Eggs In a separate medium bowl, or the bowl of your stand mixer, beat the softened butter with an electric mixer until light and fluffy (about 2-3 minutes). Add the eggs one at a time, beating well after each addition until fully incorporated.
- Add Wet Ingredients Gradually add the milk and vanilla extract to the butter mixture, mixing until just combined.
- Combine Wet and Dry Slowly add the dry ingredients to the wet ingredients in three additions, mixing on low speed until just combined after each addition. Be careful not to overmix; overmixing can lead to a tough cake. Scrape down the sides of the bowl as needed.
- Bake the Cakes Divide the batter evenly between the prepared cake pans. Bake for 28-32 minutes, or until a wooden skewer inserted into the center comes out clean.
- Cool Completely Let the cakes cool in the pans for 10-15 minutes before inverting them onto a wire cooling rack to cool completely. Do not frost warm cakes!
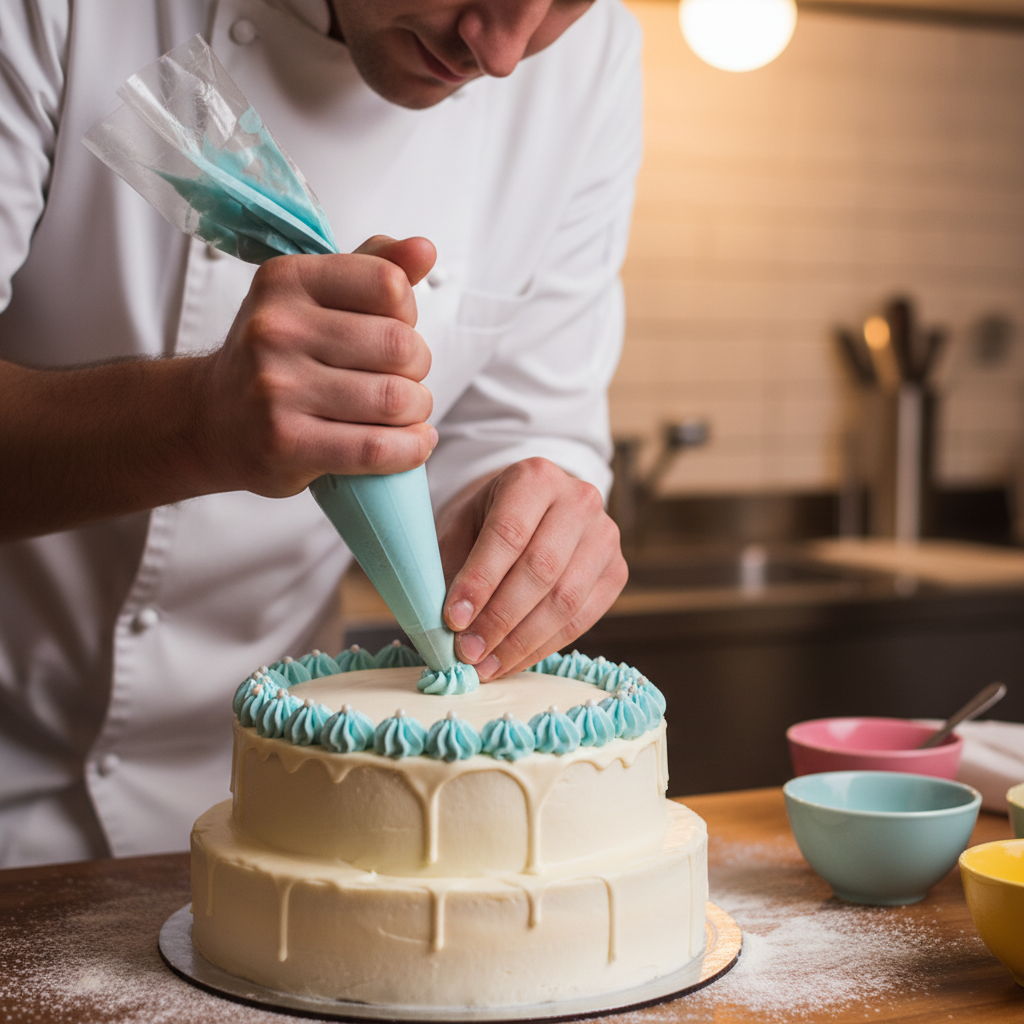
- Frost and Serve Once completely cool, level the tops if necessary, and frost with your favorite vanilla buttercream or cream cheese frosting. Slice and enjoy!
Notes
For an extra moist cake, ensure all your wet ingredients are at room temperature. This helps them emulsify better with the butter, creating a smoother batter and a more tender crumb. Don’t open the oven door during the first 20 minutes of baking to prevent the cakes from sinking.
Tips & Variations
- Lemon Zest Add 1-2 teaspoons of fresh lemon zest to the batter for a bright, citrusy twist.
- Almond Extract Substitute half a teaspoon of vanilla extract with almond extract for a delicate nutty flavor.
- Sprinkles Fold in ½ cup of rainbow sprinkles into the batter for a fun, festive Funfetti cake.
- Cupcakes This batter can easily be used to make cupcakes. Bake for 18-22 minutes.
Pro Chef Tips
- Room Temperature Ingredients are Key This cannot be stressed enough. Cold ingredients don’t emulsify properly, leading to a lumpy batter and a less tender cake.
- Do Not Overmix Once you add the flour, mix only until just combined. Overmixing develops the gluten, resulting in a tough, chewy cake.
- Calibrate Your Oven Oven temperatures can vary. A small oven thermometer can ensure your oven is baking at the correct temperature.
- Leveling Cakes For perfectly flat layers, use a serrated knife or a cake leveler once the cakes are completely cool.
Common Mistakes to Avoid

- Using Cold Ingredients As mentioned, this is a big one. Plan ahead!
- Overmixing the Batter Leads to a dense, dry cake. Mix until just combined.
- Opening the Oven Door Too Early Causes cakes to fall or sink in the middle. Resist the urge to peek!
- Not Greasing and Flourishing Pans Properly Leads to cakes sticking and tearing. Don’t skip this step.
- Frosting a Warm Cake The frosting will melt and slide right off. Always wait until the cakes are completely cool.
Storage & Meal Prep
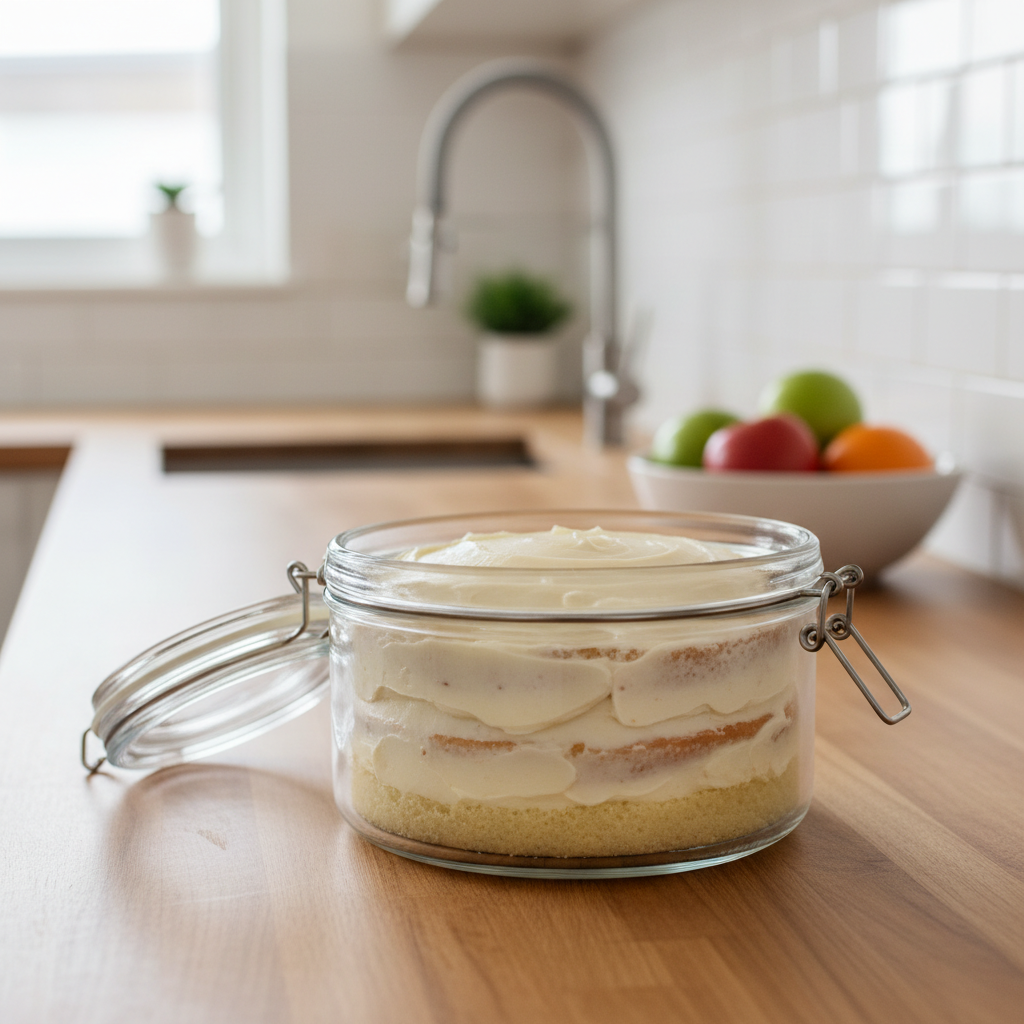
This homemade vanilla cake stores beautifully, making it excellent for meal prep or enjoying over several days. An unfrosted cake can be wrapped tightly in plastic wrap and kept at room temperature for up to 2 days, or in the refrigerator for up to 5 days. Once frosted, store the cake in an airtight container at room temperature for up to 3 days, or in the refrigerator for up to 5 days. Always ensure it’s covered to prevent it from drying out.
Make-Ahead & Freezer Notes
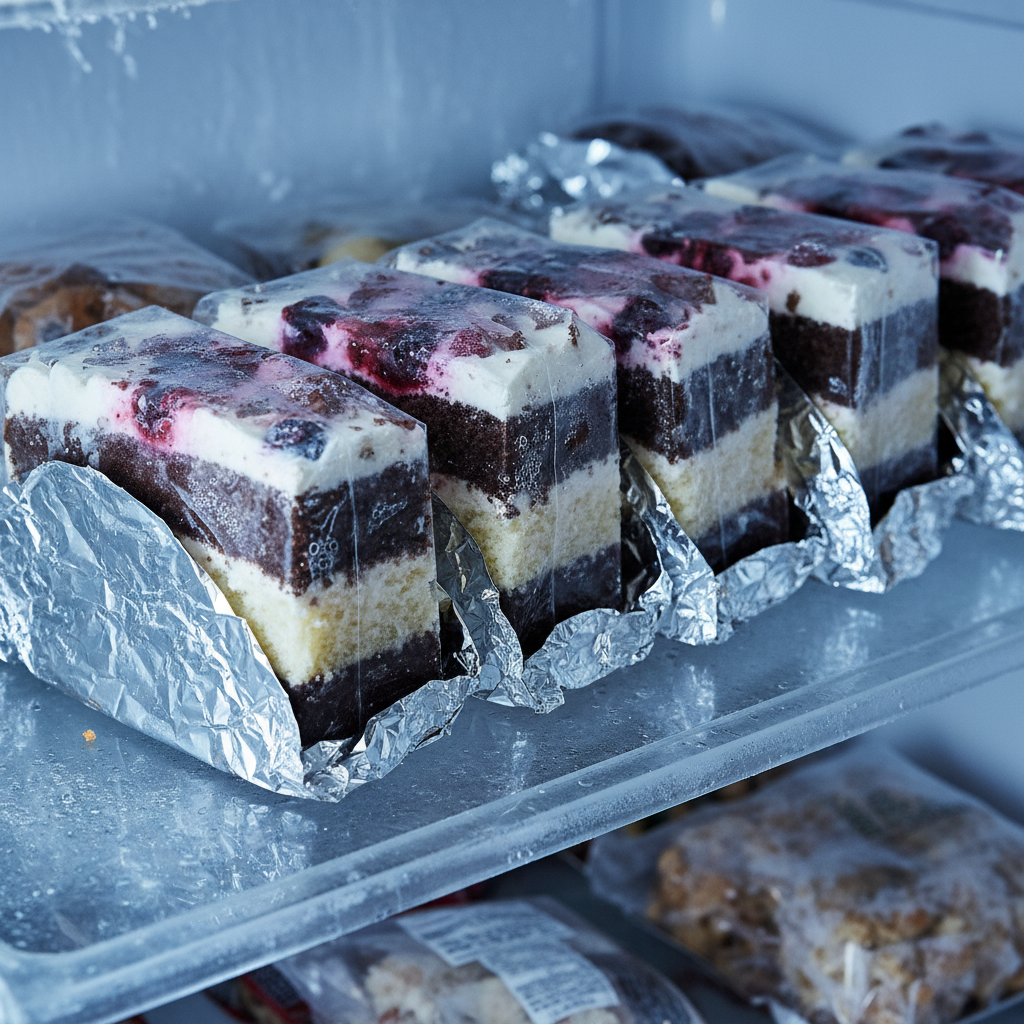
You can definitely make this vanilla cake ahead of time! Baked and completely cooled cake layers can be wrapped tightly in plastic wrap, then an additional layer of aluminum foil, and frozen for up to 2 months. Thaw overnight in the refrigerator before unwrapping and frosting. This is a fantastic way to get a head start on party preparations. You can also freeze individual slices for a quick treat later on.
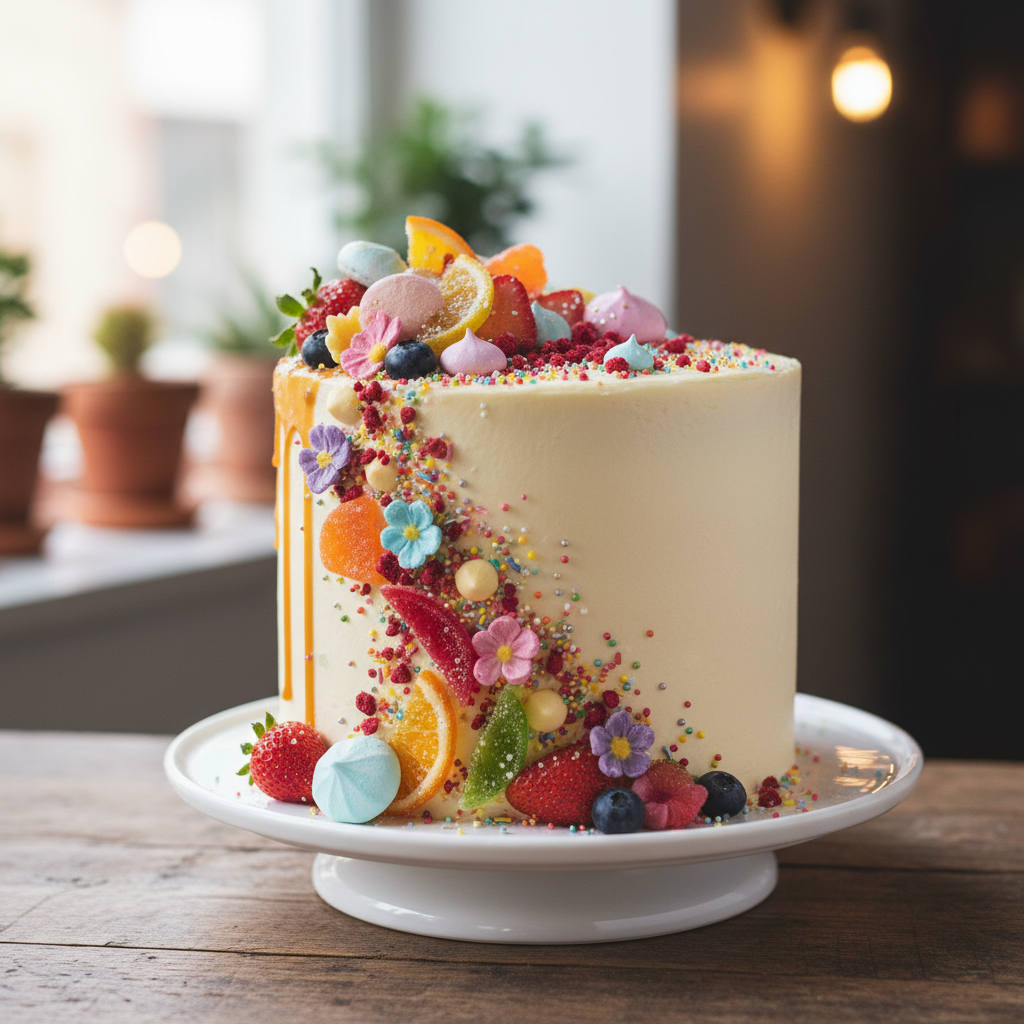
Serving Suggestions
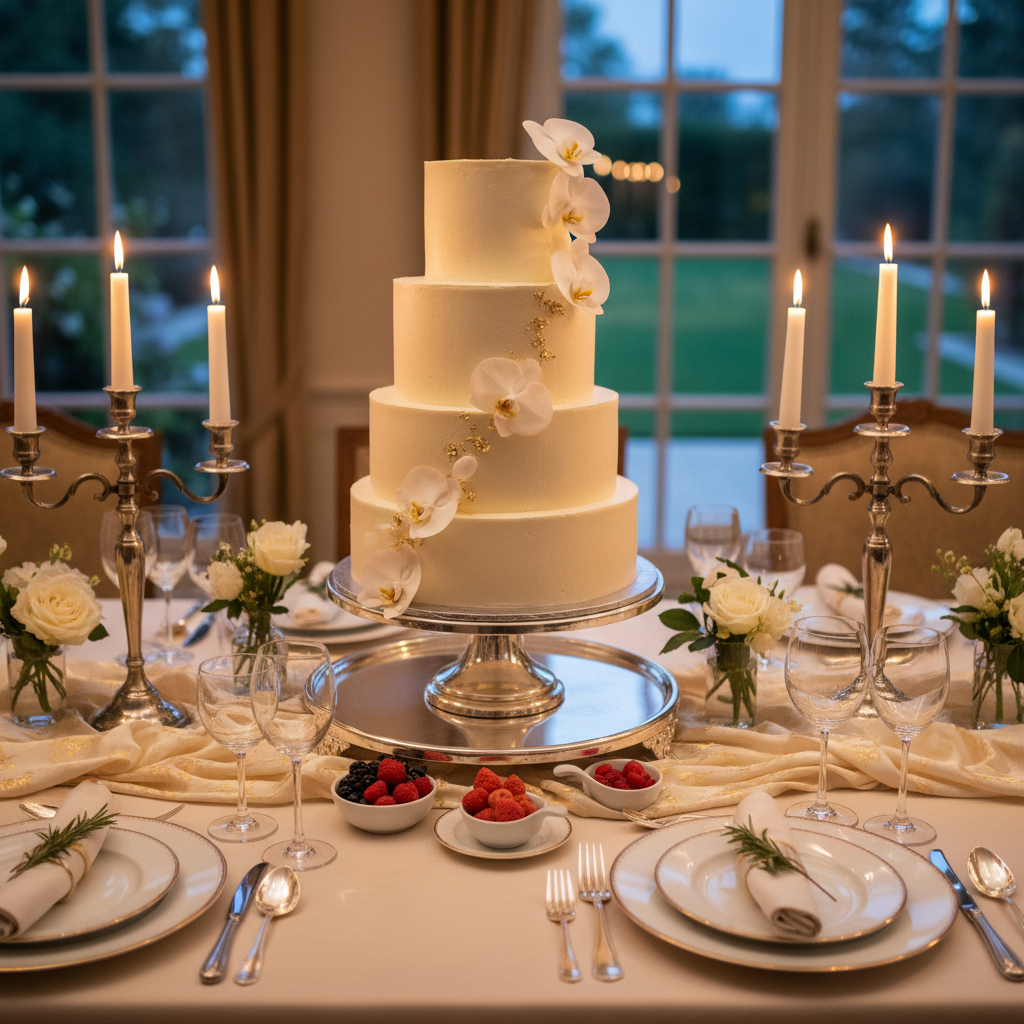
A classic vanilla cake is wonderful on its own, but here are a few ideas to elevate your serving experience:
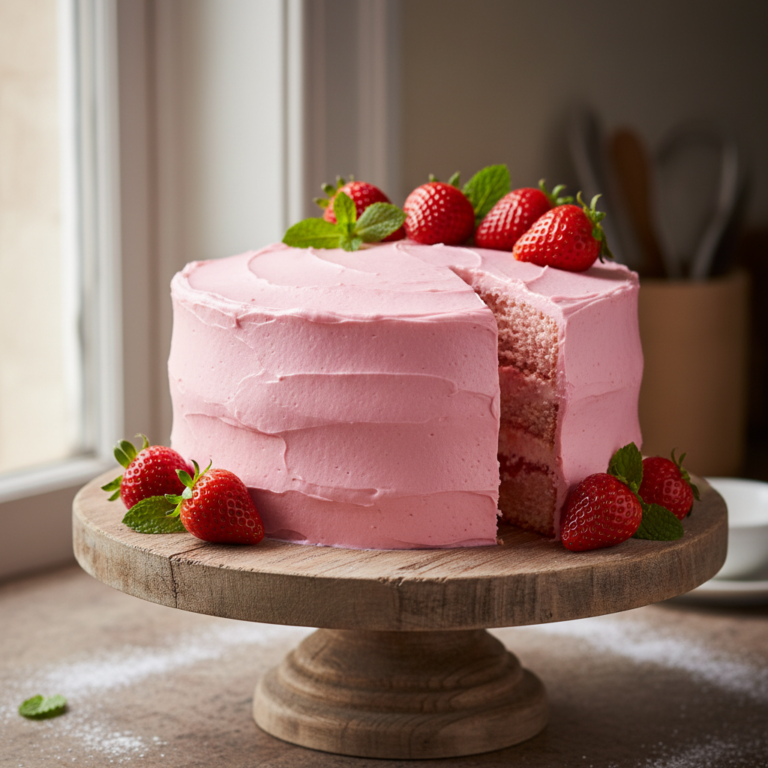
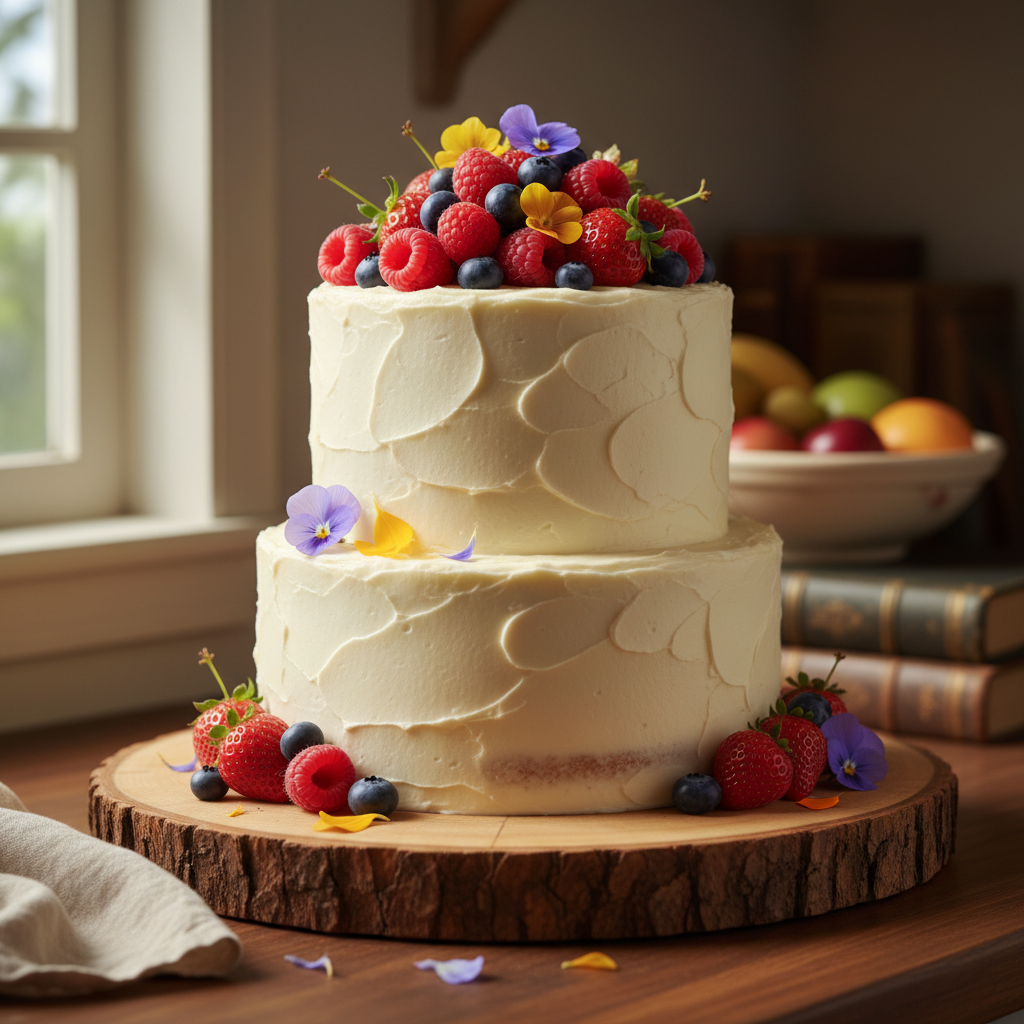
- Fresh Berries A medley of fresh strawberries, raspberries, and blueberries adds a burst of freshness and color.
- Whipped Cream A dollop of freshly whipped cream is always a delightful accompaniment.
- Ice Cream A scoop of vanilla bean or strawberry ice cream makes for an indulgent dessert.
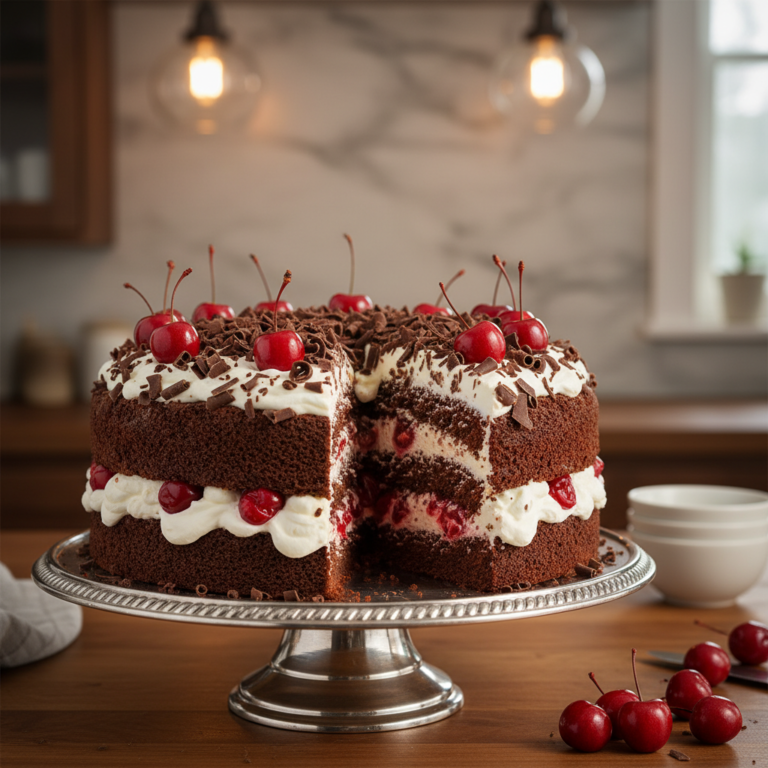
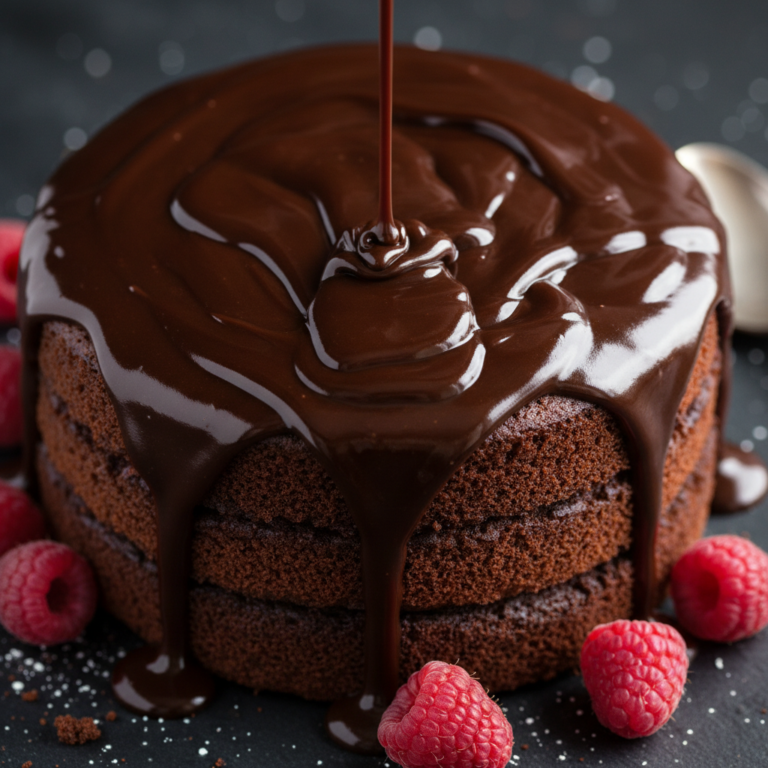
- Fruit Compote A warm berry compote or cherry sauce can add a lovely tart contrast.
- Chocolate Shavings A sprinkle of dark or white chocolate shavings adds elegance and extra flavor.