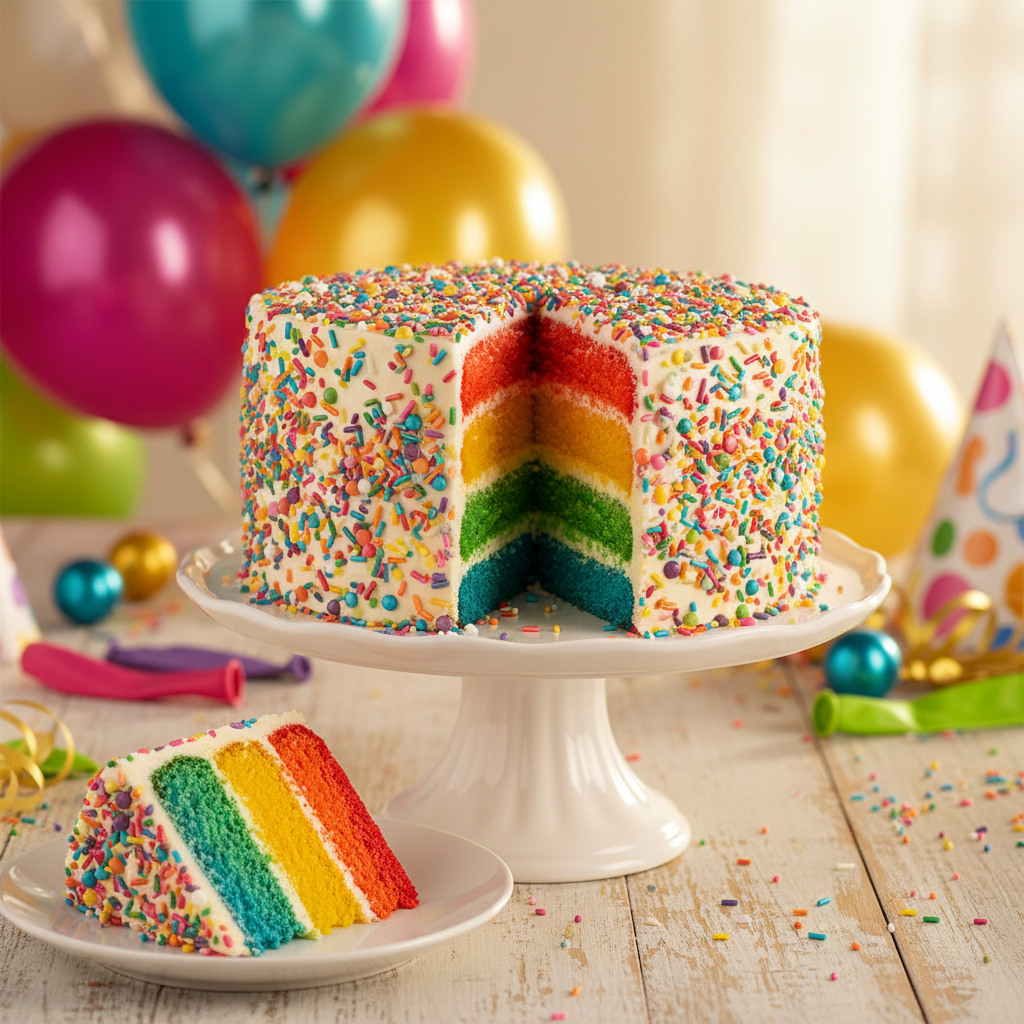
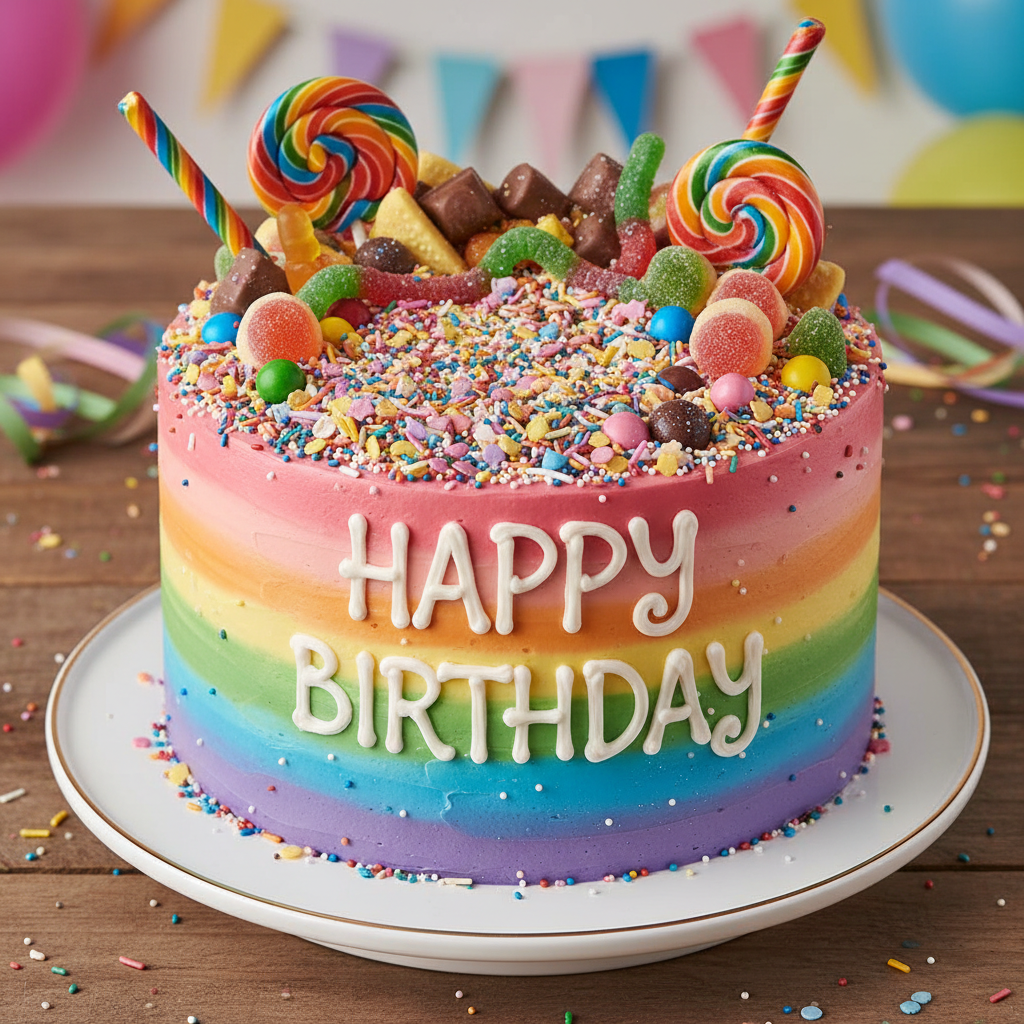
There’s something truly magical about a rainbow cake. It’s not just a dessert; it’s a burst of joy, a celebration in every slice! Imagine the gasps of delight as you cut into a cake revealing a spectrum of vibrant colors, each layer a surprise. Whether you’re planning a birthday bash, a festive gathering, or just want to bring some extra cheer to your kitchen, this rainbow cake recipe is your ticket to a show-stopping dessert that’s surprisingly easy to make. Get ready to bake a masterpiece that tastes as good as it looks!
A Little Bit of Rainbow Cake History
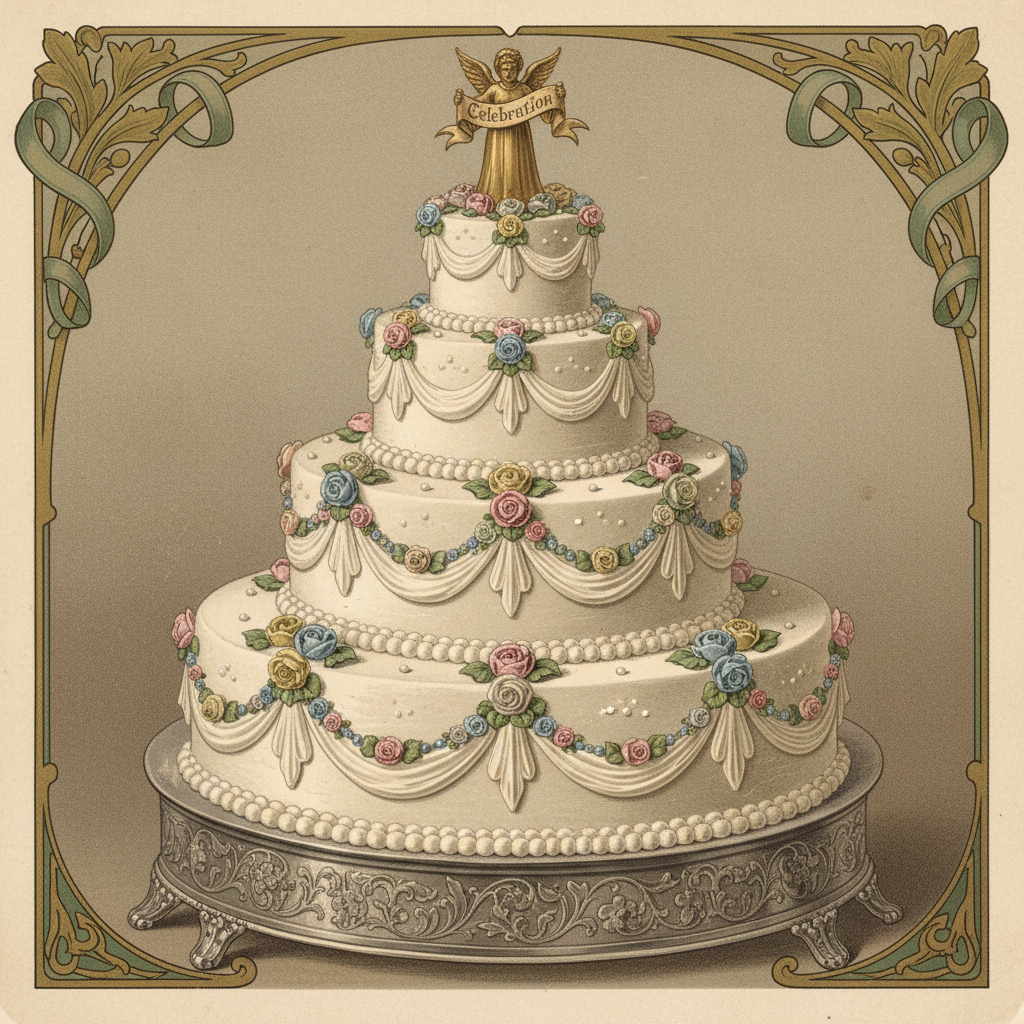
While colorful layered cakes have existed in various forms for centuries, the modern rainbow cake as we know it, with its distinct, vibrant layers, really took off in popularity in the early 21st century. It became a viral sensation on the internet, capturing the hearts of bakers and party planners worldwide. Its visual appeal and the sense of wonder it creates have made it a beloved staple for celebrations, symbolizing happiness, diversity, and fun. It’s a testament to how food can be both delicious and a work of art!
Why This Rainbow Cake Will Be Your New Favorite
- Visually Stunning: The vibrant layers are a true showstopper.
- Deliciously Simple: Uses a straightforward vanilla cake base that everyone loves.
- Perfect for Celebrations: Ideal for birthdays, parties, and any festive occasion.
- Beginner-Friendly: Detailed instructions make it accessible for all skill levels.
- Customizable: Easy to adapt with different flavorings or frostings.
Key Ingredients for Your Colorful Creation

To create our beautiful rainbow cake, we’ll be using a classic vanilla cake base. Here’s what you’ll need and a few notes on why they’re important:
- All-Purpose Flour: The structure of our cake. Make sure to measure it correctly!
- Granulated Sugar: Sweetness and tenderness.
- Baking Powder & Baking Soda: Our leavening agents, giving the cake its fluffy texture.
- Salt: Enhances all the other flavors.
- Unsalted Butter: Adds richness and moisture. Make sure it’s softened to room temperature for a smooth batter.
- Large Eggs: Binds ingredients, adds structure, and richness. Also best at room temperature.
- Whole Milk: Adds moisture and helps with the cake’s texture. Room temperature milk mixes better.
- Vanilla Extract: The essential flavor for our delicious cake. Use good quality!
- Gel Food Coloring: This is key for vibrant layers! Gel colors are much more concentrated than liquid drops, so you’ll need less and get richer hues. We’ll need red, orange, yellow, green, blue, and purple.
- For the Buttercream Frosting: Unsalted butter, powdered sugar, vanilla extract, and a splash of milk or cream.
Essential Tools for Rainbow Cake Success
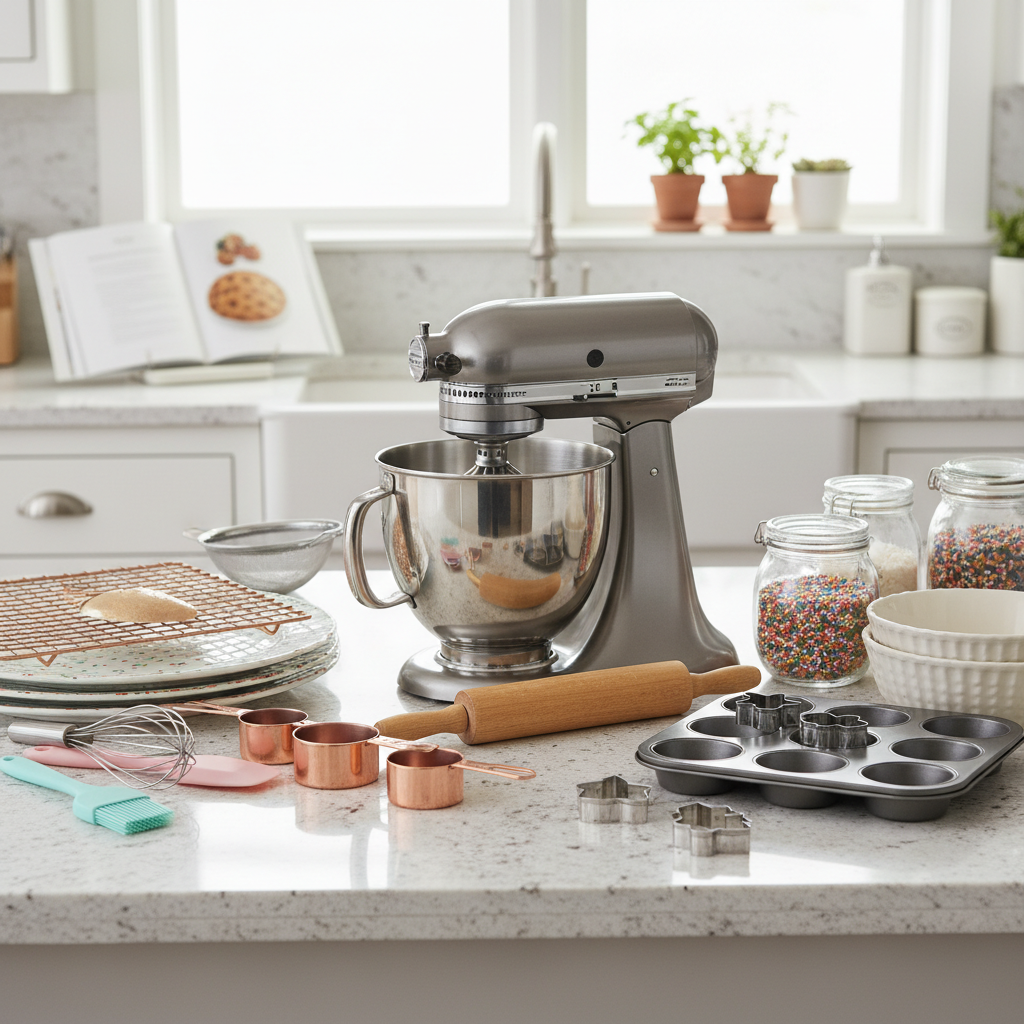
Having the right tools makes baking a breeze. Here’s what you’ll need for this rainbow cake:
- Six 8-inch Round Cake Pans: This is ideal for distinct layers. If you only have two or three, you can bake in batches, but ensure pans are cooled and cleaned between uses.
- Mixing Bowls: Several for separating colored batter.
- Electric Mixer: Stand mixer or hand mixer for creaming butter and sugar, and making frosting.
- Spatulas: Rubber spatulas for scraping bowls and offset spatulas for frosting.
- Measuring Cups and Spoons: For accurate ingredient measurements.
- Parchment Paper: For lining cake pans to prevent sticking.
- Wire Rack: For cooling the cake layers.
- Cake Turntable (Optional but Recommended): Makes frosting much easier.
Rainbow Cake Recipe Card
Ingredients
- 2 ½ cups (300g) all-purpose flour
- 1 ½ cups (300g) granulated sugar
- 1 tablespoon baking powder
- ½ teaspoon baking soda
- ½ teaspoon salt
- 1 cup (226g) unsalted butter, softened
- 4 large eggs, room temperature
- 1 cup (240ml) whole milk, room temperature
- 2 teaspoons vanilla extract
- Gel food coloring (red, orange, yellow, green, blue, purple)
For the Vanilla Buttercream Frosting
- 1 cup (226g) unsalted butter, softened
- 4 cups (480g) powdered sugar, sifted
- 2-3 tablespoons whole milk or heavy cream
- 1 teaspoon vanilla extract
- Pinch of salt
Instructions
- Prepare Your Pans: Preheat oven to 350°F (175°C). Grease and flour six 8-inch round cake pans, or line the bottoms with parchment paper.
- Mix Dry Ingredients: In a medium bowl, whisk together flour, sugar, baking powder, baking soda, and salt. Set aside.
- Cream Butter and Sugar: In a large bowl with an electric mixer, cream the softened butter until light and fluffy (about 2-3 minutes). Gradually add the granulated sugar and beat until light and fluffy (another 3-5 minutes).
- Add Eggs and Vanilla: Beat in the eggs one at a time, mixing well after each addition. Stir in the vanilla extract.
- Combine Wet and Dry: Gradually add the dry ingredients to the wet ingredients, alternating with the milk, beginning and ending with the dry ingredients (e.g., 1/3 dry, 1/2 milk, 1/3 dry, 1/2 milk, 1/3 dry). Mix until just combined; do not overmix.
- Color the Batter: Divide the batter evenly into six separate bowls. Add a different gel food coloring to each bowl (red, orange, yellow, green, blue, purple) and mix gently until the color is uniform.
- Bake the Layers: Pour each colored batter into its own prepared cake pan. Bake for 12-15 minutes, or until a toothpick inserted into the center comes out clean.
- Cool the Cakes: Let the cake layers cool in the pans for 5-10 minutes before inverting them onto a wire rack to cool completely.
- Make the Buttercream: In a large bowl with an electric mixer, beat the softened butter until creamy. Gradually add the sifted powdered sugar, a cup at a time, mixing on low speed until combined, then increase to medium-high and beat until fluffy. Add vanilla extract, salt, and 2 tablespoons of milk/cream, beating until smooth. Add more milk/cream if needed for desired consistency.
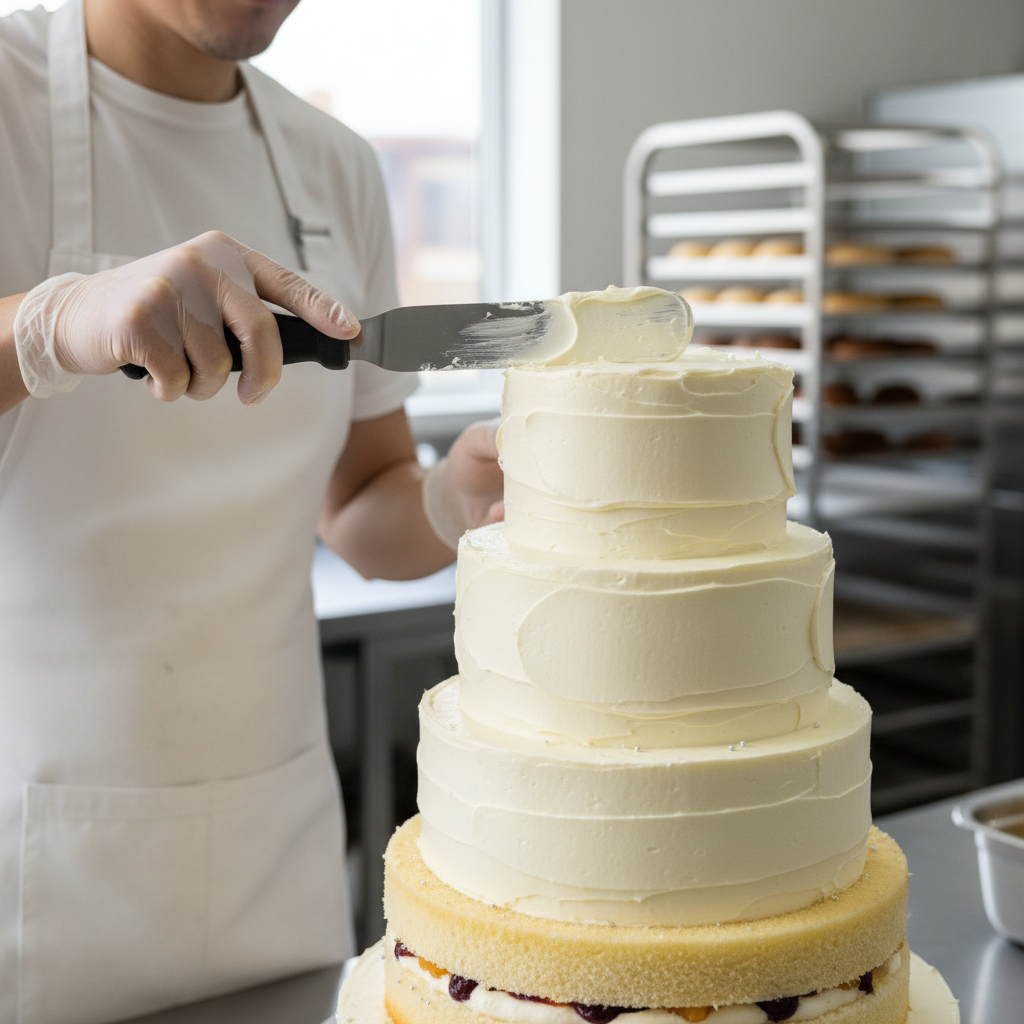
- Assemble the Cake: Once all cake layers are completely cool, place one purple layer on your serving plate or cake stand. Spread a layer of buttercream over the top. Repeat with the blue, green, yellow, orange, and finally the red layer. Use the remaining buttercream to frost the sides and top of the entire cake.
- Decorate and Serve: Decorate with sprinkles if desired. Chill for at least 30 minutes before slicing and serving for cleaner cuts.
Recipe Notes
Ensure all cold ingredients like butter, eggs, and milk are at room temperature. This helps them emulsify better, resulting in a smoother, more uniform batter. Do not overmix the batter once flour is added, as this can lead to a tough cake. Gel food colorings are highly recommended for vibrant hues!
Tips and Creative Variations
- Flavor Twist: Add a touch of almond extract or lemon zest to the cake batter for a different flavor profile.
- Ombre Effect: Instead of distinct layers, try an ombre effect by gradually lightening the color from bottom to top within each color family (e.g., dark blue to light blue).
- Fun Frosting: You can color small portions of the buttercream for decorative piping on top of the cake, or even add sprinkles between the layers for extra crunch.
- Mini Rainbow Cakes: Use smaller cake pans or even cupcake liners to make individual rainbow treats!
Pro Chef Secrets for a Perfect Rainbow Cake
- Level Your Cakes: For perfectly flat layers, use a serrated knife or a cake leveler to trim any domed tops. This ensures a stable, even stack.
- Crumb Coat is Key: Before applying your final layer of frosting, do a thin ‘crumb coat’. This traps any loose crumbs and creates a smooth surface for your final, flawless frosting layer. Chill the cake for 15-20 minutes after the crumb coat.
- Chill Between Layers: If you’re struggling with stability, chill the cake for 10-15 minutes after stacking every two or three layers. This helps the buttercream set and prevents sliding.
- Warm Your Knife: For super clean slices, dip your sharp knife in hot water, wipe it clean, and then make each cut. Repeat for every slice.
Steer Clear of These Common Rainbow Cake Blunders

- Overmixing the Batter: This develops too much gluten, resulting in a dense, tough cake. Mix until just combined.
- Not Using Gel Food Coloring: Liquid food coloring can thin your batter and won’t give you the intense, vibrant colors you desire. Invest in gel colors!
- Warm Cake Layers: Never try to frost warm cake layers. The buttercream will melt and slide off, creating a messy situation. Ensure cakes are completely cool.
- Skipping Room Temperature Ingredients: Cold ingredients don’t emulsify properly, leading to a lumpy batter and a less consistent cake texture.
- Uneven Layers: Not dividing the batter evenly can lead to some layers being thicker than others, making your cake unstable and less visually appealing. Use a kitchen scale for precision.
Storing Your Rainbow Masterpiece

Once your beautiful rainbow cake is complete, you’ll want to keep it fresh! Store leftover cake, covered tightly with plastic wrap or in an airtight cake container, at room temperature for up to 2-3 days. If your kitchen is very warm, or if your frosting contains cream cheese (which this recipe doesn’t), it’s best to store it in the refrigerator. In the fridge, it will last for up to 5-7 days. Always bring it back to room temperature for about 30 minutes before serving for the best texture and flavor.
Planning Ahead Make-Ahead and Freezer Tips

This rainbow cake is a fantastic make-ahead dessert! You can bake the cake layers up to 2-3 days in advance. Once completely cooled, wrap each layer individually in plastic wrap and store them at room temperature. For longer storage, you can freeze the cake layers. Wrap each cooled layer tightly in plastic wrap, then again in aluminum foil. They can be frozen for up to 2-3 months. Thaw them in the refrigerator overnight or at room temperature for a few hours before assembling. The buttercream frosting can also be made 2-3 days in advance and stored in an airtight container in the refrigerator. Bring it to room temperature and re-whip it briefly before frosting the cake.
Delightful Serving Suggestions
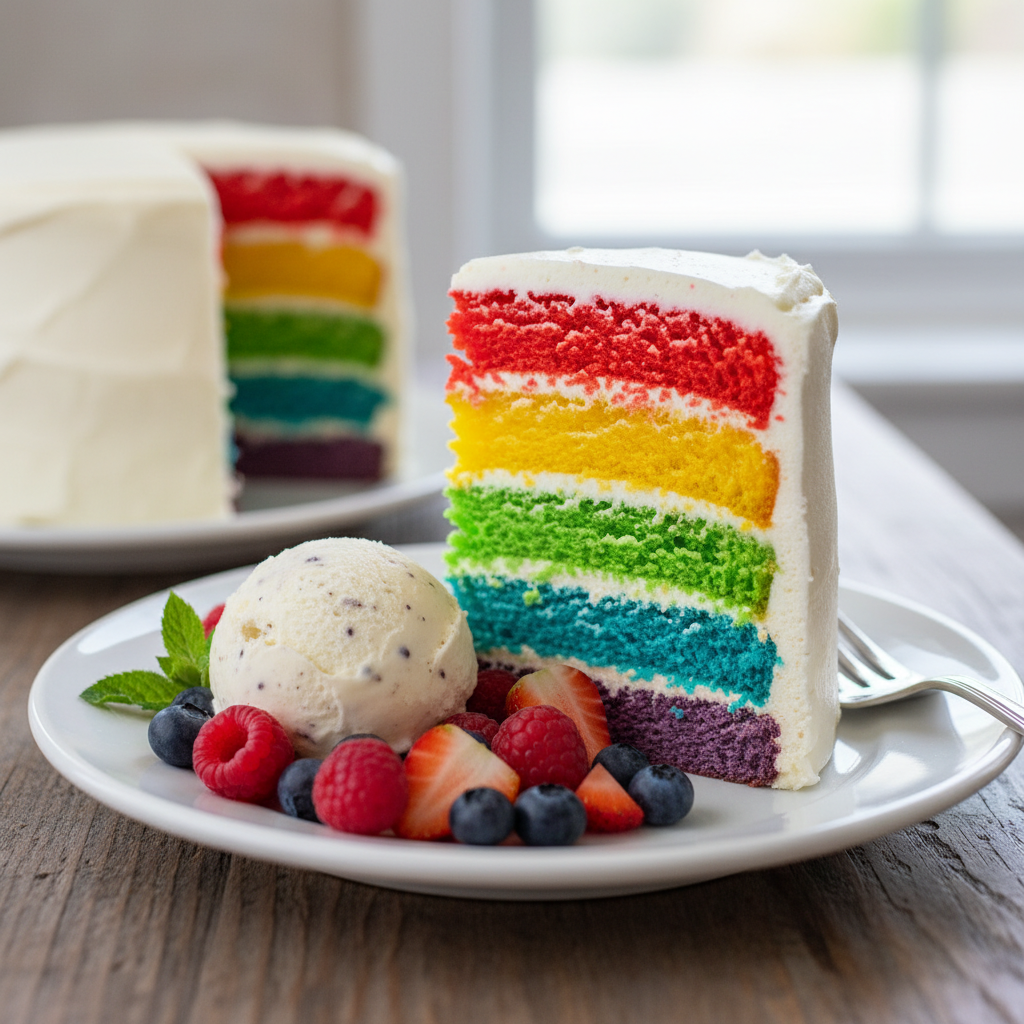
- Simple & Sweet: Serve a slice on its own to let the vibrant colors shine.
- Berry Bliss: A handful of fresh berries (strawberries, raspberries, blueberries) makes a lovely accompaniment.
- Ice Cream Dream: A scoop of vanilla bean ice cream or a dollop of whipped cream adds an extra touch of indulgence.
- Coffee or Tea Pair: Perfect with a warm cup of coffee or your favorite herbal tea.
- Sparkling Celebration: For parties, pair it with a glass of sparkling cider or champagne.
Time to Bake Your Own Rainbow!
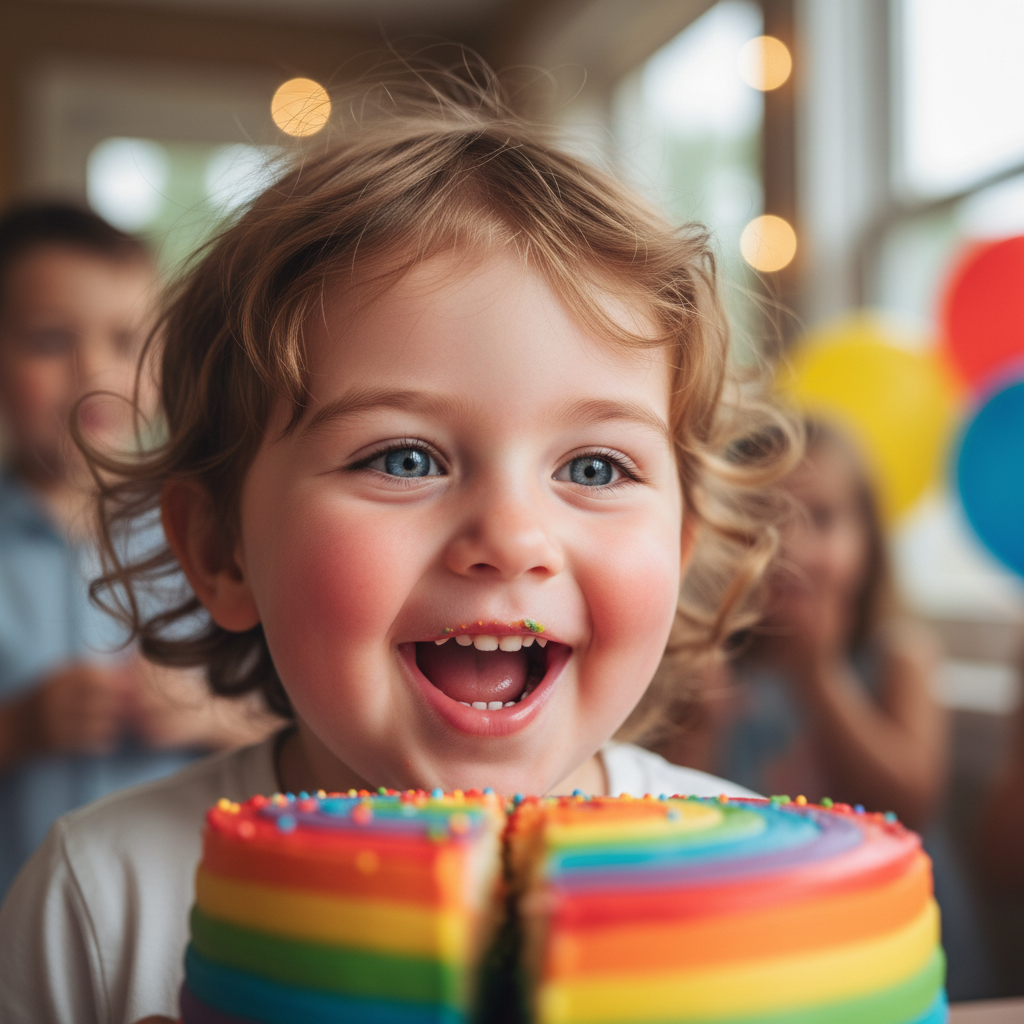
Baking a rainbow cake is more than just following a recipe; it’s about creating joy and a memorable centerpiece for any celebration. Don’t be intimidated by the vibrant layers – with these detailed instructions and tips, you’ll be a rainbow cake master in no time! Imagine the smiles and wonder as your guests gaze upon your colorful creation. So, gather your ingredients, put on your apron, and get ready to spread some happiness, one delicious, colorful slice at a time. Happy baking!