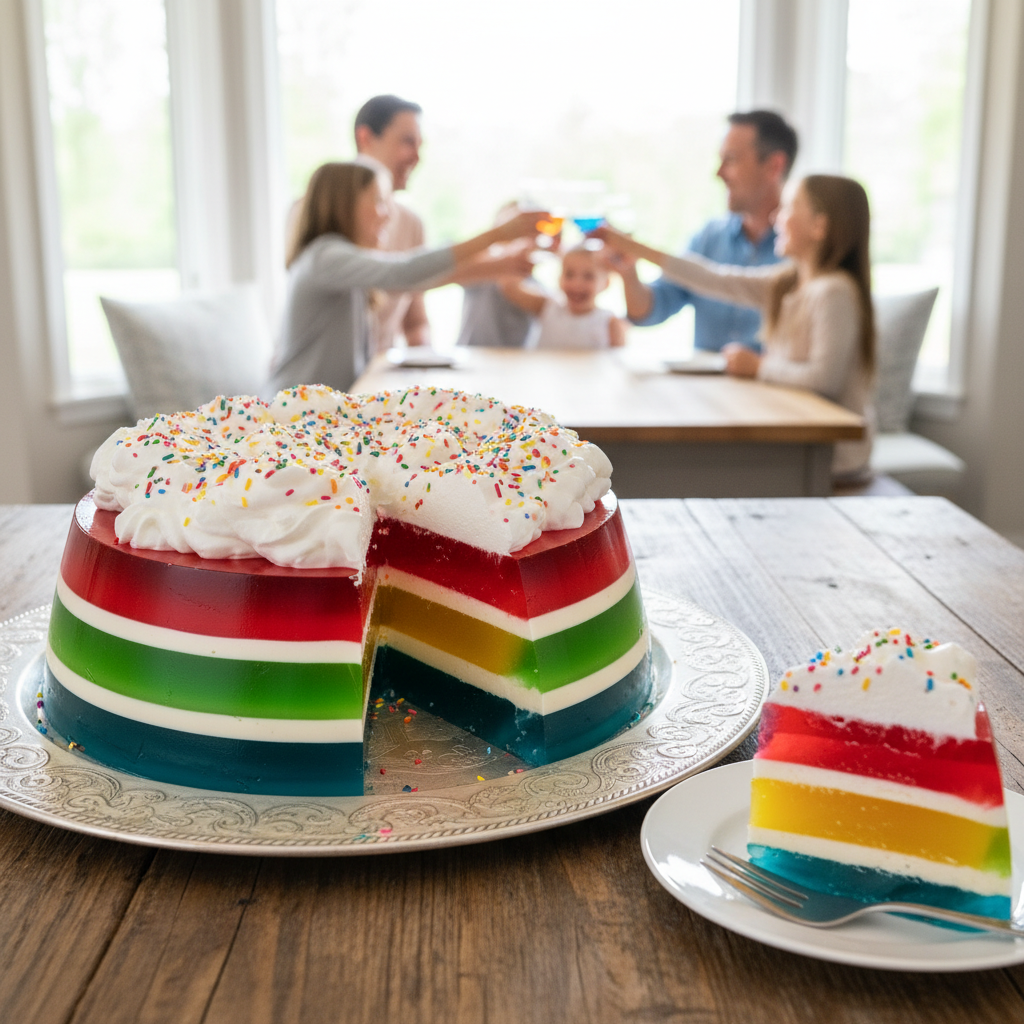
Who doesn’t love a dessert that’s as fun to look at as it is to eat? This colorful Jello cake is a true showstopper, bringing a burst of joy and flavor to any family gathering or potluck. If you’re looking for a dessert that’s simple to make but looks incredibly impressive, you’ve come to the right place. Get ready to layer up some happiness with this vibrant, wobbly, and utterly delicious treat!
History and Background

Jello, or gelatin dessert, has been a beloved staple in American kitchens for over a century. Its origins trace back to the late 19th century, but it wasn’t until the early 1900s that Jello became a household name, marketed as a convenient and delightful dessert. The idea of layering different colored Jello flavors emerged as a popular way to add visual appeal, especially during the mid-20th century when gelatin molds and vibrant, multi-layered creations were all the rage. This colorful Jello cake recipe is a nod to those classic desserts, updated for today’s home baker looking for a touch of nostalgic fun.
Why You Will Love This Recipe

- Visually Stunning: Each slice reveals beautiful, vibrant layers that are sure to impress.
- Beginner-Friendly: No complicated techniques or fancy baking skills required.
- Customizable Flavors: Easily swap Jello flavors to create your own unique combinations.
- Refreshing and Light: A perfect dessert, especially after a heavy meal or on a warm day.
- Family Favorite: Kids and adults alike adore this fun, wobbly treat.
- Budget-Friendly: Made with readily available and inexpensive ingredients.
Ingredient Notes
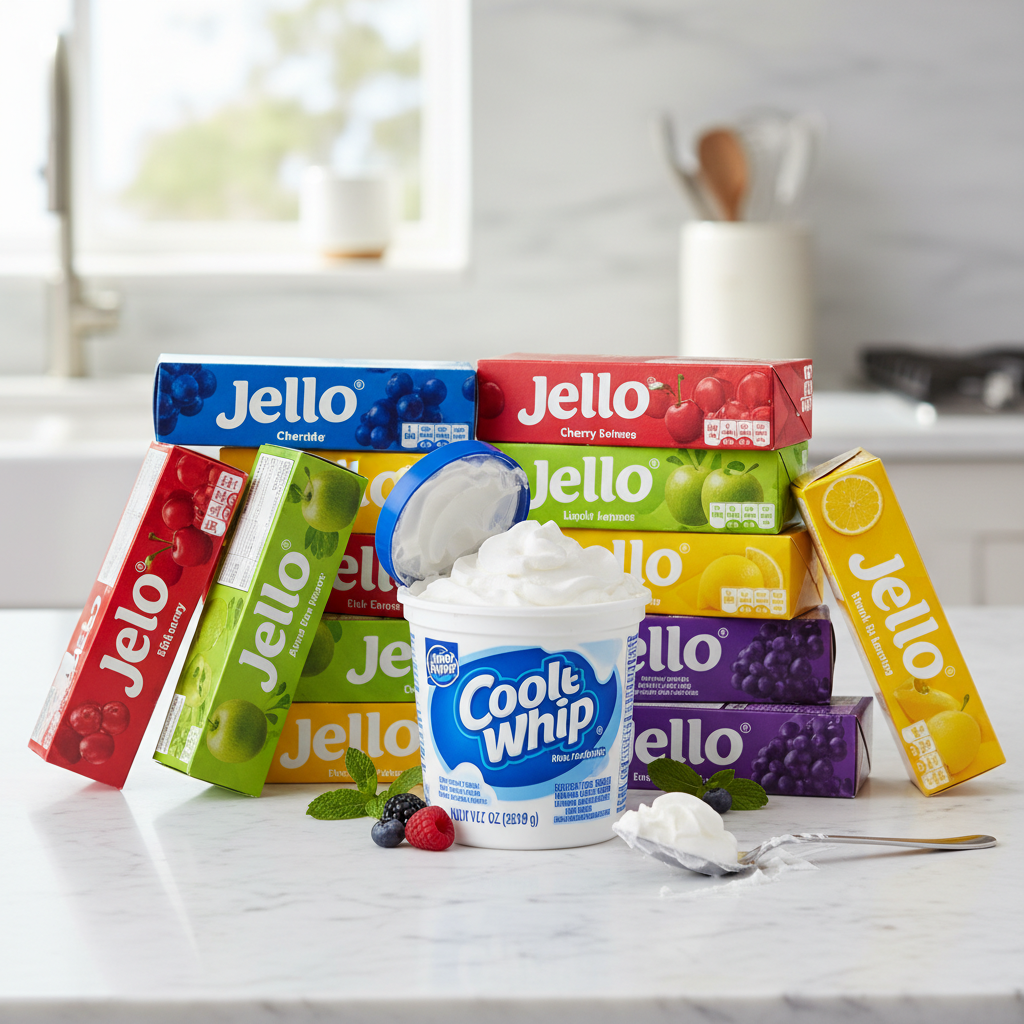
Gathering your ingredients is the first step to Jello cake success! Here’s what you’ll need and a few helpful notes:
- Gelatin (Jello): You’ll need several different colored boxes. Choose vibrant colors like cherry, orange, lemon, lime, and blue raspberry for the best visual effect. Sugar-free options work too, but may alter the texture slightly.
- Boiling Water: Essential for dissolving the gelatin thoroughly.
- Cold Water: Used to set the gelatin properly.
- Sweetened Condensed Milk: This is the secret to those beautiful opaque layers! It adds creaminess and sweetness. Do not substitute with evaporated milk.
- Whipped Topping (Cool Whip): For a light, fluffy topping. You can also make your own stabilized whipped cream if you prefer.
Equipment Needed
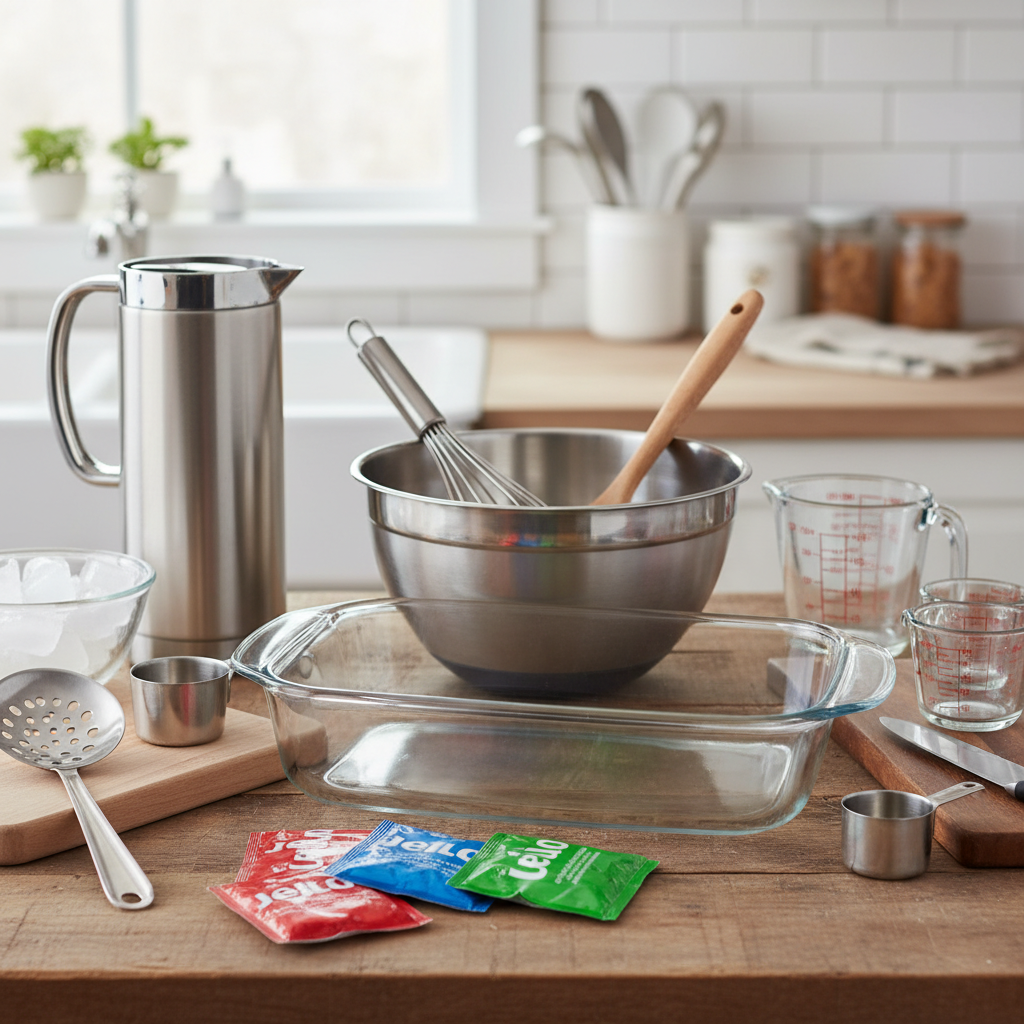
Good news! You don’t need any special gadgets for this recipe. Just a few kitchen basics:
- 9×13 Inch Baking Dish: A glass or ceramic dish works best for presentation.
- Medium Mixing Bowls: Several of them, one for each Jello color.
- Measuring Cups and Spoons: For accurate ingredient measurements.
- Whisk: To ensure the gelatin dissolves completely.
- Spatula: For spreading layers and folding.
Full Recipe Card
Ingredients
- 5 small boxes (3 oz each) Jello, various colors (e.g., cherry, orange, lemon, lime, blue raspberry)
- 5 cups boiling water, divided
- 2 cups cold water, divided
- 1 (14 oz) can sweetened condensed milk
- 1 (8 oz) container frozen whipped topping, thawed
Instructions
- Prepare the First Layer: Choose your first Jello flavor. In a medium bowl, dissolve one box of Jello in 1 cup of boiling water, stirring until fully dissolved (about 2 minutes). Stir in 1/2 cup of cold water. Pour this mixture into the bottom of your 9×13 inch baking dish. Refrigerate for 20-30 minutes, or until just set but still slightly sticky to the touch.
- Prepare the Opaque Layer: While the first layer is setting, prepare the opaque layer. In a separate bowl, dissolve 1/2 cup of your chosen Jello flavor (from one of the remaining boxes) in 1 cup of boiling water. Stir in the entire can of sweetened condensed milk. Let this mixture cool slightly.
- Alternate Layers: Once the first clear Jello layer is set, carefully pour half of the cooled sweetened condensed milk mixture over it. Refrigerate for another 20-30 minutes, until just set.
- Continue Layering: Repeat the process with the remaining Jello flavors. For each clear layer: dissolve one box of Jello in 1 cup boiling water, add 1/2 cup cold water, and pour over the set opaque layer. For each opaque layer: use the remaining sweetened condensed milk mixture, or prepare another small batch if you want more opaque layers. Alternate clear Jello and opaque layers, allowing each to set for 20-30 minutes before adding the next. Ensure the previous layer is firm enough to support the new liquid without mixing.
- Final Chill: Once all layers are complete, refrigerate the cake for at least 4 hours, or preferably overnight, to ensure it’s fully set and firm.
- Serve: Top with thawed whipped topping just before serving. Slice into squares and enjoy!
Notes
For cleaner layers, make sure each layer is properly set but not overly firm before adding the next. If a layer is too firm, the next layer might not adhere as well. If a layer is too liquid, it will mix. A slightly sticky surface is ideal.
Tips and Variations

- Fruity Fun: Add chopped fresh fruit like mandarins, berries, or kiwi between layers (ensure fruit is not pineapple or kiwi, as their enzymes prevent Jello from setting).
- Flavor Combos: Experiment with different Jello flavor combinations. Think tropical (pineapple, orange, lime) or berry blast (strawberry, raspberry, grape).
- Individual Servings: Make this cake in individual clear cups or small ramekins for adorable single-serve desserts.
- Alcoholic Version: For an adult twist, substitute some of the cold water with a clear spirit like vodka or rum in the clear Jello layers.
Pro Chef Tips
Even though this recipe is simple, a few pro tips can elevate your Jello cake to perfection:
- Grease Your Pan (Optional): If you plan to invert the cake for a specific presentation, lightly grease your dish with a neutral oil or non-stick spray. For a standard 9×13 dish, this isn’t usually necessary as you’ll be serving directly from the pan.
- Temperature Control: Ensure your Jello mixtures are cooled slightly before pouring them over a set layer. Pouring hot Jello onto a chilled layer can melt it, causing colors to bleed.
- Gentle Pouring: Pour new layers very gently, perhaps over the back of a spoon, to prevent disturbing the previous layer.
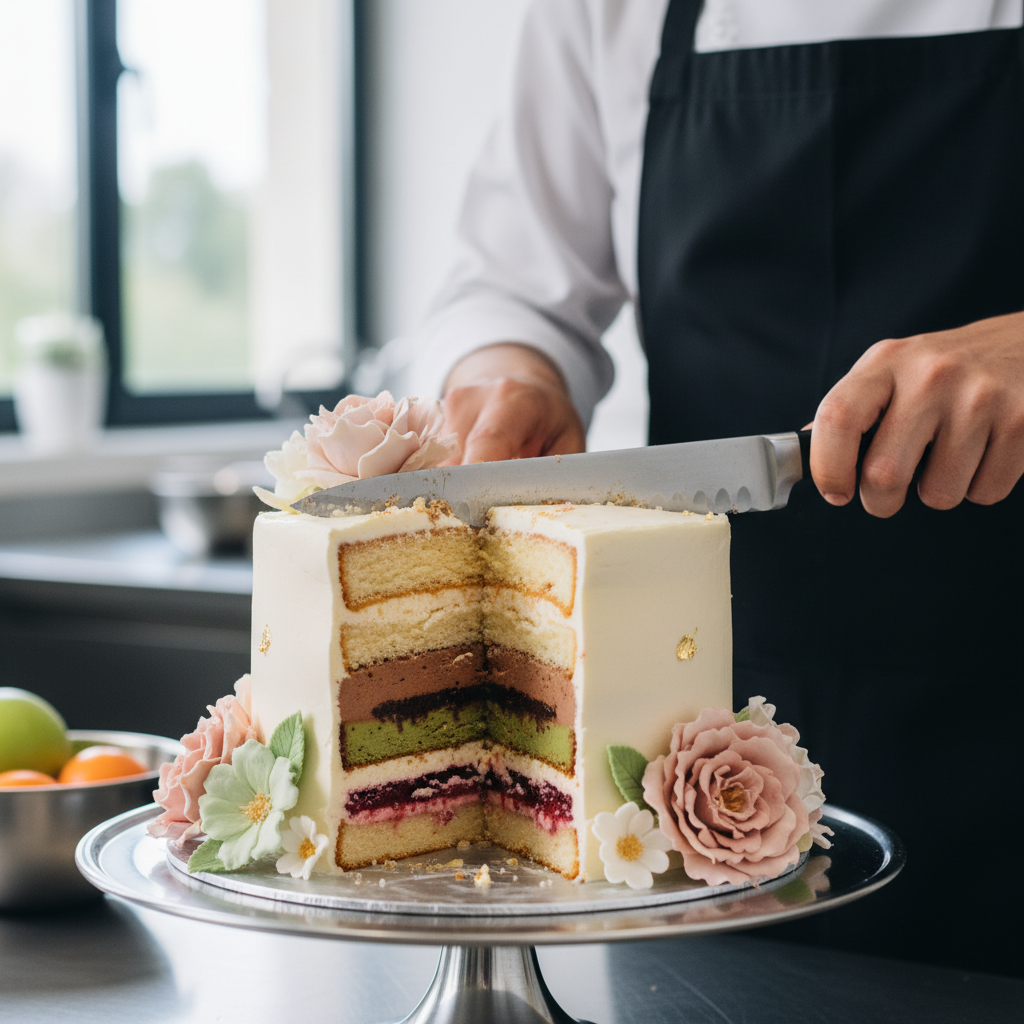
- Clean Slices: For perfectly clean slices, dip your knife in warm water and wipe it clean between each cut.
Common Mistakes to Avoid

Don’t let these common pitfalls ruin your Jello cake:
- Not Letting Layers Set Enough: This is the biggest culprit for muddy, mixed colors. Be patient! Each layer needs its time in the fridge.
- Pouring Hot Liquid on Set Layers: As mentioned, this will melt the layer below. Always let your Jello mixtures cool down to room temperature before pouring.
- Using Fresh Pineapple or Kiwi: These fruits contain enzymes that break down gelatin, preventing it from setting. Stick to canned or cooked versions, or other fresh fruits.
- Not Dissolving Gelatin Properly: Undissolved gelatin can lead to a grainy texture. Whisk thoroughly until all granules are gone.
Storage and Meal Prep
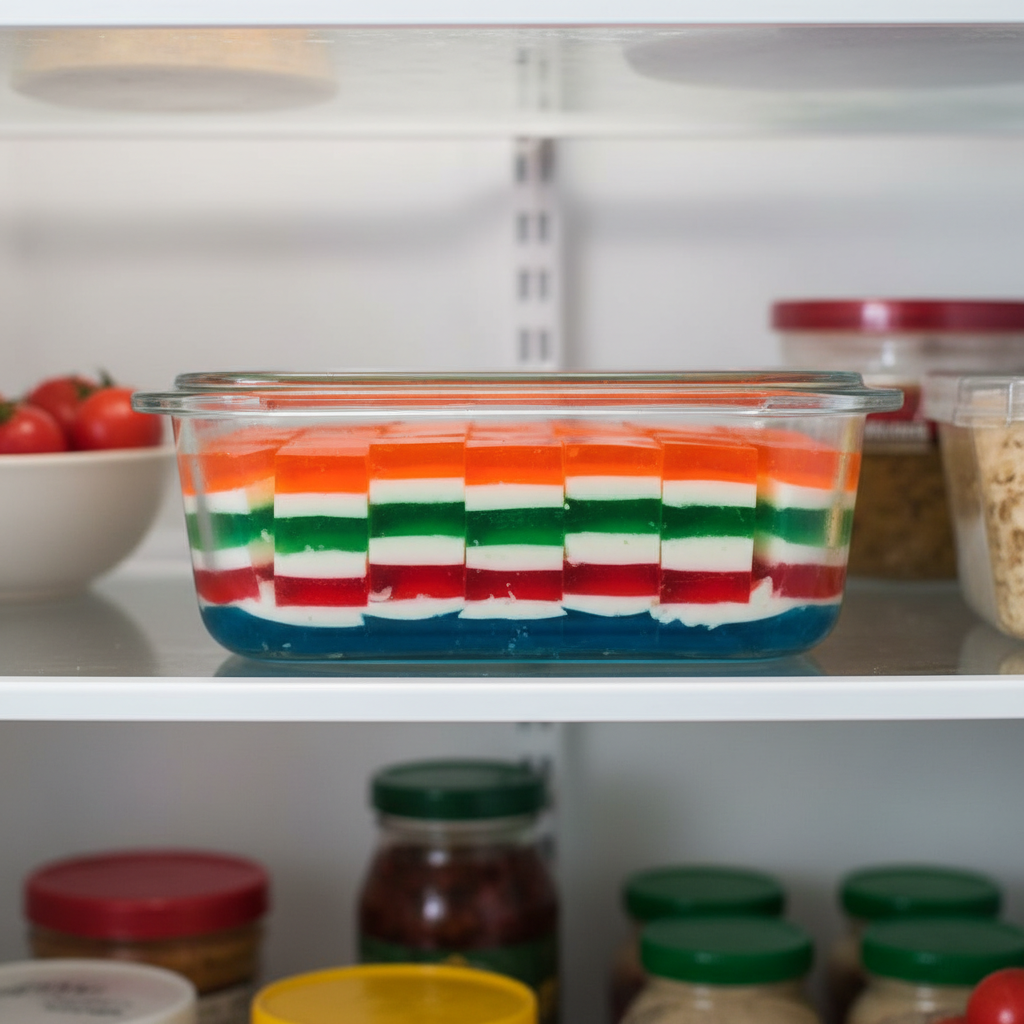
This Jello cake is a fantastic make-ahead dessert! Store it covered in the refrigerator for up to 3-4 days. It’s best enjoyed within the first two days for optimal texture and freshness. Avoid leaving it at room temperature for extended periods, as the Jello will soften.
Make-Ahead and Freezer Notes
You can definitely make this cake a day or two in advance. In fact, it often tastes better once the flavors have had a chance to meld. Just keep it tightly covered in the fridge. Freezing Jello cake is generally not recommended, as the texture can become icy and unappealing upon thawing. The gelatin structure breaks down, losing its signature wobble.
Serving Suggestions
While delicious on its own, here are a few ideas to make your colorful Jello cake even more special:
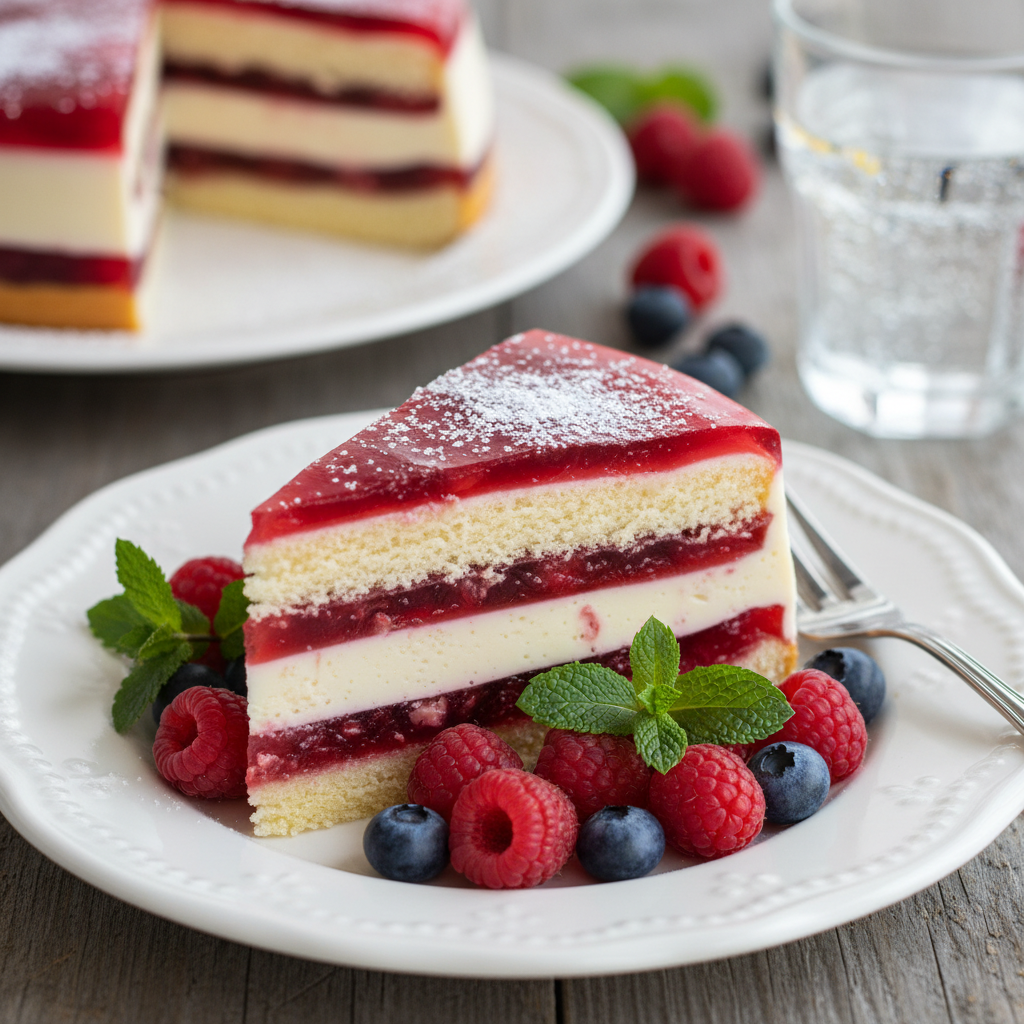
- Fresh Berries: A sprinkle of fresh raspberries, blueberries, or sliced strawberries adds a lovely contrast in texture and flavor.
- Mint Sprig: A tiny sprig of fresh mint makes for a beautiful garnish.
- Chocolate Shavings: A few delicate chocolate curls can add a touch of elegance.
- Extra Whipped Cream: Who can say no to a little extra dollop?